Love this? Save it for later!
Share the inspiration with your friends
Introduction
“I wasn’t planning on turning store-bought cookies into a full-on decorating party,” I confessed to my friend Lisa as we stood in her tiny kitchen one Saturday afternoon. The truth is, I grabbed the wrong box of cookies at the grocery store—thinking they were plain sugar cookies—but they came pre-packaged and a bit dull. Lisa shrugged, pulled out a tub of frosting from her fridge, and tossed a handful of sprinkles on the counter. Before I could blink, we were knee-deep in frosting smears and colorful chaos.
Honestly, it was one of those moments where you don’t expect much, and suddenly, you’re laughing over a frosting-covered spatula, making silly shapes on cookies that were supposed to be “just a snack.” Maybe you’ve been there, where a simple idea turns into a fun afternoon with friends or family without the stress of baking from scratch. This easy frosty fun cookie decorating approach takes those plain store-bought treats and makes them the star of any gathering, no matter your skill level.
What stuck with me was how simple and joyful the whole thing felt—no fancy tools, no complicated recipes, just pure creativity and a little mess. And yes, we totally forgot to set out plates at first, but hey, the cookies tasted even better straight off the counter. This recipe isn’t just about decorating; it’s about those moments where food brings people together, no matter how it starts.
Why You’ll Love This Recipe
After trying countless decorating methods and frosting combos, this easy frosty fun cookie decorating recipe became my go-to for quick celebrations and last-minute treats. It’s not fancy, but it’s always a hit, and here’s why:
- Quick & Easy: Comes together in under 20 minutes—perfect for busy afternoons or spontaneous get-togethers.
- Simple Ingredients: Uses store-bought cookies and basic frosting supplies that you probably already have in your pantry.
- Perfect for Any Occasion: Works great for birthday parties, school snacks, holiday gatherings, or just a cozy night in.
- Crowd-Pleaser: Kids love getting hands-on, and adults appreciate the playful twist on classic cookies.
- Unbelievably Delicious: The frosting adds a soft, sweet layer that balances perfectly with the cookie’s crunch.
What makes this recipe different is how it turns a simple store-bought cookie into a canvas for creativity without any pressure. I usually mix in a little cream cheese into the frosting for extra richness or swap sprinkles for chopped nuts or mini chocolate chips when I want a different texture. It’s a recipe that invites you to play, experiment, and enjoy the process as much as the result.
This isn’t just cookie decorating; it’s a quick way to bring a smile to your table and make any ordinary day feel a little more special.
What Ingredients You Will Need
This recipe uses simple, wholesome ingredients to deliver bold flavor and satisfying texture without the fuss. You’ll mostly find these in your pantry or local store, making it a breeze to whip up whenever the mood strikes.
- Store-Bought Cookies: Plain sugar cookies or butter cookies work best as a base. I like Keebler Sugar Wafers for their crisp texture.
- Frosting: Vanilla or cream cheese frosting, about 1 cup (240 ml). I prefer Betty Crocker Cream Cheese Frosting for its smoothness, but homemade frosting works just as well.
- Food Coloring: Optional, to tint your frosting for a fun look.
- Sprinkles: A mix of colored sugar, nonpareils, or jimmies. Seasonal shapes like stars or hearts add extra charm.
- Mini Chocolate Chips: For adding texture and a little extra chocolate flavor.
- Chopped Nuts: Walnuts or pecans, finely chopped, for a nutty crunch (optional).
- Edible Glitter or Dust: For that extra sparkle if you want to get fancy.
If you want to keep it dairy-free, swap regular frosting with a coconut-based or soy frosting. For gluten-free options, there are plenty of store-bought gluten-free cookies available, just pick your favorite brand.
Equipment Needed

- Small Bowls: For dividing and coloring frosting.
- Butter Knife or Small Offset Spatula: To spread frosting evenly across cookies.
- Spoons: For scooping frosting and sprinkling decorations.
- Piping Bags or Ziplock Bags: Optional, if you want to pipe frosting designs instead of spreading.
- Baking Sheets or Large Plates: To arrange decorated cookies while they set.
You don’t need fancy tools here. I once used a plastic spoon handle to swirl frosting because I forgot my spatula, and honestly, it worked just fine! If you want to get more precise, small icing spatulas are great, but honestly, your fingers work wonders too (just wash up afterward).
Preparation Method
- Prepare Your Workspace (5 minutes): Clear a clean surface, lay out your cookies on a baking sheet or large plate. Have your frosting and decorations within easy reach.
- Divide and Color Frosting (5 minutes): Scoop about 1 cup (240 ml) of frosting into small bowls. Add a few drops of food coloring to each bowl if you want different colors. Stir well until the color is even.
- Frost the Cookies (10 minutes): Using a butter knife or spatula, spread a thin layer of frosting on each cookie. Don’t worry about perfection—texture is part of the charm. If you want, use a piping bag for neat designs or simple dots.
- Add Decorations (5 minutes): Sprinkle your chosen toppings—sprinkles, mini chocolate chips, chopped nuts—over the frosting before it sets. Lightly press down if needed to help them stick.
- Let Set (10-15 minutes): Allow decorated cookies to rest at room temperature or in the fridge for the frosting to firm up slightly. This helps prevent smudging when you move or serve them.
Pro tip: If your frosting is too stiff, warm it slightly in the microwave (5-10 seconds) and stir to loosen. If it’s too runny, add a bit of powdered sugar to thicken.
Sometimes I forget to take photos before everyone digs in because the cookies are just too tempting. You know that feeling when you bite into a cookie and the frosting melts just right? That’s the magic here—simple, quick, and oh so tasty.
Cooking Tips & Techniques
One thing I learned the hard way is that frosting temperature matters. If it’s too cold, it’s tough to spread and might tear the cookie surface. Too warm, and it gets messy and drippy. Let frosting sit at room temperature for about 15 minutes before decorating.
Also, don’t overload your cookies with toppings. A light sprinkle keeps the texture balanced and stops the frosting from sliding off. When using piping bags, twist the end tightly to keep control over the flow of frosting—this little trick saves you from a frosting explosion!
When decorating with kids, I always set up a “frosting station” with small bowls of toppings so they can get creative without making a huge mess. Plastic placemats or parchment paper under the cookies help with quick cleanup.
Multitasking tip: While the first batch sets, start frosting the next batch. It keeps the fun going and reduces wait time. If you want to get fancy, layering frosting colors is a neat trick—just pipe one color over another and quickly swirl with a toothpick for a marbled effect.
Variations & Adaptations
- Dietary Variation: Use dairy-free frosting and gluten-free cookies to accommodate allergies or dietary preferences.
- Seasonal Themes: Swap sprinkles and colors to fit holidays (red and green for Christmas, pastels for Easter, or orange and black for Halloween).
- Flavor Twists: Mix a little lemon zest or peppermint extract into the frosting for a fresh twist. I once added a dash of cinnamon to frosting and it was surprisingly delicious.
- Healthier Option: Use Greek yogurt-based frosting for a tangy, lighter alternative—just keep it chilled and use quickly.
- Cooking Method Adjustment: Instead of spreading, try briefly warming cookies (about 5 minutes at 300°F / 150°C) to slightly soften before frosting for a melt-in-your-mouth experience.
Personally, I once tried a “cookie sandwich” version by frosting two cookies and pressing them together with mini marshmallows inside. It’s a fun twist that kids loved at a sleepover.
Serving & Storage Suggestions
These decorated cookies are best served at room temperature so the frosting is soft but set. They look great arranged on a colorful platter or stacked in a clear jar for gifting.
They pair wonderfully with a glass of cold milk, hot cocoa, or even a cup of lightly brewed tea for adults. I often serve these at casual brunches or afternoon snack times because they feel festive without the fuss.
Store leftovers in an airtight container at room temperature for up to 3 days. If your kitchen is warm, pop them in the fridge to keep the frosting firm, but bring back to room temperature before serving for best flavor.
For longer storage, freeze the decorated cookies in a single layer on a baking sheet, then transfer to a freezer-safe container. Thaw at room temperature before serving. Note that some toppings may lose their crunch after freezing.
Flavors tend to mellow and blend nicely if you let the cookies sit a few hours after decorating—sometimes that little wait makes all the difference.
Nutritional Information & Benefits
This recipe is a treat rather than a health food, but it’s made with simple ingredients and allows for customization based on dietary needs. For example, choosing gluten-free cookies or dairy-free frostings makes it accessible for many.
Calories per cookie vary depending on the cookie base and amount of frosting, but generally, one decorated cookie contains around 150-200 calories. The frosting provides sugar and fat, while the cookie offers carbohydrates for energy.
Using nuts as a topping adds a bit of protein and healthy fats, making for a slightly more balanced bite. Adding fresh fruit decorations or swapping in yogurt-based frosting can reduce sugar and add vitamins.
From a wellness perspective, this recipe encourages mindful eating and creating joyful food experiences, which are just as important as nutritional content.
Conclusion
Easy frosty fun cookie decorating is the perfect way to turn ordinary store-bought cookies into something memorable and joyful without extra baking stress. Whether you’re crafting a last-minute treat or looking for a creative activity with kids, this recipe brings smiles and a little sweetness to your day.
Feel free to tweak the colors, toppings, and frosting flavors to make it truly your own. I love how this simple method invites creativity and connection, reminding me that sometimes the best kitchen moments happen with the simplest ingredients.
If you try this cookie decorating trick, I’d love to hear how it went—did you add a special twist or create a new favorite? Share your stories and tips in the comments below, and let’s keep the fun going!
Happy decorating, and may your cookies be as colorful and fun as the memories you create!
FAQs
Can I use any type of cookie for this decorating method?
Absolutely! Plain sugar or butter cookies work best because their mild flavor pairs well with frosting, but feel free to try chocolate or oatmeal cookies for a twist.
How long can decorated cookies be stored?
Store them in an airtight container at room temperature for up to 3 days. You can refrigerate if it’s warm, or freeze for longer storage—just thaw before serving.
What if I don’t have food coloring?
No worries! You can skip coloring or use natural alternatives like beet juice or matcha powder to tint your frosting subtly.
Can I make the frosting from scratch?
Yes! A simple buttercream or cream cheese frosting works perfectly. Just make sure it’s smooth and spreadable for easy decorating.
How do I prevent sprinkles from sliding off?
Apply sprinkles immediately after frosting while it’s still wet. Press them gently into the frosting to help them stick better.
For more fun and simple baking ideas, you might enjoy trying my crispy garlic chicken recipe, which is another quick favorite in my kitchen that brings smiles without fuss. Also, if you’re looking for easy snacks to pair with these cookies, the homemade cheese sticks are a great savory balance to the sweetness.
Pin This Recipe!
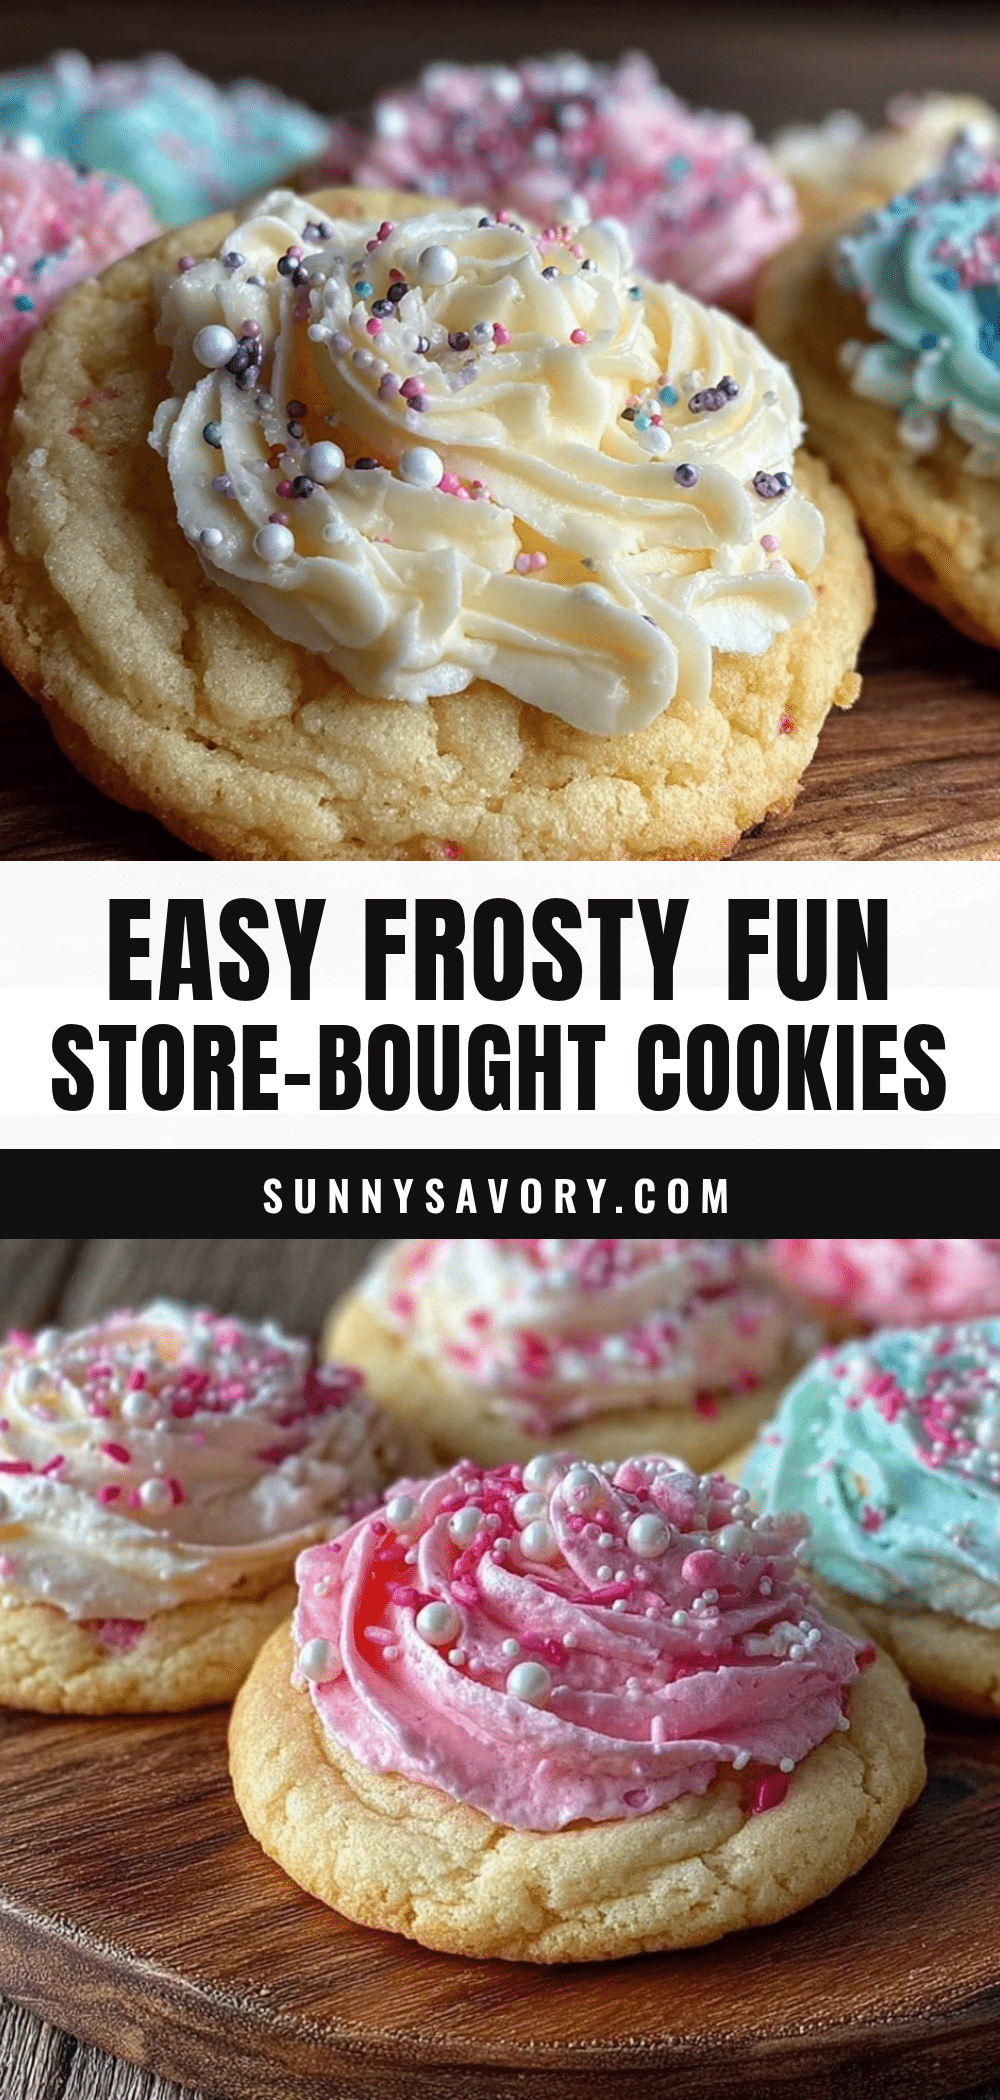
Easy Frosty Fun Cookie Decorating Ideas for Store-Bought Treats

Transform plain store-bought cookies into colorful, fun treats with simple frosting and decorations. Perfect for quick celebrations and creative activities with kids or friends.
- Prep Time: 10 minutes
- Cook Time: 0 minutes
- Total Time: 20 minutes
- Yield: 12 servings 1x
- Category: Dessert
- Cuisine: American
Ingredients
- Store-bought plain sugar cookies or butter cookies (e.g., Keebler Sugar Wafers)
- 1 cup (240 ml) vanilla or cream cheese frosting (store-bought or homemade)
- Food coloring (optional)
- Sprinkles (colored sugar, nonpareils, jimmies, seasonal shapes)
- Mini chocolate chips (optional)
- Chopped nuts such as walnuts or pecans (optional)
- Edible glitter or dust (optional)
Instructions
- Prepare your workspace by clearing a clean surface and laying out cookies on a baking sheet or large plate. Have frosting and decorations within easy reach.
- Divide about 1 cup (240 ml) of frosting into small bowls. Add food coloring to each bowl if desired and stir until evenly colored.
- Using a butter knife or small offset spatula, spread a thin layer of frosting on each cookie. For neat designs, use a piping bag or ziplock bag with a corner cut.
- Sprinkle chosen toppings such as sprinkles, mini chocolate chips, or chopped nuts over the frosting before it sets. Lightly press to help them stick.
- Allow decorated cookies to set at room temperature or in the fridge for 10-15 minutes to firm up the frosting before serving.
Notes
Let frosting sit at room temperature for about 15 minutes before decorating for easier spreading. Warm frosting slightly if too stiff or add powdered sugar if too runny. Avoid overloading toppings to prevent sliding. Store decorated cookies in an airtight container at room temperature for up to 3 days or freeze for longer storage.
Nutrition
- Serving Size: 1 decorated cookie
- Calories: 175
- Sugar: 15
- Sodium: 120
- Fat: 8
- Saturated Fat: 3
- Carbohydrates: 24
- Fiber: 0.5
- Protein: 2
Keywords: cookie decorating, store-bought cookies, frosting, sprinkles, easy dessert, kids activity, quick treats