Love this? Save it for later!
Share the inspiration with your friends
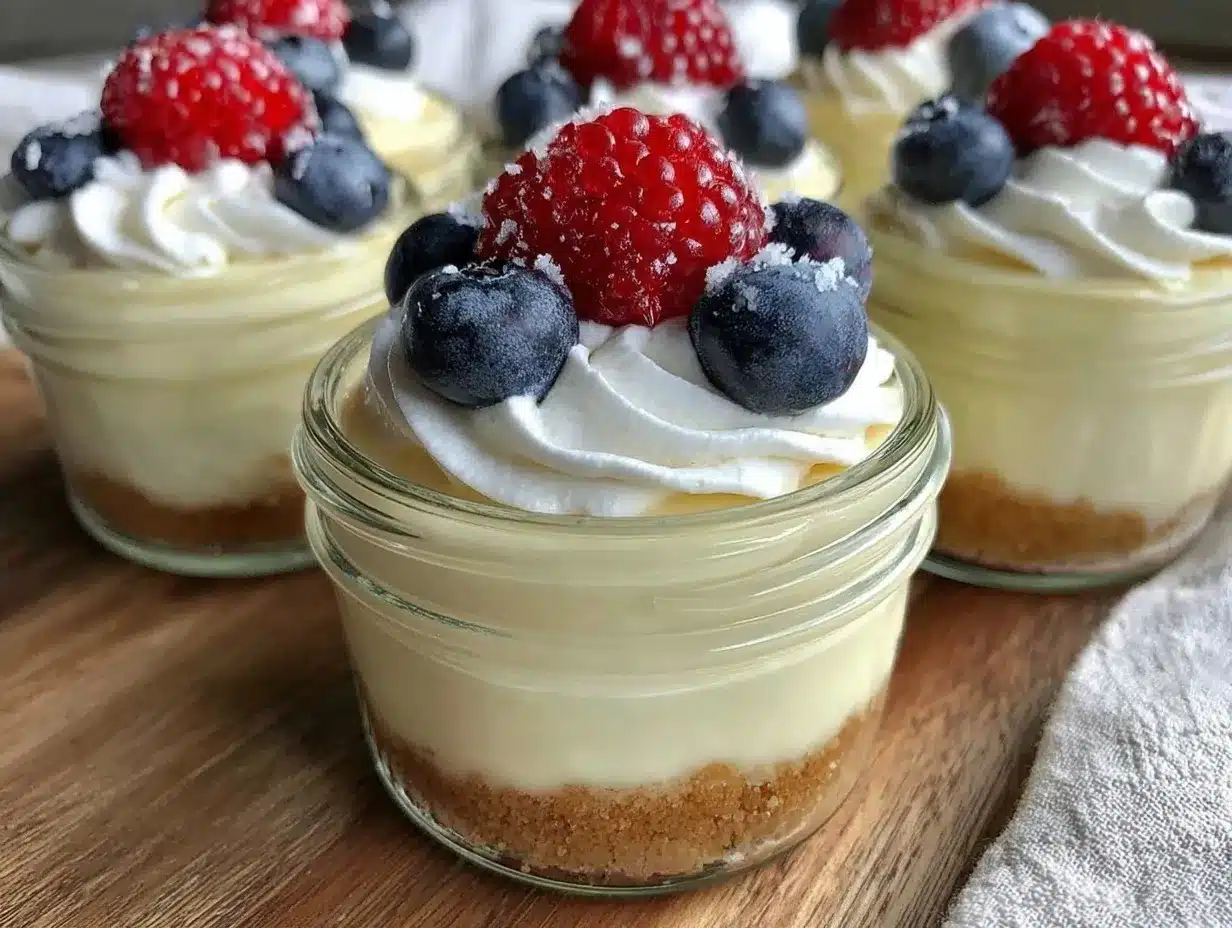
“I never thought a dessert this simple could cause such a commotion,” my friend Jenna confessed one afternoon as we sat on her sunlit porch, forks in hand. It all started on a chilly Saturday when she found herself unexpectedly hosting a last-minute gathering. The fridge was bare except for a few basics, and honestly, the idea of turning on the oven felt like a punishment. But then, she whipped up these easy no-bake cheesecake cups with 4 simple ingredients, and everyone was hooked.
The charm of this recipe is in its effortless magic. It’s not just about convenience; it’s about capturing that creamy, dreamy cheesecake flavor without the fuss. The way the smooth filling melts against the crunchy crust, all tucked into little cups you can grab and savor anywhere—it’s pure comfort. Maybe you’ve been there, staring at the clock and wondering if you can pull off a dessert that feels special but won’t stress you out.
Honestly, I’ve lost count of how many times I’ve made these cheesecake cups since that day. There was that one time I forgot the sugar (oops!), and we still polished them off like pros. It’s proof the recipe is forgiving and perfect for anyone who appreciates a sweet treat without the drama. If you love quick, no-fuss desserts that still impress, you’re in for a real treat with this one.
Why You’ll Love This Recipe
Having tested this easy no-bake cheesecake cups recipe countless times, I can tell you it’s a keeper for several reasons:
- Quick & Easy: Ready in under 15 minutes—perfect when you need a dessert stat or want to avoid heating up the kitchen.
- Simple Ingredients: No need for fancy shopping trips; you probably have everything in your pantry and fridge right now.
- Perfect for Any Occasion: Whether it’s a casual weeknight treat or a surprise addition to your brunch spread, these cups fit right in.
- Crowd-Pleaser: Kids, adults, picky eaters—everyone asks for seconds. It’s that kind of dessert.
- Unbelievably Delicious: The creamy filling paired with a buttery crust hits all the right texture notes.
What sets this recipe apart is the balance it strikes. Instead of a heavy, over-the-top cheesecake, you get a light, fresh version that feels indulgent without weighing you down. I love blending the cream cheese just enough to keep the texture silky but still rich. And the crushed graham cracker crust? It’s the perfect crunch that never sogs out. This isn’t just another no-bake cheesecake; it’s my go-to when I want something fuss-free and utterly satisfying.
What Ingredients You Will Need
This recipe uses straightforward, wholesome ingredients to deliver a creamy, flavorful dessert with minimal effort. Most of these ingredients are pantry staples, so no last-minute trips to the store required.
- Cream Cheese (8 oz / 225 g, softened) – The star of the filling, providing a smooth, tangy base. I prefer Philadelphia for consistent creaminess.
- Powdered Sugar (1 cup / 120 g) – Adds sweetness without graininess, dissolving perfectly into the filling.
- Heavy Whipping Cream (1 cup / 240 ml, cold) – Whipped to soft peaks, it lightens the texture, making the cups delightfully fluffy.
- Graham Crackers (1 ½ cups / 150 g, crushed) – For the crust; I like Nabisco Honey Maid for that authentic flavor. You can swap with digestive biscuits or gluten-free crackers if needed.
- Unsalted Butter (5 tbsp / 70 g, melted) – Binds the crust together and adds richness. Use dairy-free margarine if avoiding dairy.
Optional: A splash of vanilla extract (1 tsp) can add depth to the filling if you want a flavor boost. For seasonal twists, try adding fresh berries on top or a drizzle of caramel sauce.
Equipment Needed
- Mixing bowls – One large for the filling, one for the crust.
- Electric hand mixer or stand mixer – For whipping the cream and smoothing the cream cheese. A whisk works if you have strong arms and patience.
- Measuring cups and spoons – Precision helps, especially with the powdered sugar.
- Spoons or mini spatulas – For folding and scraping.
- Serving cups or small jars – I like using clear glass cups to show off the layers, but ramekins or even silicone cupcake liners work great.
- Food processor or plastic bag and rolling pin – To crush graham crackers finely. I’ve done it with a heavy pan and a zip-top bag—no fancy gadgets needed.
Personally, I keep a dedicated whisk attachment on my mixer just for desserts like this, which makes cleanup a breeze. If you don’t have a mixer, chilling your cream and cream cheese well beforehand helps the whipping process.
Preparation Method
- Prepare the crust: Crush the graham crackers finely using a food processor or place them in a sealed plastic bag and crush with a rolling pin until you have fine crumbs. Transfer to a bowl.
- Mix the crust: Add the melted unsalted butter to the crumbs and stir until the mixture is evenly moist and holds together when pressed. This usually takes about 3 minutes.
- Assemble the crust layer: Spoon the crust mixture evenly into your serving cups (about 2 tablespoons per cup). Press down firmly with the back of a spoon or your fingers to form a compact base. Chill in the fridge while you prepare the filling—about 10 minutes.
- Make the filling: In a large mixing bowl, beat the softened cream cheese with powdered sugar using an electric mixer on medium speed until smooth and creamy, about 2-3 minutes. Scrape down the sides as needed.
- Whip the cream: In a separate cold bowl, whip the heavy cream until soft peaks form. Be careful not to overbeat; the texture should be light and fluffy but still hold shape.
- Combine filling and cream: Gently fold the whipped cream into the cream cheese mixture using a spatula. Fold slowly to keep the mixture airy and light. This step takes about 2 minutes.
- Fill the cups: Spoon or pipe the cheesecake filling over the chilled crusts, filling each cup to the top. Smooth the surface with a spoon for a clean look.
- Chill to set: Place the assembled cups in the refrigerator for at least 2 hours to firm up. Overnight chilling works even better and makes the flavors meld beautifully.
- Serve: Just before serving, add your favorite toppings like fresh berries, chocolate shavings, or a drizzle of honey.
Note: If your cream cheese is too cold, lumps may form; letting it soften at room temperature for 30 minutes helps avoid this. Also, pressing the crust firmly ensures it won’t crumble when you dig in.
Cooking Tips & Techniques
One trick I’ve learned is to always whip the cream in a chilled bowl with cold beaters; it helps achieve that perfect fluffy texture faster. Overwhipping can turn the cream grainy, so stop when you see soft peaks that gently bend.
When folding the whipped cream into the cream cheese, patience pays off. Use a gentle folding motion rather than stirring aggressively—this keeps the filling airy instead of dense.
Sometimes the crust can fall apart if the butter is too cool or the crumbs aren’t crushed finely. Warming the butter slightly (but not hot!) and crushing the crackers to a fine texture solves this issue.
For speed, prepare the crust and filling in advance, then assemble right before chilling. This step separates the work and makes the process feel less rushed.
Also, a little personal cooking mishap: I once forgot to chill the assembled cups, and the filling was too soft to hold shape. Lesson learned—chilling is non-negotiable here!
Variations & Adaptations
- Dietary swaps: Use coconut cream and dairy-free cream cheese for a vegan-friendly version. Almond flour crust mixed with coconut oil works well as a substitute.
- Seasonal flavors: Mix in a spoonful of lemon zest or pumpkin puree for a seasonal twist. A few crushed peppermint candies make a festive holiday edition.
- Flavor infusions: Add a teaspoon of espresso powder to the crust for a mocha vibe, or swirl in raspberry jam between the crust and filling layers for a fruity surprise.
- Cooking method adaptations: Try freezing the cups for a frozen cheesecake treat. Just thaw for 10 minutes before serving to soften slightly.
- Personal twist: I once added a layer of crushed pretzels under the crust for a salty crunch that my family couldn’t get enough of.
Serving & Storage Suggestions
These cheesecake cups are best served chilled straight from the fridge. The creamy texture and buttery crust are at their peak when cool, giving a refreshing bite.
For presentation, top with fresh berries, a sprig of mint, or a sprinkle of cocoa powder. Pair with a cup of hot coffee or a glass of sparkling water with lemon for a balanced dessert experience.
Store leftovers covered in the fridge for up to 3 days. If you’ve made a batch ahead, keep them tightly sealed to prevent the crust from getting soggy.
To reheat slightly, let cups sit at room temperature for 10-15 minutes—no microwave needed. Flavors tend to deepen after a day or two, making the dessert even more satisfying.
Nutritional Information & Benefits
Each serving of these no-bake cheesecake cups offers approximately 250 calories, with 18 grams of fat, 12 grams of carbohydrates, and 4 grams of protein. While indulgent, the recipe uses cream cheese and heavy cream which provide calcium and vitamin A.
If you’re mindful of sugar, you can adjust the powdered sugar quantity or swap with natural sweeteners like erythritol. The crust’s graham crackers add some fiber and whole grain if you choose whole wheat varieties.
Gluten-free eaters can easily substitute the crust with gluten-free crackers, making this dessert accessible to many dietary needs without compromising taste.
From a wellness perspective, this recipe feels like a treat without overwhelming your system. It’s a nice balance of satisfying richness and lightness, especially compared to traditional baked cheesecakes.
Conclusion
So, why try this easy no-bake cheesecake cups recipe with 4 simple ingredients? Because it’s a quick, fuss-free way to enjoy creamy, luscious cheesecake anytime without turning on the oven or stressing over complicated steps. You can make it your own by playing with flavors or toppings, making it truly your dessert.
I keep this recipe in my back pocket for those moments when I want something sweet but simple, and honestly, it never disappoints. Give it a shot, tweak it your way, and drop a comment sharing your favorite adaptations—I’d love to hear how you make it your own!
Enjoy the sweet simplicity and the smiles it brings around your table.
FAQs
Can I make these cheesecake cups ahead of time?
Absolutely! Assemble and chill them up to 24 hours in advance. Just keep them covered tightly in the fridge to maintain freshness.
What can I use if I don’t have graham crackers?
You can substitute with digestive biscuits, vanilla wafers, or any crunchy cookie you like. Just crush finely for the crust.
Is it necessary to chill the cream cheese before mixing?
Yes, softening the cream cheese at room temperature for about 30 minutes helps achieve a smooth filling without lumps.
Can I freeze these no-bake cheesecake cups?
Yes, freezing works well. Just thaw them in the fridge for a few hours before serving to soften.
How do I prevent the crust from getting soggy?
Press the crust firmly into the cups and chill it before adding the filling. This step helps create a solid base that resists sogginess.
Pin This Recipe!
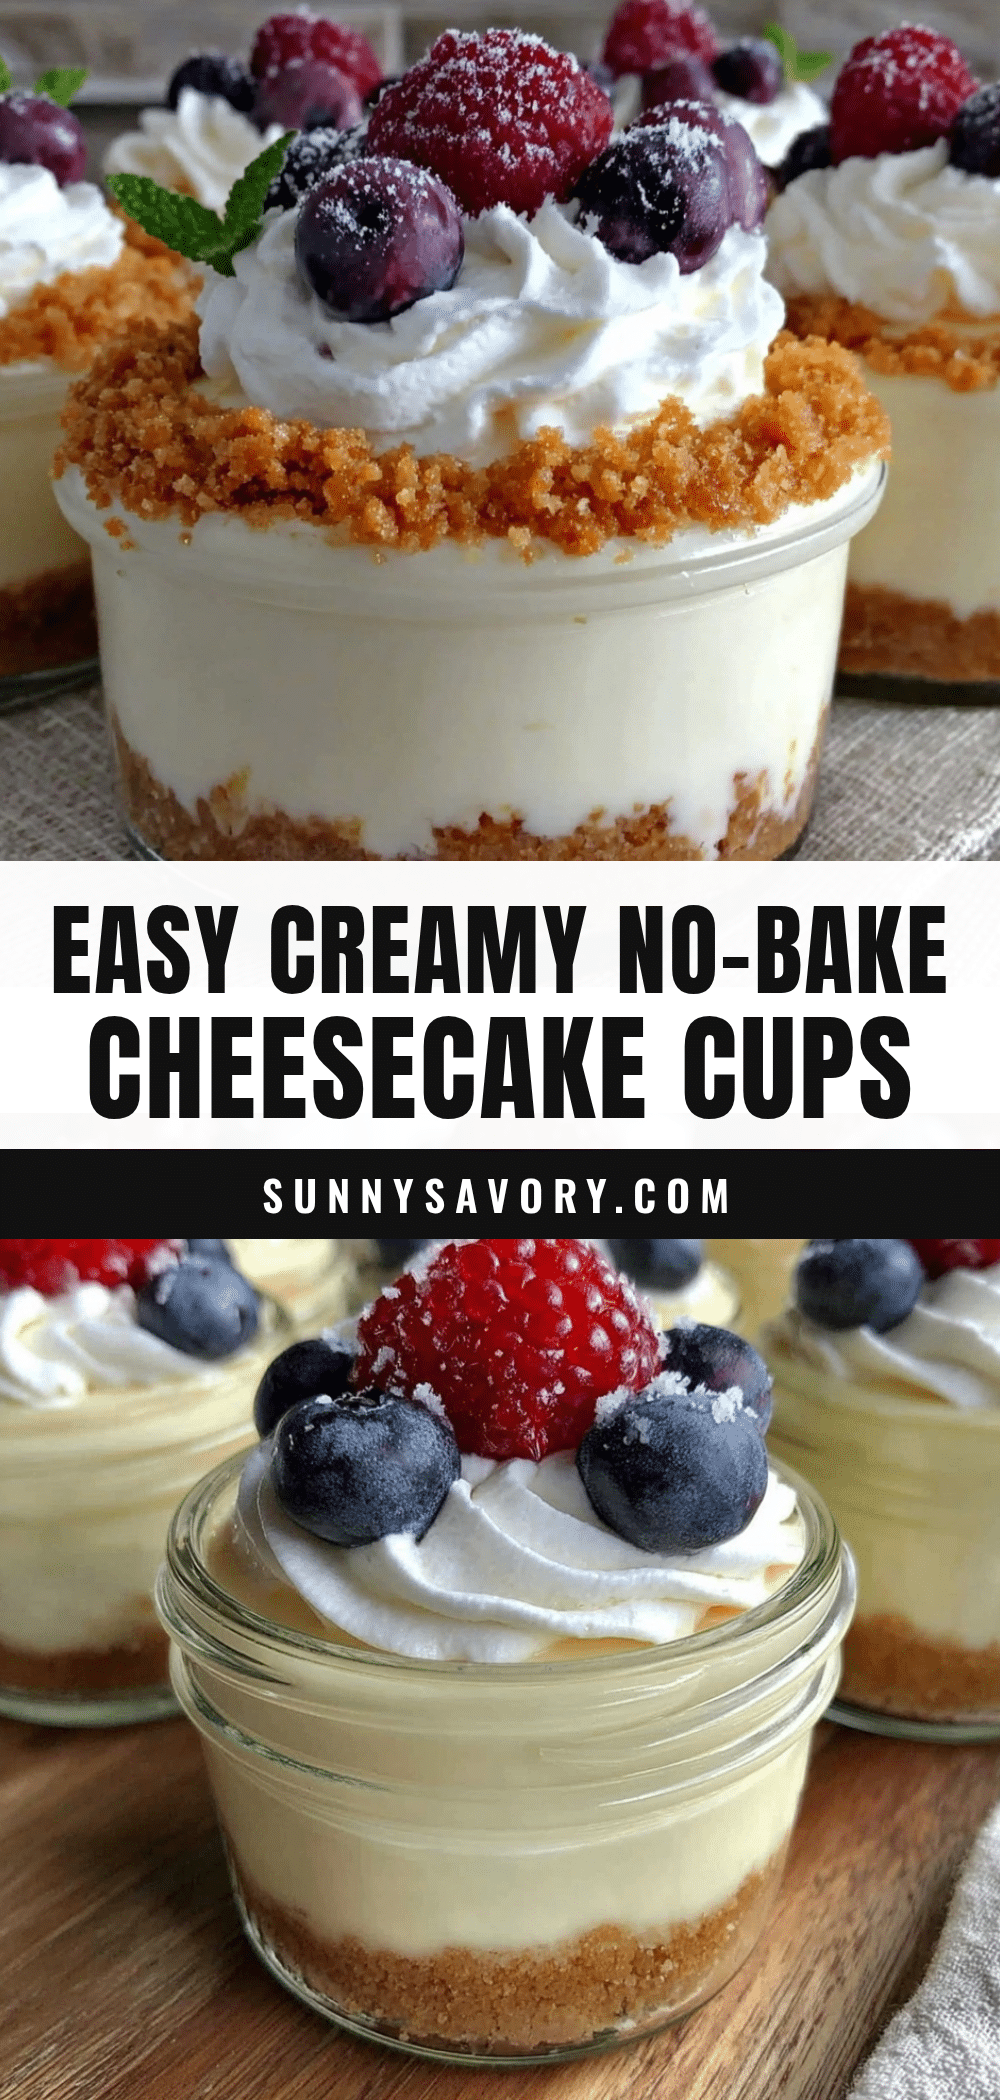
Easy No-Bake Cheesecake Cups Recipe with 4 Simple Ingredients for Perfect Dessert
A quick and easy no-bake cheesecake dessert made with just four simple ingredients, perfect for any occasion and ready in under 15 minutes.
- Prep Time: 15 minutes
- Cook Time: 0 minutes
- Total Time: 2 hours 15 minutes
- Yield: 6 servings 1x
- Category: Dessert
- Cuisine: American
Ingredients
- 8 oz (225 g) cream cheese, softened
- 1 cup (120 g) powdered sugar
- 1 cup (240 ml) heavy whipping cream, cold
- 1 ½ cups (150 g) graham crackers, crushed
- 5 tbsp (70 g) unsalted butter, melted
- Optional: 1 tsp vanilla extract
- Optional toppings: fresh berries, caramel sauce, chocolate shavings, honey
Instructions
- Crush the graham crackers finely using a food processor or place them in a sealed plastic bag and crush with a rolling pin until fine crumbs form. Transfer to a bowl.
- Add the melted unsalted butter to the crumbs and stir until the mixture is evenly moist and holds together when pressed, about 3 minutes.
- Spoon the crust mixture evenly into serving cups (about 2 tablespoons per cup). Press down firmly to form a compact base. Chill in the fridge for about 10 minutes.
- In a large mixing bowl, beat the softened cream cheese with powdered sugar using an electric mixer on medium speed until smooth and creamy, about 2-3 minutes. Scrape down the sides as needed.
- In a separate cold bowl, whip the heavy cream until soft peaks form, being careful not to overbeat.
- Gently fold the whipped cream into the cream cheese mixture using a spatula, folding slowly to keep the mixture airy and light, about 2 minutes.
- Spoon or pipe the cheesecake filling over the chilled crusts, filling each cup to the top. Smooth the surface with a spoon.
- Place the assembled cups in the refrigerator for at least 2 hours to firm up. Overnight chilling is recommended for best flavor melding.
- Just before serving, add your favorite toppings such as fresh berries, chocolate shavings, or a drizzle of honey.
Notes
Soften cream cheese at room temperature for 30 minutes to avoid lumps. Press crust firmly to prevent crumbling. Whip cream in a chilled bowl to achieve soft peaks. Chill assembled cups for at least 2 hours or overnight for best results. Optional vanilla extract adds depth. Can substitute ingredients for dietary needs.
Nutrition
- Serving Size: 1 cheesecake cup
- Calories: 250
- Fat: 18
- Carbohydrates: 12
- Protein: 4
Keywords: no-bake cheesecake, easy dessert, cheesecake cups, quick dessert, simple ingredients, no oven dessert