Love this? Save it for later!
Share the inspiration with your friends
Introduction
It was 11:17 PM on a slow Wednesday, and a sudden craving for something crunchy and tangy hit me like a lightning bolt. I didn’t have hours to wait around for the usual pickling rituals, nor the fancy gadgets you see on those food shows. What I did have was a handful of fresh cucumbers, a bulb of garlic that had seen better days, and a stubborn jar begging for some action. That’s when the idea — or maybe the madness — struck: why not whip up some quick garlic dill refrigerator pickles ready in 24 hours? No boiling water baths, no fancy canning, just straightforward, no-nonsense pickling that felt perfect for this late-night kitchen escapade.
Honestly, it was a bit of a mess — spilled brine, a cracked jar lid, and the neighbor knocking asking if I was okay. But the sizzle of garlic hitting the vinegar and the smell of fresh dill soon erased any doubts. Maybe you’ve been there, staring into the fridge wondering how to turn humble ingredients into a snack that feels like a mini celebration. These pickles have stuck with me ever since — they’re tangy, garlicky, and crunchy enough to make you forget all about those long, complicated pickle recipes.
Let me tell you, if you’re someone who loves pickles but hates waiting, this quick garlic dill refrigerator pickles recipe will be your new best friend.
Why You’ll Love This Recipe
- Quick & Easy: Ready in just 24 hours, perfect for those last-minute cravings or when you want a fresh snack fast.
- Simple Ingredients: Uses pantry staples and fresh produce you probably already have — no special trips needed.
- Perfect for Any Occasion: Ideal for casual gatherings, sandwich toppings, or just a crunchy treat while binge-watching your favorite series.
- Crowd-Pleaser: The blend of garlic and dill hits the spot every time, impressing both pickle enthusiasts and newbies alike.
- Unbelievably Delicious: The quick brining process locks in that perfect crispness with a fresh, tangy punch that keeps you coming back.
- What Sets It Apart: Rather than the usual long soak, this recipe uses a clever balance of vinegar, garlic, and fresh dill to create a bold flavor in a fraction of the time — no fancy techniques needed.
- Emotional Connection: It’s the kind of recipe that makes you smile after the first bite and keeps you reaching for more, whether it’s a lazy weeknight or a spontaneous snack attack.
What Ingredients You Will Need
This recipe uses simple, wholesome ingredients to deliver bold flavor and satisfying texture without the fuss. Most are pantry staples and fresh garden finds, making it super easy to pull together.
- Fresh cucumbers: 4-5 medium Kirby cucumbers, sliced into spears or rounds (Kirby cucumbers are best for crunch)
- Fresh dill: 3-4 sprigs of fresh dill (if you can’t find fresh, use 1 tablespoon dried dill)
- Garlic cloves: 4-5 cloves, peeled and smashed (garlic is the star here, so don’t skimp!)
- White vinegar: 1 cup (240 ml) — I recommend Heinz for a clean, sharp flavor
- Water: 1 cup (240 ml) — filtered or tap is fine
- Kosher salt: 1 tablespoon (Diamond Crystal brand works great for even salting)
- Granulated sugar: 1 teaspoon to balance acidity (optional but recommended)
- Black peppercorns: 1 teaspoon whole for a subtle spice kick
- Red pepper flakes: ½ teaspoon (optional, for a mild heat)
If you want to swap ingredients, no worries: use apple cider vinegar instead of white for a fruitier taste, or try using lemon juice if that’s what’s on hand (though it won’t be quite as tangy). For a low-sodium option, reduce the salt slightly and add a pinch of celery seed for extra flavor.
Equipment Needed
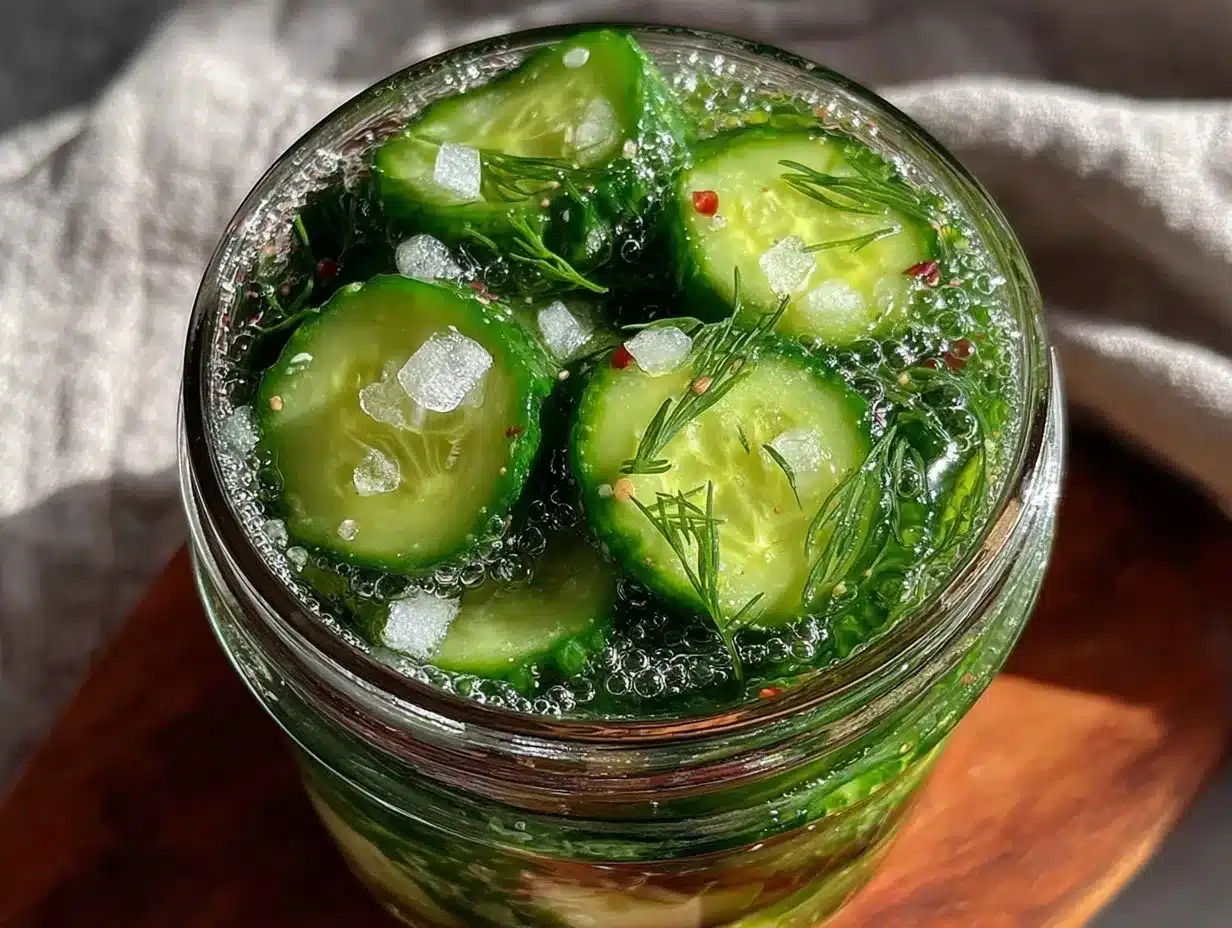
- Glass jar with a tight-fitting lid: A quart-sized (1-liter) mason jar is perfect — no weird plastic containers here, as glass keeps flavors pure and crisp.
- Measuring cups and spoons: For precision (trust me, the right salt-to-vinegar ratio matters).
- Sharp knife and cutting board: To slice those cucumbers just right.
- Mixing bowl: To combine your brine ingredients before pouring.
- Optional: A funnel to avoid spills when filling the jar (especially helpful for late-night pickling chaos!).
If you don’t have a mason jar, any clean glass container with a lid will do — just make sure it seals well to keep your pickles fresh. And if you want to keep things budget-friendly, thrift stores often have great vintage jars that add a little character to your kitchen.
Preparation Method
- Wash and slice cucumbers: Rinse the cucumbers under cold water. Cut off the ends (they can make pickles bitter) and slice into your preferred shape — spears or rounds. About ½-inch thick slices work well. This step should take about 5-7 minutes.
- Prepare the brine: In a mixing bowl, combine 1 cup (240 ml) white vinegar, 1 cup (240 ml) water, 1 tablespoon kosher salt, and 1 teaspoon sugar. Stir until the salt and sugar dissolve completely — usually around 2 minutes. You’ll know it’s ready when you don’t feel those grains at the bottom anymore.
- Add flavorings to the jar: Place the smashed garlic cloves, fresh dill sprigs, black peppercorns, and red pepper flakes into your clean glass jar. This creates the base flavor for your quick pickles.
- Fill the jar with cucumbers: Pack the cucumber slices snugly but without crushing them, leaving about ½ inch of headspace at the top. This helps keep the cucumbers crunchy.
- Pour the brine over cucumbers: Slowly pour the brine into the jar until cucumbers are fully submerged. Use a spoon or chopstick to gently press down any floating slices. Make sure everything is covered to prevent spoilage.
- Seal and refrigerate: Screw the lid on tightly and place the jar in your fridge. Let it sit for at least 24 hours to develop flavor. The first 12 hours will already give you a decent taste, but the magic happens after a full day.
- Serve and enjoy: After 24 hours, your quick garlic dill refrigerator pickles are ready to snack on. They’ll keep for up to two weeks in the fridge, getting tangier with time.
Pro tip: If your garlic flavor feels too strong after 24 hours, just give the pickles a quick rinse before eating — it softens the bite without losing that fresh crunch.
Cooking Tips & Techniques
Getting the perfect quick refrigerator pickle is all about balance and timing, you know? I’ve learned that too much salt or vinegar can make your pickles harsh, while too little risks blandness or mushiness.
- Use fresh cucumbers: The crunchier, the better! Older cucumbers tend to get soggy fast.
- Don’t skip the salt: It’s crucial for both flavor and texture — kosher salt works best because it dissolves evenly.
- Smash the garlic: Crushing the cloves releases more flavor than just chopping.
- Pack cucumbers tightly but gently: Too much pressure squishes them; too little leaves air pockets that can cause spoilage.
- Refrigerate immediately: The cold slows down fermentation, keeping your pickles crisp and safe.
- Don’t shake the jar: Let the flavors mingle quietly — shaking can bruise the cucumbers.
One time, I left a jar out on the counter overnight (classic me) and ended up with pickles that tasted like a science experiment gone wrong. So trust me on the refrigeration part!
Variations & Adaptations
This quick garlic dill refrigerator pickles recipe is super flexible — you can tailor it to suit all sorts of tastes and dietary needs.
- Spicy variation: Add extra red pepper flakes or a sliced jalapeño for a fiery kick.
- Sweet and sour: Increase sugar to 2 tablespoons and add a cinnamon stick for a sweeter, aromatic twist.
- Low sodium: Reduce salt to ½ tablespoon and add a pinch of celery seed to keep the flavor punchy.
- Herbal upgrade: Toss in fresh thyme or tarragon alongside the dill for an herbal medley.
- Vegan & allergy-friendly: This recipe is naturally vegan and gluten-free. Just double-check your vinegar brand to avoid cross-contamination.
Personally, I once added a splash of smoky chipotle vinegar after 24 hours — gave the pickles a wild twist that surprised everyone at the barbecue!
Serving & Storage Suggestions
Serve these quick garlic dill refrigerator pickles chilled straight from the jar for that satisfying crunch. They make a fantastic side for grilled meats, sandwiches, or even mixed into a tangy potato salad.
For storage, keep the pickles refrigerated in their sealed jar. They’ll stay fresh for up to two weeks, but honestly, they rarely last that long in my house! Over time, the pickles become more sour and tender, so if you like a softer bite, let them sit a little longer.
When reheating or warming (though rare for pickles), avoid microwaving — just bring them to room temperature for a few minutes if needed.
Nutritional Information & Benefits
These quick garlic dill refrigerator pickles are low in calories (about 10-15 calories per serving), carbohydrate-light, and fat-free — perfect for snacking without guilt. The vinegar helps promote digestion and has antimicrobial properties, while garlic adds immune-boosting compounds.
Because they’re made fresh and refrigerated, they retain more vitamin C and antioxidants than traditional canned pickles. Plus, the probiotics from natural fermentation (if you let them sit a bit longer) can contribute to gut health.
Just a heads-up: they contain garlic and salt, so if you’re on a low-sodium or low-allium diet, adjust accordingly.
Conclusion
If you want a fast, flavorful pickle fix that doesn’t require hours or fancy gear, this quick garlic dill refrigerator pickles recipe is where it’s at. It’s a simple, satisfying way to enjoy homemade pickles with a bold garlicky punch and bright dill freshness. Honestly, I keep coming back to this recipe because it’s comforting, crunchy, and just the right kind of tangy — and you can tweak it any way you want.
Give it a try, let your kitchen experiments run wild, and don’t forget to share how you make it your own. I’d love to hear if you’ve added a spicy twist or used it to top your favorite sandwich. Happy pickling!
FAQs
- How long do these refrigerator pickles last? They stay fresh up to two weeks in the fridge, but they’re usually eaten quicker!
- Can I use regular cucumbers instead of Kirby cucumbers? Yes, but Kirby cucumbers hold their crunch better for pickling.
- Do I need to boil the brine? No, this quick recipe uses cold brine — just mix and pour.
- Can I make these pickles spicy? Absolutely! Add red pepper flakes or fresh jalapeño slices to the jar.
- Are these pickles fermented? Not quite — they’re quick pickles using vinegar brine and refrigeration, not traditional fermentation.
Pin This Recipe!
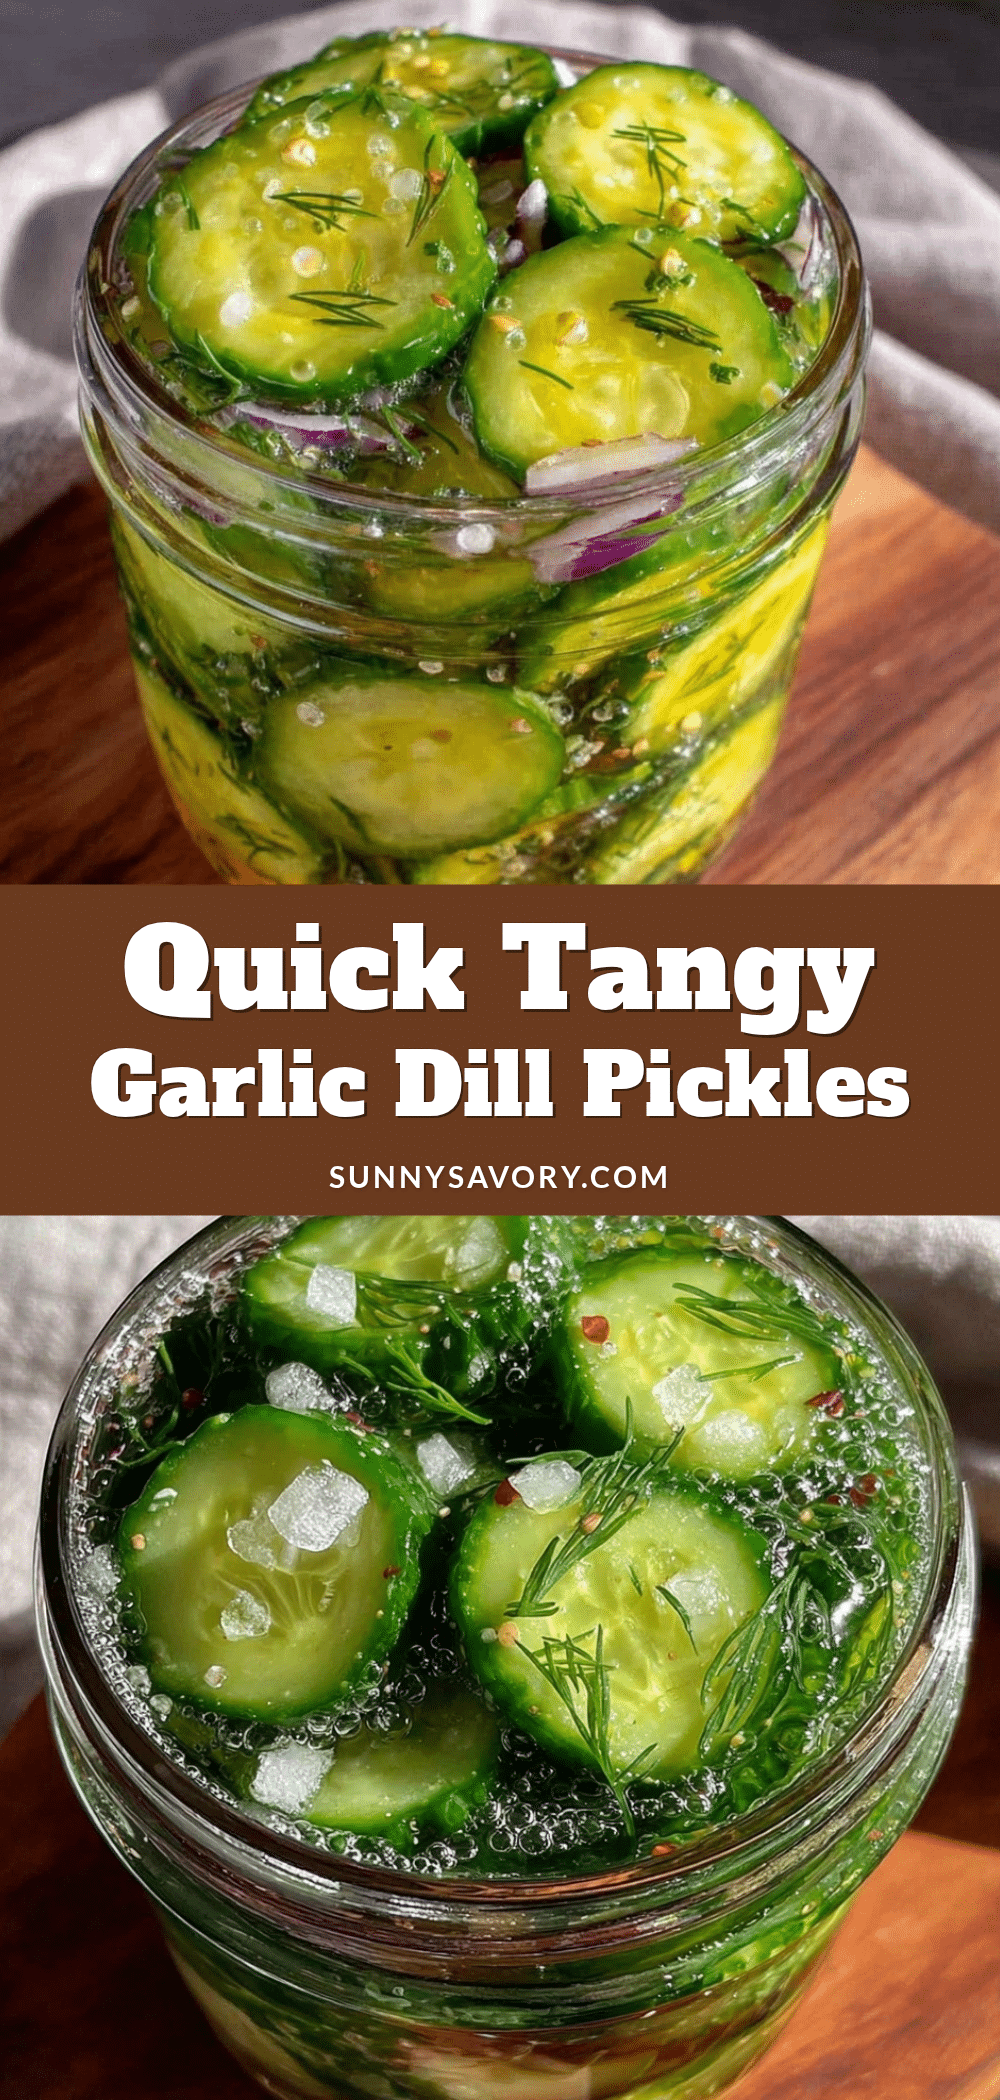
Quick Garlic Dill Refrigerator Pickles
A fast and easy recipe for crunchy, tangy garlic dill pickles ready in just 24 hours without any boiling or canning.
- Prep Time: 10 minutes
- Cook Time: 0 minutes
- Total Time: 24 hours 10 minutes
- Yield: 4 servings 1x
- Category: Side Dish
- Cuisine: American
Ingredients
- 4–5 medium Kirby cucumbers, sliced into spears or rounds
- 3–4 sprigs fresh dill (or 1 tablespoon dried dill)
- 4–5 garlic cloves, peeled and smashed
- 1 cup (240 ml) white vinegar
- 1 cup (240 ml) water
- 1 tablespoon kosher salt
- 1 teaspoon granulated sugar (optional)
- 1 teaspoon whole black peppercorns
- ½ teaspoon red pepper flakes (optional)
Instructions
- Rinse cucumbers under cold water, cut off ends, and slice into ½-inch thick spears or rounds.
- In a mixing bowl, combine white vinegar, water, kosher salt, and sugar. Stir until salt and sugar dissolve completely.
- Place smashed garlic cloves, fresh dill sprigs, black peppercorns, and red pepper flakes into a clean glass jar.
- Pack cucumber slices snugly into the jar, leaving about ½ inch of headspace.
- Pour the brine over cucumbers until fully submerged, pressing down gently to remove air pockets.
- Seal the jar tightly and refrigerate for at least 24 hours to develop flavor.
- After 24 hours, serve chilled. Pickles keep up to two weeks refrigerated.
Notes
If garlic flavor is too strong after 24 hours, rinse pickles briefly before eating to soften the bite. Use fresh cucumbers for best crunch. Do not shake the jar to avoid bruising cucumbers. Refrigerate immediately to prevent spoilage.
Nutrition
- Serving Size: About 1/2 cup pickle
- Calories: 1015
- Sugar: 1
- Sodium: 600
- Carbohydrates: 3
- Fiber: 0.5
Keywords: quick pickles, garlic dill pickles, refrigerator pickles, easy pickling, crunchy pickles, no canning pickles



