Love this? Save it for later!
Share the inspiration with your friends
Introduction
This was supposed to be just a quick batch of regular chocolate chip cookies before school started. I grabbed the M&Ms instead of the chocolate chips, the oven was cranked way too high because I was distracted by a last-minute email, and I was already feeling the pressure of the morning rush. What came out was nothing like the neat little cookies I envisioned — but honestly, it was better.
The edges were soft but chewy, the colors popped in every bite, and the texture was this perfect in-between of cookie and bar. I remember setting the pan down on the cracked kitchen counter, thinking, “Well, that’s a happy mess.” Maybe you’ve been there too, where a kitchen mishap turns into something unexpectedly delicious. It’s funny how mistakes can become your secret weapon in the kitchen.
Since then, these soft-baked chewy M&M cookie bars have become my go-to for back-to-school mornings and after-school snacks. They’re easy to whip up, kid-approved, and honestly, they make those hectic days a little sweeter. Let me tell you — once you try these bars, you’ll keep coming back for the simple joy of that melty M&M surprise and the chewy, soft texture that holds everything together.
Why You’ll Love This Recipe
After countless trials, tweaks, and accidental discoveries, this soft-baked chewy M&M cookie bars recipe stands out for several reasons. I mean, it’s not just a cookie; it’s a bar that manages to be soft, chewy, and colorful, perfect for busy school days.
- Quick & Easy: Comes together in under 30 minutes, ideal for last-minute snack preps or when you realize you forgot the school lunch dessert.
- Simple Ingredients: No fancy or hard-to-find stuff — just pantry staples and those classic M&Ms that everyone loves.
- Perfect for Back-to-School: Great for lunchboxes, after-school treats, or even a little pick-me-up during homework time.
- Crowd-Pleaser: Kids, teens, and adults alike rave about the chewy texture with the sweet crunch of M&Ms.
- Unbelievably Delicious: The balance of soft dough and melty, colorful candies is just next-level comfort food.
What sets this recipe apart? Well, the secret is in the way the dough stays soft and chewy, thanks to the precise balance of brown sugar and a quick bake time, avoiding that dry, crumbly bar mistake I made all too often. Plus, mixing in the M&Ms instead of just chocolate chips adds a playful pop of color and a little crunch that makes every bite exciting.
This isn’t just another cookie bar recipe; it’s the one I trust to get me through chaotic mornings with a smile. Honestly, it reminds me that sometimes, the best recipes come from those imperfect moments — and I hope it becomes your favourite, too.
What Ingredients You Will Need
This recipe uses straightforward, wholesome ingredients to create bold flavors and a satisfying chewy texture without any fuss. Most of these you probably already have in your pantry or fridge.
- All-purpose flour – 2 ½ cups (310 g), the base for structure
- Baking soda – 1 teaspoon, for just enough rise
- Salt – ½ teaspoon, to balance sweetness
- Unsalted butter – 1 cup (227 g), softened (I recommend using Land O’Lakes for creaminess)
- Brown sugar – 1 ½ cups (300 g), packed (adds moisture and chewiness)
- Granulated sugar – ½ cup (100 g), for sweetness and crisp edges
- Large eggs – 2, room temperature (helps bind everything)
- Pure vanilla extract – 2 teaspoons, for flavor depth
- M&Ms – 1 ½ cups (260 g), classic or peanut (feel free to swap for seasonal colors!)
Ingredient notes and substitutions:
- If you want a gluten-free option, swap the all-purpose flour for an equal amount of a gluten-free blend like Bob’s Red Mill 1-to-1.
- For dairy-free, use coconut oil or vegan butter in place of unsalted butter — the texture shifts a bit but stays delicious.
- Feel free to use peanut or mint M&Ms depending on the season or preference.
- Using brown sugar is key for that soft and chewy texture — don’t skip it!
Equipment Needed
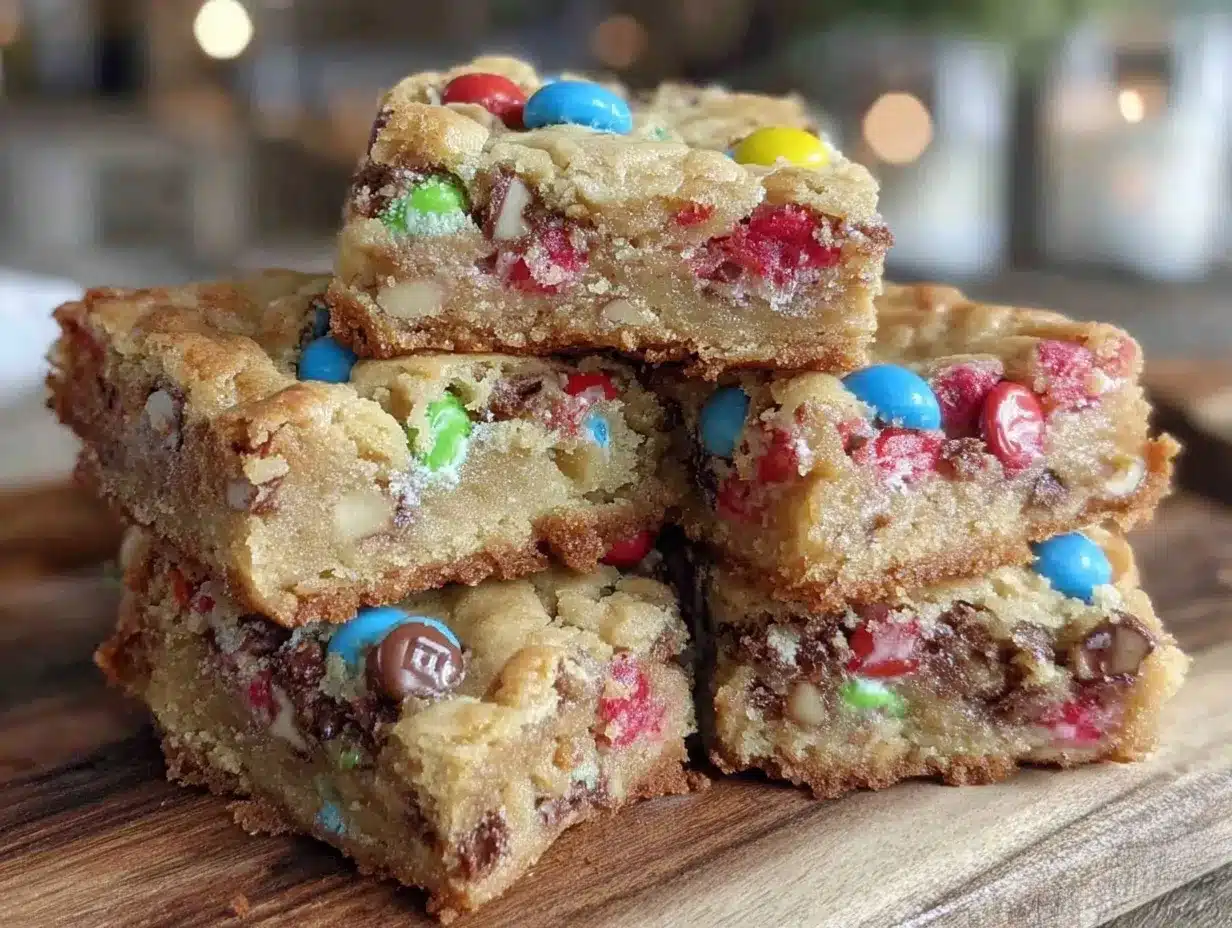
- 9×13 inch baking pan: Essential for shaping those bars evenly — I use a non-stick metal pan for best heat distribution.
- Mixing bowls: One large bowl for wet ingredients and another for dry is helpful.
- Electric mixer or sturdy whisk: Either works, but a hand mixer speeds up creaming the butter and sugars.
- Rubber spatula: Great for folding in the M&Ms without breaking them.
- Measuring cups and spoons: Precision here really counts to get the texture right.
- Parchment paper: For easy pan lining and cleanup (trust me, save yourself the scrubbing).
If you don’t have a 9×13 pan, a similar size glass baking dish can work, but watch your baking time as glass tends to brown faster.
Preparation Method
- Preheat your oven to 350°F (175°C). Line your 9×13 inch pan with parchment paper, leaving some overhang for easy removal later. (5 minutes)
- Mix dry ingredients: In a medium bowl, whisk together 2 ½ cups all-purpose flour, 1 teaspoon baking soda, and ½ teaspoon salt. Set aside. (3 minutes)
- Cream butter and sugars: In a large bowl, beat 1 cup softened unsalted butter with 1 ½ cups brown sugar and ½ cup granulated sugar until light and fluffy — about 3-4 minutes using a hand mixer. This step really sets the base for soft chewiness. (5 minutes)
- Add eggs and vanilla: Beat in 2 large eggs one at a time, then mix in 2 teaspoons vanilla extract until fully incorporated. The batter will look smooth and shiny. (2 minutes)
- Combine wet and dry: Gradually add the dry ingredients to the wet mixture, mixing on low speed or stirring gently with a spatula. Stop as soon as the flour disappears to avoid overmixing, which can toughen the bars. (3 minutes)
- Fold in M&Ms: Gently fold in 1 ½ cups M&Ms, saving a handful to sprinkle on top for a colorful finish. (2 minutes)
- Spread batter: Transfer the dough into the prepared pan, spreading it evenly with a spatula. Sprinkle the reserved M&Ms on top to make the bars extra festive. (3 minutes)
- Bake: Place in the preheated oven and bake for 20-23 minutes. The edges should be set but the center still slightly soft — a toothpick inserted will come out with a few moist crumbs. Don’t overbake! (20-23 minutes)
- Cool: Let the bars cool completely in the pan on a wire rack — this helps them firm up but stay chewy. Use the parchment overhang to lift the whole slab out for easy cutting. (30-40 minutes)
- Slice and serve: Cut into 12-16 bars depending on your preferred size. Store leftovers in an airtight container. (5 minutes)
Quick tip: If you find your bars are browning too fast before the center sets, tent the pan loosely with foil halfway through baking.
Cooking Tips & Techniques
Getting that perfect soft-baked chewy texture can be tricky, but I’ve learned a few things over the years (and plenty of trial and error!).
- Don’t overmix your dough. Once the flour goes in, stir just until combined. Overmixing activates gluten and leads to tougher bars — not what we want here.
- Use brown sugar for moisture. The molasses in brown sugar keeps the bars soft and chewy, so don’t substitute it entirely with white sugar.
- Watch your baking time closely. The bars will seem a bit underdone when you take them out but they firm as they cool. Overbaking dries them out fast.
- Softened butter, not melted. Using softened butter helps trap air during creaming, giving you a tender crumb.
- Chill the dough if your kitchen is warm. If your dough feels too sticky or soft to spread, a quick 15-minute chill helps it firm up without losing chewiness.
- Multitask smartly. While the bars bake, clean your bowls and prep your lunchboxes to save time.
- Customize your M&Ms. I’ve tried peanut, mini, and holiday-themed M&Ms for different looks and flavors — all winners.
Variations & Adaptations
This recipe is pretty forgiving and easy to tweak for different tastes or dietary needs.
- Gluten-Free Version: Substitute all-purpose flour with a 1-to-1 gluten-free baking mix like King Arthur’s. It keeps the chewiness and flavor intact.
- Vegan Adaptation: Use dairy-free margarine or coconut oil instead of butter, and replace eggs with flax eggs (1 tbsp ground flax + 3 tbsp water per egg). The texture changes slightly but stays yummy.
- Flavor Twists: Add a teaspoon of cinnamon or a pinch of sea salt on top before baking for a flavor boost. You can also swap M&Ms for chocolate chunks or peanut butter chips.
- Seasonal: For fall, try adding chopped walnuts and swapping M&Ms for autumn-themed candy pieces or butterscotch chips.
- Smaller Bites: Press the dough into a muffin tin lined with cupcake liners to make individual bars — great for portion control.
I once made these with rainbow sprinkles instead of M&Ms for a birthday party — they disappeared within minutes!
Serving & Storage Suggestions
These soft-baked chewy M&M cookie bars are best served at room temperature when the texture is just right. You can warm them slightly in the microwave for 10-15 seconds if you want that melty candy feel all over again.
They pair wonderfully with a glass of cold milk or a cup of your favorite tea or coffee — perfect for an afternoon pick-me-up or a lunchbox treat. For back-to-school mornings, these bars can be a fun, colorful surprise that gets kids excited about snack time.
To store, keep the bars in an airtight container at room temperature for up to 4 days. They’ll stay soft and chewy. For longer storage, freeze them in a sealed bag or container for up to 3 months. Thaw at room temperature or warm gently before serving.
Flavors actually deepen a bit after a day, so if you can wait — the next day’s bars are often even better!
Nutritional Information & Benefits
Each bar (assuming 12 bars per pan) provides approximately:
| Calories | ~230 kcal |
|---|---|
| Fat | 10g (mostly from butter) |
| Carbohydrates | 32g |
| Protein | 2g |
| Sugar | 18g |
While these bars are definitely a treat, they contain real butter and eggs, so they offer a bit of protein and fat to help satisfy hunger. The M&Ms add fun colors and a bit of chocolate, making them a kid-friendly snack. If you’re mindful of allergens, remember these bars contain gluten, dairy, eggs, and possibly peanuts depending on the M&Ms chosen.
For a more balanced snack, pair one bar with a serving of fruit or a small handful of nuts. From a wellness perspective, homemade treats like these allow you to control ingredients and skip preservatives often found in store-bought snacks.
Conclusion
These soft-baked chewy M&M cookie bars are more than just a quick recipe — they’re a reminder that sometimes the best dishes come from unexpected moments in the kitchen. Whether you’re packing lunches, need a last-minute snack, or just want to treat yourself, these bars hit that sweet spot between easy, delicious, and fun.
Feel free to tweak the M&M colors, add nuts or spices, or even bake them in muffin tins for mini versions. I love this recipe because it’s forgiving, fast, and always brings a smile — especially during those hectic back-to-school days.
If you give these bars a try, I’d love to hear how you make them your own! Drop a comment below, share your twists, or let me know your favorite M&M mix. Happy baking and here’s to sweeter school days ahead!
FAQs
Can I use different types of M&Ms in this recipe?
Yes! Classic, peanut, mini, or even seasonal flavored M&Ms all work well. Just adjust quantities if using larger pieces like peanut M&Ms.
How do I keep the bars soft and chewy?
Don’t overbake, use plenty of brown sugar, and avoid overmixing the dough. Let the bars cool completely before slicing.
Can I make these bars ahead of time?
Absolutely. They store well at room temperature for several days and freeze beautifully for longer storage.
Is there a gluten-free version of this recipe?
Yes, swap the all-purpose flour with a gluten-free 1-to-1 baking blend. The texture will be very similar.
Can I replace butter with oil?
Butter is preferred for flavor and texture, but you can use coconut oil or a vegan butter substitute. Expect a slight difference in chewiness.
By the way, if you like these cookie bars, you might enjoy my crispy garlic chicken recipe for an easy dinner or my classic vanilla cupcakes for another crowd-pleasing treat!
Pin This Recipe!
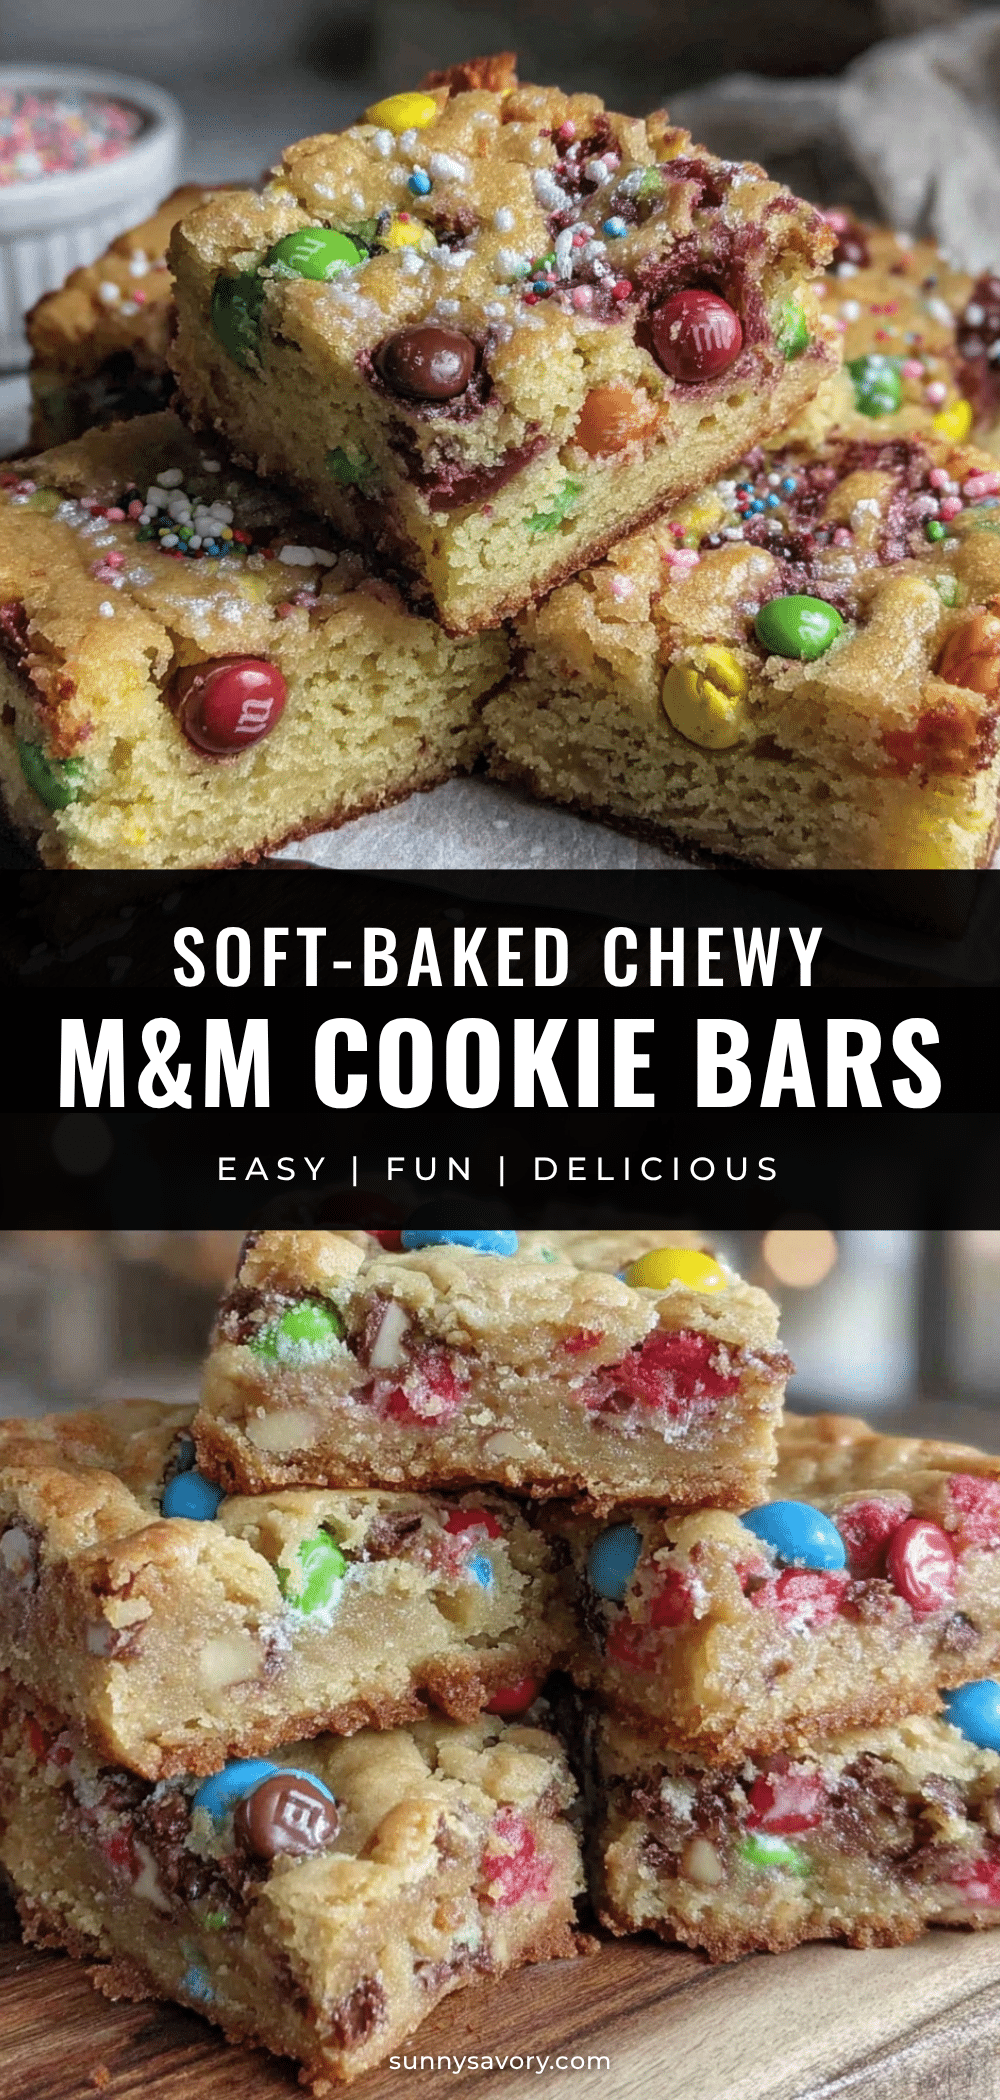
Soft-Baked Chewy M&M Cookie Bars
These soft-baked chewy M&M cookie bars are easy to make, kid-approved, and perfect for back-to-school mornings or after-school snacks. They feature a soft, chewy texture with colorful melty M&Ms in every bite.
- Prep Time: 20 minutes
- Cook Time: 20-23 minutes
- Total Time: 45-50 minutes
- Yield: 12-16 bars 1x
- Category: Dessert
- Cuisine: American
Ingredients
- 2 ½ cups all-purpose flour (310 g)
- 1 teaspoon baking soda
- ½ teaspoon salt
- 1 cup unsalted butter, softened (227 g)
- 1 ½ cups brown sugar, packed (300 g)
- ½ cup granulated sugar (100 g)
- 2 large eggs, room temperature
- 2 teaspoons pure vanilla extract
- 1 ½ cups M&Ms (260 g), classic or peanut
Instructions
- Preheat your oven to 350°F (175°C). Line a 9×13 inch pan with parchment paper, leaving some overhang for easy removal later.
- In a medium bowl, whisk together the flour, baking soda, and salt. Set aside.
- In a large bowl, beat the softened butter with brown sugar and granulated sugar until light and fluffy, about 3-4 minutes using a hand mixer.
- Beat in the eggs one at a time, then mix in the vanilla extract until fully incorporated.
- Gradually add the dry ingredients to the wet mixture, mixing on low speed or stirring gently with a spatula until just combined. Avoid overmixing.
- Gently fold in the M&Ms, saving a handful to sprinkle on top.
- Transfer the dough into the prepared pan and spread evenly with a spatula. Sprinkle the reserved M&Ms on top.
- Bake for 20-23 minutes until edges are set but the center is still slightly soft. A toothpick inserted should come out with a few moist crumbs.
- Let the bars cool completely in the pan on a wire rack. Use the parchment overhang to lift the slab out for easy cutting.
- Cut into 12-16 bars depending on preferred size. Store leftovers in an airtight container.
Notes
Do not overmix the dough to avoid tough bars. Use brown sugar for moisture and chewiness. Watch baking time closely to keep bars soft. If bars brown too fast, tent with foil halfway through baking. Soften butter, do not melt. Chill dough for 15 minutes if too sticky to spread.
Nutrition
- Serving Size: 1 bar (assuming 12 b
- Calories: 230
- Sugar: 18
- Fat: 10
- Carbohydrates: 32
- Protein: 2
Keywords: M&M cookie bars, soft baked cookie bars, chewy cookie bars, back-to-school snacks, easy cookie bars, kid-friendly dessert