Love this? Save it for later!
Share the inspiration with your friends
The neighborhood Halloween party was in six hours and I’d completely forgotten. Everyone else would be bringing those elaborate, multi-tiered cakes that looked like they came out of a bakery window. Pinterest-perfect mummies and haunted houses made from scratch. I had a half-empty bag of flour, a carton of buttermilk that was about to expire, and the dregs of a cocoa powder container. Honestly, I almost just grabbed a bag of chips on the way. But then I remembered this one-bowl trick I’d been meaning to try. I threw everything into a single mixing bowl, praying to the baking gods, and hoped for the best. The cupcakes came out of the oven looking deeply, mysteriously black—like little velvet puddles of midnight. I frosted them in a panic with a quick buttercream and tossed on some sprinkles. At the party, people kept asking where I’d bought them. When I said I made them in one bowl that afternoon, someone actually laughed, thinking I was joking. Let me tell you, that accidental victory tasted sweeter than any elaborate recipe ever could. Maybe you’ve been there, scrambling at the last minute, and somehow stumbling into something that just works. That’s this recipe.
Why You’ll Love This Recipe
This isn’t just another cupcake recipe. After testing this black velvet base at least a dozen times, I can tell you it’s the one that finally clicked. I’m no professional baker, but I’ve learned a few things from my kitchen disasters, and this recipe is the result of all that trial and error.
- Quick & Easy: Comes together in under 45 minutes, from bowl to frosting. Perfect for those last-minute Halloween cravings.
- Simple Ingredients: No fancy grocery trips needed. You likely have everything already—flour, cocoa, buttermilk, oil, and a bit of food coloring.
- Perfect for Halloween: The deep black color is dramatic and spooky, but the flavor is pure comfort. It’s the best of both worlds.
- Crowd-Pleaser: These get rave reviews from kids and adults alike. The texture is incredibly moist and tender.
- Unbelievably Delicious: The combination of rich cocoa and tangy buttermilk creates a flavor that’s next-level comfort food.
What makes this recipe different from the rest? It’s the one-bowl method. No separate bowls for dry and wet ingredients, no fussing with creaming butter and sugar. Just dump, stir, and bake. It’s also the perfect balance of black color without tasting artificial—the cocoa does the heavy lifting. This isn’t just another version; it’s your best version, especially when you’re short on time.
This recipe is the kind that makes you close your eyes after the first bite. It’s comfort food reimagined—faster, easier, but with the same soul-soothing satisfaction. Perfect for impressing guests without stress, or turning a simple evening into something memorable.
What Ingredients You Will Need
This recipe uses simple, wholesome ingredients to deliver bold flavor and satisfying texture without the fuss. Most of these are pantry staples, so you can whip these up anytime.
- All-purpose flour, 1 ½ cups (190g) – The base of our cupcake. I use Gold Medal or King Arthur for consistent results.
- Granulated sugar, 1 cup (200g) – Adds sweetness and helps with a tender crumb.
- Unsweetened cocoa powder, ¼ cup (25g) – Use a good quality brand like Hershey’s or Ghirardelli. This gives the cupcakes their deep chocolate flavor.
- Baking soda, 1 teaspoon – Helps the cupcakes rise and creates a light texture.
- Salt, ½ teaspoon – Balances the sweetness and enhances the chocolate flavor.
- Vegetable oil, ½ cup (120ml) – Keeps the cupcakes incredibly moist. You can also use canola or melted coconut oil.
- Buttermilk, 1 cup (240ml) – This is the secret to the tender velvet texture. The acidity reacts with the baking soda for a soft crumb. If you don’t have buttermilk, add 1 tablespoon of lemon juice or vinegar to regular milk and let it sit for 5 minutes.
- Large eggs, 2, room temperature – They bind everything together. Let them sit out for 30 minutes for best results.
- Vanilla extract, 2 teaspoons – Adds warmth and depth to the chocolate flavor.
- Black gel food coloring, 1-2 tablespoons – This is key for that dramatic black color. I recommend Americolor or Wilton gel colors. Liquid food coloring won’t work as well.
- White vinegar, 1 teaspoon – Helps activate the baking soda and keeps the cupcakes light.
For the Frosting:
- Unsalted butter, 1 cup (226g), softened
- Powdered sugar, 3 cups (360g)
- Vanilla extract, 1 teaspoon
- Heavy cream, 2-3 tablespoons (30-45ml) – Or milk, for consistency.
- Black food coloring, a few drops, optional – For a matching black frosting.
Equipment Needed
You don’t need a fancy kitchen for these. Here’s what you’ll need:
- One large mixing bowl – A standard 4-quart bowl works perfectly.
- Whisk – For mixing the batter. A wooden spoon works too.
- 12-cup muffin tin – Standard size.
- Paper cupcake liners – Use black or orange for a festive touch.
- Measuring cups and spoons – For accuracy.
- Cooling rack – Helps the cupcakes cool evenly.
- Electric mixer – For the frosting. A hand mixer or stand mixer works. You can also whisk by hand, but it takes longer.
- Piping bag or zip-top bag – For frosting. A zip-top bag with the corner snipped off works in a pinch.
I’ve used cheap muffin tins that warped in the oven. Invest in a sturdy one—it makes a difference. And honestly, a good whisk is your best friend here.
Preparation Method
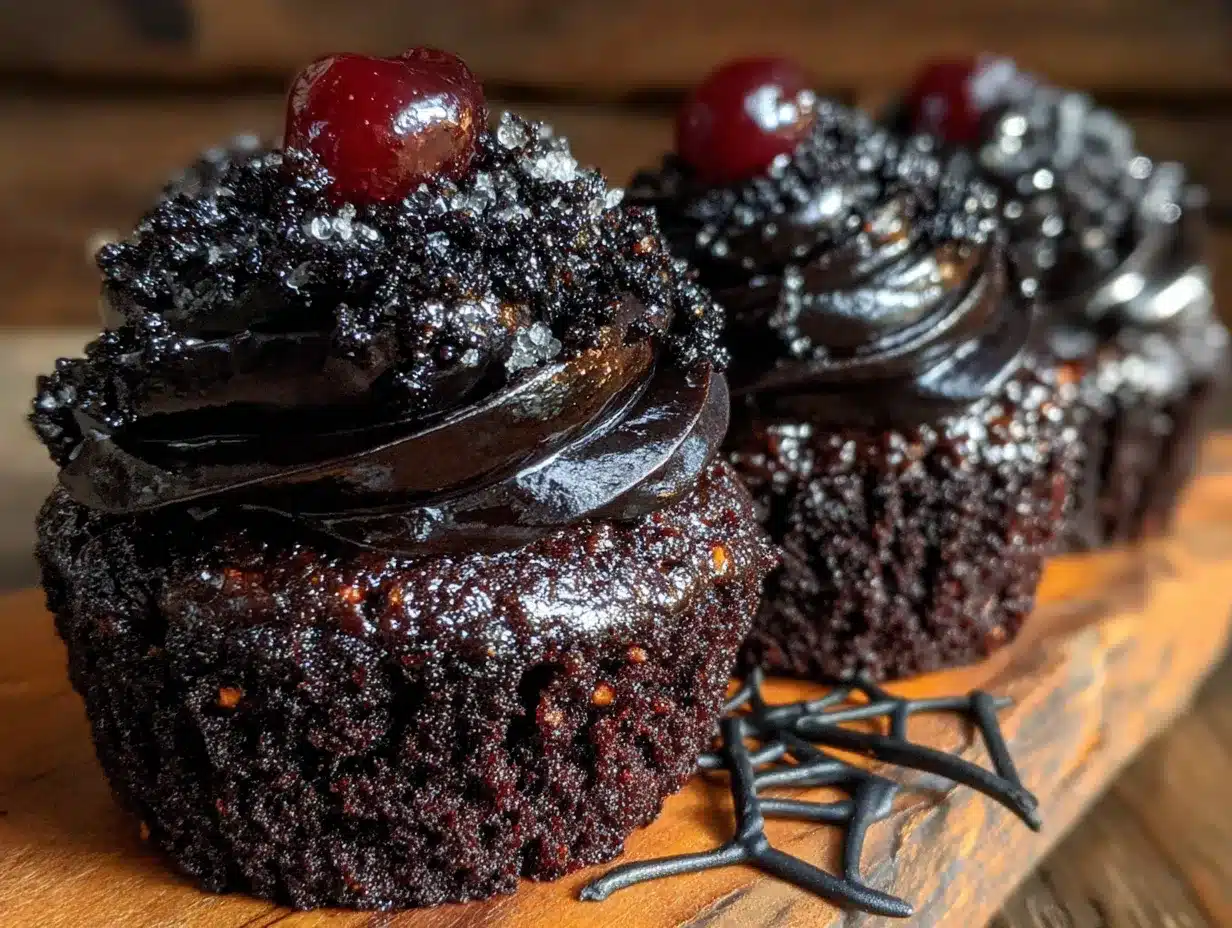
Let’s get baking! This is so simple, you’ll wonder why you ever used multiple bowls.
- Preheat your oven to 350°F (175°C). Line your muffin tin with 12 paper liners. This is a non-negotiable step—don’t skip it.
- In your one large mixing bowl, whisk together the dry ingredients: flour, sugar, cocoa powder, baking soda, and salt. Make sure there are no lumps. The cocoa might clump, so break them up with your whisk.
- Add the wet ingredients directly to the dry ingredients: vegetable oil, buttermilk, eggs, vanilla extract, and white vinegar. Whisk gently until just combined. Do not overmix! A few small lumps are okay. Overmixing will make the cupcakes tough.
- Add the black gel food coloring. Start with 1 tablespoon and whisk it in. The batter will look dark gray. Add more until you reach a deep, inky black. I usually use about 1 ½ tablespoons. The color will darken slightly as the cupcakes bake.
- Fill the cupcake liners about ⅔ full. I use a cookie scoop for even portions. You should get exactly 12 cupcakes.
- Bake for 18-22 minutes. The tops should spring back when lightly touched, and a toothpick inserted into the center should come out with a few moist crumbs. My oven runs hot, so I check at 18 minutes.
- Cool in the pan for 5 minutes. Then transfer the cupcakes to a wire rack to cool completely. Don’t skip this step—frosting warm cupcakes is a disaster.
- While the cupcakes cool, make the frosting. In a clean bowl, beat the softened butter with an electric mixer until creamy, about 2 minutes. Gradually add the powdered sugar, one cup at a time, beating on low speed. Add the vanilla extract and 2 tablespoons of heavy cream. Beat on medium-high for 3-4 minutes until light and fluffy. If it’s too thick, add more cream a teaspoon at a time. If you want black frosting, add a few drops of black gel color and mix well.
- Frost the cooled cupcakes. Pipe or spread the frosting generously. Top with Halloween sprinkles, candy eyes, or a drizzle of white chocolate for a spider web effect.
Cooking Tips & Techniques
I’ve made a lot of mistakes with these cupcakes so you don’t have to. Here’s what I’ve learned:
- Don’t overmix the batter. I once whisked it vigorously for 2 minutes, thinking I was being thorough. The cupcakes came out dense and tough. Mix until the flour just disappears—a few lumps are your friend.
- Room temperature ingredients matter. Cold eggs and buttermilk won’t emulsify properly. I’ve forgotten to take them out of the fridge and ended up with a slightly curdled batter. It still worked, but the texture wasn’t as tender. Set them out 30 minutes ahead.
- Use gel food coloring, not liquid. Liquid coloring will throw off the liquid balance and make the batter too thin. I learned this the hard way when my first batch turned out like flat, gray pancakes. Gel is concentrated and won’t affect the texture.
- Check your oven temperature. An oven thermometer is a cheap investment. My oven runs 25°F hot, so I set it to 325°F for perfect results.
- Let them cool completely. I once frosted a slightly warm cupcake and watched the buttercream slide right off. Patience is key.
- For a deeper black color, let the batter rest for 10 minutes. The cocoa and food coloring need time to develop. The color will deepen as it sits.
Variations & Adaptations
This recipe is a great base for creativity. Here are some ways to make it your own:
- Gluten-Free Version: Substitute the all-purpose flour with a 1:1 gluten-free baking blend. I’ve used Bob’s Red Mill with great results. Add ¼ teaspoon of xanthan gum if your blend doesn’t include it.
- Vegan Adaptation: Use flax eggs (2 tablespoons ground flaxseed mixed with 6 tablespoons water), replace buttermilk with almond milk mixed with 1 tablespoon lemon juice, and use coconut oil instead of butter. The texture will be slightly denser but still delicious.
- Spooky Spider Web Design: After frosting, pipe concentric circles of white chocolate or white frosting on top. Drag a toothpick from the center outward to create a web pattern. It looks impressive but takes 30 seconds.
- Bloody Drip Effect: Drizzle red candy melts or strawberry syrup over the black frosting for a gory, Halloween-perfect look. My kids went crazy for this version.
- Mint Chocolate Twist: Add 1 teaspoon of peppermint extract to the batter instead of vanilla. It gives a cool, refreshing contrast to the rich chocolate.
- Gluten-Free Option: I’ve tested this with almond flour, but it didn’t work well—too dense. Stick with a gluten-free all-purpose blend for best results.
Serving & Storage Suggestions
These cupcakes are best served at room temperature. The texture is soft and the frosting is perfectly creamy. For a dramatic Halloween presentation, arrange them on a black cake stand or a wooden board with fake spider webs and plastic spiders scattered around.
Complementary Pairings: Serve with a glass of cold milk, a hot cup of coffee, or a scoop of vanilla ice cream. The contrast of the dark, rich cupcake with something cold and creamy is heavenly.
Storage: Store unfrosted cupcakes in an airtight container at room temperature for up to 3 days. Frosted cupcakes can be stored in the refrigerator for up to 5 days. Let them come to room temperature before serving for the best texture.
Freezing: These freeze beautifully. Wrap unfrosted cupcakes individually in plastic wrap, then place them in a freezer bag. They’ll keep for up to 3 months. Thaw at room temperature, then frost as usual. I always keep a stash in the freezer for unexpected guests.
Reheating: If you want that fresh-baked warmth, microwave an unfrosted cupcake for 10 seconds. It’s like a little hug in a wrapper.
Flavor Development: Honestly, these cupcakes taste even better the next day. The flavors meld together and the texture becomes even more moist. So feel free to bake them a day ahead.
Nutritional Information & Benefits
Let’s be honest—these are a treat, not a health food. But here’s the breakdown per cupcake (with frosting):
- Calories: Approximately 380
- Fat: 18g
- Carbohydrates: 52g
- Protein: 4g
- Sugar: 38g
Health Benefits: The cocoa powder is rich in antioxidants, and buttermilk provides some calcium and probiotics. The vegetable oil offers healthy unsaturated fats. But let’s face it—you’re eating these for the joy, not the nutrients. And that’s okay. A little indulgence now and then is good for the soul.
Dietary Considerations: This recipe contains wheat, dairy, and eggs. For a gluten-free or vegan option, see the variations section above. The black food coloring is typically vegan and allergen-free.
Personal Note: I believe in balance. These cupcakes are my go-to for celebrations, and I don’t feel guilty about it. Life is too short for bad desserts.
Conclusion
These Cozy One-Bowl Black Velvet Halloween Cupcakes are more than just a recipe—they’re a lifesaver for the busy, the forgetful, and the last-minute planners (like me). They prove that you don’t need hours in the kitchen or a dozen bowls to create something truly special. The deep black color, the tender crumb, the rich chocolate flavor—it all comes together in one bowl, with minimal fuss and maximum impact.
I love this recipe because it reminds me that perfection isn’t about having everything planned out. Sometimes the best things come from a little panic and a lot of hope. So go ahead, customize them, make a mess, and enjoy every bite. Whether you’re hosting a Halloween party or just want a cozy treat on a chilly evening, these cupcakes deliver.
I’d love to hear how yours turn out! Leave a comment below and share your favorite Halloween baking story. Did you make any fun variations? Tag me in your photos—I can’t wait to see your spooky creations. Happy baking, friends!
Frequently Asked Questions
Can I use regular food coloring instead of gel?
I don’t recommend it. Liquid food coloring will thin out the batter and you’ll need a lot to get a true black color, which can affect the taste. Gel food coloring is concentrated and works much better. You can find it at most grocery stores or online.
Why did my cupcakes turn out gray instead of black?
This usually happens when you don’t use enough food coloring or if you’re using a weak cocoa powder. Make sure you’re using a good quality unsweetened cocoa and add at least 1 tablespoon of black gel color. Letting the batter rest for 10 minutes before baking also helps deepen the color.
Can I make these cupcakes ahead of time?
Absolutely! Bake the cupcakes a day ahead and store them in an airtight container at room temperature. Frost them the day you plan to serve them. They actually taste better the next day as the flavors meld together.
How do I get the frosting to be perfectly black?
Start with a white buttercream base. Add black gel food coloring a few drops at a time and mix well. The color will develop over 5-10 minutes as it sits. If it looks gray, add more coloring. A tiny drop of purple gel color can also help neutralize any brown tones.
Can I make this recipe into a cake?
Yes! Pour the batter into two greased 8-inch round cake pans. Bake at 350°F (175°C) for 25-30 minutes, or until a toothpick comes out clean. The baking time will be longer. You’ll need about 1 ½ times the frosting recipe for a layered cake.
Pin This Recipe!
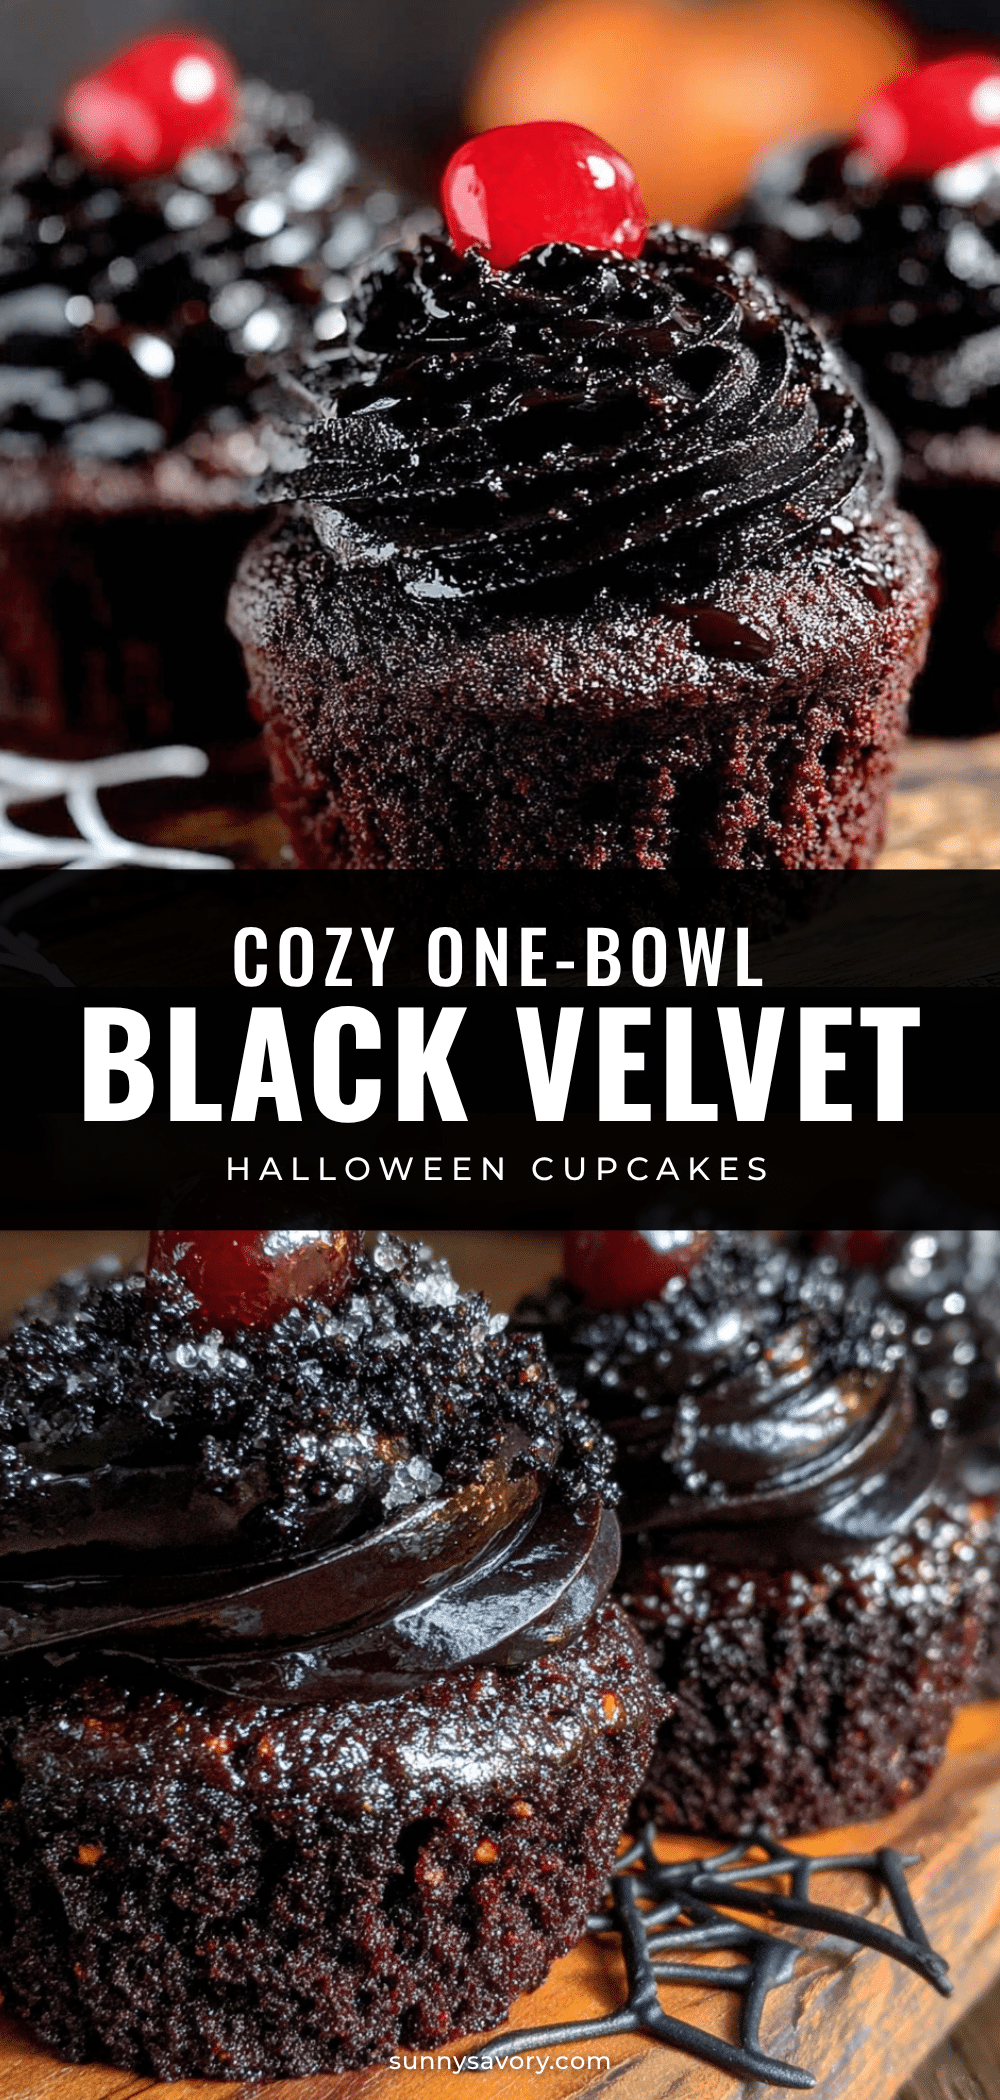
Easy Black Velvet Halloween Cupcakes: One-Bowl Recipe
Deeply black, moist, and tender one-bowl black velvet cupcakes with a rich chocolate flavor, perfect for last-minute Halloween treats. This easy recipe comes together in under 45 minutes with simple ingredients.
- Prep Time: 15 minutes
- Cook Time: 20 minutes
- Total Time: 35 minutes
- Yield: 12 cupcakes 1x
- Category: Dessert
- Cuisine: American
Ingredients
- 1 ½ cups (190g) all-purpose flour
- 1 cup (200g) granulated sugar
- ¼ cup (25g) unsweetened cocoa powder
- 1 teaspoon baking soda
- ½ teaspoon salt
- ½ cup (120ml) vegetable oil
- 1 cup (240ml) buttermilk
- 2 large eggs, room temperature
- 2 teaspoons vanilla extract
- 1–2 tablespoons black gel food coloring
- 1 teaspoon white vinegar
- For the Frosting:
- 1 cup (226g) unsalted butter, softened
- 3 cups (360g) powdered sugar
- 1 teaspoon vanilla extract
- 2–3 tablespoons (30-45ml) heavy cream
- A few drops black food coloring (optional)
Instructions
- Preheat your oven to 350°F (175°C). Line a 12-cup muffin tin with paper liners.
- In a large mixing bowl, whisk together the dry ingredients: flour, sugar, cocoa powder, baking soda, and salt until no lumps remain.
- Add the wet ingredients directly to the dry ingredients: vegetable oil, buttermilk, eggs, vanilla extract, and white vinegar. Whisk gently until just combined; do not overmix. A few small lumps are okay.
- Add the black gel food coloring, starting with 1 tablespoon, and whisk until the batter is a deep, inky black. Add more if needed (about 1 ½ tablespoons total).
- Fill the cupcake liners about ⅔ full. Bake for 18-22 minutes, until the tops spring back when lightly touched and a toothpick inserted into the center comes out with a few moist crumbs.
- Cool in the pan for 5 minutes, then transfer to a wire rack to cool completely.
- While the cupcakes cool, make the frosting: In a clean bowl, beat the softened butter with an electric mixer until creamy, about 2 minutes. Gradually add the powdered sugar, one cup at a time, beating on low speed. Add the vanilla extract and 2 tablespoons of heavy cream. Beat on medium-high for 3-4 minutes until light and fluffy. Add more cream if needed. For black frosting, add a few drops of black gel color and mix well.
- Frost the cooled cupcakes generously. Decorate with Halloween sprinkles, candy eyes, or a white chocolate spider web design as desired.
Notes
Do not overmix the batter; a few lumps are fine. Use gel food coloring, not liquid, for the best black color. Let the batter rest for 10 minutes before baking for a deeper black color. Room temperature ingredients ensure better texture. Cupcakes taste even better the next day. For a gluten-free version, use a 1:1 gluten-free baking blend. For a vegan adaptation, use flax eggs and almond milk with lemon juice.
Nutrition
- Serving Size: 1 cupcake
- Calories: 380
- Sugar: 38
- Sodium: 280
- Fat: 18
- Saturated Fat: 8
- Carbohydrates: 52
- Fiber: 2
- Protein: 4
Keywords: Halloween cupcakes, black velvet cupcakes, one-bowl cupcakes, easy Halloween dessert, chocolate cupcakes, black cupcakes, last-minute Halloween treat



