Love this? Save it for later!
Share the inspiration with your friends
Prep Time: 20 minutes | Cook Time: 45 minutes | Total Time: 1 hour 5 minutes | Servings: 8-10
Introduction
My neighbor, a guy named Mark who I’d only ever seen grilling steaks, asked why I couldn’t just use cornbread instead of regular bread for my stuffing. I started to explain why that wouldn’t work—cornbread is too crumbly, too sweet, it would turn to mush. Then I stopped. Honestly, I had no real reason except that I’d never done it that way.
I was trying to teach him how to make a gluten-free stuffing for his daughter, who had just been diagnosed with celiac disease. I had my standard recipe ready to go, complete with a specific gluten-free sourdough I’d drive forty minutes to buy. He looked at my carefully cubed bread and said, “But she loves my cornbread. Why can’t we just use that?” The thing is, I’d spent years perfecting my method, and I was a little offended at the suggestion. But I also knew that look—the one that says a parent is trying to hold onto a tradition for their kid.
So, I caved. We made his cornbread (a boxed mix, let’s be honest), let it sit out overnight to get a little stale, and then built the stuffing around it. The result? It was, without question, the best stuffing I’d ever made. It was tender but held its shape, with a subtle sweetness that played perfectly against the savory herbs. Mark just smiled. I learned more that afternoon than I’d taught, and this cozy gluten-free Thanksgiving herb stuffing was born from that moment of humility. Maybe you’ve been there—stubborn about a recipe until someone shows you a better way. This is that recipe.
Why You’ll Love This Recipe
This isn’t just another stuffing recipe. It’s the one that will make everyone at your Thanksgiving table forget it’s gluten-free. Here is why it works so well:
- Unbelievably Easy: No need to hunt down specialty bread. A simple homemade or boxed gluten-free cornbread does the trick, and the rest is mostly chopping and mixing.
- Simple, Whole Ingredients: You likely already have most of these in your pantry. No weird gums or starches, just real food that tastes like the holidays.
- Perfect for Thanksgiving: It’s designed to be the comforting, nostalgic side dish that ties the whole meal together, without anyone feeling left out.
- Crowd-Pleaser: I’ve served this to gluten-free and gluten-eating folks alike, and the pan is always scraped clean. The texture is that good.
- Deeply Comforting: The aroma of sage, thyme, and celery filling your kitchen is pure coziness. It’s the hug you need on a cold November day.
What makes this recipe different is the cornbread base. It provides a softer, more tender crumb than traditional bread cubes, and it absorbs the broth beautifully without turning into paste. The secret is letting the cornbread dry out just enough—it gives you that perfect balance of moist center and slightly crisp edges. This is comfort food reimagined for everyone, with the same soul-soothing satisfaction you remember from childhood Thanksgivings.
What Ingredients You Will Need
This recipe relies on simple, wholesome ingredients to deliver that classic, savory flavor. The cornbread is the star, but the supporting cast of aromatics and herbs is what makes it sing.
For the Cornbread Base
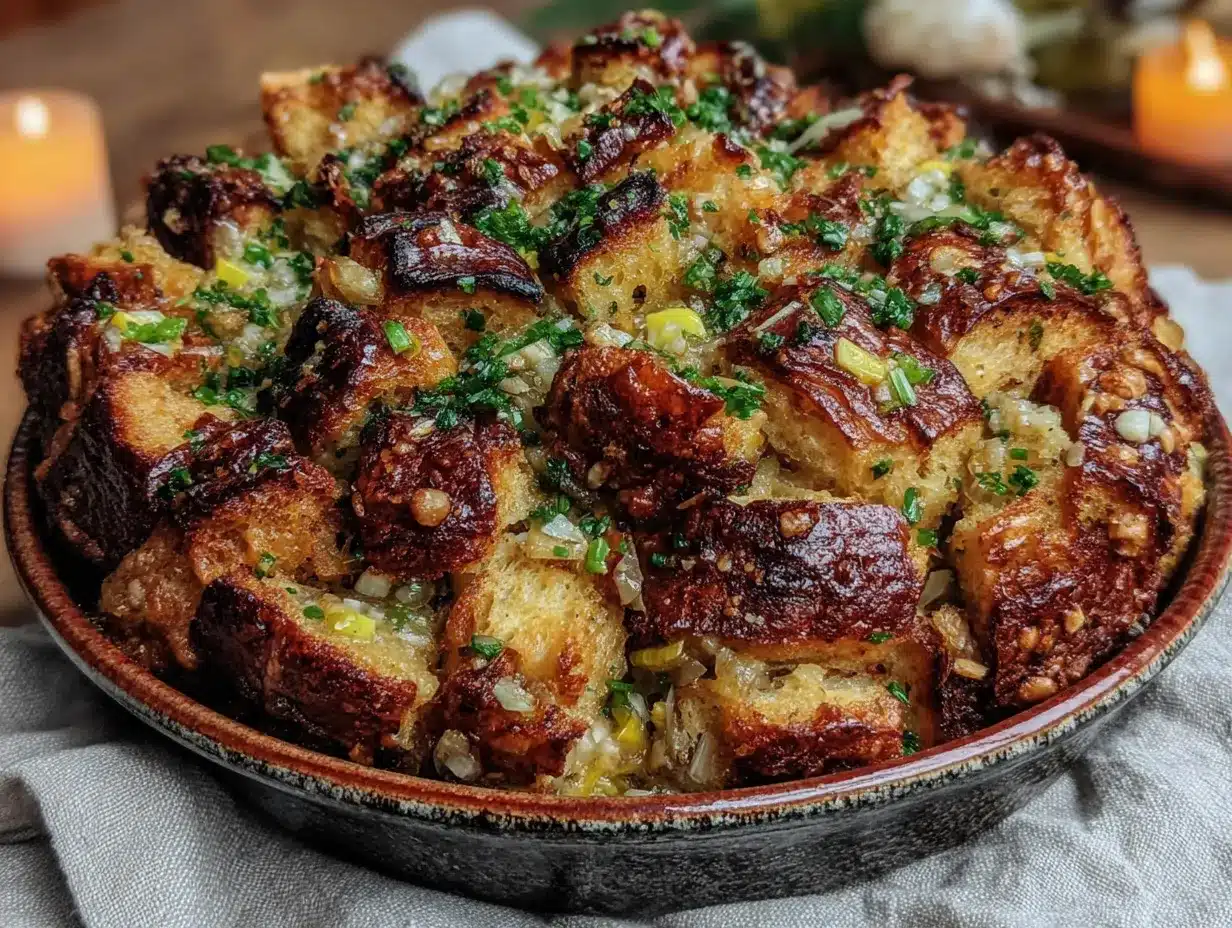
- Gluten-free cornbread mix: 1 (15-ounce) box (I prefer Bob’s Red Mill or Krusteaz gluten-free). You can also use a homemade recipe, but a good mix is perfectly fine.
- Eggs: 2 large (helps bind the cornbread and adds richness)
- Milk: 1 1/3 cups (dairy or unsweetened almond milk both work)
- Butter or oil: 4 tablespoons, melted (for the cornbread batter)
For the Stuffing
- Butter: 1/2 cup (1 stick), plus more for the dish (use vegan butter for dairy-free)
- Yellow onion: 1 large, diced (about 1 1/2 cups)
- Celery stalks: 3-4, diced (about 1 1/2 cups)
- Garlic: 3 cloves, minced
- Fresh sage: 2 tablespoons, finely chopped (adds that essential Thanksgiving flavor)
- Fresh thyme leaves: 1 tablespoon (or 1 teaspoon dried)
- Fresh rosemary: 1 teaspoon, finely chopped (optional, but I love it)
- Low-sodium chicken or vegetable broth: 1 1/2 to 2 cups (start with less, add more as needed)
- Dried cranberries: 1/2 cup (optional, for a sweet pop)
- Chopped pecans or walnuts: 1/2 cup (optional, for crunch)
- Salt: 1 teaspoon
- Black pepper: 1/2 teaspoon
- Fresh parsley: 1/4 cup, chopped (for garnish)
Ingredient Tip: For the best texture, use a cornbread mix that isn’t too sweet. If you’re using a sweet mix, reduce or omit the dried cranberries. You can also swap the pecans for walnuts or leave them out entirely.
Equipment Needed
- 9×13-inch baking dish (or a similar 3-quart casserole dish)
- Large skillet (for sautéing the aromatics)
- Large mixing bowl
- Whisk
- Sharp knife and cutting board
- Measuring cups and spoons
- Aluminum foil
No fancy equipment required. If you don’t have a 9×13 dish, you can use a 10-inch cast-iron skillet (which also gives a nice crispy edge). I’ve even used a disposable foil pan in a pinch for a big gathering.
Preparation Method
- Make the cornbread (day before or at least 4 hours ahead): Prepare the cornbread mix according to the package directions. Bake it in a greased 8×8 or 9×9 pan. Let it cool completely. Once cool, cut it into 1/2-inch cubes and spread them on a baking sheet. Leave them out, uncovered, overnight or for at least 4 hours to dry out. This is the crucial step for perfect texture—do not skip it.
- Preheat and prep: Preheat your oven to 375°F (190°C). Grease your 9×13 baking dish with butter or non-stick spray.
- Sauté the aromatics: In a large skillet over medium heat, melt the 1/2 cup of butter. Add the diced onion and celery. Cook, stirring occasionally, for 8-10 minutes, until the vegetables are soft and translucent. They should smell sweet, not burnt. Add the minced garlic and cook for one more minute until fragrant.
- Bloom the herbs: Stir in the fresh sage, thyme, and rosemary (if using). Cook for 30-60 seconds until you can really smell the herbs. This releases their oils and makes the flavor much deeper than just adding them dry.
- Combine the base: Place the dried cornbread cubes in your large mixing bowl. Pour the sautéed vegetable and herb mixture over the top. Toss gently with a spatula to coat the cubes evenly.
- Add the broth: Pour 1 1/2 cups of the broth over the mixture. Add the salt and pepper. Toss again. The cubes should be moist but not swimming. If they look dry, add the remaining 1/2 cup of broth. The mixture should hold together when you squeeze a handful, but not be soggy.
- Fold in extras (optional): If using dried cranberries and/or pecans, fold them in now. They add lovely bursts of sweetness and crunch.
- Transfer to baking dish: Spoon the mixture into your prepared baking dish and spread it into an even layer. Do not pack it down—you want it fluffy so the top can get crispy.
- Bake: Cover the dish with foil and bake for 25 minutes. Remove the foil and bake for another 15-20 minutes, until the top is golden brown and the edges are slightly crispy. The center should be hot and steaming.
- Rest and garnish: Let the stuffing sit for 5 minutes before serving. This allows it to set up a bit. Sprinkle with fresh parsley just before serving.
Sensory Cue: When it’s done, the top should be a beautiful golden-brown, and you should hear a slight sizzle from the edges. The smell of sage and butter will fill your entire house.
Cooking Tips & Techniques
I’ve made this recipe more times than I can count, and I’ve learned a few things the hard way. Here are my best tips for success.
- Dry cornbread is not optional. If you try to use fresh, moist cornbread, your stuffing will be a dense, gummy mess. The drying process creates the structure needed to absorb the broth without falling apart. I’ve made the mistake of rushing this step, and I regretted it.
- Don’t over-mix. Once you add the broth, use a gentle hand. You want the cubes to stay intact. Over-mixing will break them down and give you a pasty texture.
- Taste for salt before baking. The cornbread and broth already have salt, so you might not need much. Take a tiny taste of the mixture before it goes in the oven. It should be well-seasoned but not salty.
- Let it rest. I know it’s hard to wait when the whole house smells amazing, but letting the stuffing sit for 5-10 minutes after baking allows the steam to redistribute and the texture to settle. It will slice and serve much cleaner.
- Make it ahead. You can assemble the entire dish (steps 1-7) up to 24 hours in advance. Just cover and refrigerate. Add about 10-15 minutes to the covered baking time since you’re starting from cold.
Variations & Adaptations
This recipe is a fantastic base, but it’s also incredibly flexible. Here are some ways to make it your own.
- Classic Sausage Stuffing: Brown 1 pound of gluten-free pork or turkey sausage in the skillet before sautéing the onion and celery. Remove the sausage, crumble it, and add it back in with the broth. This makes it a heartier, almost main-dish stuffing.
- Mushroom & Leek Version: Swap the celery for 2 cups of sliced cremini mushrooms and 1 large leek (white and light green parts only, cleaned well). Sauté them with the onion for an earthy, umami-rich twist.
- Apple & Walnut: Add 1 diced Granny Smith apple to the skillet with the onion and celery. The tartness of the apple pairs beautifully with the savory herbs and the crunch of the walnuts.
- Dairy-Free Option: Use a high-quality vegan butter (like Miyoko’s or Earth Balance) and vegetable broth. The texture remains exactly the same.
- Herb Swap: If you don’t have fresh herbs, use 1 teaspoon each of dried sage, thyme, and rosemary. Add them with the garlic.
I personally love the sausage version for a non-traditional Thanksgiving, or even just a cozy Sunday dinner. It’s a meal in itself.
Serving & Storage Suggestions
This stuffing is best served hot, straight from the oven. The contrast between the crispy top and the tender, moist interior is what makes it so special.
- Serving: Spoon it onto plates alongside your turkey, mashed potatoes, and gravy. It also pairs wonderfully with a simple cranberry sauce to cut through the richness.
- Storage: Leftovers can be stored in an airtight container in the refrigerator for up to 4 days. The flavors actually meld and get even better overnight.
- Reheating: The best way to reheat is in a 350°F oven for about 15 minutes, covered with foil to prevent drying out. You can also microwave individual portions, but the top will lose its crispiness.
- Freezing: This stuffing freezes beautifully. Let it cool completely, then transfer to a freezer-safe container or bag. It will keep for up to 3 months. Thaw in the refrigerator overnight and reheat in the oven as directed.
Nutritional Information & Benefits
This recipe is comfort food, but it also has some surprising nutritional perks. Here is an estimated breakdown per serving (based on 10 servings, excluding optional add-ins):
- Calories: 280
- Fat: 16g
- Carbohydrates: 30g
- Fiber: 2g
- Protein: 5g
- Sodium: 480mg
The cornbread provides a good source of complex carbohydrates for energy, while the celery and onions add fiber and antioxidants like quercetin. The fresh herbs are packed with anti-inflammatory compounds. If you use vegetable broth, this dish is also vegetarian-friendly. It is naturally nut-free if you omit the pecans, and can easily be made dairy-free. It’s a side dish you can feel good about piling onto your plate.
Conclusion
This cozy gluten-free Thanksgiving herb stuffing is more than just a recipe—it’s a reminder that the best traditions are sometimes the ones we stumble into. I still make Mark’s cornbread version every year, and I think of him and his daughter every single time. It’s proof that being open to a new idea can lead to something truly special.
I hope this stuffing becomes a new tradition at your table, whether you’re serving a crowd or just making a small batch for yourself. Don’t be afraid to play with the add-ins or swap the herbs based on what you have. The most important ingredient is the love you put into it.
If you make this recipe, I’d love to hear about it. Leave a comment below and tell me how it turned out, or share your own twist on it. Happy Thanksgiving, friend.
Frequently Asked Questions
Can I use a different type of gluten-free bread instead of cornbread?
Absolutely. While cornbread gives this stuffing its signature texture and flavor, you can use any sturdy gluten-free bread, like a rustic sourdough or a crusty loaf. Just cube it and dry it out the same way. The cooking time may vary slightly, so keep an eye on it.
My cornbread is already made and it’s not dry. Can I speed up the drying process?
Yes! Cut the cornbread into cubes and spread them on a baking sheet. Bake them in a 300°F (150°C) oven for 15-20 minutes, stirring halfway through, until they are dry and slightly toasted. Let them cool completely before using. This is a great shortcut if you’re short on time.
Can I make this stuffing completely vegan?
Yes, it’s easy. Use a vegan butter substitute (like Miyoko’s or Earth Balance) and vegetable broth. Also, check your cornbread mix to ensure it’s vegan (some contain buttermilk or eggs). Most boxed mixes are, but it’s always good to double-check.
Why did my stuffing turn out mushy?
The most common reason is that the cornbread wasn’t dried out enough. If the cubes are still moist when you add the broth, they can’t absorb it properly and will turn to mush. Another culprit is adding too much broth. Start with the smaller amount and add more only if the mixture looks dry.
Can I add eggs to this stuffing to make it more like a casserole?
You can, but it will change the texture to be more dense and custard-like, similar to a traditional bread pudding stuffing. If you want to try it, whisk 2 large eggs with 1 cup of the broth before adding it to the cornbread mixture. Proceed with the recipe as directed. It’s delicious, just different.
Pin This Recipe!
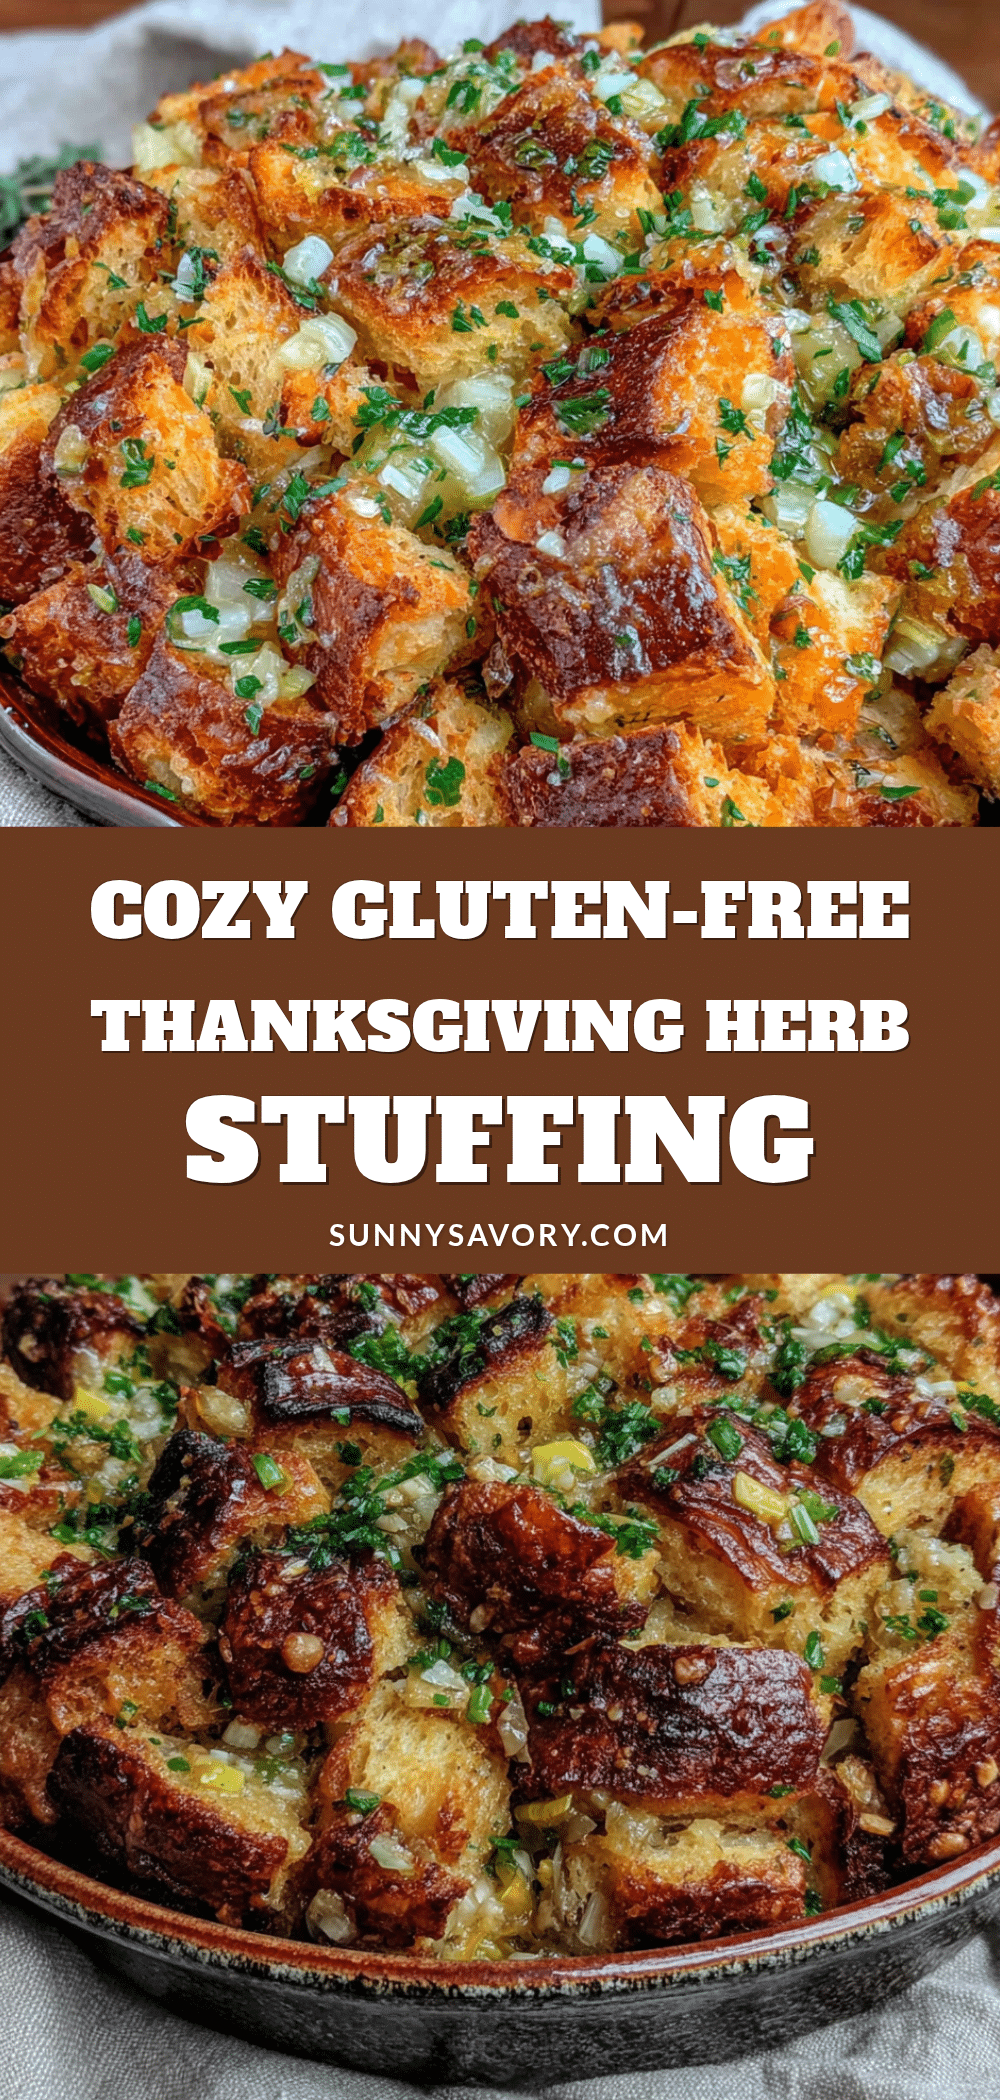
Cozy Gluten-Free Thanksgiving Herb Stuffing Recipe

This gluten-free cornbread stuffing is tender, savory, and perfect for Thanksgiving. Made with simple ingredients and fresh herbs, it’s a crowd-pleaser that everyone will love.
- Prep Time: 20 minutes
- Cook Time: 45 minutes
- Total Time: 1 hour 5 minutes
- Yield: 8-10 servings 1x
- Category: Side Dish
- Cuisine: American
Ingredients
- 1 (15-ounce) box gluten-free cornbread mix (e.g., Bob’s Red Mill or Krusteaz)
- 2 large eggs
- 1 1/3 cups milk (dairy or unsweetened almond milk)
- 4 tablespoons butter or oil, melted (for cornbread)
- 1/2 cup (1 stick) butter, plus more for dish (or vegan butter for dairy-free)
- 1 large yellow onion, diced (about 1 1/2 cups)
- 3–4 celery stalks, diced (about 1 1/2 cups)
- 3 cloves garlic, minced
- 2 tablespoons fresh sage, finely chopped
- 1 tablespoon fresh thyme leaves (or 1 teaspoon dried)
- 1 teaspoon fresh rosemary, finely chopped (optional)
- 1 1/2 to 2 cups low-sodium chicken or vegetable broth
- 1/2 cup dried cranberries (optional)
- 1/2 cup chopped pecans or walnuts (optional)
- 1 teaspoon salt
- 1/2 teaspoon black pepper
- 1/4 cup fresh parsley, chopped (for garnish)
Instructions
- Make the cornbread (day before or at least 4 hours ahead): Prepare the cornbread mix according to package directions. Bake in a greased 8×8 or 9×9 pan. Let cool completely. Cut into 1/2-inch cubes and spread on a baking sheet. Leave out, uncovered, overnight or for at least 4 hours to dry out.
- Preheat oven to 375°F (190°C). Grease a 9×13 baking dish with butter or non-stick spray.
- In a large skillet over medium heat, melt 1/2 cup butter. Add diced onion and celery. Cook, stirring occasionally, for 8-10 minutes until soft and translucent. Add minced garlic and cook for 1 minute until fragrant.
- Stir in fresh sage, thyme, and rosemary (if using). Cook for 30-60 seconds until fragrant.
- Place dried cornbread cubes in a large mixing bowl. Pour sautéed vegetable and herb mixture over the top. Toss gently with a spatula to coat evenly.
- Pour 1 1/2 cups broth over the mixture. Add salt and pepper. Toss again. If dry, add remaining 1/2 cup broth. Mixture should hold together when squeezed but not be soggy.
- If using dried cranberries and/or pecans, fold them in now.
- Spoon mixture into prepared baking dish and spread into an even layer. Do not pack down.
- Cover with foil and bake for 25 minutes. Remove foil and bake for another 15-20 minutes until top is golden brown and edges are slightly crispy.
- Let stuffing rest for 5 minutes before serving. Sprinkle with fresh parsley just before serving.
Notes
For best texture, dry cornbread cubes overnight or at least 4 hours. Do not over-mix. Let stuffing rest after baking. Can be assembled up to 24 hours in advance; add 10-15 minutes to covered baking time if starting from cold.
Nutrition
- Serving Size: 1 serving (based on
- Calories: 280
- Sodium: 480
- Fat: 16
- Carbohydrates: 30
- Fiber: 2
- Protein: 5
Keywords: gluten-free stuffing, Thanksgiving stuffing, cornbread stuffing, herb stuffing, gluten-free Thanksgiving



