Love this? Save it for later!
Share the inspiration with your friends
I was at the hardware store, of all places, waiting for my husband to pick out a new drill bit. It was a Tuesday, and I was already mentally planning dinner, when the woman behind me in line—she must have been in her seventies, with flour dusted on her sweater like she’d just come from a bakery—started talking about Pan de Muerto. She wasn’t talking to me at first, just muttering to herself about how her granddaughter had requested it for the altar this year. I turned around, and she caught my eye. “You make bread?” she asked, pointing at the flour on my own jeans. I laughed and admitted I tried. She nodded once, then spent the next ten minutes telling me exactly how her mother had made it in Mexico City, using a chipped blue bowl and a prayer for the ancestors. I didn’t even get her name, but I got her recipe scribbled on the back of a receipt. Honestly, I think about that woman every time I bake this loaf.
This Homemade Pan de Muerto is the bread I’ve been making ever since. It’s not just a recipe—it’s a tradition that landed in my lap from a stranger. The dough is soft, slightly sweet, and fragrant with orange blossom and anise. It’s the kind of bread that makes your whole kitchen smell like a celebration. And let me tell you, for a home cook feeding a family on a budget, this is a total win. It uses basic pantry ingredients, and the leftovers make the most incredible French toast the next morning. Maybe you’ve been there, staring at a complicated recipe online and thinking, “There’s no way I have time for that.” Trust me, I’ve been there too. But this one is different. It’s forgiving, it’s affordable, and it’s meant to be shared.
The first time I made it, I forgot the anise seed entirely. I didn’t realize until the bread was already in the oven, and I was so frustrated with myself. But you know what? It was still delicious. It just tasted like a really good, fluffy sweet roll. The second time, I added the anise, and that’s when the magic happened. That subtle, licorice-like warmth is what makes it taste like the real thing. It’s the bread that stays with you—not just because of the flavor, but because of the story behind it. I keep making it because it reminds me that good recipes can come from the most unexpected places. And honestly, that’s the kind of cooking I believe in.
Why You’ll Love This Recipe
Let’s be real—there are a lot of bread recipes out there. But this Homemade Pan de Muerto is the one you’ll actually want to make again and again. Here’s why it’s become a staple in my kitchen, especially during the Day of the Dead season.
- Family-Friendly & Budget-Smart: This recipe uses simple, affordable ingredients like flour, butter, eggs, and sugar. No fancy imported stuff needed. It’s designed to feed a crowd without breaking the bank, which is perfect for family gatherings or setting up a beautiful ofrenda.
- Surprisingly Simple Dough: I know yeast breads can be intimidating, but this dough is incredibly forgiving. It’s not a finicky sourdough. It’s a soft, enriched dough that rises beautifully even on a cool day. You don’t need a stand mixer—a bowl and a wooden spoon work just fine.
- Perfect for Day of the Dead (and Beyond): While it’s traditional for Día de Muertos, this bread is so good you’ll want to make it all year round. It’s fantastic for breakfast, an afternoon snack with coffee, or even as a sweet dinner roll.
- Crowd-Pleasing Flavor: The combination of orange zest, a touch of anise, and a sugary topping is irresistible. Kids love the soft, pillowy texture, and adults appreciate the subtle, aromatic flavors. It’s a guaranteed hit at any potluck or family dinner.
- The Leftovers Are Gold: This bread gets even better the next day. It makes the most amazing French toast or bread pudding. Plus, it freezes beautifully, so you can make a double batch and save one for later.
What makes this recipe different from all the others I’ve tried? It’s the technique of blooming the yeast in warm milk with a pinch of sugar, which gives the dough a reliable, strong start. It’s the perfect balance of sweetness—not too sugary, just enough to feel like a treat. And it’s the fact that it was shared by a kind stranger in a hardware store, which means it’s a real, home-kitchen-tested recipe, not something from a fancy test kitchen. This isn’t just another version of Pan de Muerto—it’s the best version for a busy family.
This recipe isn’t just good—it is the kind that makes you close your eyes after the first bite. It’s comfort food reimagined, a connection to tradition that you can actually touch and taste. Perfect for honoring loved ones without the stress, or turning a simple Tuesday into something memorable.
What Ingredients You Will Need
This Homemade Pan de Muerto relies on simple, wholesome ingredients to deliver that signature soft texture and aromatic flavor. Most of these are pantry staples, which is exactly what you want when feeding a family on a sensible budget. Let me walk you through each one.
For the Dough:
- All-purpose flour, 4 cups (500g): This is your base. I use Gold Medal or King Arthur, but any standard brand works. Don’t use bread flour—it will make the bread too tough. Spoon and level your flour for the best results.
- Active dry yeast, 2 ¼ teaspoons (one ¼-ounce packet): This is what makes the bread rise. I prefer Fleischmann’s or Red Star. Make sure your yeast is fresh—if it doesn’t foam when you bloom it, toss it and start over.
- Warm milk, ½ cup (120ml): Whole milk is best for richness, but 2% works too. The milk should be warm to the touch, about 105-110°F. Too hot will kill the yeast; too cold won’t activate it.
- Granulated sugar, ½ cup (100g): This feeds the yeast and adds sweetness. I use regular white sugar. For a deeper flavor, you could swap in ¼ cup of brown sugar, but it will change the color slightly.
- Unsalted butter, ½ cup (1 stick or 113g), softened: Butter adds richness and tenderness. I leave it out on the counter for about an hour before starting. If you only have salted butter, just reduce the added salt to ¼ teaspoon.
- Large eggs, 3, room temperature: Eggs give the bread structure and a beautiful golden color. Take them out of the fridge when you start the recipe so they warm up. In a pinch, you can run them under warm water for a minute.
- Orange zest, from 1 large orange: This is non-negotiable for that classic Pan de Muerto flavor. Use a microplane or the fine side of a box grater. Avoid getting the white pith—it’s bitter.
- Orange blossom water, 1 tablespoon: This is the secret ingredient. It adds a floral, fragrant note that’s unmistakable. You can find it in international grocery stores or online. If you can’t find it, use 2 teaspoons of vanilla extract instead.
- Anise seed, 1 teaspoon: This is optional but traditional. It adds a subtle licorice-like warmth. I’ve made it without, and it’s still delicious, but the anise really makes it taste authentic.
- Salt, ½ teaspoon: Balances the sweetness and strengthens the gluten. I use fine sea salt.
For the Topping:
- Unsalted butter, ¼ cup (½ stick or 57g), melted: This is for brushing the baked bread. It helps the sugar stick and adds a beautiful sheen.
- Granulated sugar, ¼ cup (50g): For coating the top of the bread. You can also use coarse sanding sugar for a sparkly finish—my kids love that.
Substitution Guidance: If you need a dairy-free version, you can use plant-based butter and oat milk. The texture will be slightly less tender, but still very good. For an egg-free version, I haven’t had great luck, so I’d recommend finding a specific vegan recipe. And if you’re out of orange blossom water, a good splash of vanilla extract and a little extra orange zest will still give you a lovely flavor.
Equipment Needed
You don’t need a professional bakery setup to make this Homemade Pan de Muerto. Here’s what you’ll need, along with some tips from my own kitchen.
- Large mixing bowl: A glass or ceramic bowl is ideal. I use my grandmother’s old Pyrex bowl. Metal can sometimes react with the yeast, so I avoid it.
- Wooden spoon or dough whisk: For mixing the dough. A sturdy wooden spoon is my go-to—it’s cheap and it works.
- Measuring cups and spoons: For accuracy. I always use dry measuring cups for flour and sugar, and a liquid measuring cup for the milk.
- Stand mixer with dough hook (optional): This makes kneading much easier, but you can absolutely do it by hand. If you’re kneading by hand, expect to work the dough for about 10 minutes.
- Baking sheet: A standard half-sheet pan (18×13 inches) works perfectly. Line it with parchment paper for easy cleanup.
- Plastic wrap or a clean kitchen towel: For covering the dough while it rises. I prefer a damp kitchen towel—it keeps the dough from drying out.
- Sharp knife or bench scraper: For cutting the dough into the traditional bone shapes. A pizza cutter works too.
- Cooling rack: A wire rack is essential for cooling the bread evenly. If you don’t have one, you can cool it on the baking sheet, but the bottom might get a little soggy.
Budget-Friendly Tip: You don’t need a stand mixer. I made this bread for years with just a bowl and a wooden spoon. It’s a great arm workout! If you’re in the market for a mixer, check thrift stores—I found mine for $15.
Preparation Method
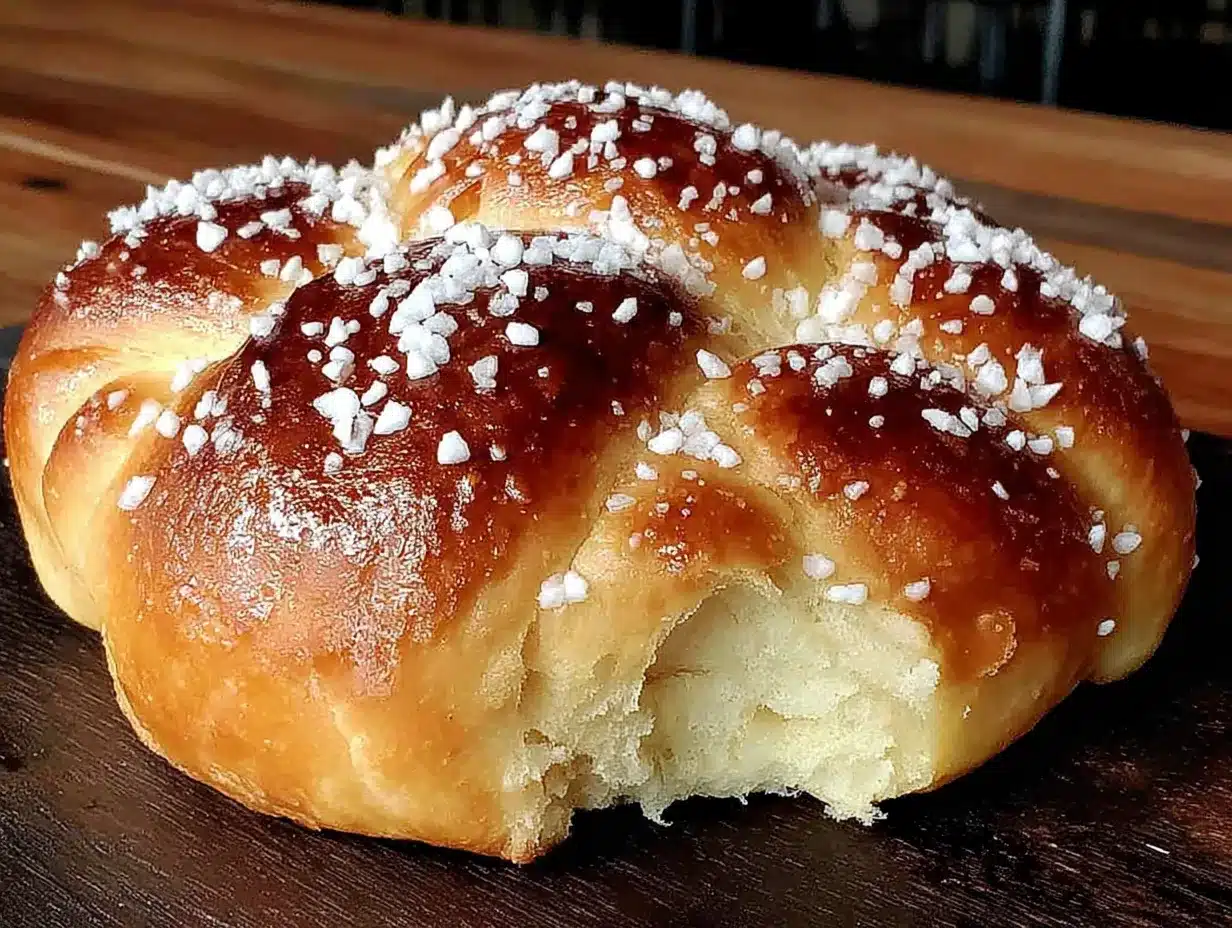
Making Homemade Pan de Muerto is a labor of love, but I promise it’s worth every minute. Let’s walk through it step by step. The whole process takes about 3 hours, but most of that is hands-off rising time.
- Bloom the yeast (5 minutes): In your large mixing bowl, combine the warm milk (105-110°F), 1 tablespoon of the sugar, and the yeast. Give it a gentle stir and let it sit for 5 minutes. It should become foamy and smell like bread. If it doesn’t, your yeast is dead—start over with fresh yeast.
- Mix the dough (10 minutes): To the foamy yeast mixture, add the remaining sugar, softened butter, eggs, orange zest, orange blossom water, anise seed, and salt. Stir with your wooden spoon until combined. Now, add the flour, 1 cup at a time, mixing until a shaggy dough forms.
- Knead the dough (8-10 minutes by hand, 5-7 minutes with mixer): Turn the dough out onto a lightly floured surface. Knead by pushing the dough away from you with the heel of your hand, then folding it back over itself. Give it a quarter turn and repeat. The dough will be sticky at first, but resist the urge to add too much flour. It should become smooth and elastic. You’ll know it’s ready when you can stretch a small piece into a thin, translucent windowpane without it tearing.
- First rise (1 ½ hours): Place the dough in a clean, lightly greased bowl. Cover with a damp towel or plastic wrap. Let it rise in a warm, draft-free place until doubled in size. This usually takes about 1 ½ hours. I put mine in the microwave with a cup of hot water—it’s the perfect proofing box.
- Shape the dough (15 minutes): Punch down the dough to release the air. Turn it out onto a clean surface. Cut off about ⅓ of the dough and set it aside. Shape the larger piece into a smooth round ball and place it on your parchment-lined baking sheet. Now, take the reserved dough and divide it into 4 equal pieces. Roll each piece into a long rope, about 6 inches long. These will be the “bones” on top. Also, roll a small ball for the center “skull.”
- Assemble the bread (5 minutes): Place the ropes on top of the round loaf in a criss-cross pattern, like an X. Press the ends gently into the sides of the loaf. Place the small ball in the center where the ropes cross. Don’t worry if it looks a little messy—it’s supposed to look rustic!
- Second rise (45 minutes): Cover the shaped loaf loosely with the damp towel and let it rise again until puffy, about 45 minutes. It won’t double this time, but it should look noticeably bigger.
- Bake (25-30 minutes): Preheat your oven to 350°F (175°C) during the last 15 minutes of the second rise. Bake the bread on the center rack for 25-30 minutes, until it’s deep golden brown. If the top is browning too quickly, tent it loosely with foil after 15 minutes. The internal temperature should reach 190°F on an instant-read thermometer.
- Finish and cool (10 minutes): Let the bread cool on the baking sheet for 5 minutes, then transfer it to a wire rack. While it’s still warm, brush the entire surface with the melted butter. Sprinkle generously with the granulated sugar. Let it cool completely before slicing—about 1 hour.
Sensory Cues: When the dough is properly kneaded, it will feel smooth and springy, like a baby’s cheek. During the first rise, it should smell fruity and yeasty. When it’s baked, the crust will be a beautiful golden brown, and tapping the bottom should sound hollow.
Cooking Tips & Techniques
After making this Homemade Pan de Muerto more times than I can count, I’ve learned a few things the hard way. Let me save you some trouble.
Temperature is Everything: Yeast is a living thing, and it’s picky about temperature. If your milk is too hot, you’ll kill it. Too cold, and it won’t wake up. I use a cheap instant-read thermometer, but if you don’t have one, the milk should feel like warm bath water on your wrist. Not hot, not cool—just comfortably warm.
Don’t Over-Flour: The biggest mistake I made early on was adding too much flour during kneading. The dough will be sticky, and it’s tempting to keep adding flour. But a sticky dough makes a soft, pillowy bread. A dry dough makes a brick. Trust the process. Use a bench scraper to help manage the stickiness instead.
The Windowpane Test: This is the best way to know if your dough is kneaded enough. Pinch off a small piece and stretch it gently between your fingers. If it stretches into a thin, translucent sheet without tearing, you’re good. If it tears easily, knead for another minute or two.
Timing Your Rise: The first rise can be done in the refrigerator overnight. Just cover the bowl tightly with plastic wrap and let it rise slowly. The next day, let it sit at room temperature for 30 minutes before shaping. This is a great time-saver for busy families.
My Biggest Failure: The first time I made this, I forgot to add the salt. The bread rose like crazy, then collapsed in the oven. It was flat and dense. Salt isn’t just for flavor—it strengthens the gluten and controls the yeast’s activity. Don’t skip it!
Variations & Adaptations
This Homemade Pan de Muerto is wonderfully adaptable. Here are a few ways to make it your own.
Classic Orange Version: This is the original, and it’s perfect. But if you want a stronger orange flavor, add ½ teaspoon of orange extract along with the orange blossom water. It really amps up the citrus notes.
Chocolate Twist: For a special treat, knead in ½ cup of mini chocolate chips after the dough comes together. My kids go absolutely wild for this version. It’s not traditional, but it’s delicious.
Dairy-Free Adaptation: Use plant-based butter (I like Miyoko’s) and oat milk. The dough will be slightly less rich, but it still works beautifully. I’ve made it for friends with dairy allergies, and they loved it.
Gluten-Free Option: I have to be honest—I haven’t had great luck with a gluten-free version of this bread. Gluten-free doughs are very different and don’t hold the shape well. If you need gluten-free, I’d recommend looking for a recipe specifically developed for that purpose.
Spiced Variation: Add 1 teaspoon of ground cinnamon and ½ teaspoon of ground nutmeg to the flour. This gives the bread a warm, cozy flavor that’s perfect for fall. I tried this one year when I ran out of anise seed, and it’s been a favorite ever since.
Serving & Storage Suggestions
This Homemade Pan de Muerto is best served slightly warm, with a cup of hot coffee or a glass of cold milk. It’s traditional to place it on an ofrenda for Day of the Dead, but it’s just as good on the breakfast table.
Serving Temperature: I love it warm from the oven, but it’s also fantastic at room temperature. If you’re serving it for a gathering, let it cool completely, then reheat it in a 300°F oven for 5 minutes before serving. It brings back that fresh-baked texture.
Presentation: Dust the finished loaf with a little extra granulated sugar or cinnamon sugar. For a festive touch, place it on a colorful platter surrounded by marigolds or papel picado. It makes a beautiful centerpiece for your ofrenda or table.
Storage: Store the bread in an airtight container or wrapped tightly in plastic wrap at room temperature for up to 3 days. Do not refrigerate—it will dry out and become stale.
Freezing: This bread freezes beautifully. Let it cool completely, then wrap it tightly in plastic wrap, followed by a layer of aluminum foil. Freeze for up to 3 months. To thaw, leave it at room temperature for a few hours, then warm it in the oven.
Reheating: The best way to reheat slices is in a toaster oven or under the broiler for a minute or two. For a whole loaf, wrap it in foil and warm it in a 300°F oven for 10 minutes. The flavors actually meld and deepen after a day or two, so don’t be afraid to make it ahead.
Leftover Ideas: Stale Pan de Muerto makes incredible French toast. Just soak slices in a mixture of eggs, milk, and a little cinnamon, then fry in butter. It’s also fantastic for bread pudding. My family fights over the leftovers.
Nutritional Information & Benefits
While this Homemade Pan de Muerto is definitely a treat, it does offer some nutritional benefits. Here’s a quick look.
Estimated Nutritional Values (per serving, 1/12 of the loaf):
- Calories: 285
- Fat: 12g
- Saturated Fat: 7g
- Carbohydrates: 38g
- Sugar: 14g
- Protein: 6g
- Fiber: 1g
- Sodium: 115mg
Health Benefits: The eggs provide high-quality protein and important vitamins like B12 and choline. The butter contains fat-soluble vitamins A, D, E, and K. And while it’s not a health food, it’s made with real, whole ingredients—no preservatives or artificial flavors. That’s something you can feel good about.
Dietary Considerations: This recipe contains gluten, dairy, and eggs. It is not suitable for vegans or those with celiac disease without significant modifications. For a lower-sugar option, you can reduce the sugar in the dough to ¼ cup, but the bread will be less tender and sweet.
My Perspective: I believe in balance. This bread is a celebration food, meant to be enjoyed with family. One slice isn’t going to derail your healthy eating goals. It’s about connection and tradition, and that has its own kind of nourishment. So go ahead, have a piece. You deserve it.
Conclusion
This Homemade Pan de Muerto is more than just a recipe—it’s a way to connect with tradition, feed your family, and create something beautiful with your own hands. It’s soft, fragrant, and surprisingly simple to make. Whether you’re setting up an ofrenda for Day of the Dead or just want a delicious bread to share, this is the one.
I hope you’ll give it a try. Don’t be afraid to make it your own—add extra orange zest, throw in some chocolate chips, or skip the anise if it’s not your thing. The beauty of home cooking is that you’re in charge. And honestly, the worst that can happen is you end up with a loaf of delicious bread. That’s a pretty good worst-case scenario.
I’d love to hear how it turns out for you. Leave a comment below and tell me about your experience. Did your family love it? Did you make any fun adaptations? Share a photo on Pinterest and tag me—I love seeing your creations. Happy baking, and remember, the best recipes are the ones we share.
Frequently Asked Questions
Can I make Pan de Muerto ahead of time?
Absolutely. You can make the dough the night before and let it rise slowly in the refrigerator. The next day, shape and bake as directed. The flavor actually improves with a slow rise.
Why didn’t my dough rise?
The most common reason is that your yeast was dead or your milk was too hot. Always check the expiration date on your yeast, and make sure your milk is warm, not hot. If your kitchen is cool, find a warm spot for the dough to rise.
Can I use bread flour instead of all-purpose?
I don’t recommend it. Bread flour has more protein, which creates more gluten. This will make your Pan de Muerto tough and chewy, rather than soft and pillowy. Stick with all-purpose flour for the best texture.
How do I store leftover Pan de Muerto?
Wrap it tightly in plastic wrap and keep it at room temperature for up to 3 days. Do not refrigerate—it will dry out. You can also freeze it for up to 3 months.
What can I use instead of orange blossom water?
If you can’t find orange blossom water, you can use 2 teaspoons of vanilla extract instead. It won’t have the same floral notes, but it will still be delicious. Alternatively, use 2 tablespoons of fresh orange juice and an extra teaspoon of orange zest.
Pin This Recipe!
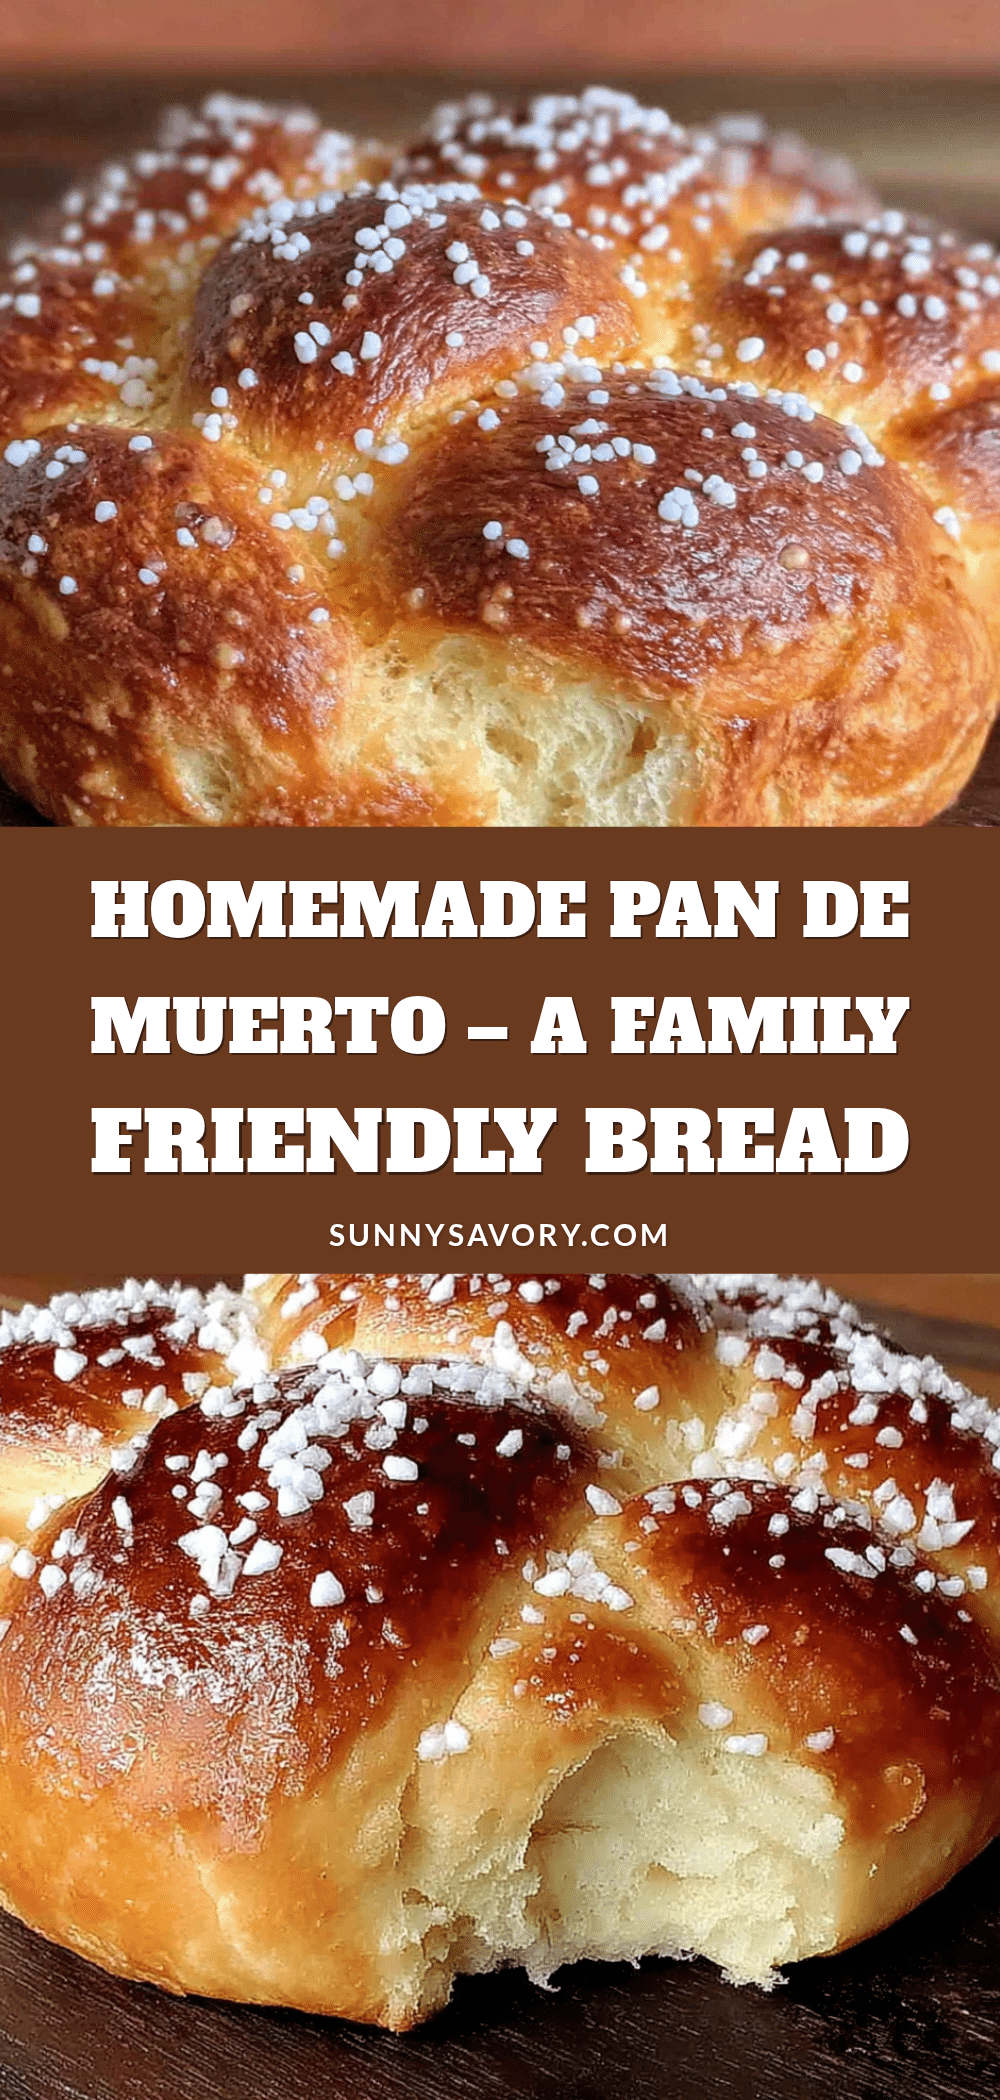
Best Homemade Pan de Muerto: Easy Day of the Dead Bread
This Homemade Pan de Muerto is a soft, slightly sweet bread fragrant with orange blossom and anise. It’s a forgiving, budget-friendly recipe perfect for Day of the Dead celebrations or any time of year.
- Prep Time: 20 minutes
- Cook Time: 30 minutes
- Total Time: 3 hours (including rising time)
- Yield: 12 servings 1x
- Category: Bread
- Cuisine: Mexican
Ingredients
- 4 cups (500g) all-purpose flour
- 2 ¼ teaspoons active dry yeast (one ¼-ounce packet)
- ½ cup (120ml) warm milk (105-110°F)
- ½ cup (100g) granulated sugar
- ½ cup (1 stick or 113g) unsalted butter, softened
- 3 large eggs, room temperature
- Zest of 1 large orange
- 1 tablespoon orange blossom water
- 1 teaspoon anise seed
- ½ teaspoon salt
- ¼ cup (½ stick or 57g) unsalted butter, melted (for topping)
- ¼ cup (50g) granulated sugar (for topping)
Instructions
- Bloom the yeast: In a large mixing bowl, combine warm milk (105-110°F), 1 tablespoon of sugar, and yeast. Stir gently and let sit for 5 minutes until foamy.
- Mix the dough: Add remaining sugar, softened butter, eggs, orange zest, orange blossom water, anise seed, and salt to the yeast mixture. Stir until combined. Add flour, 1 cup at a time, mixing until a shaggy dough forms.
- Knead the dough: Turn dough onto a lightly floured surface. Knead for 8-10 minutes by hand (or 5-7 minutes with a stand mixer) until smooth and elastic. Dough should pass the windowpane test.
- First rise: Place dough in a lightly greased bowl, cover with a damp towel or plastic wrap, and let rise in a warm place until doubled, about 1 ½ hours.
- Shape the dough: Punch down dough. Cut off about ⅓ of the dough and set aside. Shape the larger piece into a smooth round ball and place on a parchment-lined baking sheet. Divide reserved dough into 4 equal pieces and roll each into a 6-inch rope. Roll a small ball for the center.
- Assemble the bread: Place ropes on top of the round loaf in a criss-cross pattern (like an X). Press ends gently into sides. Place the small ball in the center where ropes cross.
- Second rise: Cover shaped loaf loosely with a damp towel and let rise until puffy, about 45 minutes.
- Bake: Preheat oven to 350°F (175°C) during the last 15 minutes of second rise. Bake on center rack for 25-30 minutes until deep golden brown (internal temperature 190°F). Tent with foil if browning too quickly.
- Finish and cool: Let bread cool on baking sheet for 5 minutes, then transfer to a wire rack. While still warm, brush with melted butter and sprinkle generously with granulated sugar. Cool completely before slicing, about 1 hour.
Notes
For a dairy-free version, use plant-based butter and oat milk. For a stronger orange flavor, add ½ teaspoon orange extract. The dough can be made the night before and refrigerated for the first rise. Leftovers make excellent French toast or bread pudding.
Nutrition
- Serving Size: 1 slice (1/12 of loa
- Calories: 285
- Sugar: 14
- Sodium: 115
- Fat: 12
- Saturated Fat: 7
- Carbohydrates: 38
- Fiber: 1
- Protein: 6
Keywords: Pan de Muerto, Day of the Dead bread, Mexican sweet bread, homemade bread, orange blossom bread, anise bread



