Love this? Save it for later!
Share the inspiration with your friends
My son claimed he hated spider webs. For six whole years. He’d shriek at the sight of one in the garage, demand I sweep them away from the porch, and give a dramatic shudder whenever we walked through a Halloween display at the store. I figured it was just a phase. Then last October, I decided to make a batch of chocolate chip cookies “just for me” while he was at school. I melted some white chocolate, drizzled it over the cooling cookies, and dragged a toothpick through it to create those classic spider web lines. I didn’t think much of it. I was just testing a fun Halloween idea for the blog, honestly. When he came home, he spotted the plate on the counter, froze, and slowly pointed. “Did you put webs on cookies?” he asked, his voice full of this weird mix of horror and fascination. Before I could even answer, he grabbed one, took a bite, and mumbled through a mouthful of chocolate, “These are actually… awesome.” That was the moment I knew we had a winner. This recipe for Kid-Friendly Spider Web Chocolate Chip Cookies turned a sworn enemy of webs into their biggest fan. It’s the kind of easy, fun baking project that makes everyone smile, and maybe you’ve been there with a picky eater or a kid who’s just not into the spooky stuff. I keep making these because they prove that sometimes, the best way to win someone over is with a little melted chocolate and a whole lot of patience.
Why You’ll Love This Recipe
Let’s be real—most Halloween desserts are a sugar bomb that leaves you feeling a little guilty. Not these. They start with a classic, soft-baked chocolate chip cookie base that’s already a family favorite. The spider web design is just the fun, festive frosting on top. I’ve tested this recipe about six times now, tweaking the dough so it stays thick and doesn’t spread into a flat mess that ruins your web pattern. It’s family-approved by my own two kids, and honestly, they’re the toughest critics I know.
- Simple Ingredients: You probably have everything in your pantry right now. No fancy extracts or hard-to-find decorations.
- Quick & Easy: The cookies come together in under 30 minutes, and the decorating takes just five more. Perfect for a last-minute classroom treat or a rainy afternoon activity.
- Perfect for Halloween Parties: These are a guaranteed hit at school bake sales, costume parties, or just a spooky movie night at home.
- Crowd-Pleaser: Kids love the design, and adults love that they taste like a real chocolate chip cookie, not a gimmick.
- Unbelievably Delicious: That first bite—soft, buttery dough studded with melty chocolate chips—is pure comfort food. The white chocolate web adds just the right amount of sweetness without being overpowering.
What makes this recipe different from the rest? It’s not just about the look. I use a trick of chilling the dough for ten minutes before baking to ensure the cookies stay thick and puffy. This gives you a perfect canvas for the web, and the cookies stay soft for days. It’s comfort food reimagined—festive, fun, but with the same soul-soothing satisfaction of a classic cookie. Perfect for impressing guests without stress, or turning a simple snack into something memorable.
What Ingredients You Will Need
This recipe uses simple, wholesome ingredients to deliver bold flavor and satisfying texture without the fuss. Most of these are pantry staples, which means you can whip up a batch anytime the mood strikes.
- All-purpose flour: 2 ¼ cups (280g). I prefer Gold Medal for consistent results, but any brand works.
- Baking soda: 1 teaspoon. Make sure it’s fresh—old baking soda can make your cookies flat.
- Salt: ½ teaspoon. Fine sea salt is best for even distribution.
- Unsalted butter: 1 cup (2 sticks, 226g), softened to room temperature. Salted butter works too, just skip the added salt.
- Granulated sugar: ¾ cup (150g).
- Light brown sugar: ¾ cup (165g), packed. This gives the cookies their chewy texture.
- Large eggs: 2, at room temperature. Cold eggs can seize the butter mixture.
- Vanilla extract: 2 teaspoons. Pure vanilla is worth the splurge here.
- Semi-sweet chocolate chips: 2 cups (340g). I’m a fan of Ghirardelli—they hold their shape and melt beautifully.
- White chocolate melting wafers: 1 cup (180g). You can also use white chocolate chips mixed with 1 teaspoon of coconut oil to thin them out.
For the white chocolate web, I’ve found that melting wafers work best because they don’t seize up like regular white chocolate can. If you’re using chips, add a tiny splash of coconut oil or vegetable shortening to keep the drizzle smooth. You can also swap the semi-sweet chips for milk chocolate or dark chocolate if that’s your family’s preference. For a dairy-free version, use vegan butter and dairy-free chocolate chips—just note the texture might be a little less tender.
Equipment Needed
You don’t need a fancy kitchen to pull these off. Here’s what you’ll need:
- Mixing bowls: One large, one medium. I use glass bowls because they don’t hold onto odors.
- Electric hand mixer or stand mixer: A hand mixer works perfectly. You can also cream the butter and sugar by hand with a wooden spoon, but your arm will get a workout.
- Baking sheets: Two large, rimmed baking sheets. I prefer Nordic Ware for even heat distribution.
- Parchment paper or silicone baking mats: Silicone mats are a game-changer for even baking and easy cleanup.
- Cookie scoop: A 1.5-tablespoon scoop makes uniform cookies. I’ve used a regular spoon in a pinch, and it works fine.
- Cooling rack: Wire racks allow air to circulate so your cookies don’t get soggy bottoms.
- Small piping bag or zip-top bag: For the white chocolate drizzle. A zip-top bag with a tiny corner snipped off is my go-to—no fancy equipment needed.
- Toothpick: For dragging the web pattern. A skewer works too.
If you don’t have a cookie scoop, just use two spoons to drop the dough. The cookies will be slightly less uniform, but they’ll taste just as good. And if you don’t have a cooling rack, let the cookies cool on the baking sheet for a few extra minutes before transferring them to a plate.
Preparation Method
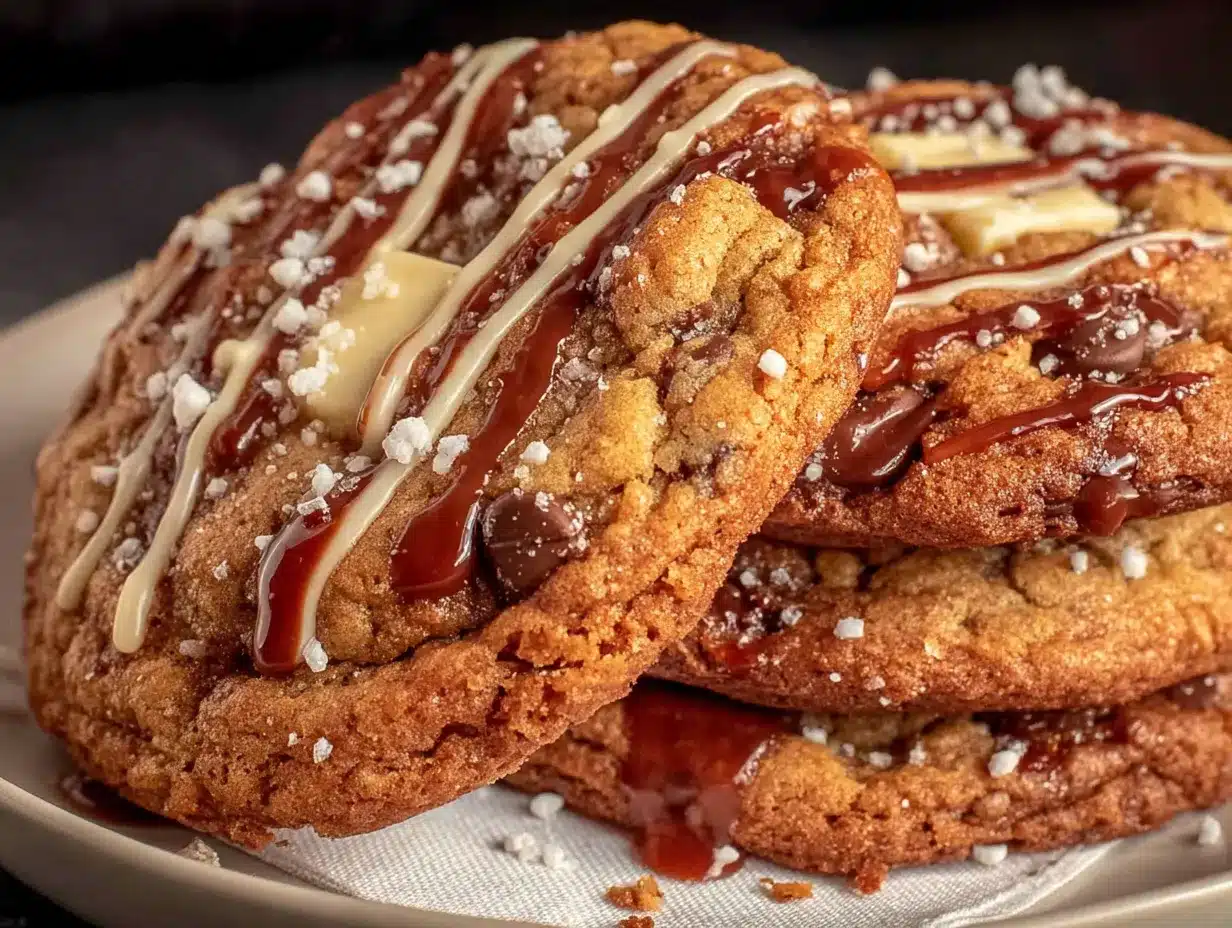
- Preheat your oven to 375°F (190°C). Line your baking sheets with parchment paper or silicone mats. This step is non-negotiable—without it, the cookies will stick and the bottoms might burn.
- Whisk the dry ingredients together. In a medium bowl, whisk together 2 ¼ cups (280g) all-purpose flour, 1 teaspoon baking soda, and ½ teaspoon salt. Set aside. This ensures the baking soda is evenly distributed so you don’t get a bitter pocket in one cookie.
- Cream the butter and sugars. In a large bowl, beat 1 cup (226g) softened unsalted butter, ¾ cup (150g) granulated sugar, and ¾ cup (165g) packed light brown sugar together until light and fluffy. This takes about 2-3 minutes with an electric mixer on medium speed. Scrape down the sides of the bowl halfway through. The mixture should look pale and almost doubled in volume.
- Add the eggs and vanilla. Beat in 2 large eggs, one at a time, mixing well after each addition. Then add 2 teaspoons vanilla extract and mix until combined. The batter might look a little curdled at this point—that’s okay, it will come together when you add the flour.
- Gradually add the dry ingredients. With the mixer on low speed, slowly add the flour mixture. Mix just until the flour disappears. Overmixing at this stage will make your cookies tough. I usually stop the mixer the second I see the last streak of flour vanish.
- Fold in the chocolate chips. Use a rubber spatula to fold in 2 cups (340g) semi-sweet chocolate chips. Make sure they’re evenly distributed throughout the dough. If you have a helper, this is a great step for little hands.
- Chill the dough. Cover the bowl and pop it in the fridge for 10-15 minutes. This is my secret for thick cookies that don’t spread into puddles. While you wait, wash your mixing bowls so you have a clean one for the white chocolate.
- Scoop and bake. Use your cookie scoop to drop rounded tablespoons of dough onto the prepared baking sheets, spacing them about 2 inches apart. Bake for 8-10 minutes, or until the edges are golden brown and the centers look slightly underdone. They will continue to set on the hot baking sheet. My oven runs hot, so I always check at the 8-minute mark.
- Cool completely. Let the cookies cool on the baking sheet for 5 minutes, then transfer them to a wire cooling rack. They need to be completely cool before you add the web—if they’re even a little warm, the white chocolate will melt and slide right off.
- Melt the white chocolate. Place 1 cup (180g) white chocolate melting wafers in a microwave-safe bowl. Microwave in 20-second intervals, stirring between each, until smooth. Be careful—white chocolate burns easily. If it looks thick, stir in 1 teaspoon of coconut oil.
- Create the spider web. Transfer the melted white chocolate to a small piping bag or a zip-top bag with a tiny corner snipped off. Starting from the center of a cookie, pipe a small circle. Then pipe a larger circle around it, and another larger circle, until you have 3-4 concentric circles. Immediately drag a toothpick from the center outward through all the circles, then repeat around the cookie to create 4-6 spokes. Wipe the toothpick clean between each drag for the cleanest lines.
- Let the webs set. Allow the white chocolate to harden completely before stacking the cookies. This takes about 20 minutes at room temperature, or you can pop them in the fridge for 10 minutes if you’re impatient (I usually am).
One note: if the white chocolate starts to thicken as you work, just pop it back in the microwave for 10 seconds to loosen it up. And don’t worry if your first web looks a little messy—they all taste the same, and kids honestly love the imperfect ones more.
Cooking Tips & Techniques
I’ve made these cookies about a dozen times now, and I’ve learned a few things the hard way. First, don’t skip the chilling step. I once thought I could save time by skipping it, and my cookies spread into flat, lacy discs that looked more like spider bodies than webs. The chill solidifies the butter, which means the cookies hold their shape in the oven. Second, use room temperature eggs. Cold eggs can cause the butter to seize, leaving you with a lumpy dough. I just set my eggs on the counter while I gather the other ingredients.
Another common mistake is overbaking. These cookies should look slightly underdone when you pull them out—the centers will be soft and puffy. They continue to bake on the hot baking sheet, so if you wait until they’re golden all over, you’ll end up with crunchy cookies. Trust the process. I also recommend using a light-colored baking sheet. Dark sheets absorb more heat and can brown the bottoms too quickly.
For the web design, here’s my best tip: pipe your circles quickly and drag the toothpick immediately. If you wait too long, the white chocolate starts to set and the lines won’t be clean. Work in batches of three or four cookies at a time. And if you mess up? Just spread the white chocolate into a solid layer and call it a “ghost web.” No one will know the difference.
Variations & Adaptations
This recipe is incredibly flexible. Here are a few ways to switch it up:
- Gluten-Free Option: Substitute the all-purpose flour with a 1:1 gluten-free baking blend. I’ve used Bob’s Red Mill with great results—just add an extra tablespoon of milk to the dough if it seems dry.
- Vegan Adaptation: Use vegan butter, flax eggs (1 tablespoon ground flaxseed mixed with 3 tablespoons water per egg), and dairy-free chocolate chips. The texture will be slightly less tender, but they’re still delicious.
- Flavor Twist: Add ½ teaspoon of cinnamon or pumpkin pie spice to the dry ingredients for a fall twist. Or swap the vanilla extract for peppermint extract for a holiday version.
- Different Designs: Instead of a spider web, pipe small ghost shapes or simple spider silhouettes using the white chocolate. You can also add candy eyes to the web for an extra spooky touch.
- Kid-Friendly Customization: Let the kids drizzle the white chocolate themselves. They might make a mess, but that’s half the fun. My daughter loves to add sprinkles on top of the wet white chocolate for a pop of color.
I once tried a version with dark chocolate drizzle instead of white, and it was honestly just as good. The web was harder to see, but the flavor was incredible. Don’t be afraid to experiment.
Serving & Storage Suggestions
These cookies are best served at room temperature, right after the white chocolate has set. The contrast between the soft, chewy cookie and the crisp white chocolate web is pure magic. I like to arrange them on a platter with a few plastic spiders scattered around for a fun Halloween display. They pair beautifully with a cold glass of milk or a warm mug of apple cider.
For storage, place the cookies in an airtight container at room temperature. They’ll stay fresh for up to 5 days, though they rarely last that long in my house. If you need to stack them, place a sheet of parchment paper between each layer to protect the webs. You can also freeze the undecorated cookies for up to 3 months. Just thaw them at room temperature, then add the white chocolate web fresh. The flavors actually develop a bit over time—the cookies get even softer and more flavorful on day two.
To reheat, pop a cookie in the microwave for 10 seconds. It’ll taste just like it came out of the oven. Just be careful not to overheat it, or the white chocolate will melt into a puddle.
Nutritional Information & Benefits
Here’s the estimated nutritional breakdown for one cookie (based on 36 cookies):
| Nutrient | Amount per Cookie |
|---|---|
| Calories | 185 |
| Total Fat | 10g |
| Saturated Fat | 6g |
| Cholesterol | 25mg |
| Sodium | 95mg |
| Total Carbohydrates | 24g |
| Dietary Fiber | 1g |
| Sugars | 16g |
| Protein | 2g |
While these are definitely a treat, the semi-sweet chocolate chips offer a small dose of antioxidants from cocoa. The white chocolate adds calcium, and the butter provides vitamin A. For a slightly healthier twist, you can reduce the sugar by ¼ cup—the cookies will be less sweet, but the chocolate chips will still provide plenty of flavor. This recipe is not gluten-free or vegan as written, but I’ve included easy substitutions above. Potential allergens include wheat, dairy, and eggs.
From a wellness perspective, I believe in balance. These cookies are meant to be a fun, occasional indulgence—not an everyday snack. They’re perfect for a Halloween party or a special weekend baking project. And honestly, the joy they bring is worth every calorie.
FAQs
Can I use pre-made cookie dough for this recipe?
Yes, absolutely. If you’re short on time, use a tube of refrigerated chocolate chip cookie dough. Just bake according to package directions, let cool, and then add the white chocolate web. The cookies won’t be as thick, but the design will still work.
How do I keep the white chocolate from seizing?
White chocolate is finicky. Always melt it slowly in short bursts, and never let water touch it—even a drop can cause it to seize. If it does get lumpy, stir in a teaspoon of coconut oil or vegetable shortening to smooth it out.
Can I make these cookies ahead of time?
Yes! You can bake the cookies up to 3 days in advance and store them in an airtight container. Add the white chocolate web on the day you plan to serve them for the freshest look. You can also freeze the baked, undecorated cookies for up to 3 months.
My cookies spread too much. What went wrong?
This usually happens if the butter was too soft or the dough wasn’t chilled. Make sure your butter is softened but still cool to the touch, and don’t skip the 10-minute chill. Also, check that your baking soda is fresh—old baking soda loses its leavening power.
Can I use milk chocolate for the web instead of white chocolate?
You can, but the web will be harder to see against the brown cookie. Milk chocolate also has a lower melting point, so it might not set as firmly. If you want to try it, add a teaspoon of coconut oil to help it set.
Conclusion
These Kid-Friendly Spider Web Chocolate Chip Cookies are more than just a Halloween treat—they’re a memory in the making. They’re the cookies that turned my son from a web-hater into a web-lover, and they’ve become a staple in our October rotation. I love how they bring a little bit of magic to an ordinary afternoon, and I love that they’re simple enough for even the youngest bakers to help with. Whether you’re making them for a classroom party, a spooky movie night, or just because, I hope they bring you as much joy as they’ve brought us. Don’t be afraid to customize them—add sprinkles, switch up the chocolate, or let the kids go wild with the drizzle. The messier, the better. If you make these, I’d love to hear about it. Drop a comment below and let me know how your family liked them, or share a photo on social media. Happy baking, and happy Halloween!
Pin This Recipe!
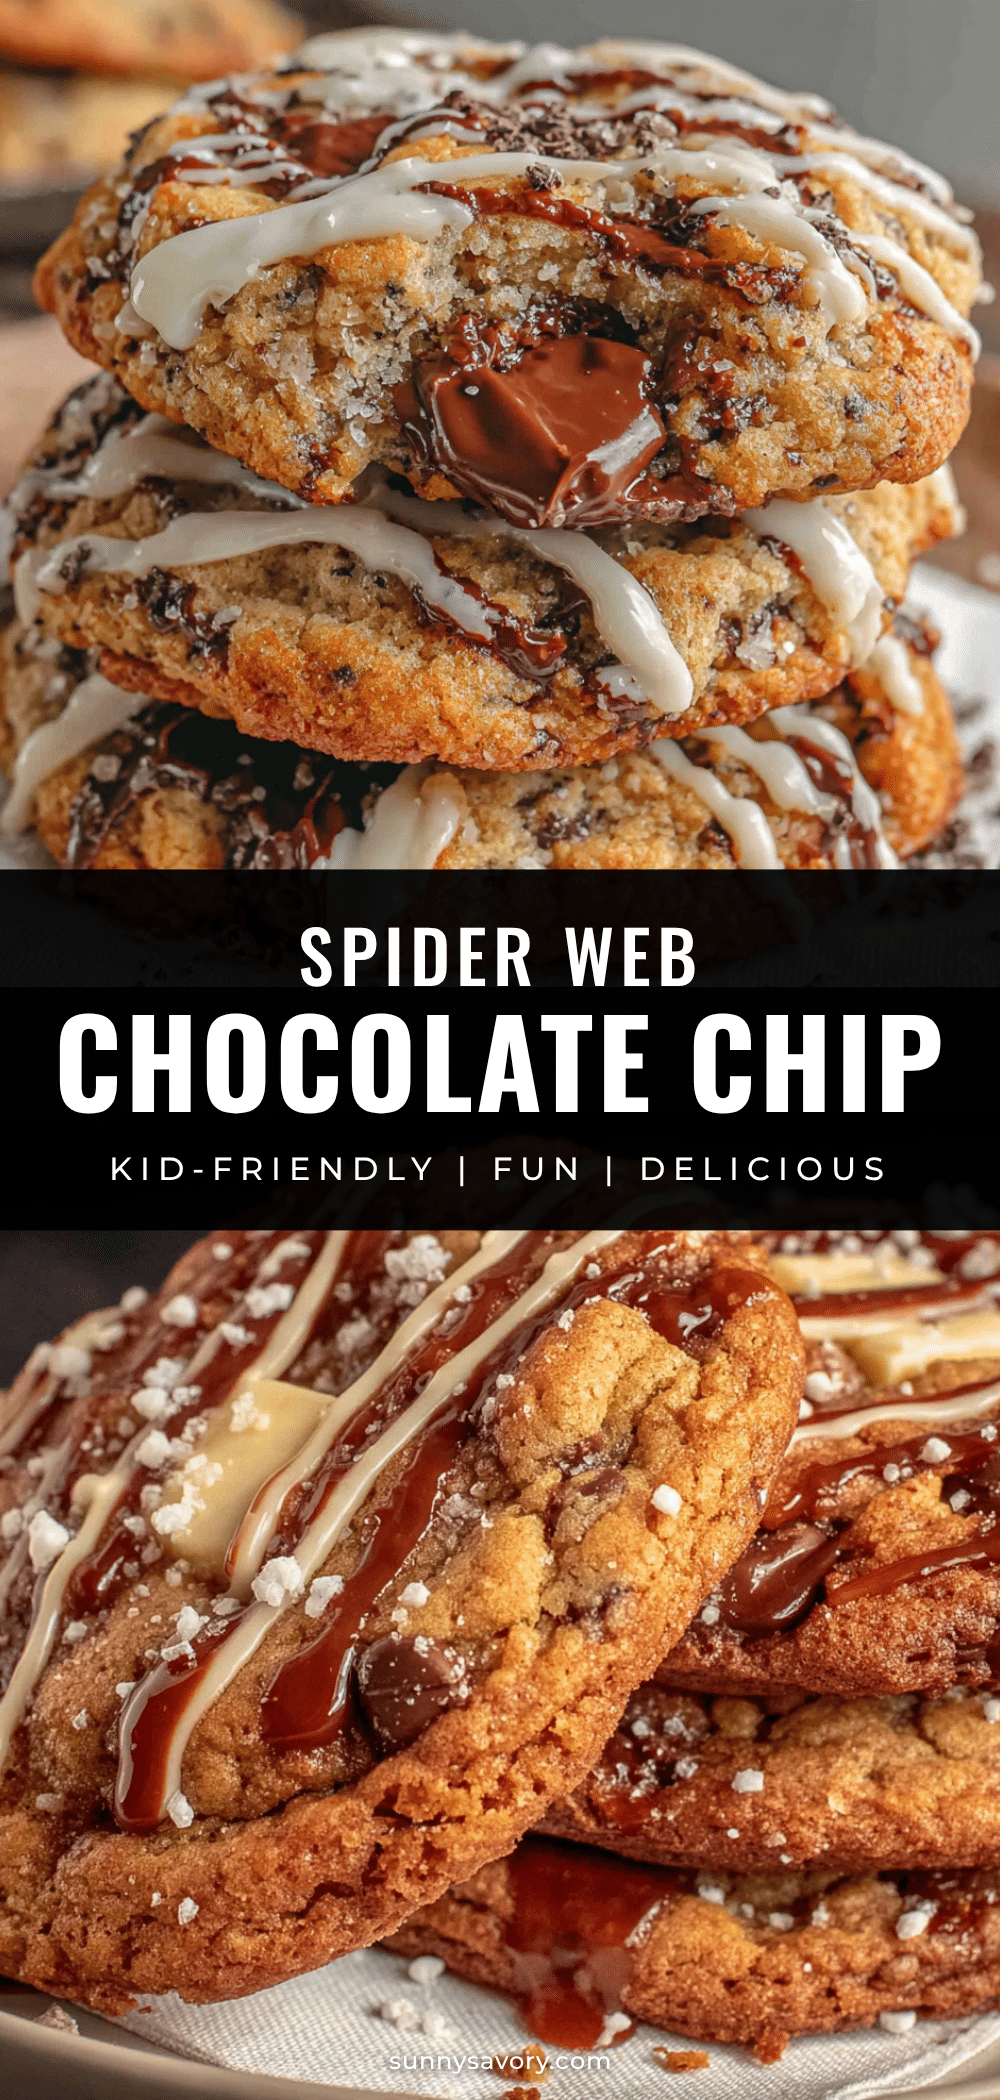
Easy Spider Web Chocolate Chip Cookies: Best Kid-Friendly Recipe

These Kid-Friendly Spider Web Chocolate Chip Cookies are a fun and festive Halloween treat that turns a classic chocolate chip cookie into a spooky masterpiece. With a soft, thick cookie base and a simple white chocolate web design, they’re perfect for parties, bake sales, or a rainy afternoon activity.
- Prep Time: 15 minutes
- Cook Time: 10 minutes
- Total Time: 25 minutes
- Yield: 36 cookies 1x
- Category: Dessert
- Cuisine: American
Ingredients
- 2 ¼ cups (280g) all-purpose flour
- 1 teaspoon baking soda
- ½ teaspoon fine sea salt
- 1 cup (2 sticks, 226g) unsalted butter, softened to room temperature
- ¾ cup (150g) granulated sugar
- ¾ cup (165g) packed light brown sugar
- 2 large eggs, at room temperature
- 2 teaspoons pure vanilla extract
- 2 cups (340g) semi-sweet chocolate chips
- 1 cup (180g) white chocolate melting wafers (or white chocolate chips mixed with 1 teaspoon coconut oil)
Instructions
- Preheat your oven to 375°F (190°C). Line your baking sheets with parchment paper or silicone mats.
- In a medium bowl, whisk together 2 ¼ cups (280g) all-purpose flour, 1 teaspoon baking soda, and ½ teaspoon salt. Set aside.
- In a large bowl, beat 1 cup (226g) softened unsalted butter, ¾ cup (150g) granulated sugar, and ¾ cup (165g) packed light brown sugar together until light and fluffy, about 2-3 minutes with an electric mixer on medium speed. Scrape down the sides of the bowl halfway through.
- Beat in 2 large eggs, one at a time, mixing well after each addition. Then add 2 teaspoons vanilla extract and mix until combined.
- With the mixer on low speed, slowly add the flour mixture. Mix just until the flour disappears. Do not overmix.
- Use a rubber spatula to fold in 2 cups (340g) semi-sweet chocolate chips until evenly distributed.
- Cover the bowl and chill the dough in the fridge for 10-15 minutes.
- Use a cookie scoop to drop rounded tablespoons of dough onto the prepared baking sheets, spacing them about 2 inches apart. Bake for 8-10 minutes, or until the edges are golden brown and the centers look slightly underdone.
- Let the cookies cool on the baking sheet for 5 minutes, then transfer them to a wire cooling rack to cool completely.
- Place 1 cup (180g) white chocolate melting wafers in a microwave-safe bowl. Microwave in 20-second intervals, stirring between each, until smooth. If it looks thick, stir in 1 teaspoon of coconut oil.
- Transfer the melted white chocolate to a small piping bag or a zip-top bag with a tiny corner snipped off. Starting from the center of a cookie, pipe a small circle. Then pipe a larger circle around it, and another larger circle, until you have 3-4 concentric circles. Immediately drag a toothpick from the center outward through all the circles, then repeat around the cookie to create 4-6 spokes. Wipe the toothpick clean between each drag.
- Allow the white chocolate to harden completely before stacking the cookies, about 20 minutes at room temperature or 10 minutes in the fridge.
Notes
Don’t skip the chilling step—it keeps the cookies thick and prevents spreading. Use room temperature eggs to avoid seizing the butter. For the web, work in batches of 3-4 cookies at a time and drag the toothpick immediately after piping. If the white chocolate thickens, microwave for 10 seconds to loosen. Cookies stay fresh in an airtight container at room temperature for up to 5 days. Freeze undecorated cookies for up to 3 months.
Nutrition
- Serving Size: 1 cookie
- Calories: 185
- Sugar: 16
- Sodium: 95
- Fat: 10
- Saturated Fat: 6
- Carbohydrates: 24
- Fiber: 1
- Protein: 2
Keywords: spider web cookies, Halloween cookies, chocolate chip cookies, kid-friendly, easy Halloween dessert, white chocolate web



