Love this? Save it for later!
Share the inspiration with your friends
There used to be a tiny Italian restaurant tucked into a strip mall off Route 9 called Nonna’s Table that made this brown butter sage stuffing that was absolutely unforgettable. When they closed suddenly three summers ago—a “for lease” sign appeared overnight, just like that—I honestly felt a little lost. That stuffing was the whole reason we went there, not the pasta or the veal parm. My husband and I would order it as a side dish in November, sure, but also in March and July because we just couldn’t get enough. After they disappeared, I spent the better part of a year trying to crack the code. I made twelve versions that first fall alone. Some were too dry, some were too greasy, and one was so aggressively herb-forward it felt like eating a pine forest. But this one? After thirteen tries—thirteen!—I finally got it. The nutty richness of the brown butter, the earthy warmth of the sage, the perfect balance of crispy edges and tender center. Let me tell you, when I pulled that baking dish out of the oven and tasted it, I almost cried. Not because I’m dramatic, but because it tasted exactly like a memory I thought I’d lost. Maybe you’ve been there with a recipe that got away. This brown butter sage stuffing is that recipe, and now it’s yours too.
Why You’ll Love This Recipe
This isn’t just another stuffing recipe you’ll forget about by Tuesday. This is the one that gets requested for every holiday gathering, the one people text you about in September asking if you’re making it again. I’ve tested this recipe more times than I care to admit, and every single time, it delivers.
- Quick & Easy: Comes together in under an hour, with only about 20 minutes of active prep. Perfect for busy Thanksgiving mornings or even a cozy Sunday dinner.
- Simple Ingredients: No fancy grocery trips needed. You likely already have bread, butter, onions, and celery in your kitchen right now.
- Perfect for Family Dinners: This stuffing is the great equalizer at the table. Picky eaters love it, adventurous eaters appreciate the sage, and everyone goes back for seconds.
- Crowd-Pleaser: It gets rave reviews from kids and adults alike. I’ve seen teenagers who usually pick at their plates go for thirds.
- Unbelievably Delicious: The brown butter adds this deep, nutty richness that regular butter just can’t touch. Paired with the earthy sage, it’s comfort food at its finest.
What makes this recipe different from the rest is the technique. Most stuffing recipes just melt the butter and call it a day. But taking the extra five minutes to brown the butter transforms the entire dish. It adds a layer of flavor that makes people close their eyes after the first bite. Honestly, it’s the kind of recipe that makes you look like a hero without doing much extra work. And for a family on a budget, it uses affordable ingredients that stretch beautifully, with leftovers that reheat like a dream.
What Ingredients You Will Need
This recipe uses simple, wholesome ingredients to deliver bold flavor and satisfying texture without the fuss. Most of these are pantry staples, which makes this an easy win for busy families.
- 1 loaf (about 1 pound) day-old French bread or sourdough bread, cut into 1-inch cubes (stale bread absorbs the broth better and holds its shape; if your bread is fresh, spread cubes on a baking sheet and toast at 300°F for 10 minutes)
- 1/2 cup unsalted butter (I recommend Kerrygold or any European-style butter for best browning—the higher fat content gives you a richer nutty flavor)
- 1 large yellow onion, finely chopped (about 1 1/2 cups; yellow onions have the best balance of sweetness and bite for stuffing)
- 3 stalks celery, finely chopped (about 1 cup; includes the leaves if you have them—they add extra flavor)
- 3 cloves garlic, minced (fresh garlic only here; the jarred stuff won’t give you the same punch)
- 2 tablespoons fresh sage leaves, finely chopped (plus a few whole leaves for garnish if you’re feeling fancy; dried sage can be substituted in a pinch—use 2 teaspoons)
- 1 tablespoon fresh thyme leaves (or 1 teaspoon dried thyme)
- 1 1/2 cups low-sodium chicken or vegetable broth (low-sodium is key here so you can control the salt; homemade broth makes this sing, but store-bought works great)
- 2 large eggs, lightly beaten (these help bind the stuffing so it holds together when you serve it)
- 1 teaspoon salt (plus more to taste)
- 1/2 teaspoon black pepper (freshly ground is best)
- 1/4 cup fresh parsley, chopped (optional, for garnish and a fresh finish)
Ingredient Selection Tips: For the best texture, look for a loaf of bread that’s sturdy, not too airy. A dense sourdough or a good French bread works perfectly. If you’re using a gluten-free bread, choose one that’s firm and not too crumbly. For a dairy-free option, you can use a high-quality plant-based butter, but keep in mind the browning may not be as deep. I’ve tried this with Miyoko’s vegan butter, and it works pretty well—just watch it closely so it doesn’t burn.
Equipment Needed
You don’t need a fancy kitchen to make this stuffing, which is part of the beauty of it. Here’s what you’ll need:
- Large skillet or sauté pan (for browning the butter and sautéing the vegetables; a light-colored pan helps you see the butter change color)
- Large mixing bowl (for combining the bread cubes with the vegetable mixture and broth)
- 9×13-inch baking dish (or a similar 3-quart casserole dish; glass or ceramic works best for even browning)
- Sharp knife and cutting board (for chopping vegetables and herbs)
- Wooden spoon or silicone spatula (for stirring the butter as it browns)
- Measuring cups and spoons (for accuracy)
- Whisk (for beating the eggs)
- Aluminum foil (for covering the dish during part of the baking time)
Budget-Friendly Tip: If you don’t have a 9×13-inch dish, you can use a large cast-iron skillet or even two smaller baking dishes. Just adjust the baking time slightly—smaller dishes will cook faster, so start checking at 30 minutes. And if you don’t have a whisk, a fork works just fine for beating the eggs.
Preparation Method
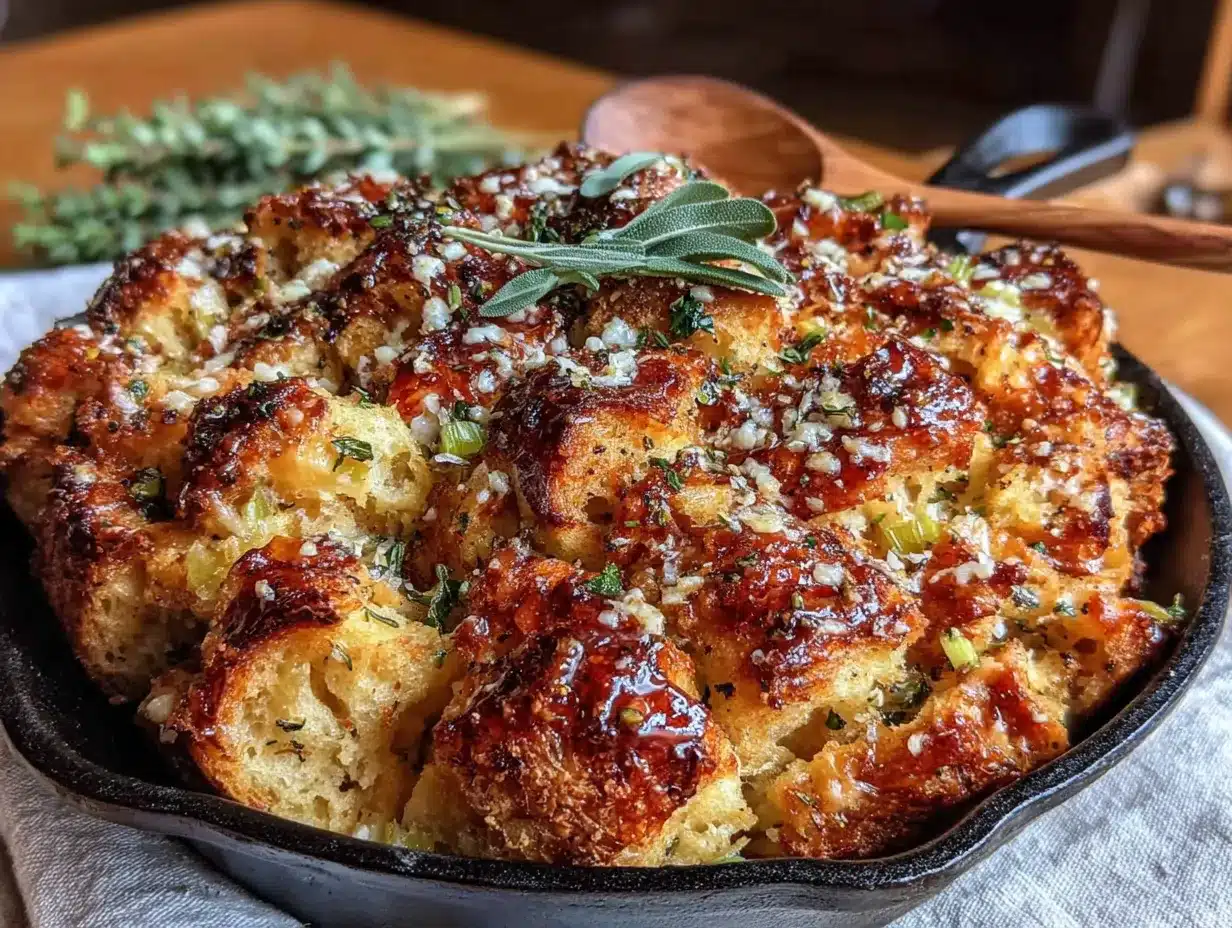
Let’s get to the good part. Follow these steps carefully, and you’ll have the best brown butter sage stuffing of your life.
- Preheat your oven to 375°F (190°C). If you haven’t already, cut your bread into 1-inch cubes and spread them on a baking sheet. Toast them in the oven for about 10 minutes if your bread is fresh. You want them dry but not hard. Set aside to cool slightly.
- Brown the butter. Place the 1/2 cup of butter in a large skillet over medium heat. Let it melt completely, then swirl the pan occasionally. After about 4-5 minutes, the butter will start to foam and turn golden. Watch it carefully—you’re looking for a deep amber color and a nutty, toasty aroma. This is where the magic happens. Once it reaches that perfect amber shade, immediately remove the pan from the heat and pour the butter into a heat-safe bowl to stop the cooking. Don’t walk away during this step. I burned my first batch because I answered the phone, and let me tell you, burnt butter smells sad, not nutty.
- Sauté the vegetables. In the same skillet (no need to wash it—there’s still flavor clinging to it), add a tablespoon of the browned butter and return to medium heat. Add the chopped onion and celery and cook for about 6-7 minutes, stirring occasionally, until the vegetables are soft and translucent. Add the minced garlic and cook for one more minute until fragrant. The smell at this point is honestly intoxicating.
- Combine the herbs. Stir in the chopped fresh sage and thyme, and cook for about 30 seconds until the herbs are fragrant. Remove from heat.
- Mix the wet ingredients. In a small bowl or measuring cup, whisk together the remaining browned butter, the chicken broth, and the beaten eggs. Make sure the broth isn’t hot when you add the eggs, or you’ll end up with scrambled eggs in your stuffing. I learned this the hard way, and it was not a pretty sight.
- Assemble the stuffing. Place the toasted bread cubes in a large mixing bowl. Pour the sautéed vegetable and herb mixture over the bread and toss gently to distribute. Then pour the broth mixture over everything and toss again until all the bread cubes are evenly moistened. The bread should be damp but not soggy. If it looks dry, add a splash more broth.
- Transfer to baking dish. Pour the stuffing mixture into your greased 9×13-inch baking dish and spread it into an even layer. Don’t press it down too hard—you want some texture and air pockets for crispy edges.
- Bake covered. Cover the dish with aluminum foil and bake for 25 minutes. This steams the stuffing and ensures the center is cooked through and tender.
- Bake uncovered. Remove the foil and bake for another 15-20 minutes, until the top is golden brown and crispy. The edges should be slightly crunchy while the center stays soft and moist. Let it rest for 5 minutes before serving. This is the hardest part, I know, but trust me—it’s worth the wait.
Cooking Tips & Techniques
I’ve made this brown butter sage stuffing more times than I can count, and I’ve made every mistake in the book so you don’t have to. Here are the tricks that make all the difference.
Don’t rush the browning butter. This is the most important step. Use a light-colored pan so you can actually see the butter change color. Keep the heat at medium, not high, and swirl the pan constantly. The moment it turns amber and smells nutty, pull it off the heat. It will continue to darken from the residual heat, so don’t wait until it looks too dark.
Bread texture matters. Day-old, slightly stale bread is your best friend here. Fresh bread turns into mush. If all you have is fresh bread, cube it and toast it in a 300°F oven for 10-12 minutes. You want the cubes to be dry on the outside but still slightly soft in the center. That’s the sweet spot.
Don’t overmix. When you combine the bread with the wet ingredients, use a gentle hand. Overmixing will break down the bread cubes and give you a dense, paste-like stuffing. You want distinct cubes that hold their shape.
Check for moisture before baking. Grab a small handful of the mixture and squeeze it gently. If a drop or two of liquid comes out, you’re golden. If it’s dry and crumbly, add another 1/4 cup of broth. If it’s swimming in liquid, add a few more bread cubes. This simple test has saved me more times than I can count.
Let it rest. I know you’re hungry, but letting the stuffing rest for 5-10 minutes after baking allows the moisture to redistribute. The result is a more cohesive, flavorful dish that doesn’t fall apart on the plate.
Timing tip: You can assemble the stuffing up to a day ahead. Just prepare everything, cover the dish, and refrigerate. Add about 10 minutes to the covered baking time if you’re starting from cold. This is a lifesaver on Thanksgiving morning when you’re juggling a dozen things at once.
Variations & Adaptations
One of the best things about this brown butter sage stuffing is how adaptable it is. Here are some variations I’ve tried and loved.
Meat Lover’s Version: Brown 1/2 pound of Italian sausage or breakfast sausage in the skillet before sautéing the vegetables. Crumble it up, set it aside, and add it back when you combine everything. The sausage adds a savory richness that pairs beautifully with the sage. My husband insists this is the only way to make it.
Vegetarian and Vegan Adaptation: Use vegetable broth instead of chicken broth, and substitute the eggs with a flax egg (1 tablespoon ground flaxseed mixed with 3 tablespoons water per egg, let sit for 5 minutes). For vegan butter, use a high-quality plant-based butter. I’ve tested this with Miyoko’s, and it works beautifully—just watch the browning closely.
Gluten-Free Version: Use a sturdy gluten-free bread, like a sourdough-style loaf from a reputable brand. Toast the cubes thoroughly before using, as gluten-free bread tends to be more delicate and can turn mushy if it’s too moist. I’ve had good luck with Canyon Bakehouse and Schär.
Add Some Crunch: Stir in 1/2 cup of toasted pecans or walnuts when you add the vegetables. The nuttiness of the pecans echoes the brown butter and adds a lovely textural contrast. I did this for a Friendsgiving once, and people couldn’t stop talking about it.
Apple and Sage: Add one finely chopped apple (like Honeycrisp or Granny Smith) to the skillet with the onions and celery. The sweetness of the apple plays beautifully with the savory sage and nutty butter. This is my personal favorite fall variation.
Mushroom Lover’s: Sauté 8 ounces of sliced cremini or shiitake mushrooms with the onions and celery. Mushrooms add an earthy umami depth that makes the stuffing even more satisfying. My vegetarian friends request this version every year.
Serving & Storage Suggestions
This brown butter sage stuffing is incredibly versatile when it comes to serving. Here’s how to make the most of it.
Serving Temperature: Serve it warm, straight from the oven. The contrast between the crispy top and the tender, moist center is what makes this dish so special. Let it rest for 5 minutes after baking, then scoop it out with a large spoon.
Presentation: For a beautiful presentation, transfer the stuffing to a serving bowl or platter and garnish with a few fresh sage leaves and a sprinkle of chopped parsley. It adds a pop of green and makes it look like you put in way more effort than you actually did.
Complementary Dishes: This stuffing is a natural partner for roast turkey or chicken, but don’t stop there. It’s amazing alongside roasted pork loin, grilled sausages, or even a simple roast chicken. For a vegetarian meal, serve it with roasted root vegetables and a green salad. And honestly, I’ve eaten it as a main dish with a fried egg on top for breakfast, and it was incredible.
Storage Instructions: Store leftover stuffing in an airtight container in the refrigerator for up to 4 days. The flavors actually deepen and meld together overnight, so leftovers often taste even better. To reheat, place the stuffing in a baking dish, add a splash of broth or water to prevent drying out, cover with foil, and warm in a 350°F oven for about 15-20 minutes. You can also microwave individual portions, but the oven gives you back some of that crispy texture.
Freezing: This stuffing freezes beautifully. Let it cool completely, then transfer to a freezer-safe container or zip-top bag. It will keep for up to 3 months. To reheat, thaw overnight in the refrigerator, then bake covered at 350°F for 25 minutes, then uncovered for 10 minutes to crisp the top.
Flavor Development: Here’s a little secret—this stuffing is actually better the next day. The bread has time to fully absorb all the flavors, and the brown butter notes become even more pronounced. I often make it a day ahead on purpose, just so I can enjoy it at its peak.
Nutritional Information & Benefits
While stuffing isn’t exactly health food, this version is made with wholesome ingredients and no weird additives. Here’s a rough estimate per serving (about 1 cup):
- Calories: 280-320
- Total Fat: 14g
- Saturated Fat: 8g
- Carbohydrates: 32g
- Fiber: 2g
- Sugar: 4g
- Protein: 7g
- Sodium: 480mg
Health Benefits of Key Ingredients: Sage is packed with antioxidants and has anti-inflammatory properties. It’s also been used traditionally to support digestion—which is perfect for a heavy holiday meal. Onions and garlic are both known for their immune-boosting properties, and celery provides a good dose of vitamin K. The brown butter, while indulgent, adds a richness that means you’ll feel satisfied with a smaller portion.
Dietary Considerations: This recipe can be made gluten-free, dairy-free, and vegan with the substitutions listed above. It contains eggs and dairy in its standard form, and the bread contains gluten. If you’re serving a crowd with dietary restrictions, the variations section has you covered.
Personal Perspective: I believe in balance. This stuffing is a celebration dish, meant to be enjoyed fully without guilt. Use good ingredients, listen to your body, and savor every bite. That’s the real nutritional benefit.
Conclusion
This brown butter sage stuffing is more than just a side dish—it’s the recipe that brought a lost memory back to my table. After thirteen attempts, I finally captured that nutty, earthy, perfectly balanced flavor I thought I’d never taste again. And now I get to share it with you.
I hope you make this your own. Add sausage if your family loves meat, throw in some apples for sweetness, or keep it classic and simple. The beauty of this recipe is that it works beautifully no matter how you tweak it. It’s forgiving, it’s affordable, and it makes your kitchen smell like heaven.
When you make this brown butter sage stuffing—and I really hope you do—come back and let me know how it turned out. Did your kids ask for seconds? Did your mother-in-law ask for the recipe? Did you finally recreate that restaurant memory you’ve been chasing? I’d love to hear your story. Drop a comment below, share a photo, or tag me on social media. Until then, happy cooking, and remember—the best dishes are the ones made with love and a little bit of patience.
Frequently Asked Questions
Can I make this stuffing ahead of time?
Absolutely! You can assemble the stuffing up to 24 hours in advance. Just prepare everything, cover the dish tightly with foil, and refrigerate. When you’re ready to bake, add about 10 minutes to the covered baking time to account for the cold start. This is a huge time-saver on busy holidays.
Can I use dried sage instead of fresh?
Yes, you can. Use 2 teaspoons of dried sage in place of the 2 tablespoons of fresh. Dried herbs are more concentrated, so you need less. That said, fresh sage really does give this recipe a brighter, more vibrant flavor. If you can find it, go fresh.
Why is my stuffing soggy?
Soggy stuffing usually happens for one of two reasons: too much liquid or bread that’s too fresh. Make sure your bread cubes are dry and slightly stale before you start. And when you add the broth mixture, add it gradually—you want the bread to be moistened, not swimming in liquid. The squeeze test I mentioned earlier is your best friend here.
Can I cook this stuffing inside a turkey?
Technically yes, but I don’t recommend it. Stuffing cooked inside the turkey takes longer to reach a safe temperature, which often results in overcooked turkey meat. Plus, you miss out on those crispy edges that make this dish so special. Baking it separately gives you more control and better texture.
How do I make this stuffing dairy-free?
Use a high-quality plant-based butter like Miyoko’s or Earth Balance for the browning step. While the browning won’t be as deep as dairy butter, it still adds nice nutty flavor. Use vegetable broth instead of chicken broth, and substitute the eggs with flax eggs (1 tablespoon ground flaxseed mixed with 3 tablespoons water per egg). The texture will be slightly different but still delicious.
Pin This Recipe!
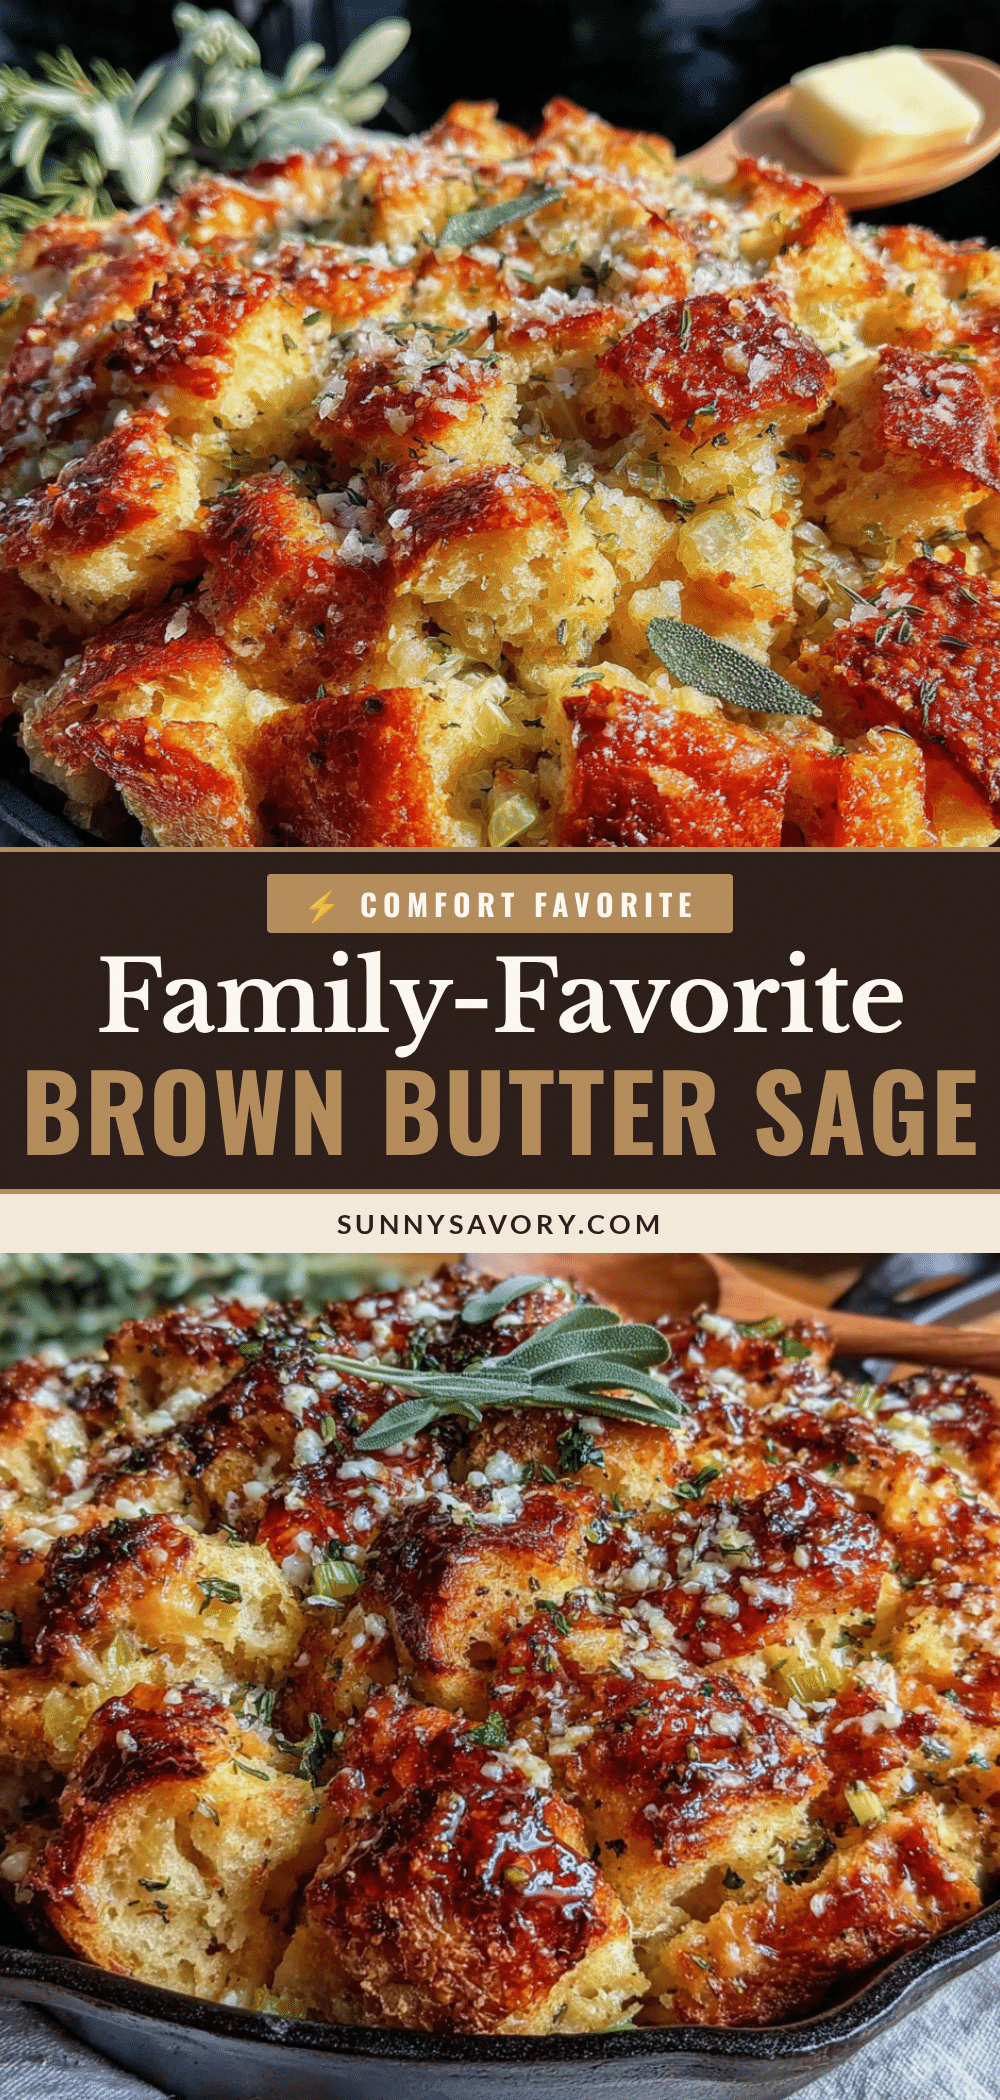
Best Easy Brown Butter Sage Stuffing Recipe

This brown butter sage stuffing is a crowd-pleasing side dish with nutty richness from browned butter and earthy warmth from sage, featuring crispy edges and a tender center. It’s perfect for holiday gatherings or cozy dinners.
- Prep Time: 20 minutes
- Cook Time: 40 minutes
- Total Time: 1 hour
- Yield: 8 servings 1x
- Category: Side Dish
- Cuisine: American
Ingredients
- 1 loaf (about 1 pound) day-old French bread or sourdough bread, cut into 1-inch cubes
- 1/2 cup unsalted butter
- 1 large yellow onion, finely chopped (about 1 1/2 cups)
- 3 stalks celery, finely chopped (about 1 cup)
- 3 cloves garlic, minced
- 2 tablespoons fresh sage leaves, finely chopped
- 1 tablespoon fresh thyme leaves
- 1 1/2 cups low-sodium chicken or vegetable broth
- 2 large eggs, lightly beaten
- 1 teaspoon salt
- 1/2 teaspoon black pepper
- 1/4 cup fresh parsley, chopped (optional, for garnish)
Instructions
- Preheat your oven to 375°F (190°C). If your bread is fresh, cut into 1-inch cubes and toast on a baking sheet for about 10 minutes until dry but not hard. Set aside to cool slightly.
- Brown the butter: Place 1/2 cup butter in a large skillet over medium heat. Melt completely, then swirl occasionally. After 4-5 minutes, when the butter turns deep amber and smells nutty, immediately remove from heat and pour into a heat-safe bowl.
- Sauté the vegetables: In the same skillet, add 1 tablespoon of the browned butter and return to medium heat. Add chopped onion and celery, cook for 6-7 minutes until soft and translucent. Add minced garlic and cook for 1 more minute until fragrant.
- Combine the herbs: Stir in chopped fresh sage and thyme, cook for about 30 seconds until fragrant. Remove from heat.
- Mix the wet ingredients: In a small bowl, whisk together remaining browned butter, chicken broth, and beaten eggs. Ensure broth is not hot to avoid scrambling the eggs.
- Assemble the stuffing: Place toasted bread cubes in a large mixing bowl. Pour sautéed vegetable and herb mixture over bread and toss gently. Then pour broth mixture over and toss until all bread cubes are evenly moistened (damp but not soggy).
- Transfer to baking dish: Pour stuffing mixture into a greased 9×13-inch baking dish and spread into an even layer. Do not press down too hard.
- Bake covered: Cover dish with aluminum foil and bake for 25 minutes.
- Bake uncovered: Remove foil and bake for another 15-20 minutes until top is golden brown and crispy. Let rest for 5 minutes before serving.
Notes
For best results, use day-old bread. If using fresh bread, toast cubes at 300°F for 10 minutes. Don’t rush the browning butter; use a light-colored pan to monitor color. Let stuffing rest after baking for moisture redistribution. Can be assembled up to a day ahead; add 10 minutes to covered baking time if starting from cold.
Nutrition
- Serving Size: 1 cup
- Calories: 300
- Sugar: 4
- Sodium: 480
- Fat: 14
- Saturated Fat: 8
- Carbohydrates: 32
- Fiber: 2
- Protein: 7
Keywords: brown butter sage stuffing, easy stuffing recipe, Thanksgiving stuffing, holiday side dish, sage stuffing



