Love this? Save it for later!
Share the inspiration with your friends
My friend Jenna asked why I couldn’t just mix everything in a bowl and shape it without dirtying the stand mixer. I started to explain why that wouldn’t work—then stopped. Honestly, I had no good reason. I just always used the mixer because my mom did. So I tried it her way. A wooden spoon, one bowl, five minutes. The dried beef cheese ball came out perfect. Creamier, actually. Less overworked. I stood there holding that lump of cheese mixture feeling genuinely delighted at being proved wrong by someone who barely cooks.
That was three years ago, and I haven’t touched the mixer for this recipe since. It’s become my go-to for every gathering—Super Bowl parties, holiday open houses, summer potlucks. You know that feeling when a recipe just works every single time? This is that recipe. The salty dried beef, the creamy base, the crunchy pecan crust—it’s a texture party in your mouth. And the best part? You make it the day before and forget about it. When guests arrive, you just pull it out of the fridge, roll it in pecans, and look like you spent hours in the kitchen.
I’m not supposed to play favorites with recipes, but this one gets the spot. It’s the first thing to disappear from any appetizer table, and I’ve had people literally fight over the last cracker. Let me show you how to make it.
Why You’ll Love This Recipe
This isn’t just another cheese ball recipe. After testing this thing about a dozen times across different holidays and dinner parties, I can tell you exactly why it stands out. Let me break it down for you.
- Make-Ahead Magic: Assemble it up to 48 hours in advance. One less thing to stress about when you’re hosting. Just wrap it tight and let the flavors get cozy in the fridge.
- Five Simple Ingredients: Seriously. Cream cheese, dried beef, green onions, Worcestershire sauce, and pecans. You probably have most of these right now.
- Perfect for Entertaining: This is the appetizer that disappears first at every party. It’s elegant enough for a holiday gathering but casual enough for game day.
- Zero Cooking Required: No oven, no stove, no microwave. Just chopping, mixing, and shaping. My kind of recipe when I’m already juggling a million other things.
- Crowd-Pleasing Flavor: Smoky, salty, creamy, crunchy—it hits every note. Even picky eaters go back for seconds. I’ve watched kids devour it alongside adults.
What makes this version different from every other dried beef cheese ball out there? It’s the ratio. Most recipes use way too much dried beef, making it overwhelmingly salty. I dialed it back and added extra green onions for freshness. The pecan crust isn’t just decorative—it adds a buttery crunch that balances the creamy cheese. It’s the kind of appetizer that makes you close your eyes after the first bite. Trust me on this one.
What Ingredients You Will Need
This recipe uses simple, everyday ingredients to deliver big flavor without any fuss. Most of these are pantry staples or easy to find at any grocery store. Here’s what you need.
For the Cheese Ball Base
- 16 ounces cream cheese, softened to room temperature (I use Philadelphia—the full-fat version gives the best texture and flavor; low-fat works but won’t be as creamy)
- 2 ½ ounces dried beef, finely chopped (one small jar; look for Armour or Hormel brands; avoid the pre-sliced deli version as it’s too wet)
- ½ cup green onions, thinly sliced (about 4-5 scallions, both white and green parts; adds freshness and mild onion flavor)
- 1 tablespoon Worcestershire sauce (Lea & Perrins is my go-to; adds that savory umami depth)
- ¼ teaspoon black pepper, freshly ground (skip the pre-ground stuff here—fresh makes a difference)
For the Pecan Crust
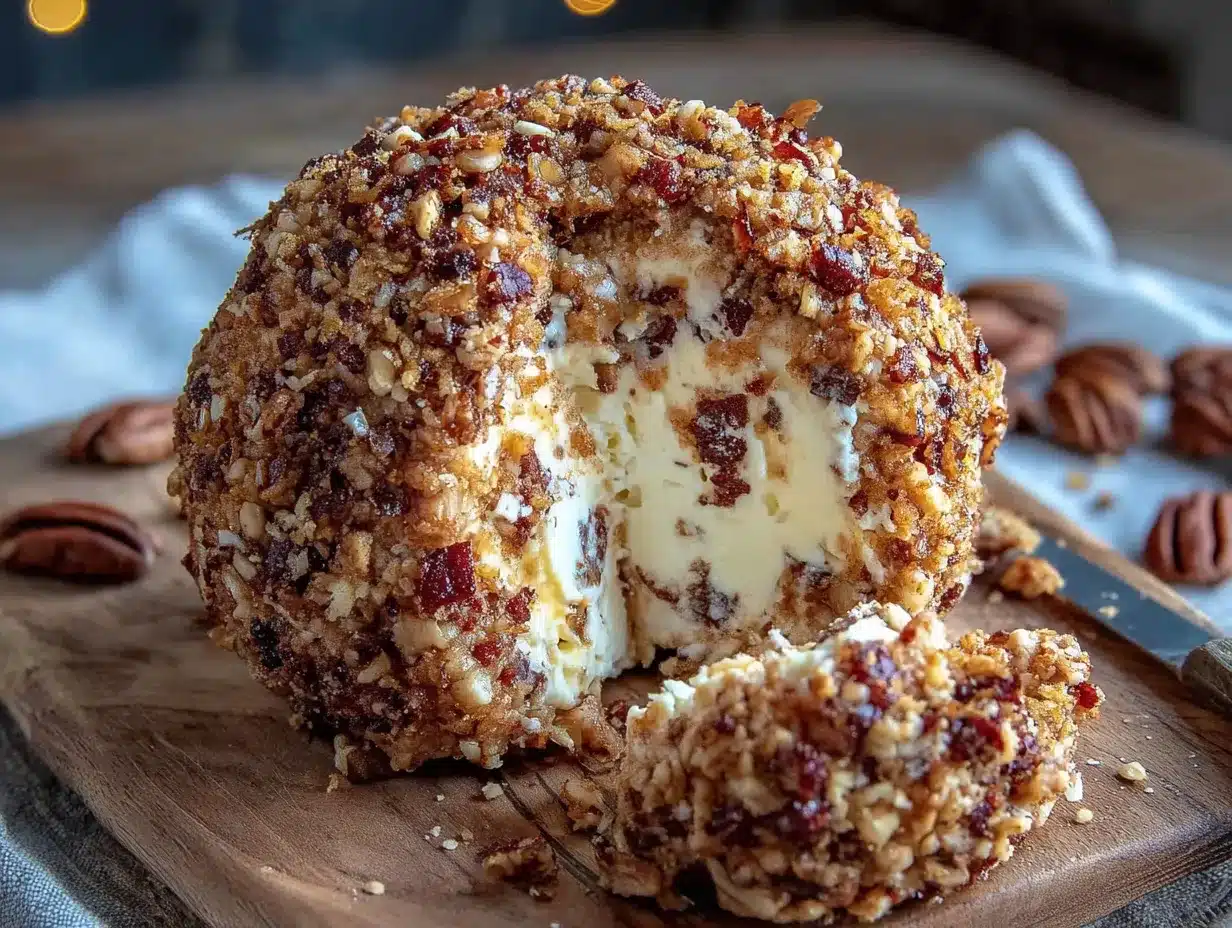
- 1 cup pecans, finely chopped (about 4 ounces; toast them lightly for extra flavor—see my tip below)
Ingredient Selection Tips: For the cream cheese, let it sit on the counter for at least 30 minutes before starting. Cold cream cheese creates lumps that never fully smooth out. I learned this the hard way during a New Year’s Eve party. The dried beef comes in small glass jars near the canned meats section. Don’t substitute with beef jerky—it’s too dry and tough. And here’s a pro tip: freeze the pecans for about 10 minutes before chopping. They won’t get oily or turn into paste under the knife.
Substitution Guidance: Need a dairy-free option? Use plant-based cream cheese from brands like Kite Hill or Miyoko’s. The texture will be slightly softer, so chill the ball for an extra hour before serving. For a nut-free version, skip the pecan crust entirely and roll the cheese ball in extra chopped green onions or fresh parsley. It looks beautiful and adds a pop of color. If you can’t find dried beef, finely chopped prosciutto or salami works in a pinch—just reduce the salt elsewhere since they’re saltier than dried beef.
Equipment Needed
You don’t need fancy equipment for this recipe. That’s one of the reasons I love it. Here’s what you’ll need.
- Large mixing bowl (any size works, but bigger gives you room to mix without flinging cheese everywhere)
- Wooden spoon or rubber spatula (for mixing; a fork works in a pinch)
- Cutting board and sharp knife (for chopping dried beef and green onions)
- Plastic wrap (to wrap the cheese ball tightly for chilling)
- Small skillet (optional, for toasting pecans)
- Parchment paper or wax paper (makes rolling in pecans much less messy)
If you don’t have a wooden spoon, use a sturdy silicone spatula. I actually prefer the spatula now—it scrapes the sides better and means less wasted cream cheese. For the chopping, a mezzaluna or herb chopper works great for the dried beef and pecans, but a regular chef’s knife does the job perfectly fine. And here’s a budget-friendly tip: skip buying a fancy cheese board. A simple dinner plate or wooden cutting board works beautifully for serving.
Preparation Method
Let’s get to the good part. This recipe comes together in about 15 minutes of active time. The rest is just waiting for the flavors to meld. Here’s exactly how to do it.
- Soften the cream cheese (5 minutes passive): Take the cream cheese out of the fridge at least 30 minutes before starting. If you forgot—and I definitely have—unwrap the blocks, place them on a microwave-safe plate, and microwave on low power for 10-15 seconds. Check it. If still firm, give it another 5 seconds. You want it soft enough that your finger leaves an indent but not warm or melted.
- Chop the dried beef (3 minutes): Open the jar and drain off any excess liquid. Place the dried beef slices on your cutting board and chop them into small pieces, about the size of chocolate chips. Don’t go too fine—you want little pockets of salty beef throughout the cheese ball, not a paste. Set aside about 2 tablespoons of the chopped beef for the outside coating if you want extra beef flavor.
- Slice the green onions (2 minutes): Trim off the root ends and any wilted dark green tops. Slice the remaining parts thinly, including the crisp white parts and the lighter green sections. Reserve a tablespoon for garnish if you’re feeling fancy.
- Mix the base (3 minutes): In your large mixing bowl, add the softened cream cheese, chopped dried beef, sliced green onions, Worcestershire sauce, and black pepper. Stir everything together with your wooden spoon or spatula until completely combined. Scrape the sides and bottom of the bowl at least once. The mixture should look uniform with little flecks of green and beef throughout. Taste it—yes, raw cream cheese is fine—and adjust the pepper if needed.
- Shape the cheese ball (2 minutes): Lay out a large piece of plastic wrap on your counter. Scoop the cheese mixture into the center of the plastic wrap. Gather the edges of the plastic wrap and twist them together at the top, using the plastic to shape the mixture into a smooth ball. Squeeze and press through the plastic until you get a nice round shape. Don’t worry about perfection—the pecan crust covers any imperfections.
- Chill the cheese ball (at least 4 hours, preferably overnight): Wrap the plastic-wrapped cheese ball tightly and place it in the refrigerator. This is the hardest part—waiting. But trust me, the flavors need time to meld. The dried beef infuses the cream cheese, and the green onions mellow out. Overnight is ideal, but 4 hours works in a pinch.
- Toast the pecans (5 minutes, optional but recommended): About 30 minutes before serving, place the chopped pecans in a dry skillet over medium heat. Stir constantly for 3-5 minutes until they smell nutty and look slightly darker. Watch them carefully—pecans burn fast. Pour them onto a plate to cool completely.
- Coat the cheese ball (2 minutes): Unwrap the chilled cheese ball and place it on a piece of parchment paper. Pour the cooled chopped pecans onto the paper. Roll the cheese ball in the pecans, pressing gently so they stick. Use your hands to pat any bare spots. The cheese ball should be completely covered in a beautiful pecan crust.
- Serve: Transfer the coated cheese ball to your serving board. Let it sit at room temperature for about 15 minutes before serving—this softens it slightly for easier spreading. Surround it with crackers, sliced baguette, or fresh vegetables.
Sensory Cues: When properly mixed, the cheese base should feel soft but hold its shape when pressed. The pecans should make a gentle crunching sound as you roll the ball. And when you finally cut into it at the party, the knife should glide through with slight resistance, revealing that creamy, speckled interior.
Cooking Tips & Techniques
After making this dried beef cheese ball for countless gatherings, I’ve picked up some tricks that make a real difference. Let me share them so you don’t make the same mistakes I did.
The Soft Cream Cheese Trap: I once microwaved the cream cheese for 30 seconds because I was in a hurry. Big mistake. It turned into a soupy mess that wouldn’t hold its shape. Low and slow is the way to go—10-second bursts on reduced power. You want it soft, not warm.
Don’t Overmix: Here’s where I learned from Jenna. Overworking the cream cheese makes it dense and almost greasy. Stir just until everything comes together. A few small streaks of cream cheese are fine—they’ll disappear during chilling.
The Parchment Paper Trick: When coating the cheese ball in pecans, use parchment paper instead of a plate. You can lift the edges of the paper to roll the ball around without touching it directly. Your hands stay clean, and the coating is more even.
Timing Strategy: Make this cheese ball the day before your event. It actually tastes better after 24 hours—the flavors meld and mellow. I usually make it on Thursday for a Saturday party. One less thing to think about when you’re setting up the appetizer table.
Room Temperature is Key: Never serve a cheese ball straight from the fridge. It’s too firm to spread and the flavors are muted. Let it sit out for 15-20 minutes. You want it spreadable but still cool. I once forgot and served it cold—people struggled to get it on crackers. Learn from my mistake.
Variations & Adaptations
This recipe is incredibly flexible. Here are some variations I’ve tried and loved.
Spicy Southwest Version: Add 1 tablespoon of diced pickled jalapeños and ½ teaspoon of cumin to the cheese mixture. Swap the pecans for crushed tortilla chips on the outside. I made this for a taco night and it was gone in 10 minutes.
Herb & Garlic Version: Replace the dried beef with ¼ cup of sun-dried tomatoes (finely chopped) and add 2 minced garlic cloves. Roll in fresh chopped parsley instead of pecans. This version is vegetarian-friendly and works beautifully for brunch.
Smoky Bacon Version: Cook 4 slices of bacon until crispy, crumble them, and add to the cheese mixture along with the dried beef. Use smoked paprika in place of black pepper. The double-smoky flavor is incredible—I made this for a Super Bowl party and got three recipe requests.
Make It a Log Instead: Shape the mixture into a log rather than a ball. It’s easier to slice and looks elegant on a board. Just adjust the chilling time slightly—logs chill faster since they have more surface area.
Dairy-Free Adaptation: Use plant-based cream cheese and skip the dried beef (it’s not dairy-free but some people avoid it). Add extra nutritional yeast for savory flavor. The texture will be softer, so freeze the log for 20 minutes before coating in pecans.
Serving & Storage Suggestions
This cheese ball is a showstopper on any appetizer table. Here’s how to serve and store it for the best experience.
Serving Temperature: Take the cheese ball out of the fridge 15-20 minutes before serving. It should be cool but spreadable. If it’s too soft, it won’t hold its shape on the board. If too firm, it tears the crackers.
Presentation Ideas: Place the cheese ball in the center of a wooden board or slate platter. Surround it with an assortment of crackers—I like buttery Ritz, sturdy water crackers, and something seedy like Wheat Thins. Add fresh vegetable sticks like celery and bell pepper strips for color contrast. A small bowl of olives or pickled vegetables on the side balances the richness.
What to Serve With It: This cheese ball pairs beautifully with crisp white wine like Sauvignon Blanc or a light Pinot Grigio. For beer drinkers, a crisp lager or pilsner cuts through the creaminess. Non-alcoholic options include sparkling water with lemon or iced tea.
Storage Instructions: Leftover cheese ball keeps in the refrigerator for up to 5 days. Wrap it tightly in plastic wrap or store in an airtight container. The pecan coating will soften slightly over time, but the flavor actually improves. To freeze, wrap the uncoated cheese ball in plastic wrap and then foil. Freeze for up to 3 months. Thaw overnight in the refrigerator, then coat with fresh toasted pecans before serving.
Reheating Note: You don’t reheat a cheese ball. Just let it sit at room temperature for 15 minutes before serving. If you want to refresh the pecans, spread them on a baking sheet and toast at 350°F for 3-4 minutes, then recoat the cheese ball.
Nutritional Information & Benefits
Let’s be honest—this is an indulgent appetizer. But here’s what you’re working with per serving (based on 12 servings).
- Calories: Approximately 220 per serving
- Protein: 7g (from cream cheese and dried beef)
- Fat: 20g (mostly from cream cheese and pecans)
- Carbohydrates: 4g
- Fiber: 1g (from pecans)
Health Highlights: Pecans are packed with healthy monounsaturated fats and antioxidants. They’re one of the best nuts for heart health. The green onions provide a small amount of vitamin K and vitamin C. Cream cheese offers calcium and protein, though it’s higher in saturated fat. For a lighter version, use reduced-fat cream cheese—the texture will be slightly less creamy but still delicious.
Dietary Considerations: This recipe is naturally low-carb and gluten-free (check your Worcestershire sauce label, as some brands contain gluten). It’s not suitable for vegans or those with dairy allergies without substitutions. The dried beef is processed, so if you’re watching sodium, use low-sodium cream cheese and skip the extra salt.
Conclusion
This perfect make-ahead dried beef cheese ball with pecan crust has become my signature party dish for a reason. It’s simple, forgiving, and absolutely delicious. Every time I bring it to a gathering, someone asks for the recipe. And I love telling them the story—how my friend Jenna taught me that sometimes the simplest method is the best one.
What I love most about this recipe is how it takes the stress out of hosting. You make it ahead, forget about it, and then pull out a showstopping appetizer that looks like you spent hours on it. The salty beef, the creamy cheese, the crunchy pecans—it’s a combination that just works. And honestly, the fact that it comes together in one bowl with no cooking required? That’s the kind of recipe we all need in our back pocket.
I’d love to hear how yours turns out. Did you try one of the variations? Add your own twist? Drop a comment below and let me know. And if you’re looking for other make-ahead appetizers, check out my crispy garlic chicken wings or my bacon-wrapped jalapeno poppers—both are crowd-pleasers that you can prep the day before. Happy hosting!
Frequently Asked Questions
Can I make this cheese ball more than 2 days ahead?
Absolutely. You can make it up to 5 days ahead if you store it properly. Just keep it tightly wrapped in plastic wrap in the refrigerator. Wait to coat it in pecans until the day you serve it—the nuts stay crunchier that way.
Why did my cheese ball turn out too soft?
This usually happens when the cream cheese is too warm when you shape it, or if you used reduced-fat cream cheese which has a higher water content. Next time, make sure your cream cheese is softened but still cool, and chill the shaped ball for at least 4 hours before coating.
Can I use a different nut for the coating?
Definitely. Walnuts, almonds, or even crushed pretzels work great. Toast them first for extra flavor. If you’re nut-free, try crushed pork rinds for a keto-friendly option or toasted sesame seeds for a different crunch.
How do I keep the cheese ball from sticking to the knife?
Dip your knife in hot water and wipe it dry before each cut. The warmth helps the knife glide through the cheese ball without dragging. This trick works for any soft cheese or cheesecake.
Is this recipe gluten-free?
Yes, as written. Cream cheese, dried beef, pecans, and green onions are all naturally gluten-free. Just double-check your Worcestershire sauce label—some brands contain malt vinegar which has gluten. Lea & Perrins is gluten-free, but always verify.
Pin This Recipe!
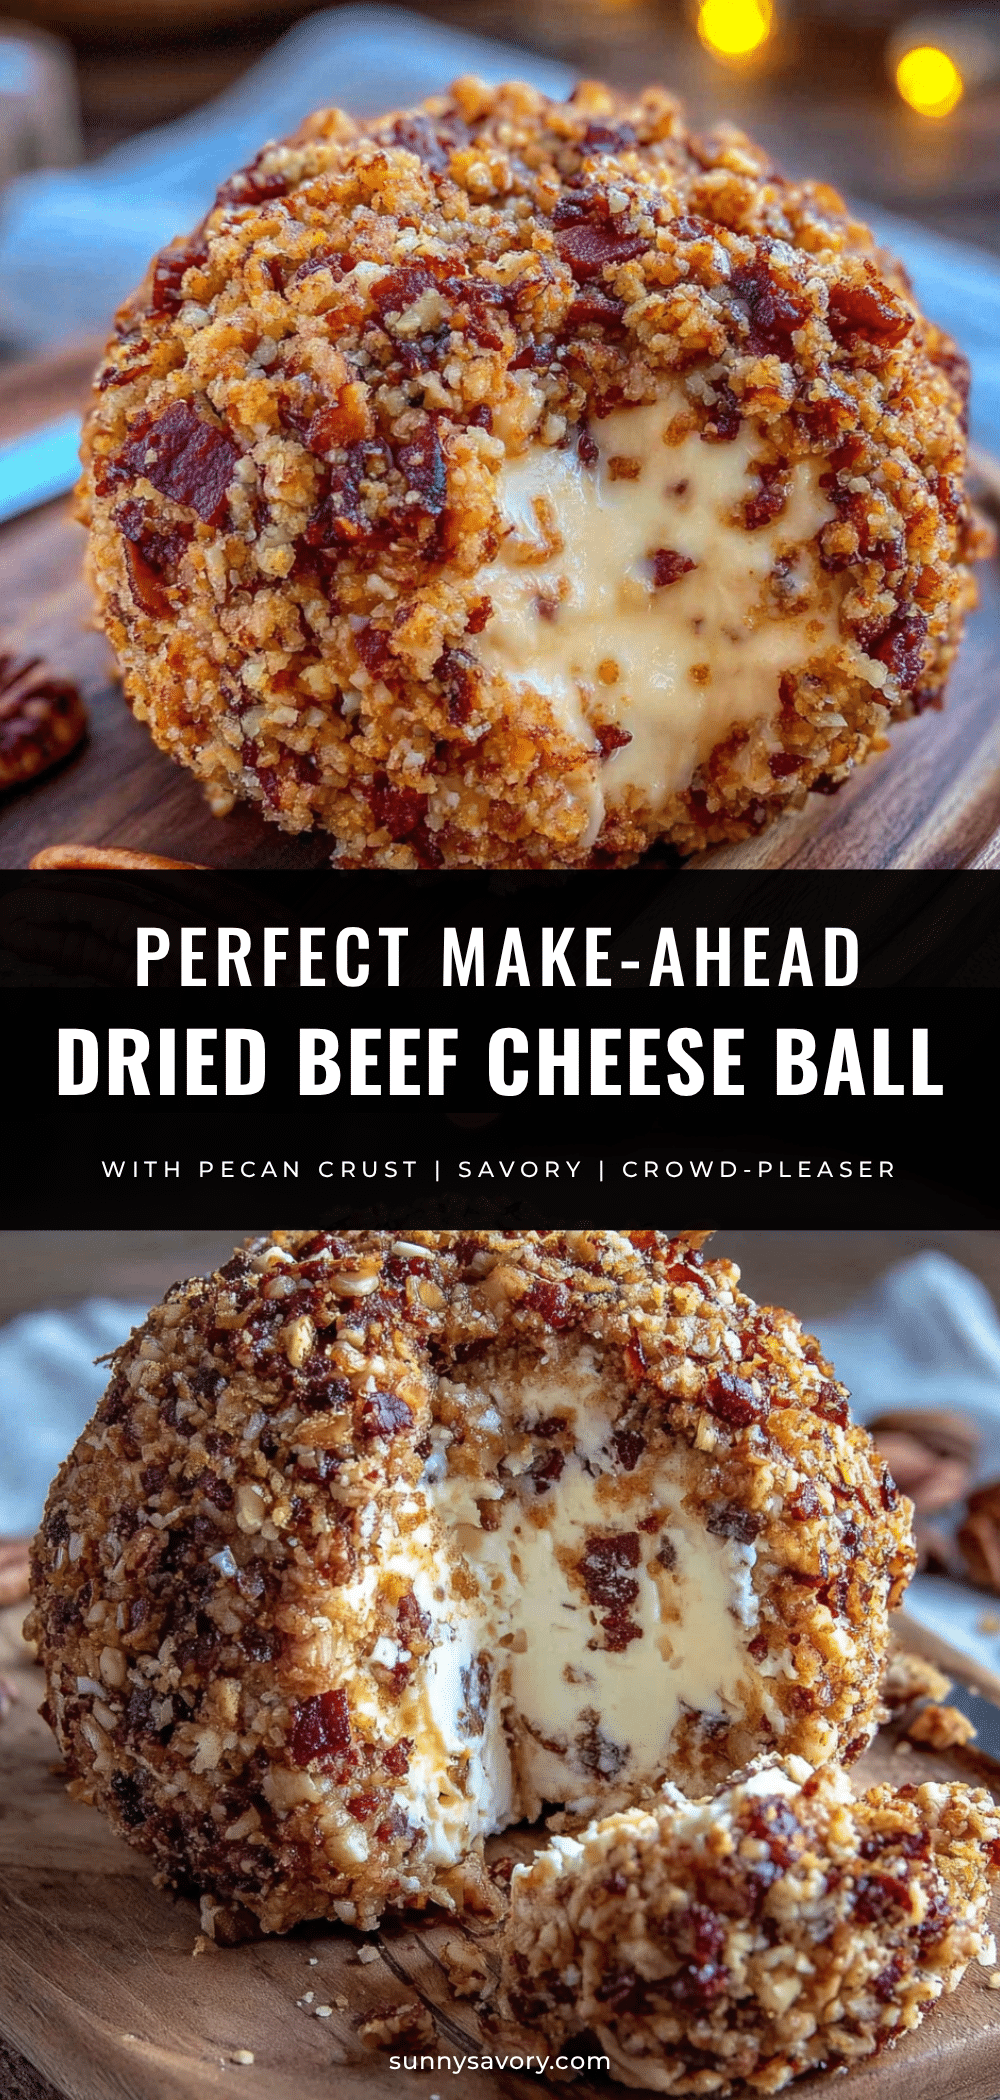
Perfect Make-Ahead Dried Beef Cheese Ball with Pecan Crust

A creamy, savory cheese ball loaded with dried beef and green onions, coated in crunchy pecans. This make-ahead appetizer is perfect for parties and requires no cooking.
- Prep Time: 15 minutes
- Cook Time: 5 minutes
- Total Time: 4 hours 20 minutes (includes chilling)
- Yield: 12 servings 1x
- Category: Appetizer
- Cuisine: American
Ingredients
- 16 ounces cream cheese, softened to room temperature
- 2 ½ ounces dried beef, finely chopped
- ½ cup green onions, thinly sliced
- 1 tablespoon Worcestershire sauce
- ¼ teaspoon black pepper, freshly ground
- 1 cup pecans, finely chopped
Instructions
- Soften the cream cheese: Take the cream cheese out of the fridge at least 30 minutes before starting. If forgotten, unwrap blocks and microwave on low power for 10-15 seconds until soft but not warm.
- Chop the dried beef: Open the jar and drain excess liquid. Chop into small pieces about the size of chocolate chips. Set aside about 2 tablespoons for the outside coating if desired.
- Slice the green onions: Trim root ends and wilted tops. Slice thinly, including white and light green parts. Reserve a tablespoon for garnish if desired.
- Mix the base: In a large mixing bowl, combine softened cream cheese, chopped dried beef, sliced green onions, Worcestershire sauce, and black pepper. Stir with a wooden spoon or spatula until completely combined.
- Shape the cheese ball: Lay out a large piece of plastic wrap. Scoop the cheese mixture into the center. Gather edges of plastic wrap and twist to shape into a smooth ball.
- Chill the cheese ball: Wrap tightly in plastic wrap and refrigerate for at least 4 hours, preferably overnight.
- Toast the pecans (optional): About 30 minutes before serving, place chopped pecans in a dry skillet over medium heat. Stir constantly for 3-5 minutes until fragrant. Pour onto a plate to cool completely.
- Coat the cheese ball: Unwrap chilled cheese ball and place on parchment paper. Pour cooled pecans onto paper. Roll cheese ball in pecans, pressing gently to adhere.
- Serve: Transfer to serving board. Let sit at room temperature for 15 minutes before serving with crackers, sliced baguette, or fresh vegetables.
Notes
Make up to 5 days ahead; coat with pecans on serving day for crunchiest texture. For best flavor, chill overnight. Let cheese ball sit at room temperature 15-20 minutes before serving for easy spreading.
Nutrition
- Serving Size: 1/12 of cheese ball
- Calories: 220
- Sugar: 2
- Sodium: 380
- Fat: 20
- Saturated Fat: 10
- Carbohydrates: 4
- Fiber: 1
- Protein: 7
Keywords: cheese ball, dried beef, pecan crust, make-ahead appetizer, party food, no-cook recipe



