Love this? Save it for later!
Share the inspiration with your friends
There used to be a tiny bakery tucked between a dry cleaner and a vintage shop on Main Street in my old neighborhood. The kind of place with mismatched chairs and a chalkboard menu that changed daily. They made an apple crisp that I still dream about—warm, bubbling, with a oat streusel topping that shattered into buttery crumbs the second your spoon touched it. When they closed their doors two summers ago, I actually stood outside staring at the “For Lease” sign like I’d lost a friend. Dramatic? Maybe. But if you’ve ever lost access to your favorite comfort food, you get it.
After twelve tries—twelve, folks, including one where I accidentally used salted butter AND added extra salt like a maniac—I finally cracked the code. This small-batch apple crisp for two is the exact recreation of that bakery magic. I mean, I literally texted my friend Sarah at 9 PM on a Tuesday with a photo and the caption “WE’RE BACK.” She knew exactly what I meant.
Honestly, this recipe became my go-to for dinner parties and small gatherings. It’s the kind of dessert that makes people close their eyes after the first bite. You know that feeling when something tastes so familiar and so perfect that it almost makes you emotional? That’s this apple crisp. And the best part? It’s designed for two people, which means no sad leftovers lingering in the fridge for a week. Just the perfect amount of warm, spiced apple goodness with that irresistible oat streusel on top. Let me tell you, once you make this, you’ll understand why I spent two years chasing this memory.
Why You’ll Love This Recipe
This isn’t just another apple dessert recipe. This is the one that’ll earn you permanent “can you bring dessert?” status at every gathering. Here’s why it works so beautifully for hosts like you:
- Perfect for Two : No more wrestling with a massive 9×13 dish when you’re hosting a cozy dinner for two. This recipe scales down beautifully without sacrificing any of the flavor or texture.
- Simple Ingredients : You probably already have everything in your pantry right now. Apples, oats, butter, brown sugar, cinnamon—that’s it. No fancy grocery store runs required.
- Impressive with Minimal Effort : This looks like you spent hours in the kitchen. In reality, it comes together in about 15 minutes of active prep. The oven does the rest of the work while you focus on your guests.
- Crowd-Pleasing Guaranteed : I’ve served this at potlucks, dinner parties, and casual weeknight hangouts. Every single time, someone asks for the recipe. It’s that good.
- Make-Ahead Friendly : You can assemble this completely ahead of time and pop it in the oven right when your guests arrive. The smell alone will set the mood for the evening.
What makes this different from every other apple crisp recipe out there? It’s the texture of that oat streusel. I spent months perfecting the ratio of butter to oats to flour so you get that perfect crumble—not too sandy, not too clumpy. Plus, the apples cook down into this luscious, jammy filling that’s spiced just right. This isn’t just another version of apple crisp. This is the version that’ll become your signature dish.
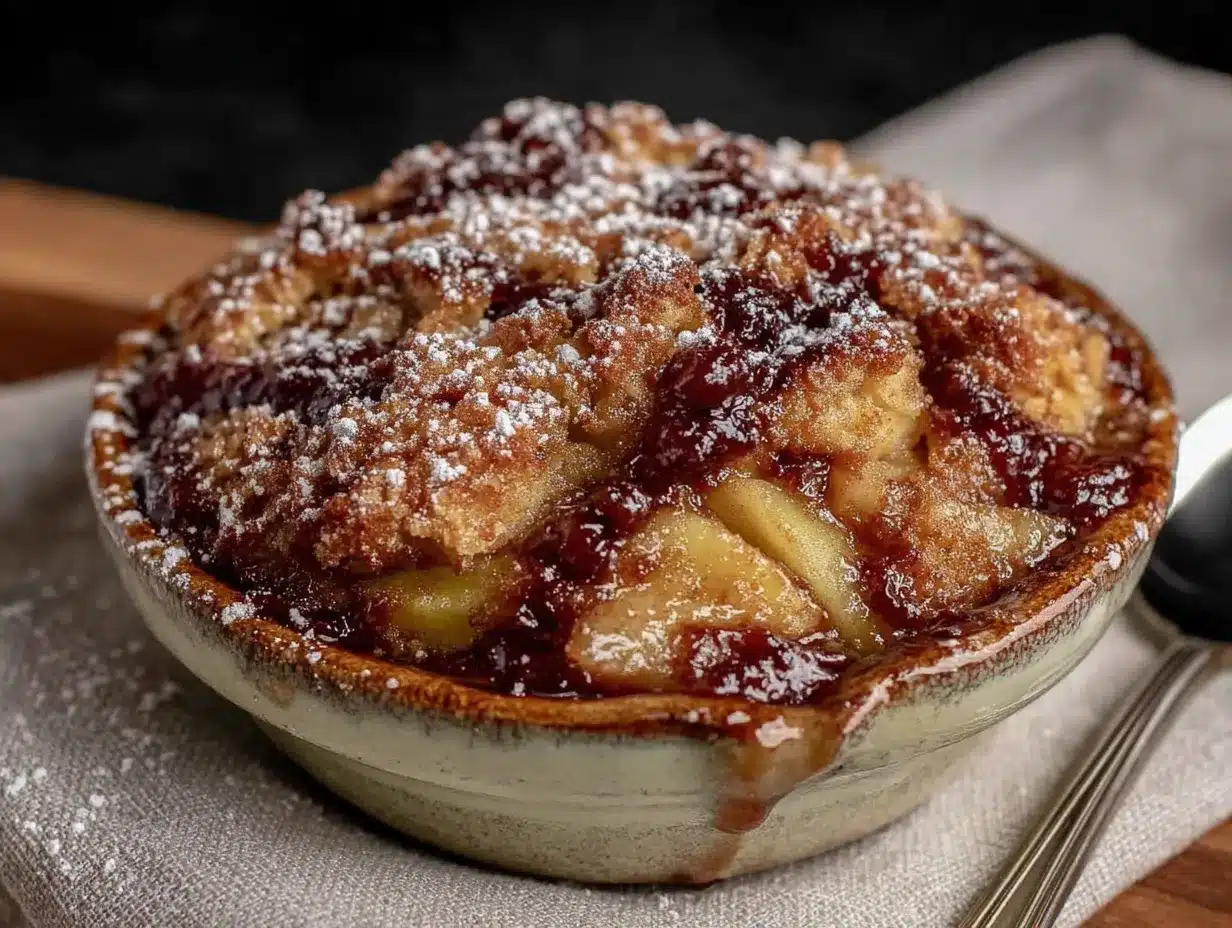
There’s something special about serving a dessert that’s clearly made with intention. When you bring out two warm ramekins of bubbling apple crisp topped with that golden oat streusel, your guests know you thought about them. It’s comfort food at its finest—simple, honest, and absolutely unforgettable.
What Ingredients You Will Need
This small-batch apple crisp uses simple, wholesome ingredients that work together to create something truly special. Most of these are pantry staples, which makes this recipe perfect for those “I need dessert now” moments.
For the Apple Filling
- 2 medium apples (about 300g total) – I recommend Honeycrisp or Granny Smith for the best balance of sweetness and tartness. Honeycrisp holds its shape beautifully during baking, while Granny Smith gives that lovely tang that cuts through the sweetness. You can also use Fuji or Braeburn if that’s what you have on hand.
- 2 tablespoons granulated sugar (25g) – This helps draw out the natural juices from the apples and creates that syrupy filling.
- 1 tablespoon brown sugar (12g) – Adds depth and a subtle molasses note that pairs perfectly with the spices.
- 1 tablespoon all-purpose flour (8g) – This thickens the apple juices as they cook, preventing a watery filling.
- 1 teaspoon ground cinnamon – The star spice here. I prefer using Ceylon cinnamon for its milder, sweeter flavor, but regular cinnamon works just fine.
- 1/4 teaspoon ground nutmeg – Freshly grated if you can, but pre-ground works in a pinch. It adds that warm, aromatic quality that makes apple desserts so cozy.
- 1 tablespoon lemon juice (15ml) – A splash of acidity balances the sweetness and prevents the apples from browning too quickly.
For the Oat Streusel Topping
- 1/2 cup old-fashioned rolled oats (45g) – Please don’t use quick oats here. The texture is completely different. Old-fashioned oats give that wonderful chewy-crunchy contrast that makes this streusel so addictive.
- 1/3 cup all-purpose flour (40g) – Creates the structure for the crumble.
- 1/3 cup brown sugar (65g) – Packed firmly. This is what gives the streusel that deep, caramelized flavor.
- 1/4 teaspoon salt – Don’t skip this. Salt makes all the flavors pop and balances the sweetness.
- 1/2 teaspoon ground cinnamon – Because you can never have too much cinnamon in an apple dessert.
- 1/4 cup unsalted butter (56g) – Cold and cut into small cubes. This is crucial for that crumbly texture. I use Kerrygold because the higher butterfat content gives a richer flavor, but any good-quality unsalted butter works.
Ingredient Tips from My Kitchen: For the best results, use apples that are firm and not mealy. Give them a gentle squeeze at the store—they should feel solid, not soft. And here’s a little trick I learned the hard way: if your butter is too warm when you mix it into the streusel, you’ll end up with a paste instead of crumbs. Keep that butter cold until the very last minute.
Substitution Options: Need a gluten-free version? Swap the all-purpose flour with a good gluten-free blend or almond flour. The oat streusel will still work beautifully. For a dairy-free option, use cold coconut oil or vegan butter in place of the regular butter. And if you’re watching your sugar intake, you can reduce the brown sugar by a tablespoon or two without compromising the texture too much.
Equipment Needed
You don’t need a fancy kitchen to make this small-batch apple crisp. Here’s what you’ll need:
- Two 8-ounce ramekins or small baking dishes – These are perfect for individual servings. If you don’t have ramekins, you can use a small 6-inch cast iron skillet or even a 5×5 inch baking dish. The key is having a dish that holds about 1 to 1.5 cups of liquid.
- Mixing bowls – One medium bowl for the apple filling and one small bowl for the streusel. I use glass bowls because they’re easy to see through and clean up nicely.
- Chef’s knife and cutting board – For dicing those apples into uniform pieces.
- Measuring cups and spoons – Accuracy matters in baking, even for a rustic dessert like this.
- Pastry cutter or fork – For cutting the cold butter into the streusel ingredients. If you don’t have a pastry cutter, two knives or even your fingertips work perfectly. Just work quickly so the butter doesn’t warm up.
- Baking sheet – Place your ramekins on a baking sheet before putting them in the oven. This catches any bubbling juices and makes cleanup a breeze.
- Cooling rack – Optional but nice for letting the ramekins cool slightly before serving.
I’ve made this recipe using just a bowl, a knife, and my hands. You really don’t need anything special. The one thing I’d invest in is good quality ramekins—they’re inexpensive and make any dessert look restaurant-worthy.
Preparation Method
Let’s walk through this step by step. Trust me, it’s easier than you think.
- Preheat your oven to 350°F (175°C). Position a rack in the center of the oven. While it’s heating up, you can prep everything else.
- Prep your apples. Wash, peel, and core your apples. Cut them into roughly 1/2-inch cubes. You want them uniform in size so they cook evenly. I usually end up with about 2 cups of diced apples total. Don’t stress too much about perfection—rustic is part of the charm here.
- Make the apple filling. In a medium bowl, combine the diced apples, granulated sugar, brown sugar, flour, cinnamon, nutmeg, and lemon juice. Stir everything together until the apples are evenly coated. Let this sit for about 5 minutes while you make the streusel. This resting time helps the apples release their juices, which creates that wonderful syrupy filling.
- Make the oat streusel. In a separate small bowl, whisk together the rolled oats, flour, brown sugar, salt, and cinnamon. Add the cold cubed butter. Using a pastry cutter, fork, or your fingertips, work the butter into the dry ingredients until the mixture resembles coarse crumbs with some pea-sized butter pieces remaining. You want some larger clumps for texture—don’t overwork it. The mixture should hold together when squeezed but break apart easily.
- Assemble the crisps. Divide the apple mixture evenly between your two ramekins. The filling should come almost to the top. Don’t pack it down too firmly—you want some air gaps for the juices to bubble through. Sprinkle the oat streusel evenly over both ramekins, covering the apples completely. Use all of it. Yes, it seems like a lot, but that’s what makes this so good.
- Bake. Place the ramekins on a baking sheet (trust me on this—it saves your oven from sticky spills). Bake for 30 to 35 minutes, or until the filling is bubbling around the edges and the streusel is deep golden brown. If the streusel is browning too quickly around the 25-minute mark, tent loosely with foil for the remaining time.
- Cool slightly. Let the crisps rest on a cooling rack for at least 10 minutes before serving. This allows the filling to set up a bit so it’s not runny. I know it’s tempting to dig in immediately, but patience pays off here.
- Serve warm. The apples should be tender and the streusel crisp. A scoop of vanilla ice cream or a dollop of whipped cream takes this over the top, but it’s absolutely delicious on its own too.
Visual Cues to Watch For: When the filling starts bubbling up around the edges of the ramekin, that’s your signal that it’s almost done. The streusel should be a rich golden brown, not pale. If you’re unsure, give it an extra 2-3 minutes. It’s better to have a slightly darker topping than an underbaked one.
Prep Tip for Hosting: You can assemble these completely up to 24 hours in advance. Just cover the assembled ramekins with plastic wrap and refrigerate. When you’re ready to bake, add about 5 extra minutes to the baking time since everything starts cold. This is a lifesaver when you’re juggling multiple dishes for a dinner party.
Cooking Tips & Techniques
After twelve attempts at recreating that bakery apple crisp, I learned a few things the hard way. Let me save you some trouble.
Don’t skip the lemon juice. I made this mistake on attempt number three. The apples turned brown and the filling was cloyingly sweet. That splash of acidity does two things: it keeps the apples looking fresh and it balances all that brown sugar goodness. Trust the process.
Cold butter is non-negotiable. I cannot stress this enough. If your butter is even slightly soft, you’ll end up with a streusel paste instead of crumbly bits. Cut your butter into small cubes and pop them in the freezer for 5 minutes before starting. Your hands will warm up the butter as you work, so keep everything as cold as possible.
Size matters with apple pieces. I once got lazy and cut the apples into big chunks. They were still crunchy after 35 minutes of baking. Cut them into 1/2-inch cubes and they’ll be perfectly tender every time. If you’re using a firmer apple like Granny Smith, you can go slightly smaller.
Let those apples macerate. That 5-minute rest after mixing the filling isn’t just for show. The sugar draws out the natural juices from the apples, creating a syrup that thickens beautifully as it bakes. If you skip this step, your filling will be watery and the apples won’t soften as nicely.
Bake on a sheet pan. I learned this lesson the messy way. The filling bubbles up and spills over the edges of the ramekin. A baking sheet catches all that sticky goodness and saves you from scrubbing your oven later. Plus, it makes transferring the ramekins in and out of the oven much easier.
Timing is everything. Start checking your crisps at the 28-minute mark. Ovens vary, and you want that perfect golden brown color without burning. If you’re baking from cold (after refrigerating), add about 5-8 minutes to the total time.
Variations & Adaptations
One of the best things about this apple crisp recipe is how flexible it is. Here are some ways to make it your own:
Seasonal Fruit Swaps: When fall rolls around, try using pears instead of apples for a softer, more delicate filling. In summer, stone fruits like peaches or nectarines work beautifully—just reduce the sugar slightly since they’re naturally sweeter. You can even do a mixed fruit version with apples and cranberries for the holidays.
Dietary Adaptations: For a gluten-free version, substitute the all-purpose flour with a 1:1 gluten-free baking blend or almond flour. The oat streusel works perfectly with certified gluten-free oats. For a vegan version, use cold coconut oil or vegan butter in the streusel, and maple syrup instead of honey if you’re using any. I’ve tested both and they turn out wonderfully.
Flavor Twists: Add 1/4 cup of chopped pecans or walnuts to the streusel for extra crunch. Stir in 1/4 cup of dried cranberries or golden raisins to the apple filling for bursts of sweetness. For a boozy adult version, add 1 tablespoon of bourbon or dark rum to the apple mixture—it adds incredible depth of flavor.
Spice It Up: Not a fan of cinnamon? Try using apple pie spice or pumpkin pie spice blend instead. A pinch of cardamom adds an unexpected but delicious floral note. And if you like things spicy, a tiny pinch of cayenne pepper in the filling will surprise and delight your guests.
My Personal Favorite Variation: I once made this with a mix of Honeycrisp apples and fresh blackberries. The blackberries burst during baking and created this gorgeous purple-red syrup that stained the oat streusel in the most beautiful way. It tasted even better than it looked, which is saying something.
Serving & Storage Suggestions
This small-batch apple crisp is designed to be served warm, straight from the oven. Here’s how to make it shine:
Serving Temperature: Let the crisps cool for 10-15 minutes after baking. The filling needs this time to set up so it’s not too runny. The ideal serving temperature is warm but not piping hot—you want that contrast between the warm apples and cold ice cream.
What to Serve With It: A scoop of vanilla bean ice cream is the classic pairing, and for good reason. The cold, creamy vanilla balances the warm, spiced apples perfectly. If you’re feeling fancy, try salted caramel or bourbon vanilla ice cream. A dollop of freshly whipped cream works beautifully too, especially if you add a tiny bit of cinnamon to it. For a more decadent option, drizzle warm caramel sauce over the top.
Presentation Tips for Hosting: Place the ramekins on small dessert plates with a linen napkin underneath. Add a sprig of fresh mint or a cinnamon stick for a touch of elegance. If you’re serving a crowd, you can double or triple the recipe and bake it in a 6-inch cast iron skillet—it makes a stunning centerpiece for the table.
Storage Instructions: If you have leftovers (unlikely, but possible), cover the ramekins tightly with plastic wrap or foil and store in the refrigerator for up to 3 days. The streusel will soften over time, but it’s still delicious.
Reheating Tips: To bring back that crispy topping, reheat in a 350°F oven for 10-12 minutes, or until warmed through. You can also use an air fryer at 325°F for 5-7 minutes. The microwave works in a pinch, but the streusel will be soft rather than crisp.
How Flavors Develop: Honestly, this apple crisp tastes even better the next day. The spices have time to meld with the apples, and the filling becomes even more jammy and concentrated. If you can resist eating it all in one sitting, you’re in for a treat.
Nutritional Information & Benefits
While this is definitely a treat, it’s made with whole food ingredients that offer some nutritional benefits. Here’s a rough estimate per serving (one ramekin):
| Nutrient | Amount Per Serving |
|---|---|
| Calories | 380 |
| Total Fat | 14g |
| Saturated Fat | 8g |
| Carbohydrates | 62g |
| Fiber | 6g |
| Sugar | 38g |
| Protein | 4g |
| Sodium | 180mg |
Health Highlights: Apples are packed with fiber and vitamin C, and the oats in the streusel provide soluble fiber that’s great for heart health. The cinnamon adds anti-inflammatory properties and may help with blood sugar regulation. While this isn’t a health food by any stretch, it’s a much better option than store-bought desserts loaded with preservatives and artificial ingredients.
Dietary Considerations: This recipe is vegetarian and can easily be made gluten-free or vegan with the substitutions mentioned above. It contains dairy and gluten in its standard form, so be mindful if you’re serving guests with allergies.
My Personal Take: I believe in balance. This apple crisp is a celebration dessert, something you make for special occasions or when you want to show someone you care. It’s meant to be enjoyed fully, without guilt. Life’s too short to skip dessert, you know?
Conclusion
There’s a reason I spent two years chasing that bakery apple crisp. Some recipes are just worth the effort. This small-batch apple crisp for two with oat streusel is more than just a dessert—it’s a way to create a moment. That first spoonful, warm and fragrant, with the crunch of the streusel giving way to tender, spiced apples… it’s the kind of experience that makes people slow down and savor the present.
I’ve made this for dinner parties, quiet nights in, and even as a surprise for my neighbor who helped me jump-start my car. Every single time, it delivers. The best part? You don’t need to be a professional baker to pull it off. Just good ingredients, a little patience, and the willingness to make something special for the people you care about.
Now I want to hear from you. Have you tried this recipe? Did you put your own spin on it? Drop a comment below and let me know how it turned out. And if you loved it as much as I do, share this post with a friend who needs a little dessert inspiration in their life. Happy baking, friends!
Frequently Asked Questions
Can I make this apple crisp in advance?
Absolutely! You can assemble the entire dish up to 24 hours ahead of time. Just cover the ramekins and refrigerate. When you’re ready to bake, add about 5-8 extra minutes to the baking time since everything starts cold.
What’s the best apple for apple crisp?
I recommend Honeycrisp or Granny Smith for the best balance of sweetness and tartness. Honeycrisp holds its shape well during baking, while Granny Smith adds a lovely tang. You can also use Fuji, Braeburn, or a mix of your favorites.
Can I use quick oats instead of old-fashioned oats?
I wouldn’t recommend it. Quick oats are more finely processed and will absorb too much moisture, resulting in a mushy topping. Old-fashioned rolled oats give that perfect chewy-crunchy texture that makes this streusel so special.
How do I prevent the streusel from getting soggy?
The key is using cold butter and not overworking the streusel mixture. You want visible pea-sized pieces of butter throughout. Also, make sure your apple filling isn’t too wet—let the apples macerate for 5 minutes before adding the streusel, and don’t pack the filling too tightly into the ramekins.
Can I double this recipe for a larger group?
Yes! Simply double all the ingredients and bake in a 6-inch cast iron skillet or an 8×8 inch baking dish. You’ll need to increase the baking time to about 40-45 minutes. Keep an eye on the streusel and tent with foil if it’s browning too quickly.
Pin This Recipe!
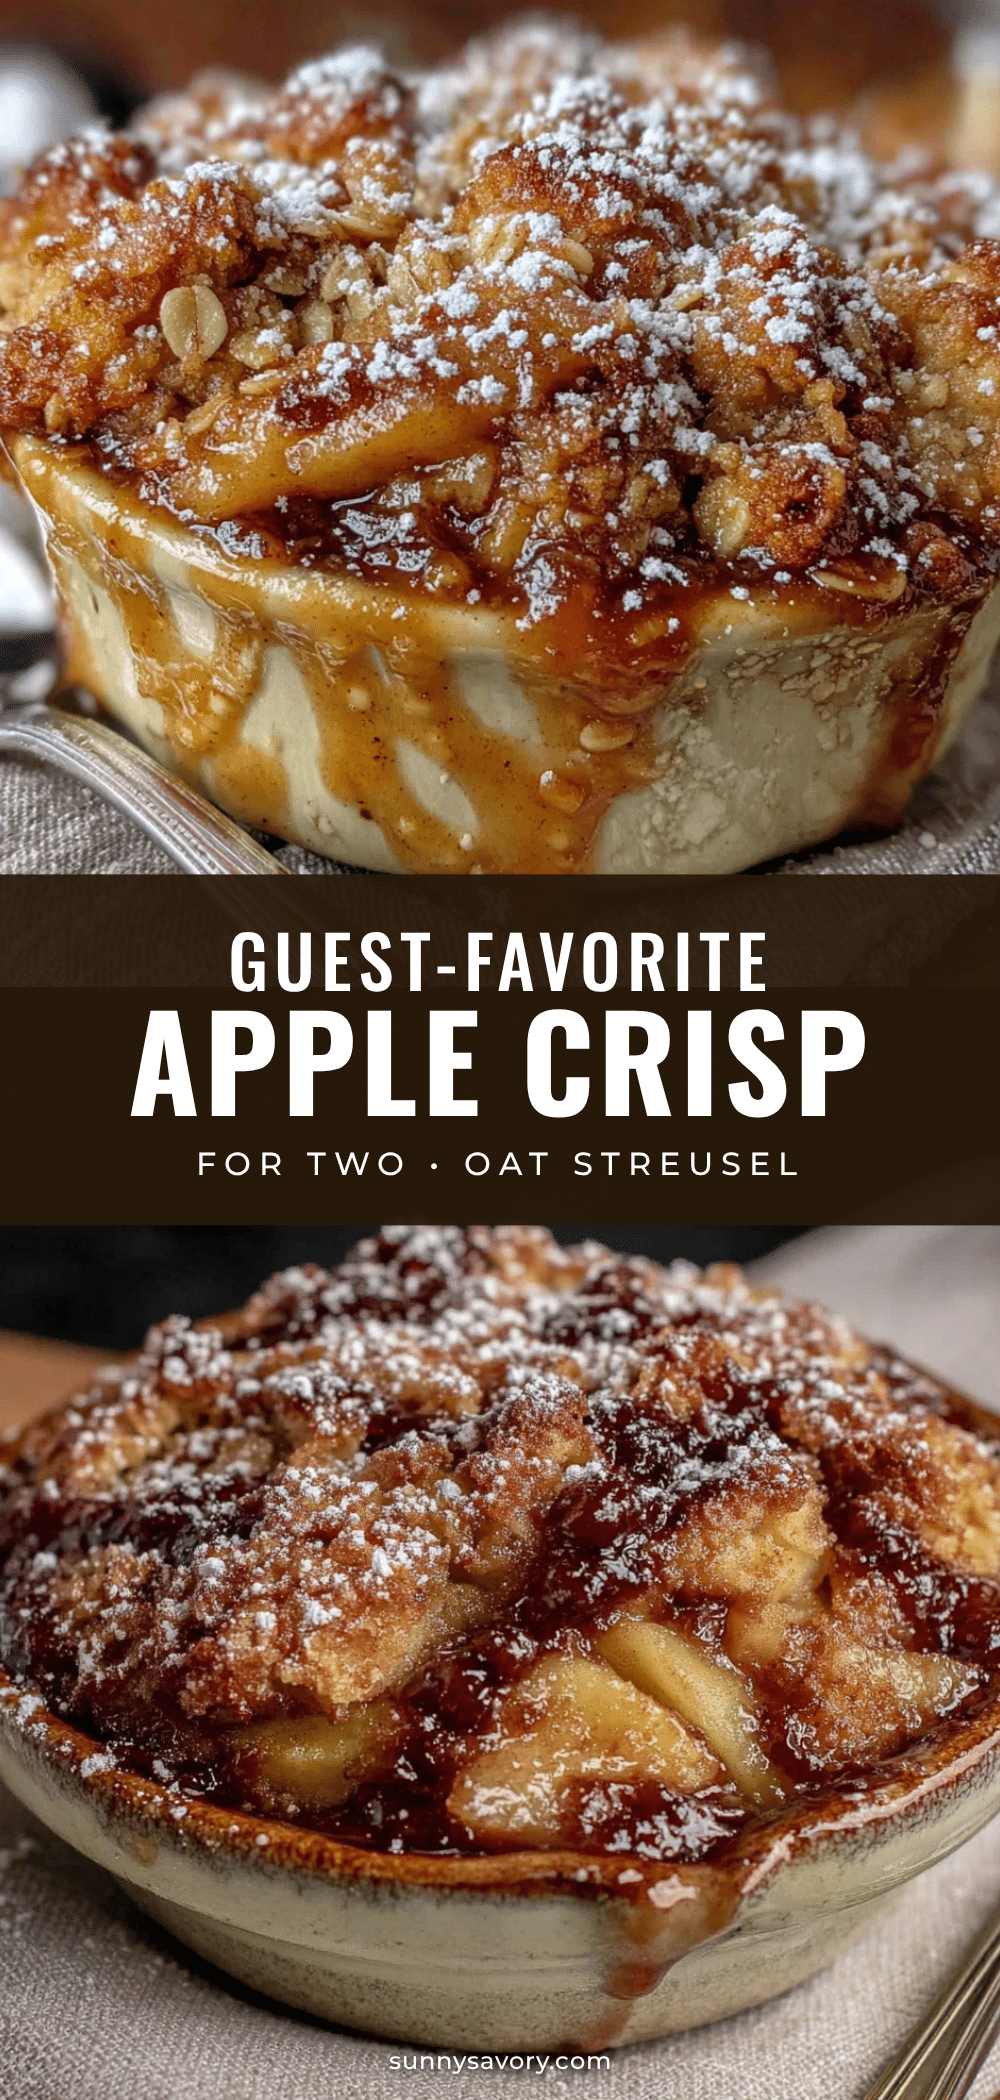
Small-Batch Apple Crisp for Two: Easy Oat Streusel Dessert

A warm, bubbling apple crisp with a buttery oat streusel topping, perfectly scaled for two servings. This easy recipe recreates bakery magic with simple ingredients and minimal effort.
- Prep Time: 15 minutes
- Cook Time: 30 minutes
- Total Time: 45 minutes
- Yield: 2 servings 1x
- Category: Dessert
- Cuisine: American
Ingredients
- 2 medium apples (about 300g total), such as Honeycrisp or Granny Smith
- 2 tablespoons granulated sugar (25g)
- 1 tablespoon brown sugar (12g)
- 1 tablespoon all-purpose flour (8g)
- 1 teaspoon ground cinnamon
- 1/4 teaspoon ground nutmeg
- 1 tablespoon lemon juice (15ml)
- 1/2 cup old-fashioned rolled oats (45g)
- 1/3 cup all-purpose flour (40g)
- 1/3 cup brown sugar, packed (65g)
- 1/4 teaspoon salt
- 1/2 teaspoon ground cinnamon
- 1/4 cup unsalted butter, cold and cubed (56g)
Instructions
- Preheat your oven to 350°F (175°C). Position a rack in the center of the oven.
- Wash, peel, and core the apples. Cut them into roughly 1/2-inch cubes (about 2 cups total).
- In a medium bowl, combine the diced apples, granulated sugar, brown sugar, flour, cinnamon, nutmeg, and lemon juice. Stir until evenly coated. Let sit for 5 minutes to allow the apples to release their juices.
- In a separate small bowl, whisk together the rolled oats, flour, brown sugar, salt, and cinnamon. Add the cold cubed butter. Using a pastry cutter, fork, or your fingertips, work the butter into the dry ingredients until the mixture resembles coarse crumbs with some pea-sized butter pieces remaining.
- Divide the apple mixture evenly between two 8-ounce ramekins. Sprinkle the oat streusel evenly over both ramekins, covering the apples completely.
- Place the ramekins on a baking sheet. Bake for 30 to 35 minutes, or until the filling is bubbling around the edges and the streusel is deep golden brown. If the streusel is browning too quickly around the 25-minute mark, tent loosely with foil for the remaining time.
- Let the crisps rest on a cooling rack for at least 10 minutes before serving to allow the filling to set.
- Serve warm, optionally with vanilla ice cream or whipped cream.
Notes
For best results, use cold butter and do not overwork the streusel. Let the apples macerate for 5 minutes before assembling. Bake on a sheet pan to catch spills. Can be assembled up to 24 hours in advance and refrigerated; add 5-8 minutes to baking time if starting cold.
Nutrition
- Serving Size: 1 ramekin
- Calories: 380
- Sugar: 38
- Sodium: 180
- Fat: 14
- Saturated Fat: 8
- Carbohydrates: 62
- Fiber: 6
- Protein: 4
Keywords: apple crisp, small batch, for two, oat streusel, easy dessert, fall dessert, apple dessert



