Love this? Save it for later!
Share the inspiration with your friends
I was folding laundry last Tuesday — a truly mindless task — when the smell of someone else’s woodsmoke drifted through my cracked window. It was just a whiff, barely there, the kind of scent that usually gets swallowed by the smell of dryer sheets. But in that split second, I was seven years old, standing in Mrs. Gable’s drafty farmhouse kitchen, watching her pour steaming milk over a scoop of something brown and mysterious from a mason jar. She didn’t call it hot cocoa mix. She called it “winter in a cup.” I never got that recipe from her. She moved away the next spring, and I spent years trying to recreate that specific, velvety warmth from memory alone. Honestly, I got it wrong a lot. Too sweet, too gritty, too thin. But last Tuesday, with that woodsmoke hanging in the air, I finally nailed it. And let me tell you, it was worth every failed batch.
This cozy homemade hot cocoa mix in a jar is my love letter to that memory. It’s not just about the drink itself — it’s about the ritual. The way the jar feels heavy in your hands. The sound of the scoop hitting the glass. The anticipation of that first sip. Maybe you’ve been there, chasing a taste from your past that you can’t quite pin down. This mix is simple to throw together, uses ingredients you probably already have, and makes the absolute best cup of cocoa you’ll have all winter. It’s the kind of thing you make for yourself on a quiet Tuesday, and the kind of thing you give to everyone you love because it feels like a hug in a jar.
Why You’ll Love This Recipe
I’ve tested this mix about a dozen times. I’ve made it with cheap cocoa powder (don’t do it), with fancy Dutch-processed stuff, with whole milk powder and nonfat. I’ve stirred it with a whisk and a fork and, in a moment of desperation, a chopstick. This version? It’s the one. It’s the Goldilocks of hot cocoa mixes — not too sweet, not too bitter, impossibly smooth. Here’s why you’re going to love it:
- Quick & Easy: This comes together in about 10 minutes. No cooking, no fuss. Just measure, shake, and you’re done.
- Simple Ingredients: You probably have most of these in your pantry right now. No weird additives or hard-to-find specialty items.
- Perfect for Gifting: Layer it in a pretty jar, tie a ribbon around it, and you’ve got the best homemade Christmas gift that doesn’t break the bank.
- Crowd-Pleaser: Kids go nuts for it. Adults swoon over it. It’s the universal comfort drink.
- Unbelievably Creamy: The secret is in the milk powder and a tiny pinch of salt. It makes the cocoa velvety instead of watery.
What makes this recipe different from the rest? It’s the balance. I spent years making cocoa that was either cloyingly sweet or so dark it made you pucker. This mix hits that perfect middle ground, and the texture is next-level because of the powdered milk. It’s not just another hot cocoa mix — it’s the one that makes you close your eyes after the first sip. Trust me on this.
What Ingredients You Will Need
This recipe uses simple, everyday ingredients to create something that feels far more luxurious than it should. Most of these are pantry staples, which makes this mix perfect for whipping up on a whim or for last-minute gift-giving.
- 1 cup granulated sugar: Regular white sugar works best. It dissolves easily and sweetens the mix without adding any flavor of its own. Don’t use powdered sugar — it can make the mix clump.
- 1 cup unsweetened cocoa powder: I prefer Dutch-processed cocoa for this because it’s darker and less acidic. My go-to is Droste or Ghirardelli for a super smooth result. If you only have natural cocoa powder, it will still work, but the flavor will be a little sharper.
- 1 ½ cups powdered milk (instant): This is the magic ingredient. It gives the cocoa that creamy, luxurious texture without needing to use fresh milk. I use Carnation Instant Nonfat Dry Milk because it dissolves easily and doesn’t have a weird aftertaste.
- 1 cup powdered chocolate drink mix (like Ovaltine or Nesquik): Okay, hear me out. This sounds weird, but it adds a little extra creaminess and a touch of maltiness that takes the cocoa to another level. If you don’t have it, just use an extra ½ cup of cocoa powder and ½ cup of powdered milk.
- ½ teaspoon salt: A tiny pinch of salt makes all the difference. It balances the sweetness and makes the chocolate flavor pop. Don’t skip it.
- Optional: ½ cup mini marshmallows or chocolate chips: For layering in the jar. If you’re making this as a gift, a layer of mini marshmallows on top looks adorable. Just keep in mind they will get stale faster, so use within a month.
For the full batch, you’ll need about 4 cups of dry mix total, which fills a standard 32-ounce mason jar perfectly. If you want to make a smaller batch, just halve everything.
Equipment Needed
You don’t need much to make this mix, which is part of its charm. Here’s what you’ll want on hand:
- Large mixing bowl: To combine all the dry ingredients. Any big bowl will do.
- Whisk: For mixing. A fork will work in a pinch, but a whisk does a better job of breaking up any clumps.
- Measuring cups and spoons: Accuracy matters here — too much cocoa powder makes it bitter, too much sugar makes it cloying.
- Funnel (optional but helpful): If you’re putting the mix into a narrow-mouth jar, a funnel makes the job infinitely less messy. I’ve used a rolled-up piece of paper in a pinch.
- 32-ounce mason jar (or several smaller jars): For storage or gifting. Wide-mouth jars are easier to fill.
- Ribbon, twine, or gift tags (optional): For gifting. A little presentation goes a long way.
I’ve made this mix using nothing but a bowl and a spoon, and it turned out perfectly. Don’t let a lack of fancy equipment stop you.
Preparation Method
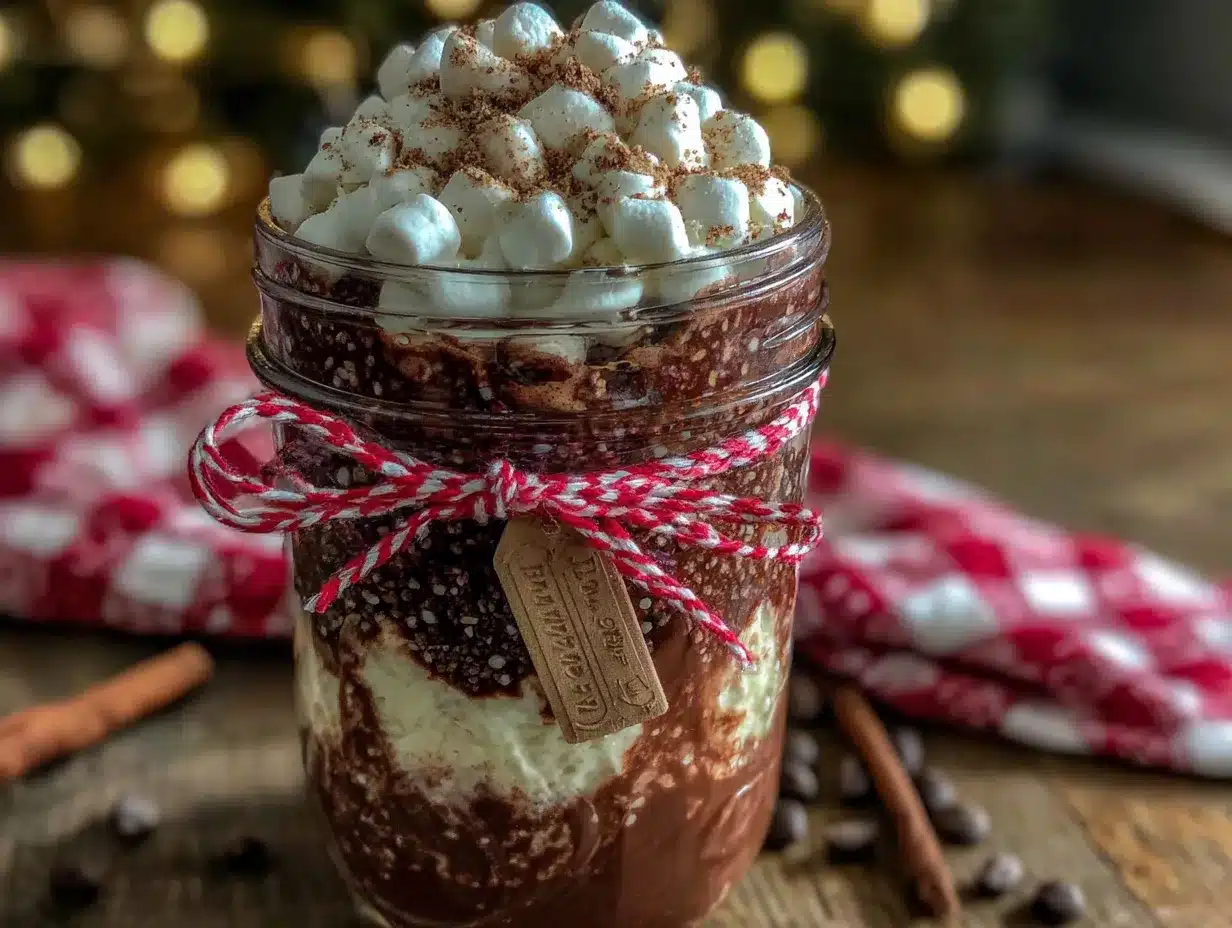
Making this mix is almost embarrassingly easy. But there are a few little tricks I’ve learned along the way to make sure it turns out perfectly every time.
- Measure out all your ingredients. Get everything into separate bowls or piles on the counter. This is my cardinal rule for any recipe — it saves you from realizing halfway through that you’re out of cocoa powder. Trust me, I’ve been there.
- Combine the dry ingredients in a large mixing bowl. Add the sugar, cocoa powder, powdered milk, powdered chocolate drink mix (if using), and salt. Give it a quick stir with your whisk to distribute everything.
- Whisk vigorously for at least 2 minutes. This is the most important step. You want to make sure the cocoa powder is completely incorporated into the milk powder and sugar. If you see any streaks of dark cocoa, keep whisking. The mixture should be a uniform, rich brown color. I sometimes use a sifter if I’m feeling fancy, but whisking works just fine.
- Check for clumps. Run the mixture through a fine-mesh sieve if you see any stubborn lumps. Cocoa powder loves to clump, and you don’t want those bitter pockets in your drink. I’ve skipped this step before and regretted it.
- Transfer the mix to your jar(s). Use a funnel if you have one. If you’re layering for a gift jar, do it carefully: start with a layer of the cocoa mix, then a layer of mini marshmallows or chocolate chips, then more cocoa mix. Tap the jar gently on the counter between layers to settle everything.
- Seal the jar tightly. Give it a good shake before you use it, since the ingredients can settle during storage. I always forget to do this and end up with a weirdly sweet first sip.
To make a single serving of hot cocoa:
- Heat 1 cup of milk (dairy or non-dairy) in a small saucepan over medium heat until steaming. Do not let it boil — boiling milk can scorch it and ruin the flavor.
- Add 3 tablespoons of the cocoa mix to a mug.
- Pour about ¼ cup of the hot milk into the mug and stir until the mix is completely dissolved. This creates a smooth paste and prevents lumps.
- Pour in the remaining hot milk and stir well. Taste and adjust sweetness if needed.
- Top with marshmallows, whipped cream, or a sprinkle of cinnamon if you’re feeling extra cozy.
Cooking Tips & Techniques
I’ve made a lot of mistakes with hot cocoa over the years. Here’s what I’ve learned so you don’t have to repeat my errors.
Don’t skip the salt. I know it sounds crazy — salt in hot cocoa? But it’s the same principle as salted caramel. A tiny pinch balances the sweetness and makes the chocolate flavor deeper and more complex. Without it, the cocoa tastes flat and one-dimensional.
Always make a paste first. This is the biggest game-changer. If you dump the dry mix directly into a full mug of hot milk, you’ll end up with floaty clumps of cocoa powder that refuse to dissolve. Instead, add a little bit of hot liquid to the mix first and stir it into a smooth paste. Then add the rest. It takes an extra 15 seconds and makes a world of difference.
Use hot milk, not water. I know some recipes call for water, and you can do that in a pinch. But hot cocoa made with milk is creamier, richer, and just plain better. Whole milk gives the best texture, but oat milk or coconut milk work beautifully for a dairy-free version. Avoid almond milk — it’s too thin and can separate.
Don’t overheat the milk. This is a mistake I made for years. I’d get distracted and let the milk come to a rolling boil, then wonder why my cocoa tasted slightly burnt and had a weird skin on top. Heat the milk gently over medium heat and take it off the stove as soon as you see steam rising and tiny bubbles forming around the edges.
Store the mix properly. Keep your jar in a cool, dark place — your pantry is perfect. Don’t store it in the refrigerator, as the moisture can cause the mix to clump. If you’re giving it as a gift, include a little tag with storage instructions so your recipient knows what to do.
Variations & Adaptations
This mix is a fantastic base, and I’ve played around with it more times than I can count. Here are some of my favorite variations.
Spicy Mexican Hot Cocoa: Add 1 teaspoon of ground cinnamon, ¼ teaspoon of cayenne pepper, and a pinch of nutmeg to the dry mix. The warmth of the spices is incredible alongside the rich chocolate. I made this for a friend who was skeptical, and she ended up asking for the recipe three times.
Peppermint Hot Cocoa: Crush ½ cup of hard peppermint candies (like candy canes) and layer them in the jar with the mix. When you make a cup, the peppermint melts into the cocoa and gives it that perfect cool, minty finish. This is my go-to for holiday gifting.
Dairy-Free Version: Substitute the powdered milk with a high-quality powdered coconut milk or oat milk powder. I’ve tested this with So Delicious Coconut Milk Powder and it works beautifully. The texture is slightly different — a little thinner — but the flavor is still fantastic.
Dark Chocolate Lover’s Mix: Use 1 ½ cups of dark cocoa powder (like Valrhona) and reduce the sugar to ¾ cup. This creates an intensely rich, slightly bitter cocoa that’s perfect for adults who don’t want anything too sweet. My husband refuses to drink any other version now.
Serving & Storage Suggestions
This hot cocoa is best served steaming hot, preferably in your favorite oversized mug. I like to top mine with a mountain of mini marshmallows and a drizzle of chocolate syrup because, honestly, why not? A sprinkle of cinnamon or a dollop of whipped cream never hurts either.
For a full cozy experience, serve this alongside a plate of chewy gingerbread cookies or a slice of classic banana bread. The spiced warmth of the gingerbread or the sweet, tender crumb of the banana bread pairs perfectly with the rich chocolate. It’s the kind of combination that makes a cold afternoon feel like a special occasion.
Storage: Keep the dry mix in an airtight container at room temperature for up to 6 months. Make sure it’s in a cool, dark place — not near the stove or in direct sunlight. If you’ve added marshmallows to the jar, use the mix within 1 month, as the marshmallows will absorb moisture and become stale.
Reheating: If your prepared cocoa gets cold, reheat it gently in a saucepan over low heat. Do not microwave it, as this can make the milk proteins separate and create a weird, grainy texture. I learned this the hard way when I tried to reheat a mug of cocoa at work and ended up with a curdled mess.
The flavors actually meld together beautifully over time. I’ve found that a batch of mix that’s been sitting for a week or two tastes even better than fresh-made, as the cocoa and milk powders have had time to fully marry. So don’t be afraid to make it ahead.
Nutritional Information & Benefits
Let’s be real — this is a treat, not a health food. But there are a few surprising benefits hidden in that cozy mug.
| Nutrient | Per Serving (1 cup prepared with whole milk) |
|---|---|
| Calories | ~220 |
| Total Fat | 8g |
| Saturated Fat | 5g |
| Carbohydrates | 32g |
| Sugar | 24g |
| Protein | 8g |
| Calcium | 25% DV |
| Iron | 10% DV |
Cocoa powder is actually a decent source of antioxidants, specifically flavonoids, which can help support heart health. The milk provides calcium and vitamin D, which are great for bone health. Plus, there’s something to be said for the mental health benefits of a warm, comforting drink on a cold day. It’s not just about the nutrients — it’s about the ritual and the feeling of being cared for.
If you’re watching your sugar intake, you can reduce the sugar in the mix by half and use a sugar substitute like monk fruit sweetener. Just keep in mind that the texture might be slightly different. For a lower-calorie option, use unsweetened almond milk or skim milk when preparing your cup.
Conclusion
This cozy homemade hot cocoa mix in a jar is more than just a recipe — it’s a little bit of winter magic you can hold in your hands. It’s the smell of woodsmoke on a Tuesday afternoon. It’s the feeling of wrapping your cold fingers around a warm mug. It’s the look on someone’s face when you hand them a jar tied with a ribbon and say, “I made this for you.”
I hope you’ll make a batch for yourself and a few to share. Play around with the variations, add your own twist, and make it yours. That’s the beauty of a simple recipe like this — it’s a blank canvas for whatever cozy means to you.
I’d love to hear how it turns out! Drop a comment below and let me know your favorite variation, or tag me in your photos if you share them. And if you’re looking for more cozy winter recipes, check out my creamy tomato soup — it’s the perfect companion to a grilled cheese and a steaming mug of this cocoa. Happy sipping, friends.
FAQs
Can I use this mix with water instead of milk?
You can, but it won’t be as creamy. The mix already contains powdered milk, so using water will still give you a decent cup of cocoa. But for the best texture and flavor, I always recommend using fresh milk.
How long does the mix last?
Stored in an airtight container in a cool, dark place, the mix will stay fresh for up to 6 months. If you’ve added marshmallows to the jar, use it within 1 month to avoid stale marshmallows.
Can I use this mix in a hot cocoa bomb?
Absolutely! This mix works perfectly for hot cocoa bombs. Just fill your chocolate spheres with 2 tablespoons of the mix and your favorite additions like mini marshmallows or crushed peppermint.
Why did my cocoa turn out grainy?
Grainy cocoa usually means the mix wasn’t fully dissolved, or the milk was too hot. Always make a paste with a small amount of hot liquid first, and never let your milk boil. Sifting the dry mix before using it can also help.
Can I make this sugar-free?
Yes! Swap the granulated sugar for a granulated monk fruit sweetener or erythritol. Just be aware that the texture may be slightly different, and some sugar substitutes don’t dissolve as easily. I’d recommend sifting the mix before using it if you go this route.
Pin This Recipe!
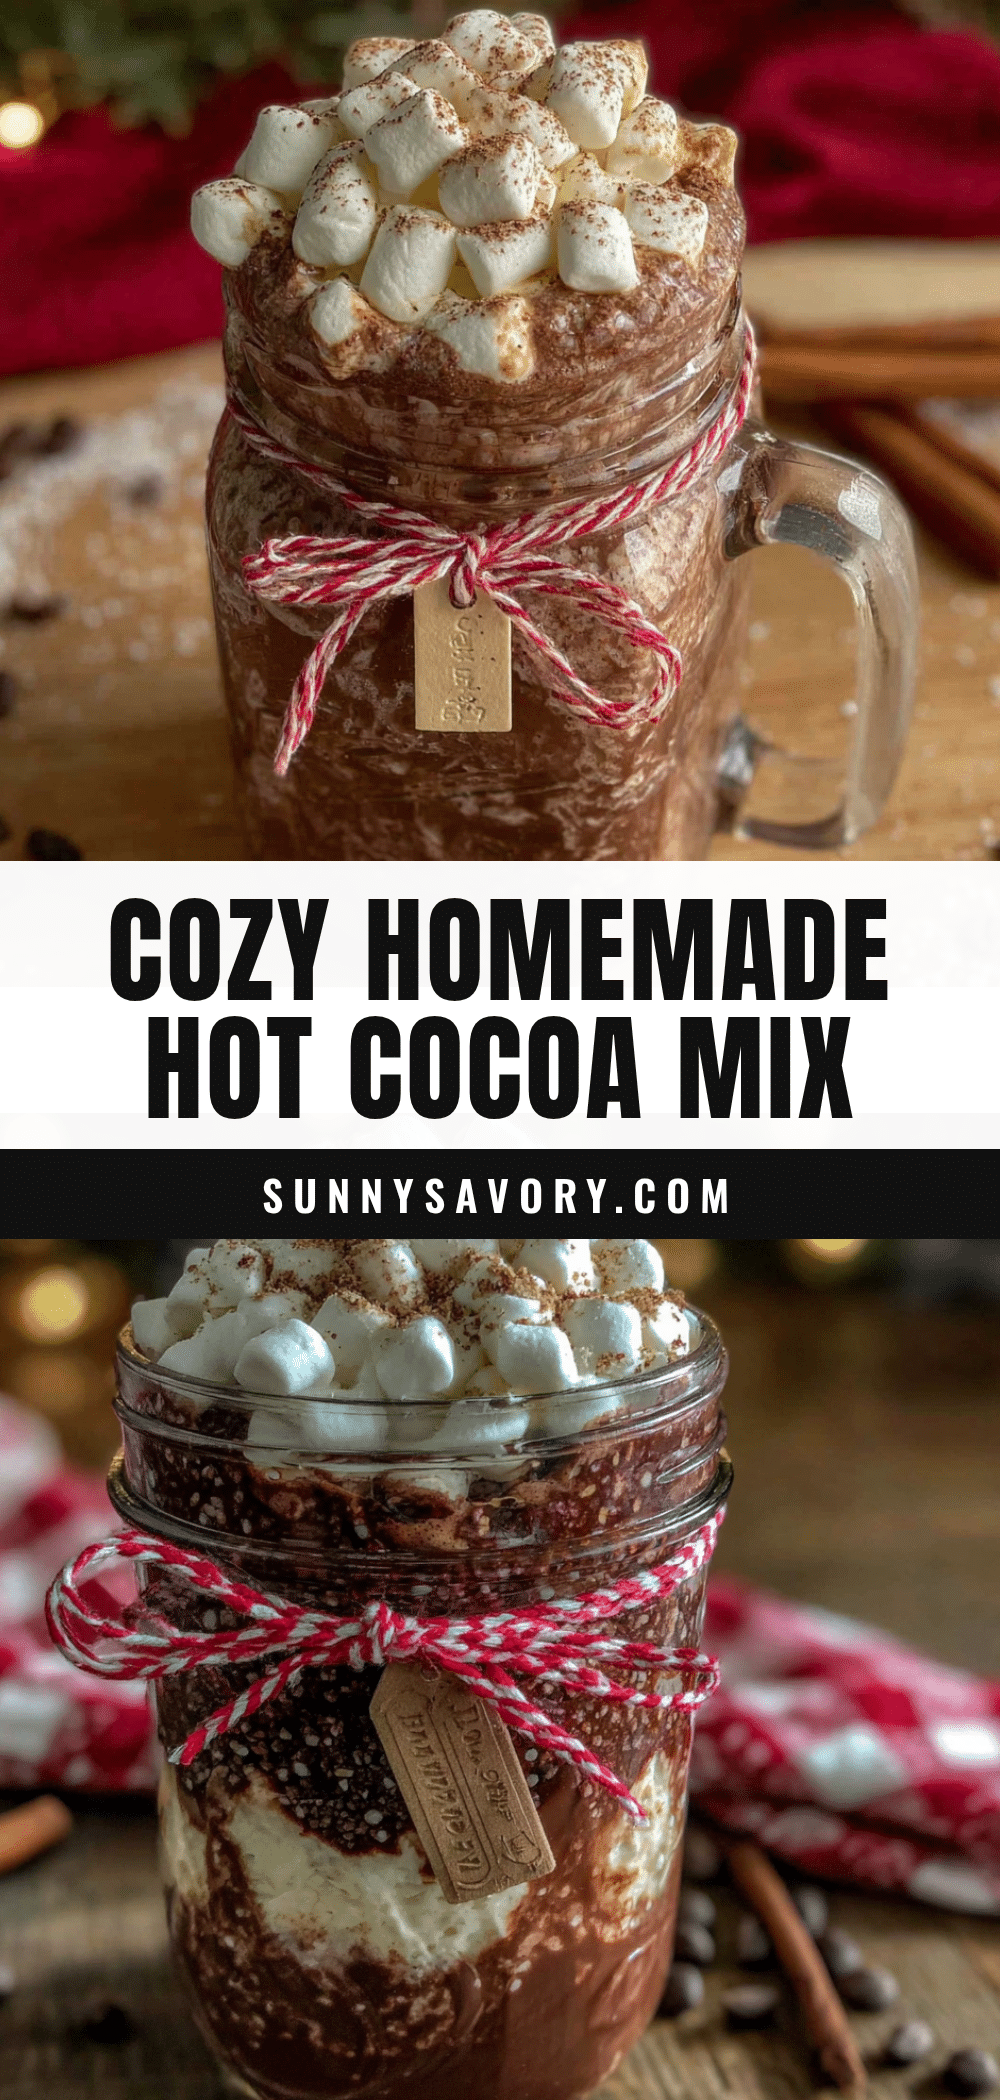
Cozy Homemade Hot Cocoa Mix in a Jar | Easy DIY Gift
This cozy homemade hot cocoa mix in a jar is a love letter to a childhood memory. It’s simple to throw together, uses ingredients you probably already have, and makes the absolute best cup of cocoa you’ll have all winter.
- Prep Time: 10 minutes
- Cook Time: 5 minutes
- Total Time: 15 minutes
- Yield: 4 servings (about 4 cups of dry mix) 1x
- Category: Beverage
- Cuisine: American
Ingredients
- 1 cup granulated sugar
- 1 cup unsweetened cocoa powder (preferably Dutch-processed)
- 1 ½ cups instant powdered milk
- 1 cup powdered chocolate drink mix (like Ovaltine or Nesquik)
- ½ teaspoon salt
- Optional: ½ cup mini marshmallows or chocolate chips
Instructions
- Measure out all your ingredients.
- Combine the dry ingredients in a large mixing bowl: sugar, cocoa powder, powdered milk, powdered chocolate drink mix (if using), and salt. Give it a quick stir with your whisk to distribute everything.
- Whisk vigorously for at least 2 minutes until the mixture is a uniform, rich brown color.
- Check for clumps. Run the mixture through a fine-mesh sieve if you see any stubborn lumps.
- Transfer the mix to your jar(s). Use a funnel if you have one. If layering for a gift jar, start with a layer of cocoa mix, then a layer of mini marshmallows or chocolate chips, then more cocoa mix. Tap the jar gently on the counter between layers to settle everything.
- Seal the jar tightly. Give it a good shake before you use it.
- To make a single serving: Heat 1 cup of milk (dairy or non-dairy) in a small saucepan over medium heat until steaming. Do not let it boil.
- Add 3 tablespoons of the cocoa mix to a mug.
- Pour about ¼ cup of the hot milk into the mug and stir until the mix is completely dissolved to create a smooth paste.
- Pour in the remaining hot milk and stir well. Taste and adjust sweetness if needed.
- Top with marshmallows, whipped cream, or a sprinkle of cinnamon if desired.
Notes
Don’t skip the salt. Always make a paste first to avoid lumps. Use hot milk, not water, for the best texture. Don’t overheat the milk. Store the mix in a cool, dark place for up to 6 months. If adding marshmallows, use within 1 month.
Nutrition
- Serving Size: 1 cup prepared with
- Calories: 220
- Sugar: 24
- Sodium: 200
- Fat: 8
- Saturated Fat: 5
- Carbohydrates: 32
- Fiber: 2
- Protein: 8
Keywords: hot cocoa mix, homemade hot cocoa, DIY gift, winter drink, cozy drink, hot chocolate mix



