Love this? Save it for later!
Share the inspiration with your friends
This was supposed to be a slow-braised pot roast. I had the carrots and celery chopped, the Dutch oven sitting on the counter, and a whole afternoon stretched out in front of me. But my grocery store had other plans. They were out of chuck roast — every single one. I stood there in the meat aisle, honestly a little stunned, holding a rib roast that was actually on sale for less than what I usually pay for a cheaper cut. I grabbed it out of pure frustration, thinking I’d figure something out later.
Let me tell you, I was nervous. A rib roast feels fancy. It feels like something you serve at Christmas when your mother-in-law is visiting, not on a random Tuesday when you’re just trying to get dinner on the table without anyone complaining. I almost put it back twice. But my three-year-old was getting antsy in the cart, and I just decided to go for it. I figured I’d slather it with garlic and herbs, roast it hot and fast, and hope for the best.
What came out of that oven was nothing like the plan — and honestly, it was better. The outside got this deep, crusty, fragrant bark from the garlic and herbs, and the inside was so tender you could cut it with a butter knife. My husband, who usually just nods politely at dinner, actually asked for seconds. Then thirds. The kids ate it without being told to take “one more bite.” I sat there at the table, fork halfway to my mouth, thinking about how this happy accident just saved our weeknight dinner routine.
Maybe you’ve been there — standing in the grocery store, your original plan completely derailed, wondering if you should just order pizza instead. This recipe is for those nights. It’s proof that a “fancy” cut of meat can actually be the most budget-friendly, stress-free, and downright delicious thing you make all week. I’ve made it at least a dozen times since that first accidental attempt, and it never gets old.
Why You’ll Love This Recipe
Let me be honest with you — I’ve tested this recipe more times than I can count, tweaking the herb ratios, adjusting the oven temperature, and even trying different cuts of beef. I’ve burned a few roasts along the way (you should have seen the smoke in my kitchen that one time), but I’ve finally landed on a version that works every single time. Here’s why this one is different:
- Budget-Friendly: A rib roast is often cheaper per pound than you think, especially when you buy it on sale. One roast feeds my family of four with leftovers for two more meals. That’s less than a fast-food run.
- Simple Ingredients: You probably already have garlic, herbs, salt, and pepper in your kitchen. No fancy marinades, no obscure spices, no trips to a specialty store.
- Perfect for Family Dinners: This isn’t just a holiday roast. It roasts in about an hour, so it’s totally doable on a regular weeknight. The leftovers make incredible sandwiches, too.
- Crowd-Pleaser: I’ve served this to picky kids, vegetarian-leaning friends (they ate the sides), and my dad who claims he “doesn’t like garlic.” Everyone loves it.
- Unbelievably Delicious: The garlic and herb crust gets crispy and fragrant, while the meat stays juicy and tender. It’s the kind of dinner that makes everyone at the table go quiet for a minute.
This recipe isn’t just good — it’s the kind that makes you close your eyes after the first bite. It’s comfort food reimagined: cheaper, faster, and with the same soul-soothing satisfaction as a roast that took all day. Perfect for impressing guests without stress, or turning a simple Tuesday into something memorable.
What Ingredients You Will Need
This recipe uses simple, everyday ingredients to deliver big flavor. Most of these are pantry staples, so you probably won’t need to buy much. The key is using fresh herbs if you can — they really make a difference in the crust.
- 3-4 pound boneless rib roast (or bone-in, just adjust cooking time slightly)
- 6 cloves garlic, minced (fresh is best, but jarred minced garlic works in a pinch)
- 2 tablespoons fresh rosemary, finely chopped (or 2 teaspoons dried)
- 2 tablespoons fresh thyme leaves (or 2 teaspoons dried)
- 2 tablespoons olive oil (I use extra-virgin for flavor)
- 1 tablespoon kosher salt (use less if using table salt)
- 1 teaspoon black pepper, freshly ground
- 1 teaspoon garlic powder (optional, but adds extra depth)
- 1/2 teaspoon onion powder (optional, but I like it)
Ingredient Tips: When buying your rib roast, look for one with good marbling — those little streaks of fat running through the meat. That fat melts as it cooks and keeps the roast tender. I usually buy mine at Costco or my local grocery store when it’s on sale. The price per pound can vary a lot, so keep an eye out for markdowns. If you can’t find fresh rosemary and thyme, dried herbs work fine — just use about half the amount since dried herbs are more concentrated.
For the best texture, let your roast sit out at room temperature for about 30-45 minutes before cooking. This helps it cook more evenly. And please, please use kosher salt — it’s less salty than table salt by volume, so you get better seasoning without oversalting. I learned that the hard way after ruining a roast with table salt that was way too strong.
Equipment Needed
You don’t need a lot of fancy equipment for this recipe, which is part of why I love it. Here’s what you’ll need:
- Roasting pan with a rack (a rimmed baking sheet with a wire rack works too)
- Instant-read meat thermometer (this is non-negotiable — trust me)
- Small bowl for mixing the herb paste
- Chef’s knife and cutting board
- Aluminum foil for tenting the roast while it rests
If you don’t have a roasting rack, you can use a few carrots or celery stalks laid in the bottom of the pan to elevate the meat. I’ve done that before when my rack was in the dishwasher, and it worked perfectly. For the thermometer, you can get a decent one for under $10 — it’s worth every penny to avoid overcooking an expensive piece of meat.
Preparation Method
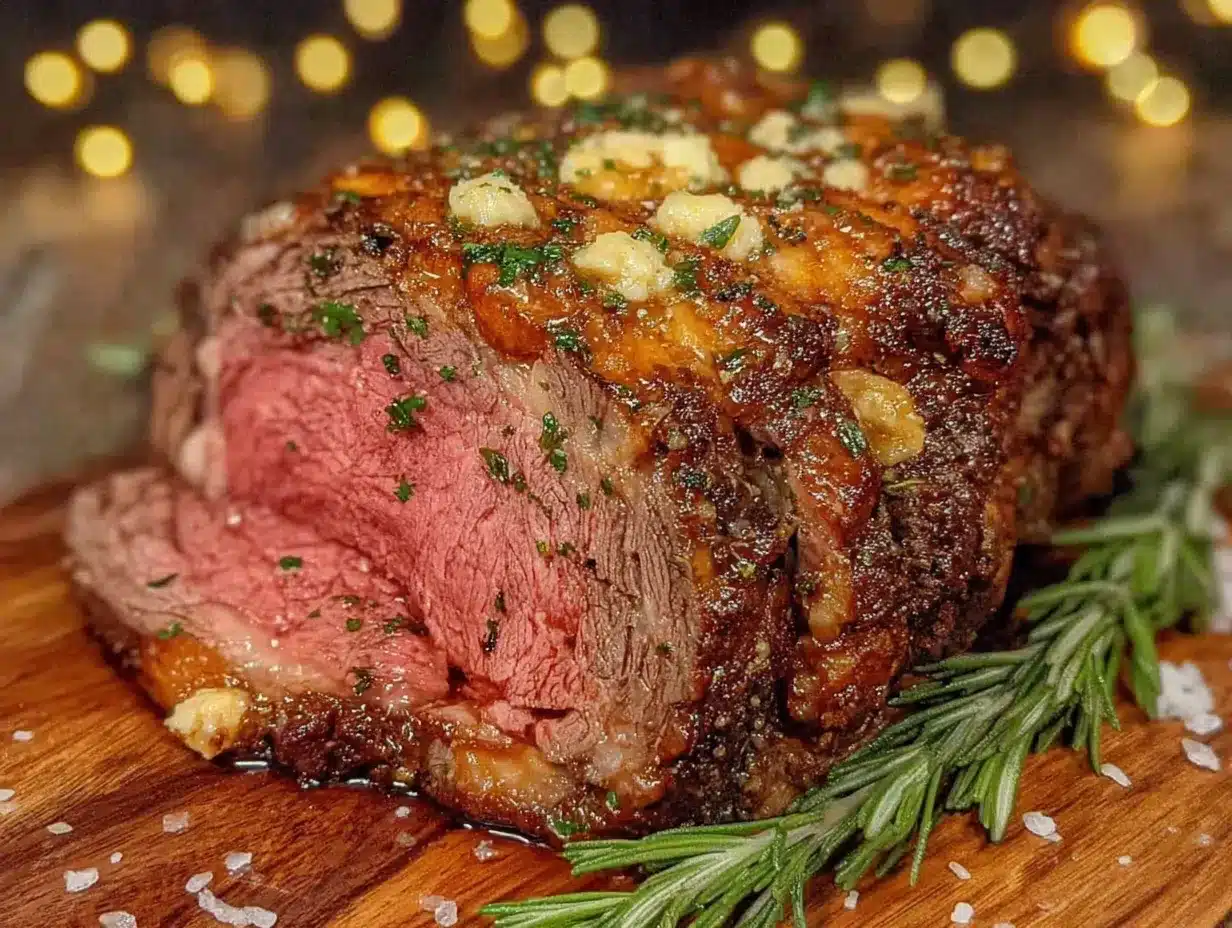
This method is simple, but each step matters. Take your time with the herb paste — it’s the secret to that amazing crust.
- Take the roast out of the fridge 30-45 minutes before cooking. Let it come to room temperature. This helps it cook evenly. Don’t skip this step — a cold roast will cook unevenly and might be tough in the center.
- Preheat your oven to 450°F (230°C). You want it screaming hot for that initial sear. Position the rack in the middle of the oven.
- Make the herb paste. In a small bowl, combine the minced garlic, chopped rosemary, thyme leaves, olive oil, kosher salt, black pepper, garlic powder, and onion powder. Mix it into a thick paste. It should smell amazing already — if it doesn’t, your herbs might be old.
- Pat the roast dry with paper towels. This is crucial — moisture is the enemy of a good crust. Get it as dry as you can. Then rub the herb paste all over the roast, covering every surface. Don’t be shy with it. Use your hands and really massage it in.
- Place the roast on the rack in your roasting pan, fat side up. If you don’t have a rack, arrange a few carrot or celery stalks in the pan to lift the meat. This keeps the bottom from steaming.
- Roast at 450°F (230°C) for 15 minutes. This high-heat blast creates that beautiful brown crust. Don’t open the oven during this time — let the heat do its work.
- Reduce the oven temperature to 325°F (160°C). Continue roasting until the internal temperature reaches your desired doneness. For medium-rare (my favorite), aim for 130-135°F (54-57°C). For medium, go for 140-145°F (60-63°C). This usually takes about 15-20 minutes per pound, so for a 3-pound roast, expect about 45-60 minutes total after the initial sear.
- Check the temperature early. Start checking at the 30-minute mark after reducing the heat. Insert the thermometer into the thickest part of the roast, away from any bones. Don’t touch the fat or the pan — you want the meat temperature.
- Remove the roast from the oven when it’s 5°F below your target. The temperature will continue to rise as it rests (this is called carryover cooking). So if you want medium-rare at 135°F, pull it at 130°F.
- Tent the roast loosely with aluminum foil and let it rest for 15-20 minutes. This is the hardest part — I know you want to dig in. But resting lets the juices redistribute throughout the meat. If you cut it too soon, all those juices will run out onto the cutting board, and you’ll have dry meat. Trust the process.
- Slice against the grain. Look at the lines of the meat fibers and slice perpendicular to them. This makes the meat more tender. Cut into 1/2-inch thick slices for serving.
Cooking Tips & Techniques
I’ve made this roast probably a dozen times now, and I’ve learned a few things the hard way. Here are my best tips:
- Don’t skip the rest. I know I said it already, but I mean it. One time I was in a hurry and only let it rest for 5 minutes. The juices flooded the cutting board, and the meat was noticeably drier. That extra 10-15 minutes makes all the difference.
- Use a thermometer. I cannot stress this enough. Guessing doneness by touch or time is a recipe for disaster. A $10 thermometer will save you from serving an overcooked, $20 roast. I’ve burned through a few cheap ones, but they’re still worth it.
- Let the roast come to room temperature. I forgot this once and put a cold roast straight into the oven. The outside was overcooked by the time the center reached medium-rare. Room temperature meat cooks more evenly — it’s science.
- Don’t overcrowd the pan. If you’re roasting vegetables alongside the meat, make sure they’re in a single layer and not touching the roast too much. You want air to circulate for that crispy crust.
- Save the drippings. After the roast rests, pour the pan drippings into a small bowl. Spoon off the fat (or use a fat separator) and save the juices. They’re liquid gold — drizzle them over the sliced meat or use them to make a quick gravy.
Variations & Adaptations
This recipe is flexible, and I’ve tried a few different versions over the years. Here are some ways to make it your own:
- Herb Swap: Don’t have rosemary and thyme? Use oregano, sage, or even dried Italian seasoning. I once used dried dill by accident (grabbed the wrong jar), and it was surprisingly good — kind of a garlic-dill vibe that worked with roasted potatoes.
- Spicy Version: Add 1/2 teaspoon of red pepper flakes or a teaspoon of smoked paprika to the herb paste. It gives the crust a little kick without being overwhelming. My husband loves this version.
- Garlic Lovers: Use 8-10 cloves of garlic instead of 6. I’ve done this, and the roast gets so fragrant your whole house will smell amazing. Just make sure the garlic is minced fine so it doesn’t burn.
- Slow Cooker Adaptation: You can make this in a slow cooker, but you’ll miss the crust. Sear the roast in a hot skillet first, then place it in the slow cooker with the herb paste and a splash of beef broth. Cook on low for 6-8 hours. It won’t have the same crust, but it’ll be incredibly tender.
- Budget Stretch: If a rib roast is still too pricey, use a top sirloin roast instead. It’s leaner, so cook it to medium-rare and slice it thin. The herb paste works just as well.
Serving & Storage Suggestions
This roast is amazing right out of the oven, but the leftovers are almost better. Here’s how to serve and store it:
Serving: Slice the roast against the grain and arrange on a platter. Drizzle with the reserved pan juices. I like to serve it with roasted potatoes (toss them in the pan with the roast for the last 30 minutes) and a simple green salad. The potatoes soak up those herb-infused drippings — honestly, they’re my favorite part. For a heartier meal, add roasted carrots or green beans.
Storage: Leftover roast keeps in the refrigerator for 3-4 days in an airtight container. The flavors actually meld and deepen overnight, so day-old roast is delicious cold on sandwiches or reheated gently.
Reheating: The best way to reheat is low and slow. Place slices in a baking dish with a splash of beef broth or water, cover with foil, and warm in a 300°F (150°C) oven for 10-15 minutes. You can also reheat in a skillet over medium-low heat with a little broth. Avoid the microwave — it makes the meat tough and rubbery.
Freezing: You can freeze cooked roast for up to 3 months. Slice it first, wrap tightly in plastic wrap and foil, then place in a freezer bag. Thaw in the refrigerator overnight before reheating.
Nutritional Information & Benefits
This roast is a good source of protein, iron, and B vitamins. Here’s the estimated nutritional breakdown per serving (based on 6 servings, without sides):
| Nutrient | Amount per Serving |
|---|---|
| Calories | 350-400 |
| Protein | 35g |
| Fat | 22g |
| Saturated Fat | 8g |
| Carbohydrates | 2g |
| Sodium | 600mg |
| Iron | 15% DV |
| Vitamin B12 | 25% DV |
Beef is rich in iron, which helps carry oxygen in your blood, and B12, which supports nerve function and energy levels. The garlic and herbs add antioxidants and anti-inflammatory compounds. If you’re watching your sodium, you can reduce the salt to 1/2 tablespoon — the herbs still provide plenty of flavor.
This recipe is naturally low-carb and keto-friendly, and it’s gluten-free as written. If you have dietary restrictions around saturated fat, you can trim some of the visible fat from the roast before cooking, or choose a leaner cut like top sirloin.
Conclusion
This garlic herb rib roast started as a complete accident — a frustrated grab in the meat aisle when my original plan fell through. But it quickly became one of my family’s most-requested dinners. It’s proof that you don’t need a special occasion or a complicated recipe to make something truly memorable. Just good ingredients, a little patience, and a willingness to try something unexpected.
I love this recipe because it makes me feel like a kitchen hero without actually doing much work. The herb crust does all the heavy lifting, and the oven does the rest. It’s the kind of dinner that makes everyone at the table happy, and that’s really what cooking is all about, isn’t it?
I’d love to hear how this turns out for you! Leave a comment below and let me know if you tried any variations — did you add extra garlic? Swap the herbs? Serve it with mashed potatoes? Share your version, and don’t forget to tag me in your photos. Happy cooking, friends!
Frequently Asked Questions
Can I use a bone-in rib roast instead of boneless?
Absolutely! A bone-in roast actually has more flavor and stays juicier. Just note that it will take a little longer to cook — add about 5-10 minutes per pound. The bones also make a great base for beef broth afterward.
What if I don’t have fresh herbs?
Dried herbs work perfectly fine. Use about half the amount since dried herbs are more concentrated. So for 2 tablespoons fresh rosemary, use 1 tablespoon dried. The flavor won’t be quite as bright, but it’s still delicious.
How do I know when the roast is done without a thermometer?
Honestly, I really recommend getting a thermometer. But if you’re in a pinch, you can use the “hand test” — press the meat with your finger. Medium-rare feels like the fleshy part of your palm when you touch your thumb and index finger together. Medium feels like touching your thumb and middle finger. But this method takes practice, so don’t rely on it for an expensive roast.
Can I prepare the herb paste ahead of time?
Yes! You can make the herb paste up to 2 days in advance and store it in the refrigerator. Just let it come to room temperature before rubbing it on the roast. The flavors actually meld together nicely over time.
What can I do with the leftovers?
Leftover roast is amazing in so many ways. Slice it thin for sandwiches with horseradish sauce, dice it for beef stew, or shred it for tacos. My favorite is to reheat slices gently and serve them over a salad with blue cheese and walnuts. The possibilities are endless!
Pin This Recipe!
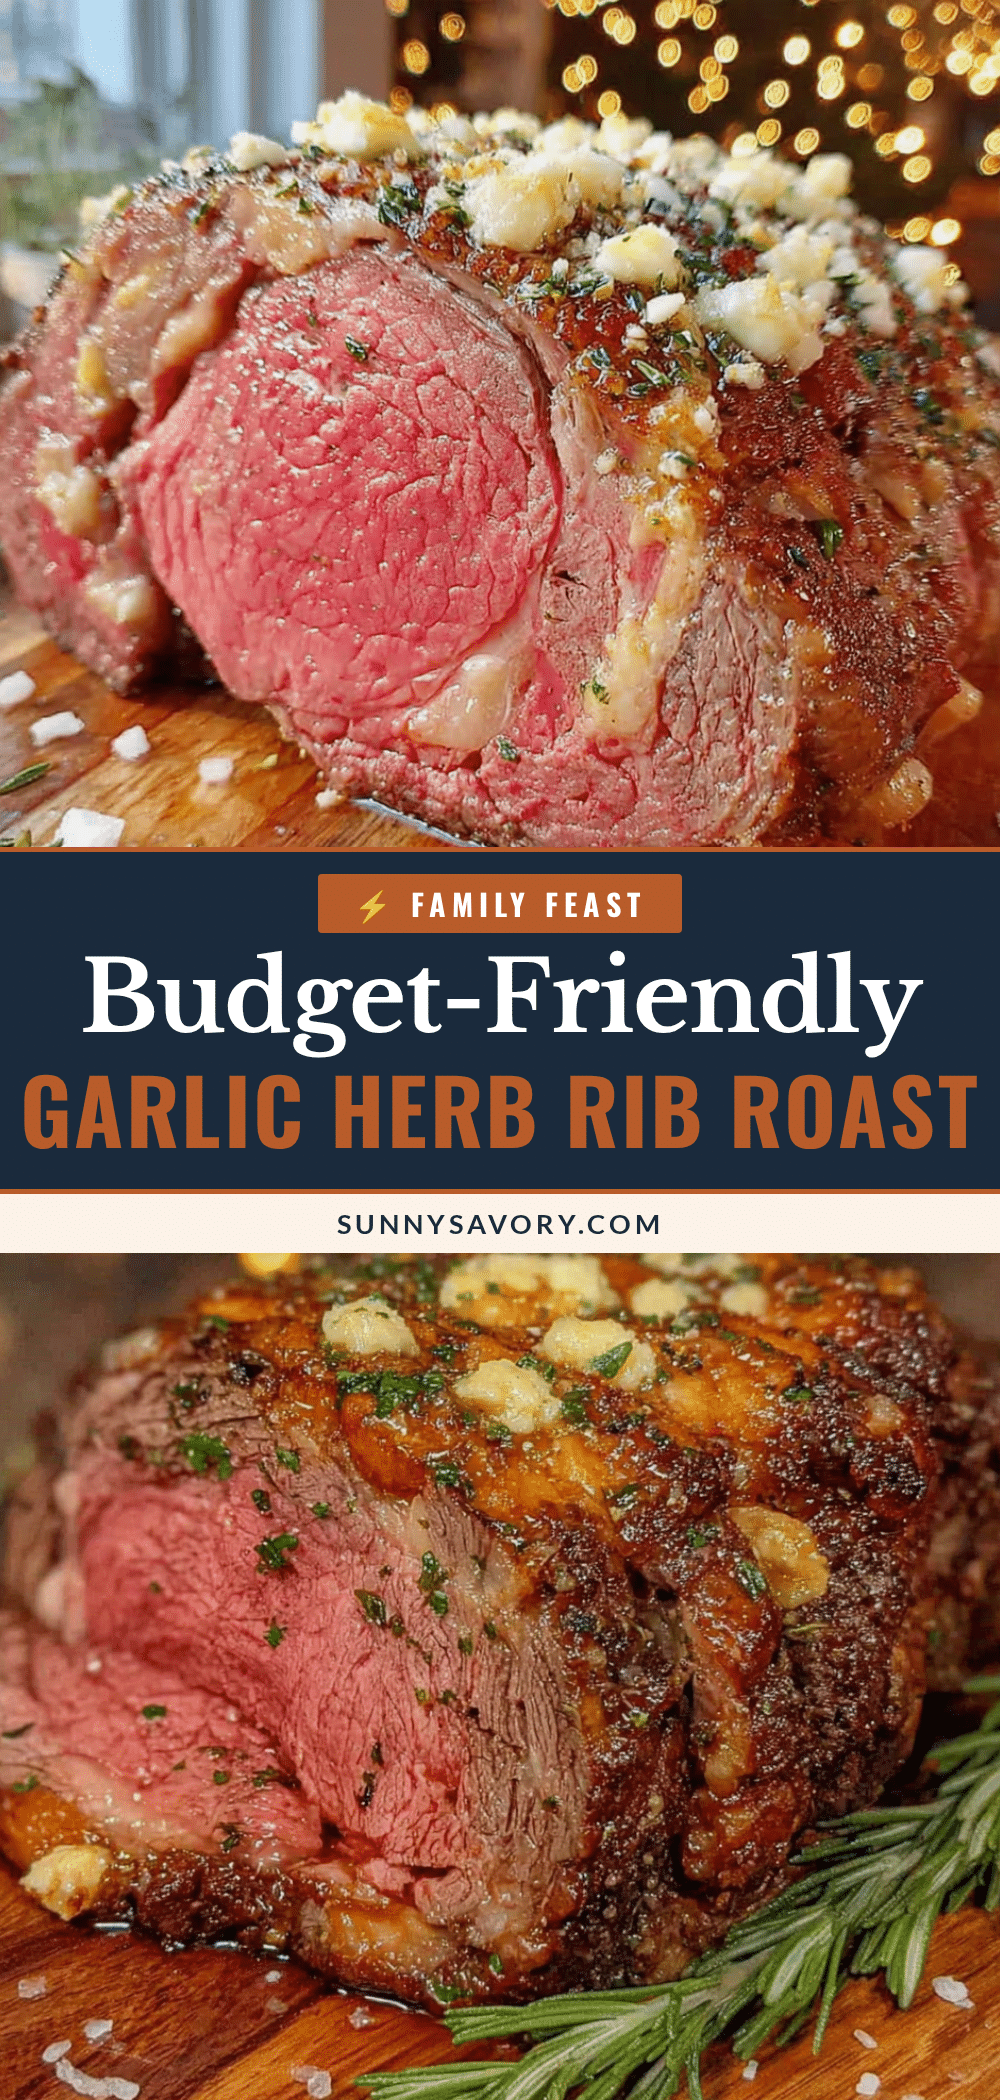
Budget-Friendly Garlic Herb Rib Roast the Whole Family Will Love
A budget-friendly garlic herb rib roast that turns a fancy cut of meat into a stress-free, delicious weeknight dinner. Perfect for family dinners and impressing guests without the fuss.
- Prep Time: 15 minutes
- Cook Time: 1 hour 15 minutes
- Total Time: 1 hour 30 minutes
- Yield: 6 servings 1x
- Category: Main Course
- Cuisine: American
Ingredients
- 3–4 pound boneless rib roast (or bone-in, adjust cooking time slightly)
- 6 cloves garlic, minced
- 2 tablespoons fresh rosemary, finely chopped (or 2 teaspoons dried)
- 2 tablespoons fresh thyme leaves (or 2 teaspoons dried)
- 2 tablespoons olive oil
- 1 tablespoon kosher salt (use less if using table salt)
- 1 teaspoon black pepper, freshly ground
- 1 teaspoon garlic powder (optional)
- 1/2 teaspoon onion powder (optional)
Instructions
- Take the roast out of the fridge 30-45 minutes before cooking to let it come to room temperature.
- Preheat your oven to 450°F (230°C). Position the rack in the middle of the oven.
- Make the herb paste: In a small bowl, combine the minced garlic, chopped rosemary, thyme leaves, olive oil, kosher salt, black pepper, garlic powder, and onion powder. Mix into a thick paste.
- Pat the roast dry with paper towels. Rub the herb paste all over the roast, covering every surface.
- Place the roast on the rack in your roasting pan, fat side up. If you don’t have a rack, arrange a few carrot or celery stalks in the pan to lift the meat.
- Roast at 450°F (230°C) for 15 minutes. Do not open the oven during this time.
- Reduce the oven temperature to 325°F (160°C). Continue roasting until the internal temperature reaches your desired doneness. For medium-rare, aim for 130-135°F (54-57°C). For medium, go for 140-145°F (60-63°C). This usually takes about 15-20 minutes per pound.
- Start checking the temperature at the 30-minute mark after reducing the heat. Insert the thermometer into the thickest part of the roast, away from any bones.
- Remove the roast from the oven when it is 5°F below your target temperature (carryover cooking will raise it).
- Tent the roast loosely with aluminum foil and let it rest for 15-20 minutes.
- Slice against the grain into 1/2-inch thick slices for serving.
Notes
Let the roast come to room temperature before cooking for even cooking. Use a meat thermometer to avoid overcooking. Rest the roast for 15-20 minutes before slicing to keep it juicy. Save the pan drippings to drizzle over the meat or make gravy.
Nutrition
- Serving Size: 1 serving (about 1/6
- Calories: 375
- Sodium: 600
- Fat: 22
- Saturated Fat: 8
- Carbohydrates: 2
- Protein: 35
Keywords: rib roast, garlic herb roast, budget-friendly roast, family dinner, beef roast, easy roast recipe



