Love this? Save it for later!
Share the inspiration with your friends
My neighbor across the hall, a guy named Leo who survives mostly on protein bars and takeout, asked me why I couldn’t just roast the Cornish hens on a sheet pan with everything dumped on top. I started to explain why that wouldn’t work—something about proper browning and not overcrowding the pan, the need for a proper roasting rack, the whole spiel. Then I stopped. Honestly? I had no good reason other than “that’s not how you’re supposed to do it.” So I tried it his way. And let me tell you, I’ve never been happier to be wrong.
It was a Tuesday night, and I’d been planning this romantic dinner for two for days. The honey garlic glaze was already simmering on the stove, filling my tiny apartment with this sticky-sweet aroma that made my stomach growl. I had the hens trussed and ready on a cutting board, and Leo just walked in mid-explanation about proper roasting techniques. “Why don’t you just throw it all on one pan?” he said, pointing at the sweet potatoes I had prepped for a separate dish. I almost laughed. But then I thought about it—the sweet potatoes would catch all those honey garlic drippings, caramelizing in the most beautiful way. So I tossed them on the sheet pan, nestled the hens right on top, and hoped for the best.
The result was nothing short of magic. The skin got crispy where it touched the pan, the sweet potatoes soaked up every bit of that honey garlic glaze, and cleanup took about thirty seconds. I mean, I literally stood there eating straight from the pan, not even bothering with a plate. Maybe you’ve been there—that moment when a recipe turns out so good you forget all your fancy dinner party rules. That’s this recipe. It’s been my go-to for date nights, solo celebrations, and those nights when you just want something that feels special without spending hours in the kitchen.
Why You’ll Love This Recipe
Look, I’ve tested this recipe about seven times now, and each time I fall more in love with it. The first attempt was good. The second was better. By the fourth, I was literally taking notes on how the honey caramelized at different temperatures. This isn’t just another roasted chicken recipe—it’s the one I’d serve to my mom on her birthday and still feel proud of.
- Quick & Easy: From prep to table in under an hour. The active cooking time is maybe 15 minutes, and the oven does the rest. Perfect for a weeknight when you want something impressive but don’t have hours to spare.
- Simple Ingredients: You probably have most of this in your kitchen right now. Honey, garlic, soy sauce, butter—that’s the backbone of the entire dish. No specialty grocery store trips required.
- Perfect for Two: This recipe was designed for date night, but honestly? I’ve eaten it alone on a Wednesday and felt like a queen. The single hen per person makes it feel special without being overwhelming.
- Crowd-Pleaser: The honey garlic combo is universally loved. Even my friend who “doesn’t like dark meat” asked for seconds. The glaze is that good.
- Unbelievably Delicious: The skin gets this sticky, caramelized crust that shatters when you bite into it. The meat underneath is so tender it practically falls off the bone. And those sweet potatoes? They’re basically candy.
What makes this recipe different from the hundreds of other roasted bird recipes out there is the one-pan method. By roasting everything together, the vegetables absorb all those honey garlic drippings, creating this incredible side dish that tastes like it took way more effort than it did. It’s comfort food reimagined—healthier, faster, but with the same soul-soothing satisfaction. Perfect for impressing someone special without the stress, or turning a simple Tuesday into something memorable.
What Ingredients You Will Need
This recipe uses simple, wholesome ingredients to deliver bold flavor and satisfying texture without the fuss. Most of these are pantry staples, and the few fresh ingredients are easy to find at any grocery store.
For the Honey Garlic Glaze
- 1/3 cup honey (use a good-quality honey for best flavor—I prefer local wildflower honey)
- 4 cloves garlic, minced (fresh is non-negotiable here; the jarred stuff won’t give you the same punch)
- 2 tablespoons soy sauce (low-sodium works great; tamari for gluten-free)
- 2 tablespoons unsalted butter (adds richness and helps the glaze caramelize)
- 1 tablespoon rice vinegar (balances the sweetness; apple cider vinegar works in a pinch)
- 1 teaspoon fresh ginger, grated (optional but highly recommended—adds warmth and complexity)
- Salt and black pepper to taste
For the Cornish Hens
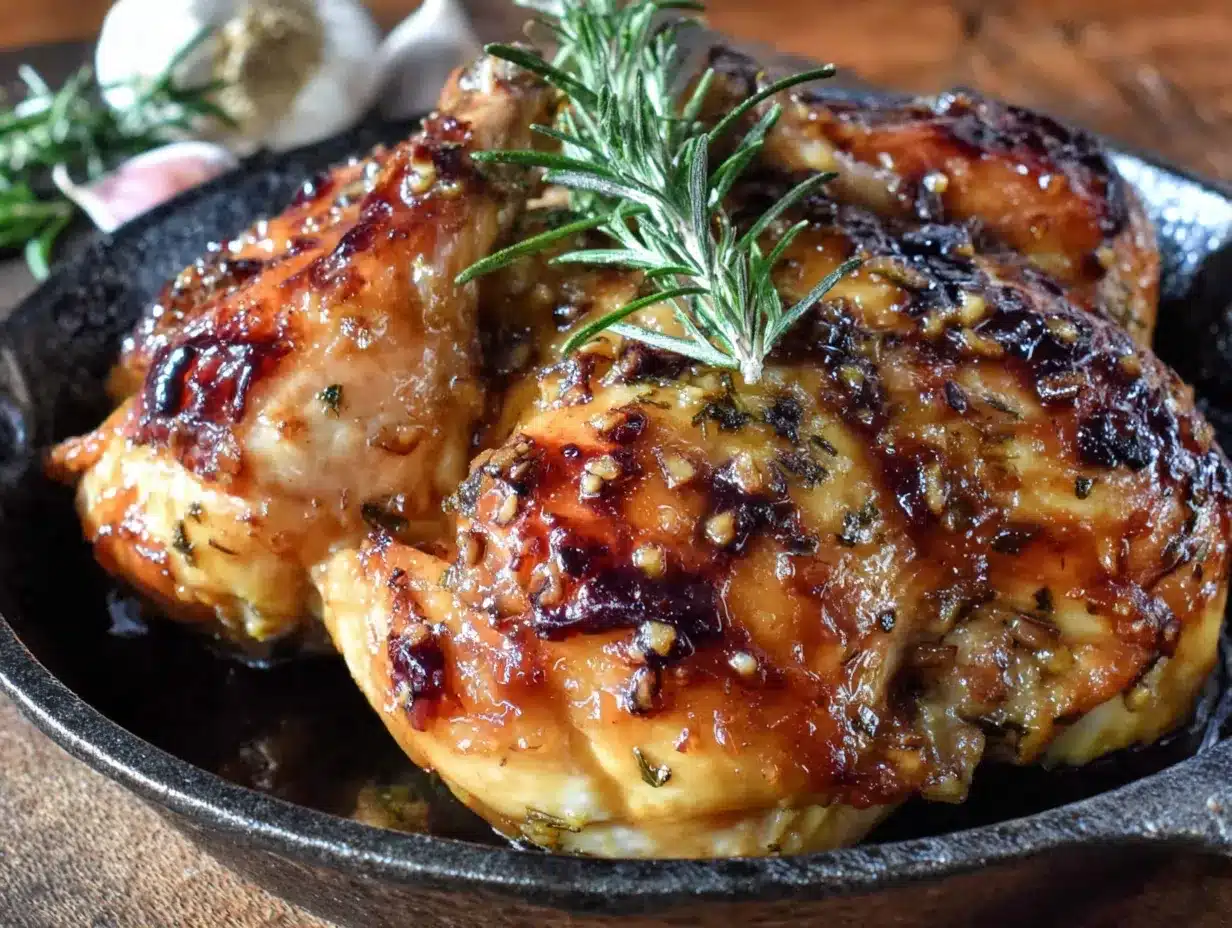
- 2 Cornish hens (about 1.5 pounds each) (look for hens that are plump and evenly sized)
- 1 tablespoon olive oil (helps the skin crisp up)
- Salt and black pepper (generous amounts—seasoning is key)
- 1 teaspoon paprika (adds color and subtle smokiness)
- 1/2 teaspoon garlic powder (for extra garlic flavor in the skin)
For the Vegetables
- 2 medium sweet potatoes, cubed (about 1-inch pieces; they’ll catch all the drippings)
- 1 red onion, cut into wedges (caramelizes beautifully with the honey glaze)
- 2 tablespoons olive oil (for roasting the vegetables)
- Salt and black pepper (season generously)
- Fresh thyme or rosemary sprigs (optional but lovely for garnish and flavor)
I recommend using a good honey here—honestly, the cheaper stuff works fine, but a nice local honey adds a floral note that really shines. For the garlic, take the extra minute to mince it fresh. The difference is night and day. And if you’re gluten-free, just swap the soy sauce for tamari or coconut aminos—the flavor profile stays almost identical.
Equipment Needed
- Large sheet pan (rimmed, to catch all those delicious juices—I use a half-sheet pan)
- Small saucepan (for making the glaze)
- Chef’s knife and cutting board
- Measuring spoons
- Kitchen shears (optional but helpful for removing the backbone if you want to spatchcock the hens)
- Meat thermometer (absolutely essential for perfectly cooked poultry—don’t skip this)
- Basting brush (or a spoon works fine)
- Tongs (for handling the hot hens)
If you don’t have a meat thermometer, honestly, go get one. They’re cheap and they’ll save you from dry, overcooked poultry every single time. I’ve been using the same $15 instant-read thermometer for years, and it’s never let me down. For the sheet pan, any rimmed baking sheet will work—just make sure it’s large enough to hold everything in a single layer without crowding.
Preparation Method
- Preheat your oven to 425°F (220°C). Get it nice and hot—this high heat is what gives you that crispy skin and caramelized vegetables. While the oven heats, take your Cornish hens out of the fridge and let them sit at room temperature for about 15 minutes. This helps them cook more evenly.
- Make the honey garlic glaze. In a small saucepan over medium heat, combine the honey, minced garlic, soy sauce, butter, rice vinegar, and grated ginger. Stir everything together until the butter melts and the mixture is smooth. Let it simmer gently for about 3-4 minutes, until it thickens slightly and becomes fragrant. You’ll know it’s ready when the kitchen smells amazing and the glaze coats the back of a spoon. Remove from heat and set aside.
- Prep the Cornish hens. Pat the hens completely dry with paper towels—this is crucial for crispy skin. Season them generously inside and out with salt, black pepper, and paprika. Don’t be shy; these birds need a good amount of seasoning. Rub a little olive oil over the skin to help it brown. If you want, you can tuck the wing tips under the birds to prevent them from burning.
- Prep the vegetables. On your large sheet pan, toss the cubed sweet potatoes and red onion wedges with olive oil, salt, and pepper. Spread them out in an even layer, making sure they’re not crowded. Nestle the seasoned Cornish hens right on top of the vegetables, breast-side up. Don’t worry if they’re touching the vegetables a bit—that’s exactly what you want.
- Glaze the hens. Brush about half of the honey garlic glaze over the hens, making sure to get it into all the nooks and crannies. Reserve the remaining glaze for basting later. Tuck a few sprigs of fresh thyme or rosemary around the pan if you’re using them.
- Roast for 40-45 minutes. Place the sheet pan in the preheated oven and roast for 20 minutes. After 20 minutes, carefully remove the pan and brush the hens with the remaining glaze. Return to the oven and continue roasting for another 20-25 minutes. The hens are done when the internal temperature reaches 165°F (74°C) in the thickest part of the thigh. The skin should be golden brown and caramelized, and the sweet potatoes should be tender and slightly charred on the edges.
- Rest before serving. Remove the pan from the oven and let the hens rest for 5-10 minutes. This is not optional—resting allows the juices to redistribute, ensuring every bite is moist and flavorful. During this time, the glaze will set into a beautiful, sticky coating.
- Serve and enjoy. Transfer the hens and vegetables to plates, spooning any pan juices over the top. Garnish with fresh herbs if you like. Serve immediately while everything is hot and the skin is still crispy.
A few notes: If you notice the glaze is browning too quickly during roasting, tent the hens loosely with foil. Every oven runs a little differently, so start checking the temperature at the 35-minute mark. And don’t skip the resting step—I learned this the hard way when I carved into a hen too early and watched all those beautiful juices run out onto the cutting board.
Cooking Tips & Techniques
After making this recipe more times than I care to admit, I’ve picked up a few tricks that make a real difference. Trust me, I’ve made every mistake so you don’t have to.
Pat those hens bone-dry. This is the single most important step for crispy skin. Moisture is the enemy of browning. Take an extra minute with the paper towels and really get in there. I even let them sit uncovered in the fridge for an hour if I have time—that dries out the skin even more.
Don’t overcrowd the pan. I know I said to roast everything together, but make sure the vegetables are in a single layer. If they’re piled on top of each other, they’ll steam instead of roasting, and you’ll miss out on that caramelization. If your sheet pan is too small, use two pans or roast the vegetables separately.
Baste strategically. The first baste at the 20-minute mark is crucial—it adds another layer of flavor and helps the glaze caramelize. But don’t baste more than twice, or you’ll start washing away the seasoning. Also, make sure your glaze is at room temperature when you baste; cold glaze can shock the hot pan and cause uneven cooking.
Use a meat thermometer. I cannot stress this enough. Poultry is tricky, and visual cues can be misleading. A meat thermometer takes the guesswork out of the equation. I once served undercooked Cornish hens to a first date (mortifying), and I’ve never skipped the thermometer since.
Let it rest. I know I said this already, but it bears repeating. Those 5-10 minutes of resting time are non-negotiable. The internal temperature will continue to rise a few degrees, and the juices will settle. Cut into it too early, and you’ll have dry meat and a puddle of flavor on your plate instead of in your mouth.
Variations & Adaptations
One of the best things about this recipe is how adaptable it is. Here are a few variations I’ve tried and loved:
Spatchcock the hens. If you want even crispier skin and faster cooking time, use kitchen shears to remove the backbone and flatten the hens. This cuts the cooking time to about 30-35 minutes and gives you more surface area for crispy skin. It’s a little extra work, but totally worth it.
Make it spicy. Add 1/2 teaspoon of red pepper flakes to the glaze for a sweet-and-spicy kick. I did this for a game day dinner, and my friends couldn’t stop eating. The heat cuts through the sweetness beautifully.
Swap the vegetables. Sweet potatoes are my favorite, but this works with just about any root vegetable. Try cubed butternut squash, parsnips, carrots, or even Brussels sprouts. Just adjust the cooking time based on what you’re using—softer vegetables like zucchini should be added halfway through roasting.
Go citrusy. Add the juice of half an orange to the glaze and stuff the cavity of each hen with a few slices of lemon or orange. The citrus brightens up the whole dish and pairs beautifully with the honey and garlic.
Make it dairy-free. Swap the butter for coconut oil or a good-quality vegan butter. The flavor will be slightly different, but still delicious. I’ve tested this with both, and honestly, it’s hard to tell the difference.
Serving & Storage Suggestions
These honey garlic Cornish hens are best served hot, straight from the oven. The contrast between the crispy, caramelized skin and the tender meat is at its peak right after resting. I like to serve each hen whole on a plate, surrounded by the roasted sweet potatoes and onions. A simple green salad on the side adds freshness and balances the richness of the glaze.
For beverages, a crisp white wine like Sauvignon Blanc or a light Pinot Noir complements the honey garlic flavors beautifully. If you’re going non-alcoholic, a sparkling water with a squeeze of lemon works perfectly.
Storage: Leftover meat can be stored in an airtight container in the refrigerator for up to 3 days. The vegetables will keep for about the same amount of time. For best results, store the meat and vegetables separately to prevent the vegetables from becoming soggy.
Reheating: The best way to reheat is in the oven at 350°F (175°C) for about 10-15 minutes. This helps restore some of the crispy skin. The microwave will work in a pinch, but the skin will be soft. If you’re reheating just the meat, a quick sear in a hot skillet with a little butter works wonders.
Freezing: You can freeze the cooked hens for up to 2 months. Wrap them tightly in foil and place in a freezer bag. Thaw overnight in the refrigerator before reheating. The vegetables don’t freeze well, so I recommend making fresh ones when you’re ready to serve.
One thing I’ve noticed—the flavors actually deepen overnight. The honey garlic glaze continues to permeate the meat, making leftovers somehow even more delicious. So don’t be sad if you have extra; tomorrow’s lunch is going to be amazing.
Nutritional Information & Benefits
While I’m not a nutritionist, I can share the estimated values based on the ingredients used. Per serving (one hen with vegetables): approximately 550-650 calories, 28g protein, 35g carbohydrates, 25g fat. These numbers will vary based on exact ingredient choices and portion sizes.
Cornish hens are a great source of lean protein, which is essential for muscle health and keeping you feeling full. Sweet potatoes are packed with vitamin A, fiber, and antioxidants—they’re one of the most nutrient-dense vegetables you can eat. The garlic and ginger in the glaze have anti-inflammatory properties, and honey provides natural energy without the crash of processed sugars.
This recipe is naturally gluten-free if you use tamari instead of soy sauce. It’s also relatively low in carbs compared to many comfort food dinners, making it a great option for those watching their carbohydrate intake. The portion size is perfectly balanced—satisfying without being heavy.
I love that this meal feels indulgent but is actually pretty wholesome. It’s the kind of dinner that makes you feel good about what you’re eating, without making you feel like you’re missing out on anything.
Conclusion
This honey garlic roasted Cornish hen recipe has become my secret weapon for date nights, cozy dinners, and any time I want to feel like I’m eating at a fancy restaurant without leaving my apartment. It’s proof that you don’t need complicated techniques or obscure ingredients to make something truly special.
What I love most about this recipe is how forgiving it is. The first time I made it, I forgot to baste the hens halfway through, and it still turned out amazing. The second time, I accidentally used too much garlic, and honestly, there’s no such thing as too much garlic. It’s a recipe that works with you, not against you.
I’d love to hear how yours turns out! Did you try any of the variations? Did you discover a new favorite vegetable to roast alongside the hens? Drop a comment below and let me know—I read every single one, and your ideas might just inspire my next recipe. And if you loved this, share it with someone who needs a little culinary confidence boost. Happy cooking!
Frequently Asked Questions
Can I use chicken instead of Cornish hens?
Absolutely! You can substitute two bone-in, skin-on chicken breasts or four chicken thighs. Just adjust the cooking time—chicken breasts will take about 25-30 minutes, while thighs need about 30-35 minutes. Always use a meat thermometer to check for doneness.
Can I make the glaze ahead of time?
Yes! The honey garlic glaze can be made up to 3 days in advance and stored in an airtight container in the refrigerator. Just reheat it gently on the stovetop or in the microwave before using. Let it cool slightly before brushing it onto the hens.
How do I know when the Cornish hens are fully cooked?
The most reliable method is using a meat thermometer. Insert it into the thickest part of the thigh, making sure not to touch the bone. The internal temperature should read 165°F (74°C). The juices should run clear when you pierce the thigh, and the meat should no longer be pink.
Can I use frozen Cornish hens?
Yes, but you’ll need to thaw them completely in the refrigerator first. This usually takes about 24 hours. Never cook frozen poultry directly—it will cook unevenly and could be unsafe. Pat the thawed hens dry before seasoning.
What can I serve with these Cornish hens besides sweet potatoes?
This recipe is incredibly versatile! Try roasted asparagus, green beans, or broccoli for a lighter side. A simple rice pilaf or quinoa would also work beautifully. For a low-carb option, serve with a big green salad or roasted cauliflower.
Pin This Recipe!
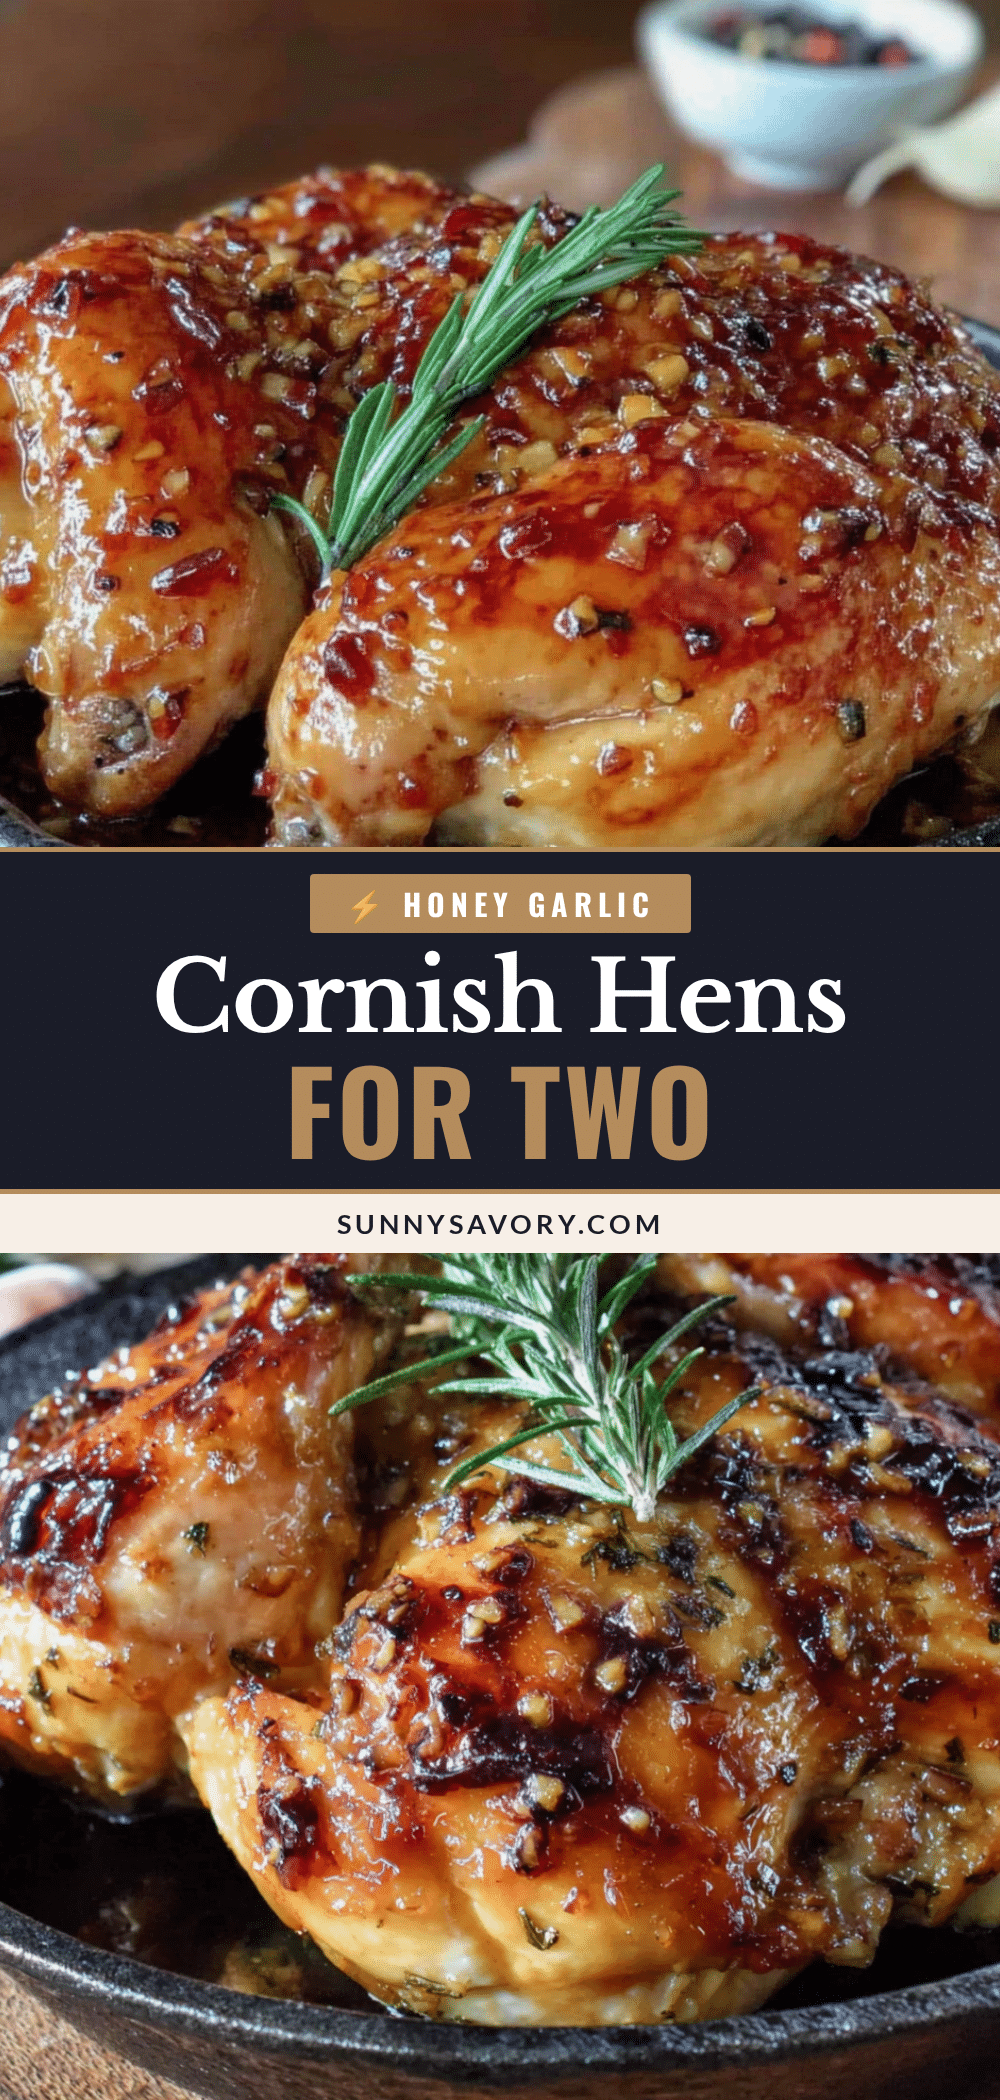
Easy Honey Garlic Roasted Cornish Hens for Two

A quick and easy one-pan recipe for honey garlic roasted Cornish hens with caramelized sweet potatoes, perfect for a romantic dinner or a cozy weeknight meal.
- Prep Time: 15 minutes
- Cook Time: 40-45 minutes
- Total Time: 55-60 minutes
- Yield: 2 servings 1x
- Category: Main Course
- Cuisine: American
Ingredients
- 1/3 cup honey
- 4 cloves garlic, minced
- 2 tablespoons soy sauce (low-sodium or tamari for gluten-free)
- 2 tablespoons unsalted butter
- 1 tablespoon rice vinegar (apple cider vinegar works in a pinch)
- 1 teaspoon fresh ginger, grated (optional)
- Salt and black pepper to taste
- 2 Cornish hens (about 1.5 pounds each)
- 1 tablespoon olive oil
- Salt and black pepper (generous amounts)
- 1 teaspoon paprika
- 1/2 teaspoon garlic powder
- 2 medium sweet potatoes, cubed (about 1-inch pieces)
- 1 red onion, cut into wedges
- 2 tablespoons olive oil
- Salt and black pepper (for vegetables)
- Fresh thyme or rosemary sprigs (optional)
Instructions
- Preheat your oven to 425°F (220°C). Take the Cornish hens out of the fridge and let them sit at room temperature for about 15 minutes.
- Make the honey garlic glaze: In a small saucepan over medium heat, combine honey, minced garlic, soy sauce, butter, rice vinegar, and grated ginger. Stir until butter melts and mixture is smooth. Simmer gently for 3-4 minutes until thickened slightly. Remove from heat and set aside.
- Prep the Cornish hens: Pat hens completely dry with paper towels. Season generously inside and out with salt, black pepper, and paprika. Rub olive oil over the skin. Tuck wing tips under the birds if desired.
- Prep the vegetables: On a large rimmed sheet pan, toss cubed sweet potatoes and red onion wedges with olive oil, salt, and pepper. Spread in an even layer. Nestle seasoned hens on top of vegetables, breast-side up.
- Brush about half of the honey garlic glaze over the hens, getting into all nooks and crannies. Reserve remaining glaze for basting. Tuck fresh herb sprigs around the pan if using.
- Roast for 20 minutes. Remove pan, brush hens with remaining glaze, and return to oven. Continue roasting for another 20-25 minutes, until internal temperature reaches 165°F (74°C) in the thickest part of the thigh. Skin should be golden brown and caramelized.
- Remove pan from oven and let hens rest for 5-10 minutes.
- Transfer hens and vegetables to plates, spooning pan juices over the top. Garnish with fresh herbs if desired. Serve immediately.
Notes
Pat hens bone-dry for crispy skin. Don’t overcrowd the pan; vegetables should be in a single layer. Baste strategically—only once at 20 minutes. Use a meat thermometer for perfect doneness. Let rest 5-10 minutes before serving. If glaze browns too quickly, tent loosely with foil.
Nutrition
- Serving Size: 1 hen with vegetable
- Calories: 550650
- Sugar: 20
- Sodium: 800
- Fat: 25
- Saturated Fat: 8
- Carbohydrates: 35
- Fiber: 4
- Protein: 28
Keywords: Cornish hens, honey garlic, roasted, one-pan, date night, easy dinner, gluten-free



