Love this? Save it for later!
Share the inspiration with your friends
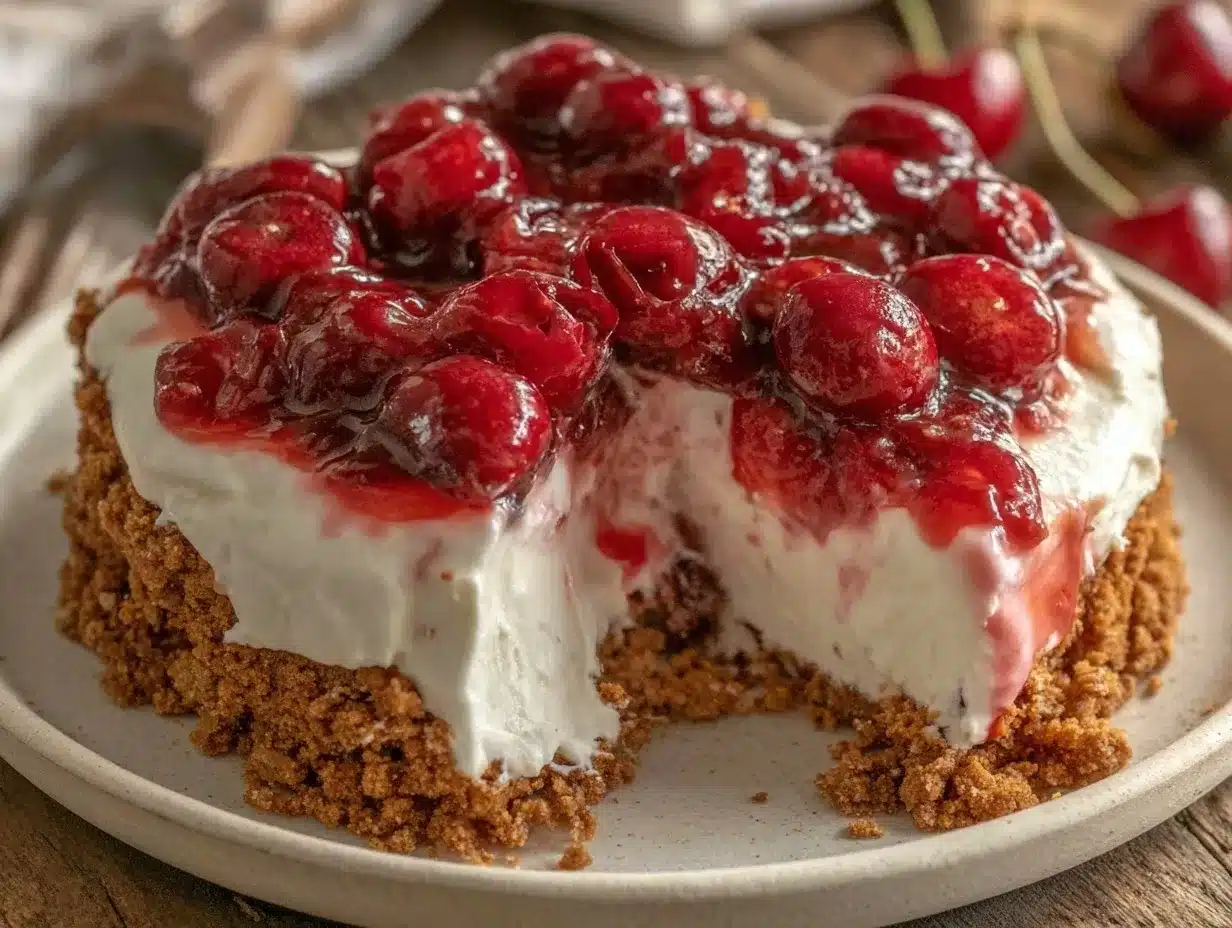
“You won’t believe this only needs four ingredients,” my friend Mark said as he handed me a slice of cherry cheesecake that looked way fancier than it should for such a simple recipe. It was late afternoon, and I was crashing on his couch after a long day, expecting nothing more than a quick snack. Instead, I got this creamy, dreamy no-bake cherry cheesecake that tasted like it took hours in the kitchen. Honestly, I was skeptical at first—no-bake cheesecakes usually fall flat or feel too dense. But this one? It had that perfect balance of smoothness, sweetness, and a pop of tart cherry goodness that made me close my eyes and savor every bite.
Mark told me he stumbled on this recipe during a frantic attempt to whip up dessert for an impromptu get-together. He had just a handful of staples in his pantry and fridge but wanted something impressive without turning on the oven in the summer heat. After a few tweaks and a happy accident or two, this easy no-bake cherry cheesecake with 4 simple ingredients was born. Maybe you’ve been there—scrambling to find an effortless dessert that doesn’t skimp on flavor or texture. This recipe fits that bill perfectly, and it’s stayed in my rotation ever since.
Let me tell you, the charm of this cheesecake isn’t just in its simplicity but in how those four ingredients come together to create a dessert that feels special while being incredibly accessible. You don’t need any fancy tools or hard-to-find ingredients, and it’s forgiving enough if you get a little distracted (like I did when my phone rang halfway through mixing). Whether you’re a cheesecake newbie or a seasoned pro looking for a fuss-free option, this recipe might just become your go-to for cherry cheesecake cravings.
Why You’ll Love This Recipe
This easy no-bake cherry cheesecake with 4 simple ingredients has wowed many, including myself and my friends, and here’s why it’s worth your time:
- Quick & Easy: Comes together in under 15 minutes, perfect for those busy weeknights or last-minute dessert needs.
- Simple Ingredients: No trips to specialty stores—just basics you likely already have on hand.
- Perfect for Any Occasion: Whether it’s a casual family dinner, a potluck, or a cozy treat, it fits right in.
- Crowd-Pleaser: It’s always the dessert that disappears first, loved by kids and adults alike.
- Unbelievably Delicious: Creamy texture meets the vibrant tang of cherry topping — a comforting classic with a fuss-free twist.
What sets this recipe apart is its no-bake magic combined with a perfectly creamy filling that doesn’t require gelatin or hours to set. The crust is buttery and holds together without crumbling apart, while the cherry topping adds just the right zing without overpowering the cheesecake. Honestly, it’s that balance that keeps me coming back. Plus, if you’ve ever tried a no-bake cheesecake before and been disappointed by the texture, this one’s a game-changer. It’s smooth and light yet satisfyingly rich.
If you want a dessert that’s both straightforward and impressive, this easy no-bake cherry cheesecake will be your new best friend. And hey, if you’re like me and sometimes forget to thaw your frozen berries in time, the cherry topping here saves the day with that perfect sweet-tart punch—no extra fuss.
What Ingredients You Will Need
This recipe uses simple, wholesome ingredients to deliver bold flavor and a satisfying texture without any fuss. The four ingredients are pantry staples or easy to find in most grocery stores, making this a no-brainer for quick dessert fixes.
- Cream Cheese, softened (about 8 ounces / 225g) – makes the cheesecake creamy and smooth. I prefer Philadelphia brand for consistent texture.
- Sweetened Condensed Milk (14 ounces / 396g can) – the secret to the rich sweetness without adding sugar separately.
- Lemon Juice, freshly squeezed (about 2 tablespoons / 30ml) – adds a subtle tang that cuts through the sweetness and balances the flavors.
- Cherry Pie Filling (1 can or about 21 ounces / 595g) – the star topping that gives this cheesecake its classic cherry flavor and glossy appearance. Look for brands like Hunt’s for a thick and luscious topping.
Optional: For the crust, you can add a simple base made from crushed graham crackers and melted butter if you want that classic cheesecake bite. It’s not in the original four-ingredient list but definitely recommended if you want a more traditional feel.
Substitutions to keep in mind: Use dairy-free cream cheese and sweetened condensed coconut milk for a vegan-friendly twist. For a gluten-free crust, swap regular graham crackers with almond flour or gluten-free cookies if you decide to add a crust.
Equipment Needed
- Mixing Bowl: A medium-sized bowl to whip together the filling. Glass or stainless steel works well.
- Electric Mixer or Whisk: While you can mix by hand, an electric hand mixer helps achieve a smooth, lump-free filling faster.
- Springform Pan or Pie Dish: An 8-inch (20 cm) springform pan is ideal for easy removal, but a regular pie dish also works just fine.
- Measuring Cups and Spoons: For precise ingredient amounts.
- Spatula: For scraping the bowl and smoothing the cheesecake surface.
If you don’t have a springform pan, no worries—lining a pie dish with parchment paper helps with removal. I once made this cheesecake in a glass casserole dish when I forgot my springform pan at a friend’s house, and it turned out just as delicious, though a bit rustic looking.
Preparation Method
- Prepare the Crust (Optional): Crush 1 ½ cups (150g) of graham crackers into fine crumbs. Mix with 6 tablespoons (85g) melted unsalted butter until evenly combined. Press firmly into the bottom of your 8-inch (20 cm) springform pan or pie dish. Refrigerate while preparing the filling to set, about 10 minutes.
- Make the Cheesecake Filling: In a medium bowl, beat 8 ounces (225g) of softened cream cheese using an electric mixer until smooth and creamy, about 2 minutes. This step is crucial to avoid lumps.
- Add Sweetened Condensed Milk: Slowly pour in the entire 14-ounce (396g) can of sweetened condensed milk while mixing on low speed. Continue beating until fully combined and silky, about 1-2 minutes.
- Incorporate Lemon Juice: Add 2 tablespoons (30ml) of freshly squeezed lemon juice and mix just until blended. You’ll notice the mixture thickening slightly—that’s the magic setting process starting!
- Assemble the Cheesecake: Pour the filling over the chilled crust or directly into the pan if skipping crust. Smooth the top with a spatula for an even layer.
- Chill: Refrigerate the cheesecake for at least 4 hours, but overnight is best for a firm, sliceable texture.
- Add Cherry Topping: Once chilled and set, spoon the cherry pie filling evenly over the top. Spread gently to cover without mixing into the filling.
- Serve: Slice carefully with a warm knife (dip in hot water and wipe dry between slices) to get neat pieces. Enjoy!
Note: If your cream cheese isn’t softened enough, lumps may form, so a little patience to bring it to room temperature helps. Also, don’t rush chilling time; the cheesecake needs it to firm up properly.
Cooking Tips & Techniques
One tip I learned the hard way is to soften your cream cheese thoroughly before mixing. I once tried throwing it straight from the fridge into the bowl, and it ended up lumpy—no fun. Another trick is to beat the cream cheese alone first until it’s fluffy, then slowly add the sweetened condensed milk. This prevents overmixing and keeps the texture light.
Timing is key here. Don’t skip the chilling step! While the filling looks ready right after mixing, it needs time to set firm enough to slice cleanly. I usually prep this the night before, so it’s perfect by dessert time.
If you’re pressed for time, a quick chill in the freezer (about 1 hour) can help firm it up, but keep a close eye so it doesn’t freeze solid.
When slicing, heating your knife under hot water and wiping it clean between cuts makes for clean slices without smearing the cherry topping.
Lastly, when picking cherry pie filling, thicker varieties hold up better on top without running off the sides. I’ve tested a few brands, and Hunt’s always gives a nice glossy finish and balanced sweetness.
Variations & Adaptations
Though this recipe shines as is, you can easily tweak it to suit different needs or tastes:
- Berry Variation: Swap cherry pie filling for mixed berry or blueberry topping for a seasonal twist.
- Chocolate Cherry Cheesecake: Stir ¼ cup (25g) of cocoa powder into the cream cheese mixture for a chocolaty base that pairs amazingly with the cherries.
- Gluten-Free Crust: Use crushed gluten-free cookies or almond flour with melted butter instead of graham crackers.
- Vegan Adaptation: Use vegan cream cheese and sweetened condensed coconut milk; swap lemon juice with lime juice for a slightly different tang.
- Mini Cheesecakes: Make individual servings using cupcake liners or mini springform pans—perfect for parties or portion control.
Personally, I once made a quick batch with crushed pretzels for the crust, adding a salty crunch that was a surprising hit at a summer BBQ. Feel free to experiment with crusts and toppings until you find what you love best.
Serving & Storage Suggestions
This easy no-bake cherry cheesecake is best served chilled, straight from the refrigerator. The cool creaminess paired with the sweet cherry topping is refreshing, especially on warm days. Garnish with a few fresh cherries or a sprig of mint for a pretty presentation if you want to impress guests without extra effort.
It pairs wonderfully with a cup of black coffee or a lightly sweetened iced tea—perfect balance to the richness.
For storage, keep the cheesecake covered tightly with plastic wrap or in an airtight container in the fridge. It should stay fresh for up to 4 days. If you want to save leftovers longer, you can freeze it for up to one month—just thaw overnight in the fridge before serving.
Reheating isn’t recommended, but letting slices sit at room temperature for 10-15 minutes before serving can soften the texture slightly, making it even creamier.
Flavors tend to meld beautifully overnight, so if you can wait, the next day is often even better than the day you make it.
Nutritional Information & Benefits
Per serving (based on 8 slices), this no-bake cherry cheesecake offers approximately:
| Calories | 310 |
|---|---|
| Fat | 18g |
| Carbohydrates | 35g |
| Protein | 5g |
The cream cheese provides a good source of calcium and protein, while the lemon juice adds a bit of vitamin C. Using sweetened condensed milk means added sugars, so it’s a treat best enjoyed in moderation.
This recipe is naturally gluten-free if you skip the crust or use gluten-free alternatives, and it contains dairy unless you try the vegan substitutions mentioned earlier.
From a wellness perspective, it’s a satisfying dessert that feels indulgent but doesn’t require a laundry list of ingredients or complex steps. Perfect for those who want a comforting dessert without the guilt of overly processed components.
Conclusion
So there you have it—an easy no-bake cherry cheesecake with 4 simple ingredients that’s as delightful as it is straightforward. Whether you’re new to cheesecake-making or just need a fuss-free dessert to impress without stress, this recipe has your back.
Feel free to customize with your favorite toppings or try the variations to suit your taste buds. Honestly, this cheesecake has become my go-to when I want something quick but still feel like I’m treating myself (and my guests!).
If you give it a try, let me know how it goes or if you put your own twist on it—I’m always excited to hear about new takes on favorites. Happy cheesecake making!
FAQs
Can I make this cheesecake without a crust?
Yes! This recipe works perfectly without a crust for a lighter, crustless cheesecake. Just pour the filling directly into your pan and chill.
How long does this cheesecake need to chill?
At least 4 hours in the refrigerator is recommended for the filling to set properly, but overnight chilling yields the best texture.
Can I use fresh cherries instead of canned cherry pie filling?
You can, but the texture and sweetness will differ. Fresh cherries may need to be cooked down with sugar to create a syrupy topping similar to pie filling.
Is it safe to leave this cheesecake out at room temperature?
Since it contains dairy, it’s best to keep it refrigerated and only leave it out for short periods (under 2 hours) when serving.
How do I store leftover cheesecake?
Store leftovers in an airtight container in the refrigerator for up to 4 days. You can also freeze it for up to a month; thaw overnight before eating.
Pin This Recipe!
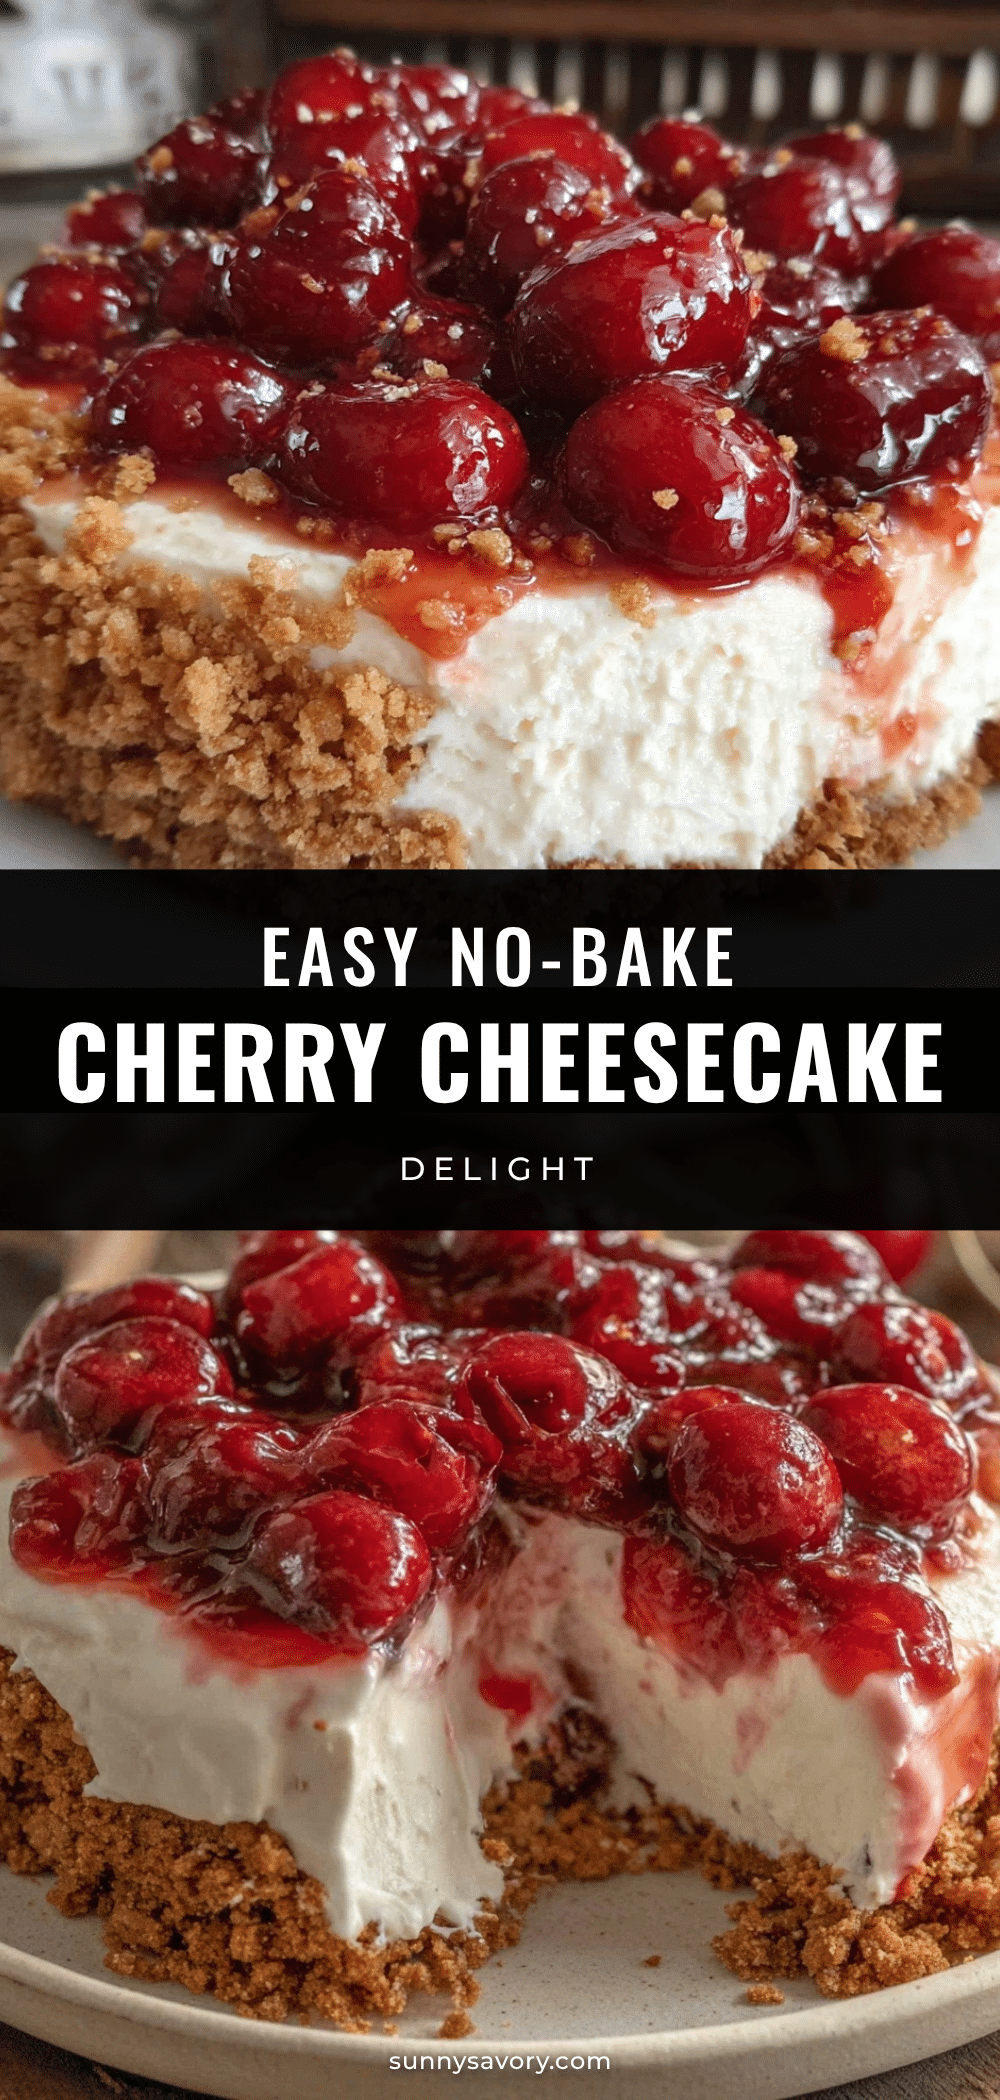
Easy No-Bake Cherry Cheesecake Recipe with 4 Simple Ingredients
A creamy, dreamy no-bake cherry cheesecake made with just four simple ingredients, perfect for a quick and impressive dessert without turning on the oven.
- Prep Time: 15 minutes
- Cook Time: 0 minutes
- Total Time: 4 hours 15 minutes
- Yield: 8 servings 1x
- Category: Dessert
- Cuisine: American
Ingredients
- 8 ounces (225g) cream cheese, softened
- 14 ounces (396g) sweetened condensed milk
- 2 tablespoons (30ml) freshly squeezed lemon juice
- 1 can (21 ounces / 595g) cherry pie filling
- Optional crust: 1 ½ cups (150g) crushed graham crackers
- Optional crust: 6 tablespoons (85g) melted unsalted butter
Instructions
- Prepare the crust (optional): Crush 1 ½ cups (150g) of graham crackers into fine crumbs. Mix with 6 tablespoons (85g) melted unsalted butter until evenly combined. Press firmly into the bottom of an 8-inch (20 cm) springform pan or pie dish. Refrigerate while preparing the filling to set, about 10 minutes.
- Make the cheesecake filling: In a medium bowl, beat 8 ounces (225g) of softened cream cheese using an electric mixer until smooth and creamy, about 2 minutes.
- Add sweetened condensed milk: Slowly pour in the entire 14-ounce (396g) can of sweetened condensed milk while mixing on low speed. Continue beating until fully combined and silky, about 1-2 minutes.
- Incorporate lemon juice: Add 2 tablespoons (30ml) of freshly squeezed lemon juice and mix just until blended.
- Assemble the cheesecake: Pour the filling over the chilled crust or directly into the pan if skipping crust. Smooth the top with a spatula for an even layer.
- Chill: Refrigerate the cheesecake for at least 4 hours, but overnight is best for a firm, sliceable texture.
- Add cherry topping: Once chilled and set, spoon the cherry pie filling evenly over the top. Spread gently to cover without mixing into the filling.
- Serve: Slice carefully with a warm knife (dip in hot water and wipe dry between slices) to get neat pieces.
Notes
Soften cream cheese thoroughly before mixing to avoid lumps. Chill cheesecake at least 4 hours or overnight for best texture. Use a warm knife dipped in hot water for clean slices. Optional crust can be added for a traditional cheesecake base. Vegan and gluten-free substitutions are possible.
Nutrition
- Serving Size: 1 slice (1/8 of chee
- Calories: 310
- Fat: 18
- Carbohydrates: 35
- Protein: 5
Keywords: no-bake cheesecake, cherry cheesecake, easy dessert, quick cheesecake, 4 ingredient dessert, no oven dessert