Love this? Save it for later!
Share the inspiration with your friends
My sister asked why I couldn’t just throw frozen hash browns in a casserole dish and call it breakfast. I started to explain why that wouldn’t work—something about moisture content and texture and the sacred rules of breakfast casserole making. Then I stopped. Honestly, I had no good reason. I was just being stubborn. So I did it. I tossed frozen shredded hash browns straight from the bag into the dish, added the eggs and cheese, and baked it like I had nothing to prove.
That was three years ago, and I haven’t parboiled potatoes or thawed hash browns since. The casserole came out golden on top, tender in the middle, and so absurdly easy that I felt a little embarrassed for all the years I’d been doing it the hard way. My sister didn’t say “I told you so,” but she didn’t have to. The silence was filled with the sound of forks scraping the dish clean.
This Easy Cheesy Hash Brown Breakfast Casserole has become my secret weapon for holidays, lazy Sundays, and mornings when I need to feed a crowd without breaking a sweat. The best part? You can assemble it the night before, stick it in the fridge, and bake it fresh in the morning. No fuss, no stress, and definitely no thawing. Let me tell you—once you try this method, you won’t go back either.
Why You’ll Love This Recipe
I’ve tested this casserole at least a dozen times, tweaking the cheese ratios and egg-to-hash-brown balance until it was just right. Here’s why this version is the one you’ll keep coming back to:
- Make-Ahead Magic: Assemble it the night before and bake it fresh. Perfect for Christmas morning, Easter brunch, or any busy morning.
- Simple Ingredients: You probably already have most of these in your kitchen. No fancy grocery runs required.
- Crowd-Pleaser: Kids devour it, adults go back for seconds, and even picky eaters ask for the recipe.
- Incredibly Cheesy: We’re using a blend of sharp cheddar and Monterey Jack for that gooey, stretchy texture everyone loves.
- Foolproof Method: No parboiling, no thawing, no complicated steps. Just mix, pour, and bake.
What makes this different from every other breakfast casserole out there? It’s the frozen hash brown shortcut that actually works. I spent years thinking I needed to use fresh potatoes or at least thaw the frozen ones. Turns out, frozen hash browns straight from the bag create a better texture—crispy on the edges, tender in the center, and never soggy. This recipe is comfort food reimagined: faster, easier, and with the same soul-soothing satisfaction that makes you close your eyes after the first bite.
What Ingredients You Will Need
This recipe uses simple, wholesome ingredients to deliver big flavor without the fuss. Most of these are pantry staples you likely already have on hand.
For the Casserole Base
- 30 oz frozen shredded hash browns (one standard bag—I prefer Ore-Ida for consistent texture)
- 8 large eggs, room temperature (cold eggs can make the mixture seize up slightly)
- 1 cup whole milk (adds richness; 2% works too)
- 1 cup sour cream (full-fat gives the best creamy texture)
- 2 cups shredded sharp cheddar cheese, divided (Cabot or Tillamook are my go-to brands)
- 1 cup shredded Monterey Jack cheese, divided
- 1 teaspoon salt
- ½ teaspoon black pepper
- ½ teaspoon garlic powder
- ¼ teaspoon smoked paprika (optional but lovely)
For the Mix-In (Choose Your Adventure)
- 1 cup cooked breakfast sausage, crumbled (or diced ham or cooked bacon)
- ½ cup diced onion (yellow or sweet onion works best)
- ½ cup diced bell pepper (any color—I like red for sweetness)
If you’re making this vegetarian, simply skip the meat and add an extra cup of veggies like sautéed mushrooms or spinach. I’ve also made it with leftover taco meat and it was amazing—breakfast for dinner, anyone? For a dairy-free version, use unsweetened oat milk and dairy-free shredded cheese, though the texture will be slightly less creamy. Trust me on the sour cream—it’s the secret ingredient that keeps the casserole from drying out.
Equipment Needed
You don’t need a fancy kitchen to pull this off. Here’s what you’ll need:
- 9×13-inch baking dish (glass or ceramic works best for even heating)
- Large mixing bowl
- Whisk (or a fork in a pinch)
- Measuring cups and spoons
- Cheese grater (pre-shredded cheese works, but freshly grated melts better)
- Spatula for spreading the hash browns evenly
- Aluminum foil for covering during baking
If you don’t have a 9×13 dish, a 10-inch cast iron skillet works beautifully—just reduce the baking time by about 10 minutes. I’ve also used disposable foil pans for camping trips, and they work great. My favorite tip? Use a glass dish so you can see the bottom getting golden and crispy.
Preparation Method
This casserole comes together in about 15 minutes of active prep. The rest is oven time or fridge time.
- Preheat your oven to 375°F (190°C). Grease your 9×13 baking dish with butter or non-stick spray. Don’t skip this—the cheese loves to stick.
- Cook your meat and veggies if using. Brown the sausage in a skillet over medium heat, breaking it into small crumbles. About 5-7 minutes. Add the diced onion and bell pepper in the last 2 minutes, stirring until softened. Drain any excess fat. Set aside to cool slightly.
- Whisk the eggs and dairy together in your large mixing bowl. Add the milk, sour cream, salt, pepper, garlic powder, and smoked paprika. Whisk until smooth and fully combined. The sour cream will leave some tiny white specks—that’s normal and good.
- Add the hash browns straight from the freezer. Don’t thaw them! Pour the frozen shreds into the bowl with the egg mixture. Add the cooked meat and veggies, plus 1½ cups of the cheddar and ¾ cup of the Monterey Jack. Stir everything together with a spatula until the hash browns are evenly coated. It’ll look like a thick, chunky batter.
- Pour into the prepared dish and spread evenly. Use the spatula to smooth the top. Sprinkle the remaining ½ cup cheddar and ¼ cup Monterey Jack over the top. Don’t press down—you want those crispy edges.
- Bake uncovered for 45-55 minutes, or until the top is golden brown and the center is set. You’ll know it’s done when a knife inserted in the middle comes out clean and the edges are bubbling. If the top is browning too quickly, tent loosely with foil for the last 15 minutes.
- Let it rest for 10 minutes before cutting. This is crucial—the casserole needs time to set so it doesn’t fall apart when you serve it. I learned this the hard way after serving a delicious but soupy mess to my in-laws.
For the make-ahead version, complete all steps through step 5, then cover tightly with foil and refrigerate for up to 24 hours. When ready to bake, add about 10-15 minutes to the baking time since you’re starting from cold. The texture might be slightly softer, but the flavor deepens overnight in a wonderful way.
Cooking Tips & Techniques
After making this casserole more times than I can count, here are the things I wish I’d known from the start:
Don’t overmix the eggs. Whisk just until the yolks and whites are combined. Overmixing incorporates too much air, which can make the casserole puff up and then collapse. You want it dense and creamy, not soufflé-like.
Room temperature eggs matter. Cold eggs can make the sourcream seize up slightly, leaving lumps in your mixture. Let your eggs sit on the counter for 20 minutes before starting. If you forget, place them in a bowl of warm water for 5 minutes.
Watch the edges. The outer inch of the casserole will cook faster than the center. That’s why I recommend a glass dish—you can see when the bottom edges are golden and know the center needs more time. If the top is getting too dark, tent with foil.
Let it rest. I cannot stress this enough. That 10-minute rest is non-negotiable. The casserole continues cooking from residual heat, and the starches in the hash browns absorb any excess liquid. Cutting too early gives you a runny, unstable slice.
I once forgot the salt entirely. The casserole was edible but profoundly boring. Don’t skip the salt—it wakes up all the other flavors. Also, I’ve learned that pre-shredded cheese (the kind with anti-caking agents) doesn’t melt as smoothly as freshly grated. If you’re going for that Instagram-worthy cheese pull, grate your own.
Variations & Adaptations
This recipe is a chameleon. Here are some of my favorite spins:
Southwest Style: Swap the cheddar for pepper jack cheese, add a can of drained diced green chiles, and use chorizo instead of breakfast sausage. Top with fresh cilantro and avocado slices after baking. I made this for a brunch party and it disappeared in 10 minutes.
Vegetarian Garden Casserole: Skip the meat entirely. Sauté 1 cup each of diced zucchini, mushrooms, and spinach with the onion and bell pepper. Add a teaspoon of dried thyme or rosemary. The vegetables release moisture, so I recommend squeezing them in a clean kitchen towel before adding to the mixture.
Hash Brown Crust Upgrade: For extra crunch, press half the hash browns into the bottom of the dish and bake for 10 minutes before adding the egg mixture. This creates a crispy crust layer that holds up beautifully. It’s a little more work, but the texture payoff is real.
For a low-carb version, substitute the hash browns with 4 cups of cauliflower rice (thawed and squeezed dry). The texture is different—softer and less crispy—but the flavor is surprisingly close. My keto friends beg me to make this version.
Serving & Storage Suggestions
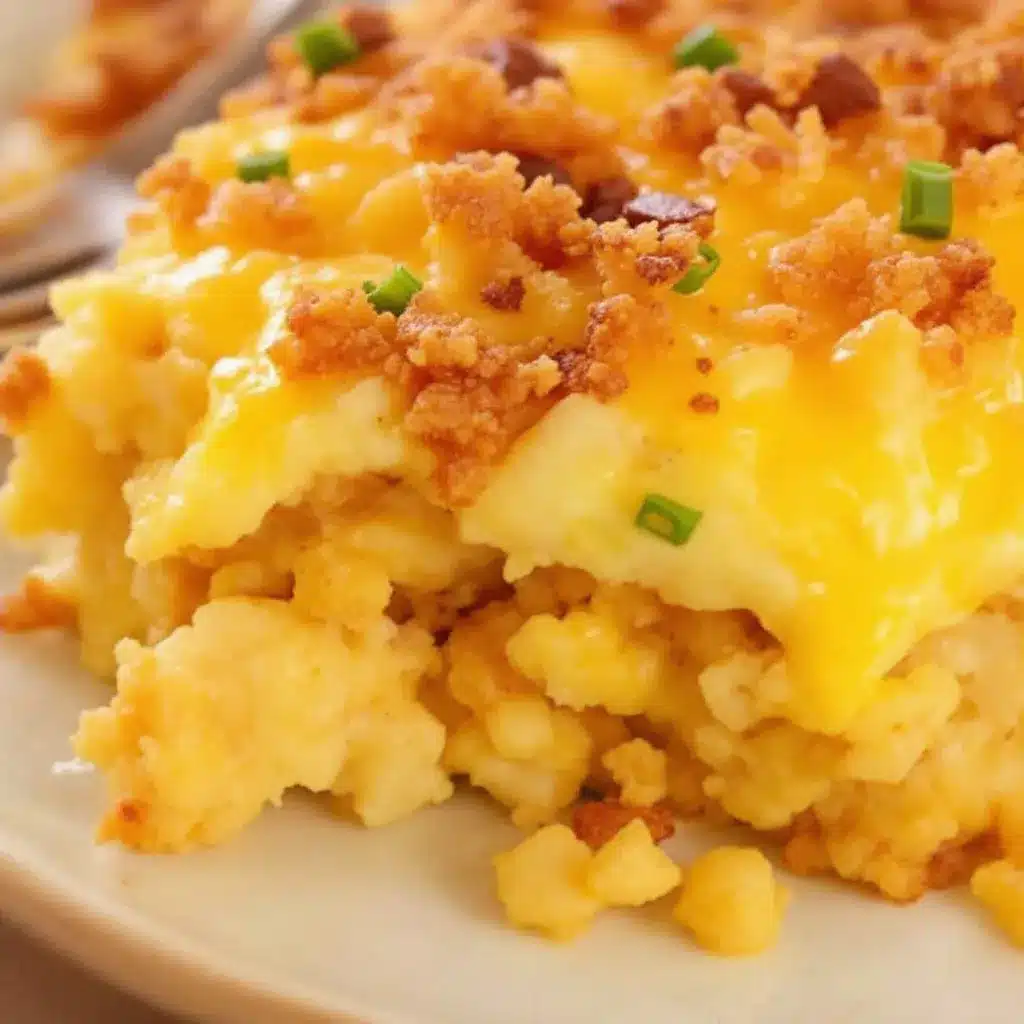
This casserole is best served warm, straight from the oven. Let it rest, then cut into squares and serve with a spatula. The edges will be crispy and the center will be tender and custard-like.
For a complete breakfast spread, I love serving it alongside fresh fruit salad, a side of toast or biscuits, and maybe some hot sauce for those who want extra kick. It pairs beautifully with mimosas or a simple cup of coffee. For brunch, add a side of roasted potatoes or a simple green salad to round things out.
Storage: Leftovers keep in the refrigerator for up to 4 days in an airtight container. The texture softens slightly upon reheating, but the flavor actually improves as the ingredients meld together. To reheat, microwave individual portions for 1-2 minutes, or warm in a 350°F oven for 10-15 minutes to restore some crispiness.
Freezer Instructions: This casserole freezes beautifully. Bake it completely, let it cool, then wrap tightly in plastic wrap and foil. Freeze for up to 3 months. To reheat, thaw overnight in the refrigerator and warm in a 350°F oven until heated through, about 20 minutes. You can also freeze individual portions for quick breakfasts—just wrap each square in plastic wrap and pop them in a freezer bag.
One thing I’ve noticed: the make-ahead version (refrigerated overnight before baking) actually has a slightly deeper, more savory flavor. Something about the hash browns absorbing the egg mixture overnight creates a more cohesive dish. I actually prefer it this way now.
Nutritional Information & Benefits
Here’s the nutritional breakdown per serving (based on 8 servings, using pork sausage and whole milk):
| Nutrient | Amount per Serving |
|---|---|
| Calories | 385 |
| Protein | 22g |
| Fat | 24g |
| Carbohydrates | 22g |
| Fiber | 2g |
| Sodium | 680mg |
This casserole provides a solid protein boost from the eggs and cheese, which helps keep you full until lunch. The hash browns offer resistant starch, a type of fiber that supports gut health. If you’re watching sodium, use low-sodium cheese and skip the added salt in the egg mixture—the cheese and sausage provide plenty.
For a lighter option, use turkey sausage, reduced-fat cheese, and skim milk. The calorie count drops to around 290 per serving, though the texture will be slightly less creamy. I’ve made it both ways, and honestly, the full-fat version is worth the splurge for special occasions.
This recipe contains dairy, eggs, and gluten (if using pre-shredded cheese with anti-caking agents). For a gluten-free version, verify your hash browns are labeled gluten-free—most are, but some brands add flour as a anti-caking agent.
Conclusion
This Easy Cheesy Hash Brown Breakfast Casserole has become my most-requested recipe for a reason. It’s forgiving, flexible, and consistently delivers that perfect combination of crispy edges and creamy center. Whether you’re feeding a holiday crowd or just want breakfast sorted for the week, this casserole has your back.
I love that it’s proof that sometimes the simplest approach is the best one. My sister’s suggestion—just use frozen hash browns—turned out to be the smartest cooking advice I’ve gotten in years. So go ahead, break the rules a little. Your breakfast will thank you.
I’d love to hear how yours turns out! Drop a comment below with your favorite mix-ins or any tweaks you made. And if you share a photo on Pinterest, tag me—I’m always looking for new inspiration. Happy cooking, friends!
Frequently Asked Questions
Can I use fresh potatoes instead of frozen hash browns?
Yes, but you’ll need to parboil them first. Peel and shred 4 medium potatoes, then boil for 3 minutes and drain well. Squeeze out excess moisture with a clean kitchen towel before using. The texture will be slightly different—less crispy on the edges—but it still works.
Can I make this without meat?
Absolutely. Just skip the sausage or ham and add extra vegetables like sautéed mushrooms, spinach, or bell peppers. The casserole will still be rich and satisfying thanks to the cheese and eggs.
How do I know when the casserole is fully cooked?
Insert a knife into the center—it should come out clean. The edges should be golden and bubbling, and the top should be set (not jiggly). If the center still looks wet, give it another 5-10 minutes.
Can I use egg substitute or egg whites?
Yes, but the texture will be less rich. Use 2 cups of liquid egg substitute or 6 egg whites plus ½ cup milk. The casserole will be slightly less creamy and may not brown as nicely on top.
How long does this casserole last in the fridge?
Properly stored in an airtight container, it keeps for up to 4 days. Reheat individual portions in the microwave or warm the whole dish in a 350°F oven for 10-15 minutes. The flavor actually gets better after a day or two.
Pin This Recipe!
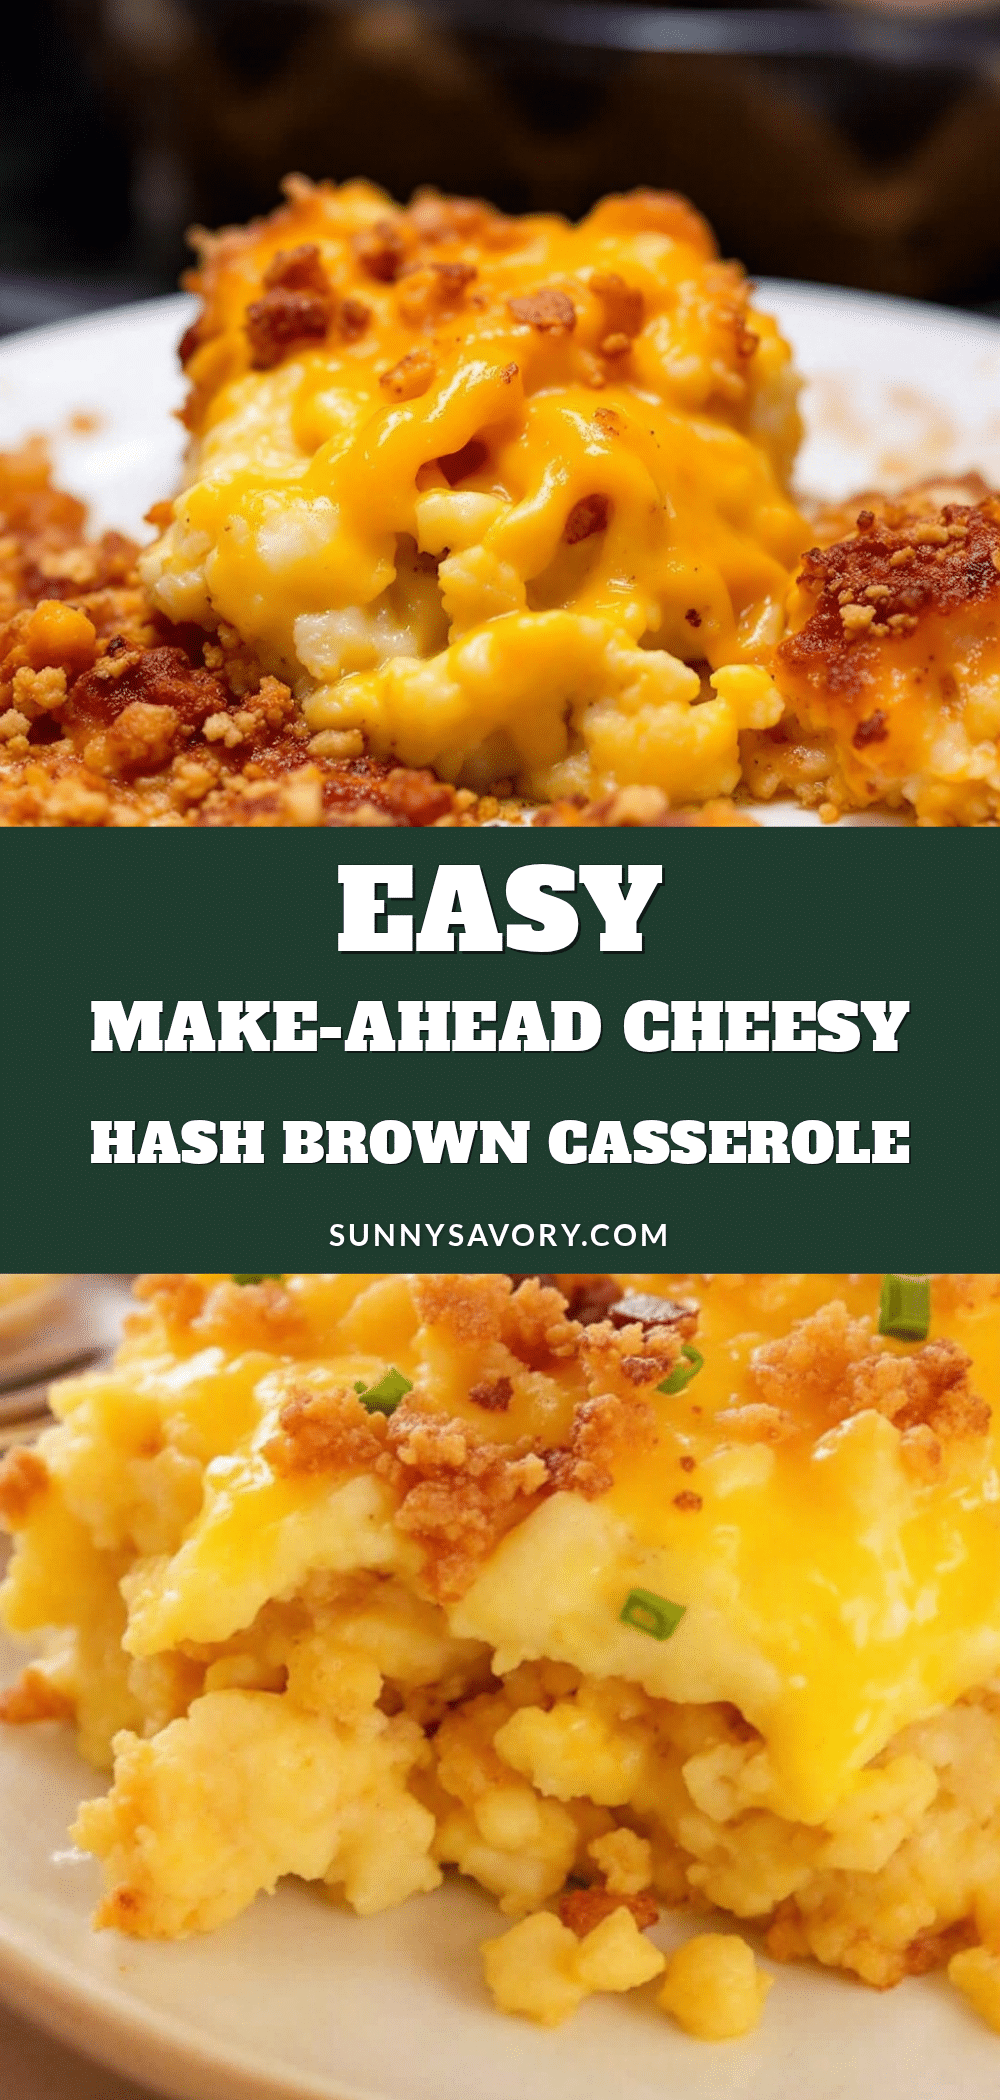
Easy Cheesy Hash Brown Breakfast Casserole (Make-Ahead)

This Easy Cheesy Hash Brown Breakfast Casserole is a make-ahead wonder that uses frozen hash browns straight from the bag for a crispy, tender, and incredibly cheesy breakfast. Perfect for holidays, lazy Sundays, or feeding a crowd with minimal effort.
- Prep Time: 15 minutes
- Cook Time: 50 minutes
- Total Time: 1 hour 5 minutes
- Yield: 8 servings 1x
- Category: Breakfast
- Cuisine: American
Ingredients
- 30 oz frozen shredded hash browns
- 8 large eggs, room temperature
- 1 cup whole milk
- 1 cup sour cream
- 2 cups shredded sharp cheddar cheese, divided
- 1 cup shredded Monterey Jack cheese, divided
- 1 teaspoon salt
- ½ teaspoon black pepper
- ½ teaspoon garlic powder
- ¼ teaspoon smoked paprika (optional)
- 1 cup cooked breakfast sausage, crumbled (or diced ham or cooked bacon)
- ½ cup diced onion
- ½ cup diced bell pepper
Instructions
- Preheat your oven to 375°F (190°C). Grease a 9×13-inch baking dish with butter or non-stick spray.
- Cook your meat and veggies: Brown the sausage in a skillet over medium heat, breaking it into small crumbles (about 5-7 minutes). Add the diced onion and bell pepper in the last 2 minutes, stirring until softened. Drain any excess fat and set aside to cool slightly.
- Whisk the eggs and dairy together in a large mixing bowl. Add the milk, sour cream, salt, pepper, garlic powder, and smoked paprika. Whisk until smooth and fully combined.
- Add the frozen hash browns straight from the freezer to the bowl with the egg mixture. Add the cooked meat and veggies, plus 1½ cups of the cheddar and ¾ cup of the Monterey Jack. Stir everything together with a spatula until the hash browns are evenly coated.
- Pour the mixture into the prepared dish and spread evenly. Sprinkle the remaining ½ cup cheddar and ¼ cup Monterey Jack over the top.
- Bake uncovered for 45-55 minutes, or until the top is golden brown and the center is set. A knife inserted in the middle should come out clean and the edges should be bubbling. If the top is browning too quickly, tent loosely with foil for the last 15 minutes.
- Let it rest for 10 minutes before cutting. This is crucial for the casserole to set properly.
Notes
For the make-ahead version, complete all steps through step 5, then cover tightly with foil and refrigerate for up to 24 hours. When ready to bake, add about 10-15 minutes to the baking time since you’re starting from cold. The texture might be slightly softer, but the flavor deepens overnight. Don’t overmix the eggs; room temperature eggs matter; watch the edges; let it rest for 10 minutes before cutting. For a vegetarian version, skip the meat and add extra vegetables like sautéed mushrooms or spinach. For a dairy-free version, use unsweetened oat milk and dairy-free shredded cheese.
Nutrition
- Serving Size: 1 square (1/8 of cas
- Calories: 385
- Sugar: 3
- Sodium: 680
- Fat: 24
- Saturated Fat: 12
- Carbohydrates: 22
- Fiber: 2
- Protein: 22
Keywords: breakfast casserole, hash brown casserole, make-ahead breakfast, cheesy hash brown casserole, easy breakfast recipe



