Love this? Save it for later!
Share the inspiration with your friends
I wasn’t expecting lunch advice from my seven-year-old nephew, but there I was, standing in his kitchen trying to figure out why my carefully packed bento boxes kept coming back half-eaten. He looked up from his video game and said, “Auntie, can you just make the ones that look like little circles? My friend Liam brings those and they’re actually good.” That was it. No fancy lunch container, no elaborate theme—just a simple request for something that looked fun and tasted good. I asked his mom what Liam’s mom packed, and she shrugged. “I think it’s just rolled-up sandwiches cut into slices.” That conversation sent me down a rabbit hole of pinwheel recipes, and honestly, I haven’t looked back since.
These Easy Turkey & Cheese Pinwheel Lunch Box Roll-Ups are now my go-to for everything. Packed lunches, afternoon snacks, road trips, you name it. They solve the age-old problem of sad, soggy sandwiches that kids (and let’s be real, adults) push to the side. There’s something about the spiral shape that makes them feel more like a treat than a chore to eat. And the best part? They take maybe ten minutes to throw together. I’ve made them so many times now that I can practically do it with my eyes closed, which is good because I’m usually making them at 7 AM with coffee in one hand.
The first batch I made was a total mess. I used the wrong kind of tortilla, the filling was too wet, and they fell apart before I even got them cut. But I kept tweaking it, and now I’ve got a version that holds together beautifully and actually tastes like something you’d want to eat. Maybe you’ve been there too—staring at a fridge full of lunch supplies, wondering how to make something your family will actually finish. These pinwheels are the answer. They’ve saved me from the lunch packing slump more times than I can count, and I have a feeling they’ll do the same for you.
Why You’ll Love This Recipe
Let me tell you, after testing about a dozen different combinations, this version of turkey and cheese pinwheels is the one I keep coming back to. It’s not just another recipe—it’s the one that actually works for real life. Here’s why you’ll want to make it your new lunch staple:
- Quick & Easy: These come together in under 10 minutes. I’m talking from fridge to lunchbox in less time than it takes to make a pot of coffee. Perfect for those mornings when you’re running late (which, for me, is most mornings).
- Simple Ingredients: You probably already have everything in your fridge right now. No special trips to the store for obscure ingredients. Just basic deli turkey, cheese, tortillas, and a few spreadables.
- Perfect for Lunchboxes: Whether you’re packing for school, work, or a picnic, these hold up beautifully. They don’t get soggy, they don’t fall apart, and they look way more impressive than they actually are.
- Crowd-Pleaser: I’ve served these to kids, picky eaters, and grown adults who swore they didn’t like “wraps.” Every single time, the plate comes back empty. There’s something about the pinwheel shape that just makes people happy.
- Unbelievably Delicious: The cream cheese spread adds this tangy creaminess that takes the classic turkey and cheese combo to another level. It’s simple, but it’s the kind of simple that makes you wonder why you ever bothered with regular sandwiches.
What makes this recipe different from all the other pinwheel recipes out there? It’s the technique. I figured out that the key to pinwheels that don’t unravel is in how you layer the ingredients and how tight you roll them. Plus, I’ve nailed the cream cheese spread—it’s not too thick, not too thin, and it acts like glue to hold everything together. This isn’t just another version of turkey pinwheels. It’s the version that actually works, every single time.
Honestly, this recipe is the kind that makes you close your eyes after the first bite. It’s comfort food reimagined—faster, simpler, but with the same soul-soothing satisfaction. Perfect for impressing lunchbox critics without any stress, or turning a rushed morning into something that feels a little bit special.
What Ingredients You Will Need
This recipe uses simple, wholesome ingredients to deliver big flavor and satisfying texture without any fuss. Most of these are probably already in your kitchen, which is exactly how I like it.
- Large flour tortillas (burrito size, about 10 inches) — I prefer Mission or Old El Paso for their flexibility. You want tortillas that are soft and pliable, not stiff. If they’re a little dry, microwave them for 10 seconds to make them easier to roll.
- Deli turkey breast (8-10 slices per tortilla) — Go for good quality oven-roasted or smoked turkey. I like Boar’s Head or Applegate for cleaner ingredients. Avoid the super thin shaved turkey—it tears too easily. Look for slices that are thin but still hold together.
- Cream cheese (4 ounces, softened) — Full-fat works best for the right consistency and flavor. Let it sit out for 15 minutes to soften, or microwave for 10 seconds. Philadelphia is my go-to brand, but any block-style cream cheese works.
- Shredded cheddar cheese (1/2 cup) — Sharp cheddar adds the most flavor, but mild works too. You can also use a Mexican blend or colby jack. Pre-shredded is fine, but freshly shredded melts into the cream cheese better.
- Mayonnaise (2 tablespoons) — This adds moisture and helps the cream cheese spread more easily. Duke’s is my favorite, but Hellmann’s works great too. For a lighter option, use Greek yogurt instead.
- Fresh spinach leaves (a handful) — Optional but highly recommended. They add color, crunch, and a little nutrition boost. Baby spinach works best—the leaves are tender and don’t have tough stems.
- Salt and black pepper (a pinch each) — Just a tiny bit to season the cream cheese mixture. Don’t skip this—it makes a difference in the overall flavor.
- Optional add-ins: Thinly sliced bell peppers, shredded lettuce, or a smear of honey mustard for extra flavor. I sometimes add a thin layer of cranberry sauce for a holiday twist.
For the cream cheese spread, I recommend using room temperature ingredients. Cold cream cheese will tear your tortilla when you try to spread it, and nobody wants that. If you’re dairy-free, you can use a plant-based cream cheese alternative, just make sure it’s the block style, not the spreadable kind in a tub—it’s too thin and will make your pinwheels soggy.
One ingredient tip I learned the hard way: don’t use flavored tortillas unless you really know what you’re doing. I tried sun-dried tomato tortillas once, and the flavor clashed with everything. Stick with plain flour tortillas for the most versatile result. You can always add flavor through your spread or fillings.
Equipment Needed
You don’t need a lot of fancy equipment for these pinwheels, which is part of why I love them so much. Here’s what you’ll need:
- A large cutting board — Give yourself plenty of space to work. A wooden or plastic board works fine.
- A sharp knife — This is crucial. A dull knife will squish your pinwheels instead of slicing them cleanly. I use a serrated bread knife for the cleanest cuts, but a sharp chef’s knife works too.
- A rubber spatula — For spreading the cream cheese mixture evenly. A butter knife works in a pinch, but a spatula gives you better control.
- Plastic wrap — This is the secret to tight, even rolls. Wrap the tortilla tightly before refrigerating.
- A small mixing bowl — For combining the cream cheese, mayo, and seasonings.
- A baking sheet or large plate — For holding the wrapped rolls in the fridge.
If you don’t have plastic wrap, you can use beeswax wraps or even a damp paper towel, but plastic wrap really does give you the tightest roll. I keep a roll in my drawer specifically for this purpose. And if you’re making these for a crowd, a sharp serrated knife is worth its weight in gold—it makes the difference between perfect spirals and squished messes.
One budget-friendly tip: you don’t need a fancy knife set. A single good serrated knife from the grocery store will set you back maybe $10, and it’ll last for years. I’ve had mine for six years and it’s still going strong.
Preparation Method
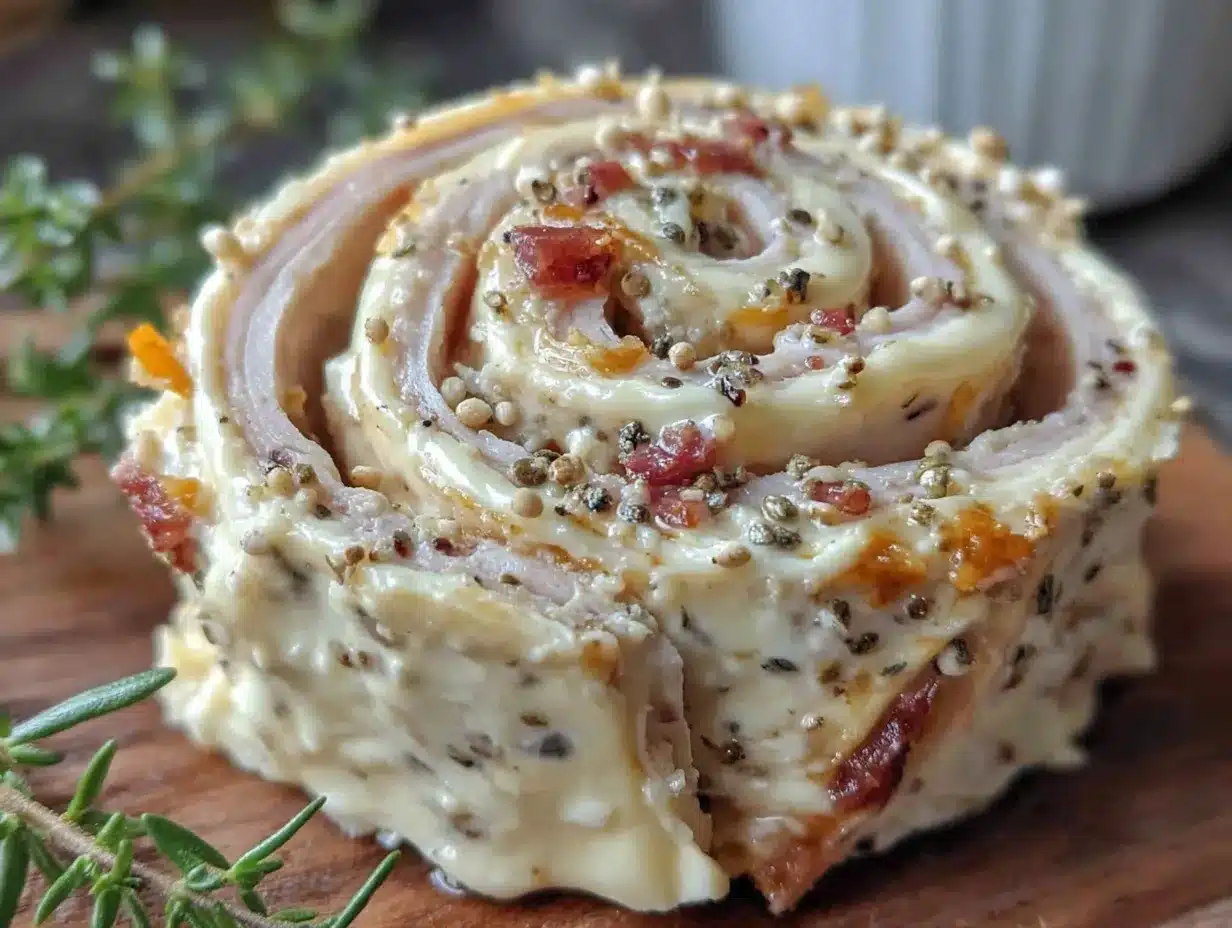
Now let’s get to the fun part—making these little spirals of deliciousness. I’ve broken this down step by step so you can follow along easily, even if you’re making these for the first time.
- Make the cream cheese spread. In a small bowl, combine 4 ounces of softened cream cheese, 2 tablespoons of mayonnaise, and a pinch each of salt and black pepper. Mix until smooth and well combined. Taste it and adjust seasoning if needed. The spread should be creamy and spreadable, not stiff. If it’s too thick, add another teaspoon of mayo.
- Prep your tortillas. Lay one large flour tortilla flat on your cutting board. If your tortillas are cold from the fridge, microwave them for about 10 seconds to make them more pliable. You want them soft and flexible, not hot. Let them cool slightly if they get too warm.
- Spread the cream cheese mixture. Using your rubber spatula, spread a thin, even layer of the cream cheese mixture over the entire surface of the tortilla. Leave about a half-inch border around the edges. Don’t go too thick—you want just enough to hold everything together without making the tortilla soggy.
- Layer the turkey. Place 8-10 slices of turkey breast evenly over the cream cheese spread. Overlap them slightly to ensure full coverage. You want every bite to have turkey in it. If the slices are very thin, you might need a few extra.
- Add the cheese and spinach. Sprinkle about 1/4 cup of shredded cheddar cheese evenly over the turkey layer. Then, place a handful of fresh spinach leaves on top. Press them down gently so they stick to the cheese. If you’re using any other add-ins like bell peppers, add them now.
- Roll it up tight. Starting from one edge, carefully roll the tortilla as tightly as you can without tearing it. Use your fingers to keep the filling in place as you roll. Think of it like rolling a sleeping bag—you want it snug but not so tight that the filling squeezes out the ends.
- Wrap in plastic. Once your tortilla is rolled, wrap it tightly in plastic wrap. Twist the ends like a candy wrapper to seal it. This step is non-negotiable—the plastic wrap holds the roll together while it chills, which gives you those clean, perfect slices.
- Chill for at least 30 minutes. Place the wrapped roll on a baking sheet or plate and refrigerate for at least 30 minutes. This allows the cream cheese to firm up, which makes slicing much easier. You can leave them overnight if you’re prepping ahead.
- Slice into pinwheels. When you’re ready to serve, unwrap the roll and place it on your cutting board. Using a sharp serrated knife, slice the roll into 1-inch thick rounds. Use a gentle sawing motion rather than pressing down—this prevents squishing. You should get about 6-8 pinwheels per tortilla.
- Arrange and serve. Place the pinwheels in your lunchbox or on a serving platter. They can be served cold or at room temperature. If you’re packing for later, arrange them in a single layer to prevent them from sticking together.
A few things I’ve learned from making these dozens of times: if your cream cheese mixture is too cold, it won’t spread evenly. Let it sit out for a bit. Also, don’t overfill your tortilla. It’s tempting to pile on the good stuff, but too much filling makes the roll hard to close and the pinwheels fall apart. Trust me, I’ve learned this the hard way more times than I’d like to admit.
One more thing—when you’re rolling, keep even pressure. I used to roll tighter at the beginning and looser at the end, which gave me lopsided pinwheels. Now I roll with consistent pressure from start to finish, and every pinwheel comes out looking perfect.
Cooking Tips & Techniques
After making these pinwheels more times than I can count, I’ve picked up a few tricks that make the process smoother and the results better. Let me share what I’ve learned—including the mistakes so you don’t have to make them yourself.
The biggest mistake people make is slicing too soon. I get it—you’re hungry, you’re in a rush, and you want to see those pretty spirals. But if you slice before the cream cheese has had time to firm up, you’ll end up with a squished mess. That 30-minute chill time isn’t optional. I once skipped it because I was running late, and I ended up with something that looked more like turkey mush than pinwheels. Not my finest moment.
Use a damp paper towel for extra tight rolls. If your tortillas are a little dry or prone to cracking, lay a damp paper towel over them for about 30 seconds before you start. The moisture makes them more flexible without making them soggy. This trick saved me when I accidentally bought a batch of tortillas that were past their prime.
Keep your knife clean between cuts. The cream cheese spread can get sticky, and if you don’t wipe your knife clean between slices, the residue will drag through the next pinwheel and mess up the spiral. I keep a damp paper towel next to my cutting board and wipe the blade after every two or three cuts.
Don’t press down when slicing. Use a gentle sawing motion instead. Pressing down compresses the pinwheel and squishes the filling out the sides. A serrated knife does the work for you—just let the teeth do their thing. I learned this after a particularly frustrating batch where every single pinwheel looked like a sad, flattened pancake.
Make extra for snacking. I always make two or three rolls at a time because these things disappear fast. They’re perfect for afternoon snacks, road trips, or just grazing while you pack lunches. Plus, they keep well in the fridge for up to three days, so you can prep on Sunday and have lunches ready all week.
One timing strategy that works for me: I make the cream cheese spread and prep the tortillas the night before. Then in the morning, I just layer, roll, and wrap. By the time I’m done packing the rest of the lunch, the pinwheels are ready to slice. It saves me about five minutes in the morning, which honestly feels like an eternity when you’re half-asleep.
Variations & Adaptations
One of the best things about this recipe is how easy it is to change up. I’ve tried all sorts of combinations, and here are some of my favorites. Feel free to experiment based on what you have in your fridge or what your family likes.
Ham and Swiss Pinwheels: Swap the turkey for thinly sliced ham and use Swiss cheese instead of cheddar. Add a smear of Dijon mustard to the cream cheese spread for a classic combo that tastes like a fancy deli sandwich. This is my husband’s favorite version—he says it reminds him of the sandwiches his grandmother used to make.
Veggie Cream Cheese Pinwheels: Skip the meat entirely and load up on veggies. Use the same cream cheese base, then add shredded carrots, thinly sliced cucumbers, bell peppers, and alfalfa sprouts. The crunch from the fresh vegetables is incredibly satisfying. This version is great for meatless Mondays or for anyone who prefers a lighter lunch.
Buffalo Chicken Pinwheels: Mix shredded cooked chicken with cream cheese and a few tablespoons of buffalo sauce. Spread that on your tortilla, add some crumbled blue cheese or ranch dressing, and roll it up. These are a hit at parties and game day gatherings. I brought them to a Super Bowl party once and they were gone in ten minutes.
Gluten-Free Option: Use gluten-free tortillas instead of flour tortillas. Just be aware that gluten-free tortillas can be more fragile, so handle them gently. You might need to microwave them a bit longer to make them pliable. I’ve used both corn and almond flour tortillas with good results.
Lower Carb Version: Swap the flour tortilla for large lettuce leaves or collard green wraps. Blanch the collard greens briefly to make them pliable, then layer your fillings and roll. It’s a great option if you’re watching your carb intake, and honestly, the crunch from the lettuce is pretty fantastic.
One personal variation I tried last summer was adding a thin layer of sun-dried tomato pesto to the cream cheese spread. It gave the pinwheels this amazing Mediterranean flavor that paired beautifully with the turkey and spinach. I’ve been making that version ever since, especially when I want something a little more elevated for a picnic or brunch.
Serving & Storage Suggestions
These pinwheels are versatile when it comes to serving, and they store beautifully, which is a huge win for meal prep. Here’s everything you need to know about serving and storing them.
Serving temperature: These are best served cold or at room temperature. If you’re packing them for lunch, they’ll be perfect straight from the fridge. For parties or picnics, I like to take them out about 15 minutes before serving so they’re not ice cold. The flavors seem to pop a little more at room temperature.
Presentation tips: Arrange the pinwheels on a platter with the spiral side facing up so everyone can see the pretty layers. If you’re serving them at a party, stick a decorative toothpick through each one to keep them from unrolling and make them easy to grab. For lunchboxes, I nestle them in a container with a few grapes, some baby carrots, and maybe a small cookie for a balanced meal.
What to serve with them: These pinwheels pair well with just about anything. For a complete lunch, add some fresh fruit, veggie sticks with hummus, or a small side salad. They’re also great alongside a cup of tomato soup or a simple pasta salad. For parties, I serve them with other finger foods like veggie skewers, mini quiches, or fruit kabobs.
Storage instructions: Store leftover pinwheels in an airtight container in the refrigerator for up to 3 days. Place a paper towel at the bottom of the container to absorb any excess moisture, which helps prevent sogginess. I don’t recommend leaving them at room temperature for more than 2 hours, especially if they contain mayonnaise.
Freezing tips: You can freeze uncooked rolls for up to 2 months. Wrap them tightly in plastic wrap and then in aluminum foil. When you’re ready to use them, thaw in the refrigerator overnight, then slice and serve. I don’t recommend freezing already-sliced pinwheels because the texture changes when they thaw—they can get a little watery.
Reheating: These are meant to be served cold, so no reheating is needed. If you prefer them slightly warm, you can microwave a few pinwheels for about 10-15 seconds, but be careful not to overheat them or the tortilla will get tough. Honestly, I think they’re best straight from the fridge.
One thing I’ve noticed is that the flavors actually get better after a few hours in the fridge. The cream cheese spread melds with the turkey and cheese, and everything just comes together. So if you can make these the night before, you’ll be rewarded with even better flavor the next day.
Nutritional Information & Benefits
While these pinwheels feel like a treat, they actually pack some solid nutritional benefits. Here’s a breakdown of what you’re getting in each serving (based on 6 pinwheels per tortilla, with 2 pinwheels per serving).
| Nutrient | Amount per Serving (2 pinwheels) |
|---|---|
| Calories | 220-250 |
| Protein | 15-18g |
| Carbohydrates | 18-22g |
| Fat | 10-12g |
| Saturated Fat | 5-6g |
| Fiber | 1-2g |
| Sodium | 500-600mg |
Health benefits of key ingredients: Turkey breast is a lean protein source that’s low in fat and high in B vitamins, which help with energy metabolism. Spinach provides iron, vitamin K, and antioxidants that support overall health. The cream cheese and cheddar add calcium for bone health, and the whole wheat tortilla (if you choose that option) provides fiber for digestive health.
Dietary considerations: This recipe is naturally low in sugar and can be made gluten-free with the right tortilla choice. For a lower-calorie option, use reduced-fat cream cheese and low-fat turkey. If you’re watching your sodium intake, look for low-sodium deli turkey and skip the added salt in the cream cheese spread.
Potential allergens: This recipe contains dairy (cream cheese, cheddar cheese) and gluten (flour tortillas). For dairy-free, use plant-based cream cheese and vegan cheese shreds. For gluten-free, use gluten-free tortillas. Always check your ingredient labels to be sure.
From a wellness perspective, I love that these pinwheels give you a balanced mix of protein, carbs, and fat in one portable package. They keep you full without weighing you down, which is exactly what you want in a lunch. Plus, the veggies add a little nutritional boost without making it feel like you’re eating a salad. It’s a win-win in my book.
Conclusion
These Easy Turkey & Cheese Pinwheel Lunch Box Roll-Ups have honestly become a staple in my kitchen, and I think they’ll become one in yours too. They’re simple enough for a busy weekday morning, but impressive enough to serve at a party or picnic. The best part? You can customize them a thousand different ways based on what you have in your fridge or what your family craves.
I love that this recipe takes something as ordinary as a turkey sandwich and turns it into something fun and special. There’s a reason my nephew asked for “the circle ones” again and again. They’re just more enjoyable to eat. And honestly, if a little spiral shape can make lunchtime more exciting, why not go for it?
I’d love to hear how these turn out for you! Drop a comment below and let me know what variations you tried, or if you have any questions. Did you add something unexpected that worked great? Did your kids (or your inner child) gobble them up? Share your pinwheel adventures with me—I read every comment and I love getting new ideas from this community. Happy rolling, friends!
Frequently Asked Questions
Can I make these pinwheels ahead of time?
Absolutely! You can make the entire roll (unsliced) up to 2 days in advance. Wrap it tightly in plastic wrap and keep it in the refrigerator. When you’re ready to serve, just slice and go. The flavors actually get better after a day in the fridge.
Why are my pinwheels falling apart?
This usually happens for one of three reasons: you didn’t chill them long enough before slicing, you overfilled the tortilla, or you didn’t roll it tight enough. Make sure to chill for at least 30 minutes, use a moderate amount of filling, and roll with even, firm pressure.
Can I use a different type of cheese?
Yes, absolutely! Swiss, provolone, pepper jack, or even mozzarella all work great. Just make sure it’s shredded or sliced thinly so the roll stays tight. Hard cheeses like parmesan don’t work as well because they don’t stick to the cream cheese spread.
How do I keep the tortillas from cracking when I roll them?
If your tortillas are cracking, they’re probably too dry. Microwave them for 10-15 seconds to make them more pliable, or lay a damp paper towel over them for 30 seconds. Also, make sure you’re using fresh tortillas—older ones tend to be drier and more prone to cracking.
Can I use a wrap instead of a tortilla?
Yes, you can use any large, flat bread product. Lavash bread, large pita wraps, or even homemade flatbreads all work well. Just make sure they’re large enough to roll easily and flexible enough to bend without tearing. Spinach or tomato wraps add extra color and flavor too.
Pin This Recipe!
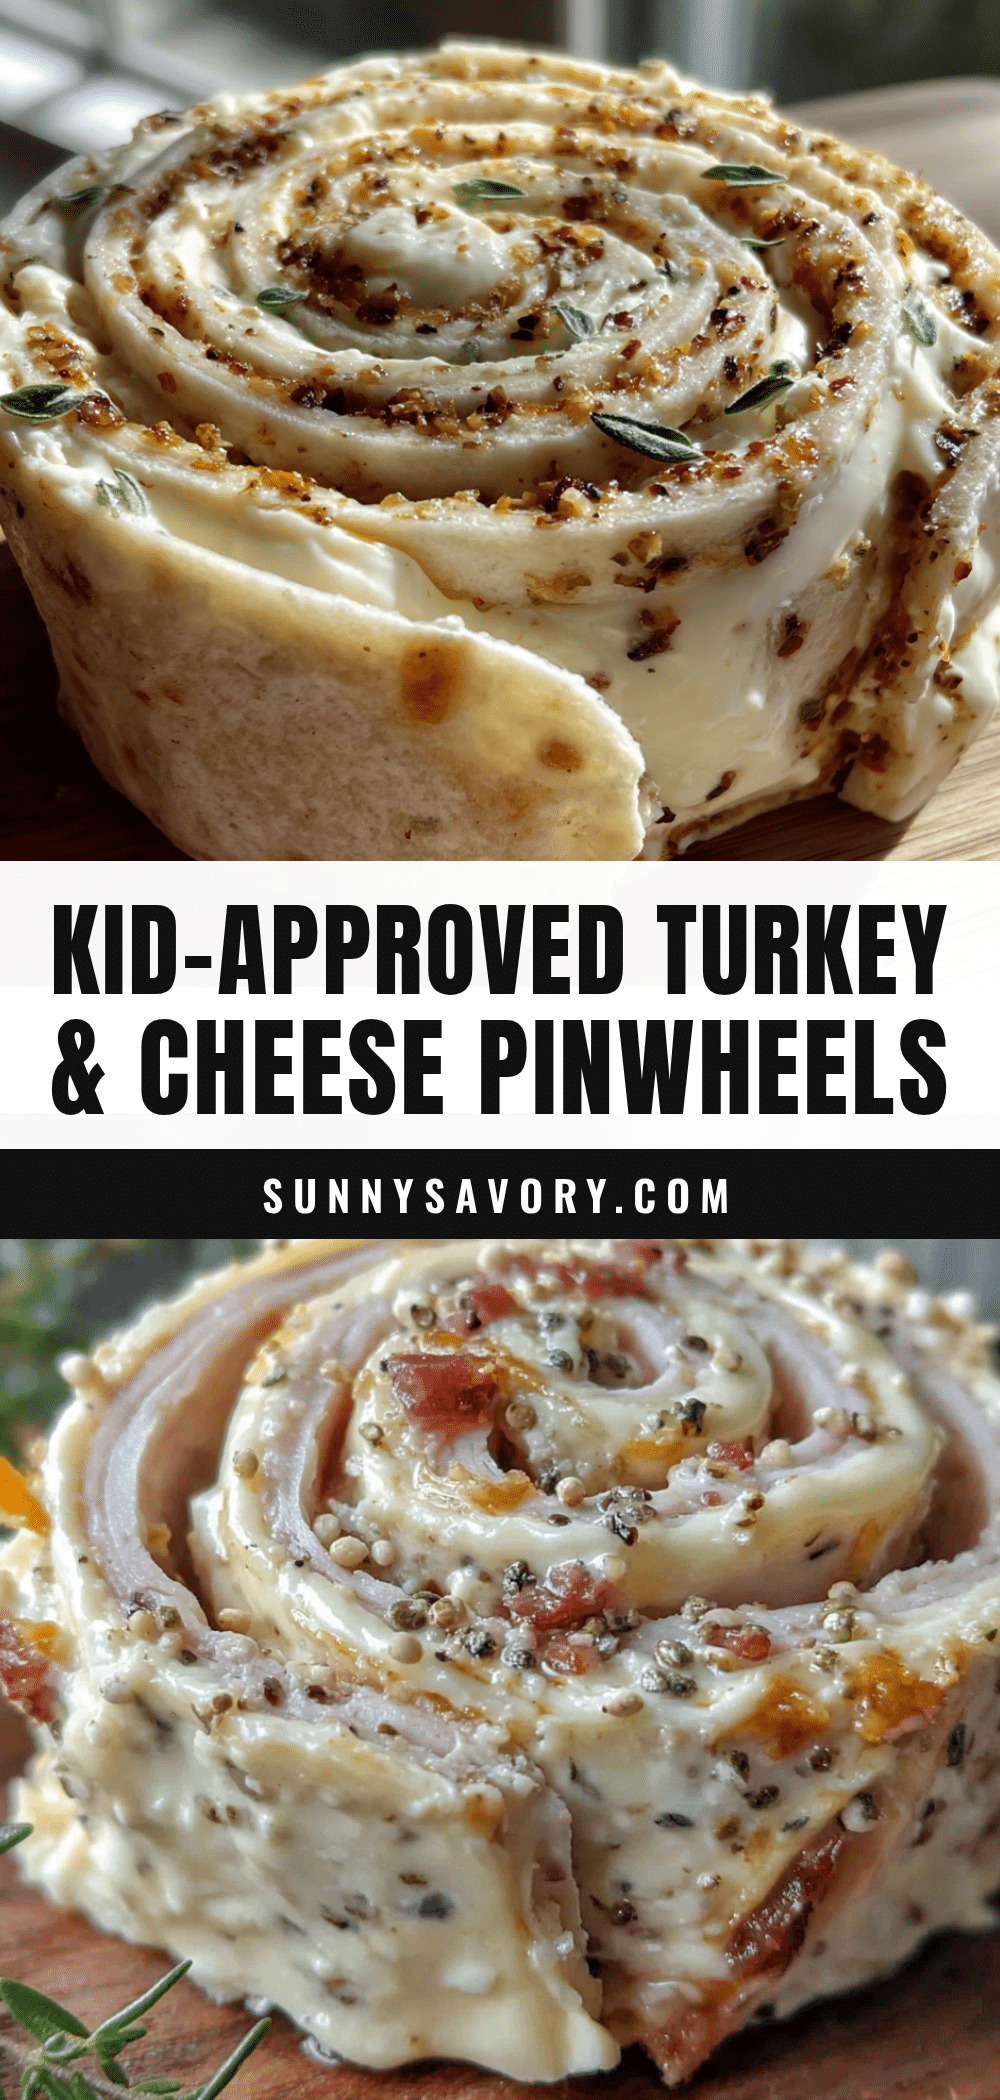
Easy Turkey & Cheese Pinwheel Roll-Ups for Lunch

These Easy Turkey & Cheese Pinwheel Lunch Box Roll-Ups are a quick, fun, and delicious solution for packed lunches, snacks, and road trips. Made with simple ingredients like deli turkey, cream cheese, and tortillas, they hold together beautifully and are a crowd-pleaser for kids and adults alike.
- Prep Time: 10 minutes
- Cook Time: 0 minutes
- Total Time: 40 minutes
- Yield: 4 servings 1x
- Category: Lunch
- Cuisine: American
Ingredients
- 4 large flour tortillas (burrito size, about 10 inches)
- 8–10 slices deli turkey breast per tortilla
- 4 ounces cream cheese, softened
- 1/2 cup shredded cheddar cheese
- 2 tablespoons mayonnaise
- 1 handful fresh spinach leaves
- 1 pinch salt
- 1 pinch black pepper
Instructions
- In a small bowl, combine 4 ounces of softened cream cheese, 2 tablespoons of mayonnaise, and a pinch each of salt and black pepper. Mix until smooth and well combined.
- Lay one large flour tortilla flat on your cutting board. If cold, microwave for about 10 seconds to make pliable.
- Using a rubber spatula, spread a thin, even layer of the cream cheese mixture over the entire surface of the tortilla, leaving about a half-inch border around the edges.
- Place 8-10 slices of turkey breast evenly over the cream cheese spread, overlapping slightly.
- Sprinkle about 1/4 cup of shredded cheddar cheese evenly over the turkey layer, then place a handful of fresh spinach leaves on top. Press down gently.
- Starting from one edge, carefully roll the tortilla as tightly as you can without tearing it, keeping the filling in place.
- Wrap the rolled tortilla tightly in plastic wrap, twisting the ends like a candy wrapper to seal.
- Refrigerate for at least 30 minutes to allow the cream cheese to firm up.
- When ready to serve, unwrap the roll and place on a cutting board. Using a sharp serrated knife, slice into 1-inch thick rounds using a gentle sawing motion.
- Arrange the pinwheels in a lunchbox or on a serving platter. Serve cold or at room temperature.
Notes
For best results, use room temperature cream cheese to avoid tearing the tortilla. Chill the roll for at least 30 minutes before slicing to ensure clean cuts. If tortillas are dry, microwave for 10 seconds or cover with a damp paper towel for 30 seconds. Keep the knife clean between cuts for neat spirals. The flavors improve after a few hours in the fridge.
Nutrition
- Serving Size: 2 pinwheels
- Calories: 235
- Sugar: 2
- Sodium: 550
- Fat: 11
- Saturated Fat: 5.5
- Carbohydrates: 20
- Fiber: 1.5
- Protein: 16.5
Keywords: turkey pinwheels, cheese pinwheels, lunchbox roll-ups, easy lunch, kid-friendly lunch, turkey and cheese wraps, pinwheel sandwiches



