Love this? Save it for later!
Share the inspiration with your friends
I was standing in my kitchen last Tuesday, staring into the fridge like it owed me money, when I spotted the leftover turkey slices and a half-empty box of crackers. The kids had already rejected three lunch ideas that morning — and it wasn’t even 9 AM yet. Honestly, I was this close to just tossing a granola bar in their bags and calling it a win. But then I remembered how my friend Jenna used to pack these little cracker “sandwiches” for her toddler, and something clicked.
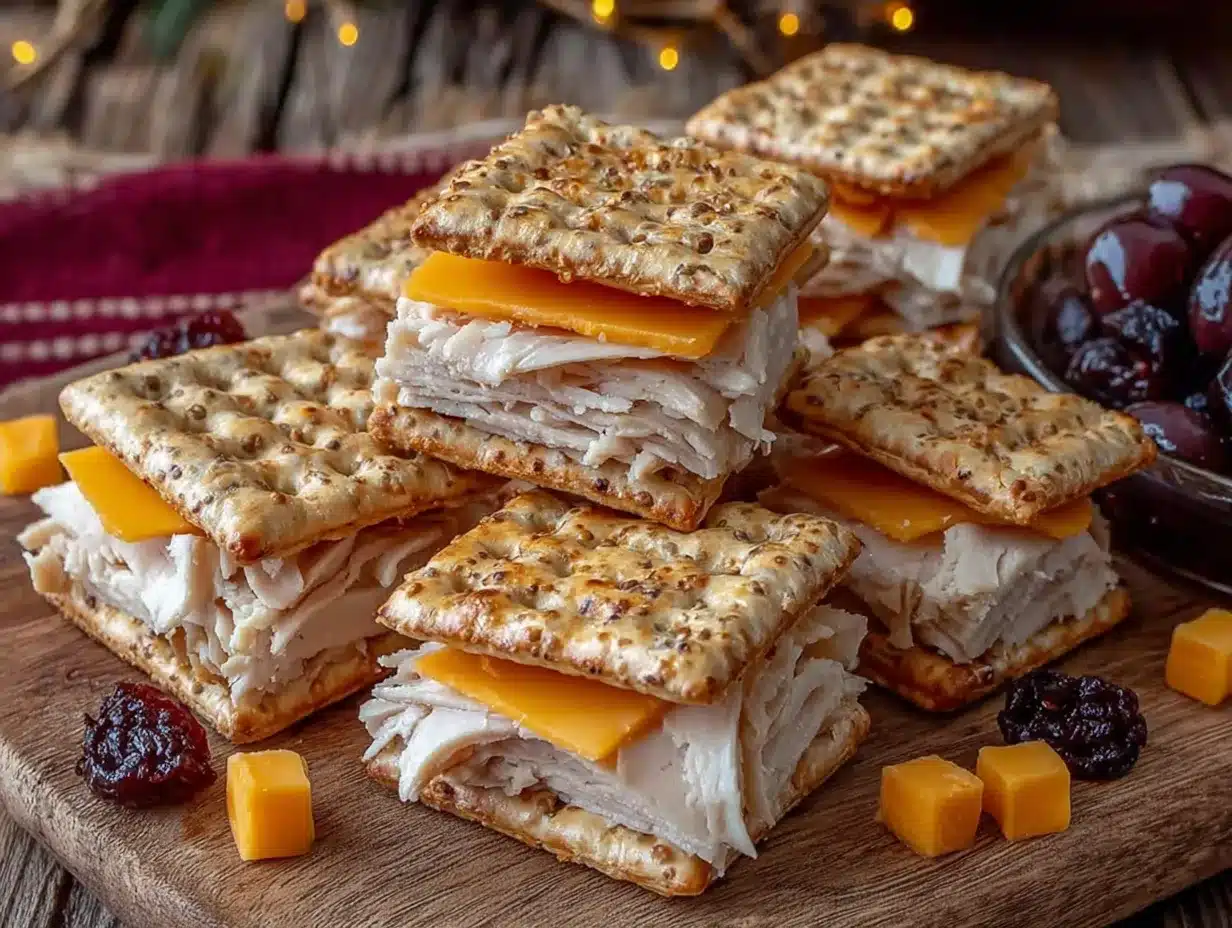
That’s when I grabbed the turkey, the crackers, and a block of cheddar cheese, and started stacking. I mean, it wasn’t rocket science — just layering, pressing, and cutting into bite-sized squares. But the way my kids reacted when they opened their lunchboxes? Pure magic. No crumbs left behind, no complaints, and — get this — they actually asked for them again the next day.
Maybe you’ve been there, staring at the same sad rotation of sandwiches and thinking there has to be something better. Something that doesn’t take 20 minutes to assemble but still feels like you tried. These easy homemade turkey cracker stackers are that thing. They’re the lunch idea that makes you look like a Pinterest pro when really, you just stacked three ingredients together. And let me tell you, I’ve been making them for months now, and they never get old.
The best part? You probably already have everything in your fridge. No fancy grocery run, no obscure ingredients — just good, simple food that somehow feels special. That’s why I keep coming back to this recipe. It’s not just lunch; it’s a little victory in the middle of a chaotic day.
Why You’ll Love This Recipe
Let me be real with you — I’ve tested a lot of lunch ideas over the years. Some were too complicated, some fell apart in lunchboxes, and some just weren’t worth the effort. But these turkey cracker stackers? They hit different. Here’s why I think you’ll fall for them too:
- Quick & Easy: You can put these together in under 10 minutes. Seriously, I timed myself last week. That’s faster than making a grilled cheese and way less mess.
- Simple Ingredients: No fancy grocery trips needed. You likely already have turkey, crackers, and cheese in your kitchen right now. If not, these are all pantry staples you can grab anywhere.
- Perfect for Busy Mornings: Whether you’re packing lunches for school, work, or a picnic, these stackers come together without stress. No cooking required, no heating, no fuss.
- Crowd-Pleaser: My kids devour these, my husband steals them from the fridge, and even picky eaters at playdates have asked for more. They’re basically magic.
- Unbelievably Delicious: There’s something about the combination of salty crackers, savory turkey, and creamy cheese that just works. It’s simple comfort food that satisfies every time.
What makes these different from every other lunch idea out there? It’s the texture. The crackers stay crisp (if you assemble them right), the turkey adds that satisfying chew, and the cheese brings everything together. Plus, you can mix and match flavors endlessly — but we’ll get to that later. This isn’t just another lunch; it’s your new go-to for days when you need something reliable and delicious.
I remember the first time I made these for a playdate. I was nervous the other moms would think I was being lazy. But one of them actually asked for the recipe! That’s when I knew this was more than just a quick fix — it was a legit crowd-pleaser. And honestly, that feels pretty good.
What Ingredients You Will Need
This recipe uses simple, wholesome ingredients to deliver bold flavor and satisfying texture without the fuss. Most of these are probably already in your fridge and pantry, which makes this the ultimate last-minute lunch solution.
For the Base
- 8-10 slices of deli turkey (about 200g): I prefer oven-roasted turkey for its mild flavor, but any variety works. Look for slices that are thick enough to hold their shape but not so thick they overwhelm the cracker. (Pro tip: ask for a 1/4-inch cut at the deli counter)
- 30-40 square crackers (like Ritz, Club, or saltines): Square crackers work best for even stacking, but you can use round ones too. I personally recommend Club crackers for their buttery flavor and sturdy texture. They don’t get soggy as quickly as some other brands.
- 4-6 slices of cheddar cheese (about 100g): Sharp cheddar adds the most flavor, but mild cheddar or even Colby Jack works beautifully. You can also use cheese slices or block cheese that you cut into cracker-sized squares. (Use dairy-free cheese if needed)
Optional Add-Ons
- 1-2 tablespoons of mayonnaise or cream cheese: A thin spread adds moisture and helps everything stick together. I love using herb cream cheese for extra flavor.
- Lettuce leaves or spinach: Adds crunch and a fresh element. Pat them dry first to avoid soggy crackers.
- Thin cucumber or tomato slices: For a refreshing twist. Just make sure they’re cut thin enough to fit between the crackers.
- Salt and pepper to taste: A tiny sprinkle can enhance the flavors, especially if you’re using mild cheese.
Ingredient Selection Tips
When choosing your turkey, look for slices that are freshly cut from the deli rather than pre-packaged. The texture is so much better — it’s not as slimy or processed. For the crackers, I’ve tested this with generic store brands, and honestly, they work fine. But if you want that extra buttery flavor that holds up well, I recommend Club crackers or Ritz. As for the cheese, block cheese that you slice yourself tends to melt better and taste fresher, but pre-sliced cheese is perfectly fine for convenience.
If you’re making these for a picnic or lunchbox, consider using hard cheeses like cheddar or Gouda — they hold their shape better at room temperature. Soft cheeses like brie or fresh mozzarella can get messy. And if you’re watching your sodium, look for low-sodium turkey and crackers. The flavor will still be great!
Equipment Needed
One of the best things about this recipe is that you don’t need any fancy equipment. Here’s what you’ll need:
- Cutting board: For assembling the stackers. Any size works, but a medium board gives you plenty of space.
- Sharp knife: To cut the turkey and cheese into cracker-sized pieces. A serrated knife works well for cheese.
- Small offset spatula or butter knife: For spreading mayonnaise or cream cheese if you’re using it. (A regular butter knife works just fine)
- Parchment paper or wax paper: For layering the stackers in a container so they don’t stick together. You can also use reusable silicone baking mats.
- Lunchbox or airtight container: To store the stackers. I love using bento-style boxes with compartments to keep everything separate.
- Cookie cutter (optional): If you want to make fun shapes for kids. Star or dinosaur shapes make lunch way more exciting!
I remember trying to make these without a good knife once — big mistake. The cheese came out all ragged, and the stackers looked like a toddler assembled them. Lesson learned: a sharp knife makes all the difference. Also, if you don’t have a lunchbox with compartments, just use parchment paper to separate layers. It keeps the crackers from getting crushed.
For budget-friendly options, skip the cookie cutter and just use a knife. And honestly, you don’t need a fancy offset spatula — the back of a spoon works perfectly for spreading. This is one of those recipes where simple tools are totally fine.
Preparation Method
Okay, let’s get to the fun part — making these little beauties. Follow these steps, and you’ll have a batch of turkey cracker stackers ready in no time.
- Prep your ingredients (2 minutes): Take your turkey slices out of the fridge and let them sit for a minute so they’re easier to handle. Cut each slice into squares that match the size of your crackers. If you’re using block cheese, slice it into thin squares too — about 1/8-inch thick. (Pro tip: cutting cheese while it’s cold is easier and gives cleaner edges.)
- Optional spread (1 minute): If you’re using mayonnaise or cream cheese, spread a thin, even layer on half of your crackers. Don’t go overboard — you want a whisper of spread, not a glob. I learned this the hard way when my first batch turned into a slippery mess. A little goes a long way.
- Layer the first cracker (30 seconds): Take one cracker (spread-side up if you used spread) and place a piece of turkey on it. Make sure the turkey covers the cracker completely but doesn’t hang over the edges too much. If your turkey pieces are bigger than the cracker, just fold them to fit.
- Add the cheese (30 seconds): Place a piece of cheese on top of the turkey. Again, aim for it to be roughly the same size as the cracker. If you’re using pre-sliced cheese, you might need to cut it into quarters to fit perfectly.
- Top with the second cracker (20 seconds): Place another cracker on top of the cheese, pressing down gently to create a sandwich. Don’t press too hard or the crackers will crack — we want them intact for that satisfying crunch. (I’ve definitely crushed a few in my early attempts. It’s still edible, just less pretty.)
- Repeat and assemble (5 minutes): Continue this process until you’ve used all your ingredients. You should get about 15-20 stackers depending on the size of your crackers and how much filling you use. If you’re making a large batch, work in an assembly line — lay out all the bottom crackers, add turkey to all of them, then cheese, then tops. It’s way faster.
- Chill before serving (optional but recommended, 10-15 minutes): Place the assembled stackers in the fridge for 10-15 minutes. This helps them set and makes them easier to pack without falling apart. If you’re in a rush, you can skip this step — they’ll still taste great.
- Pack and serve: Arrange the stackers in your lunchbox or container, separating layers with parchment paper if needed. They’re ready to go! Serve at room temperature or slightly chilled — both are delicious.
Sensory cues to watch for: When you press the top cracker down, you should feel a slight resistance before it settles. The cheese should be firm but not hard. When you bite into a finished stacker, you want a clean crunch — not a mushy one. If your crackers feel soft, they’ve absorbed too much moisture. Next time, pat your turkey dry with a paper towel before assembling.
Time-saving tip: Prep all your ingredients the night before. Cut the turkey and cheese, store them in separate containers, and assemble in the morning. It cuts the active time down to about 3 minutes. I do this every Sunday for the week ahead, and it’s been a game-changer for my morning routine.
Cooking Tips & Techniques
After making these stackers more times than I can count, I’ve picked up a few tricks that make them turn out perfect every time. Here’s what I’ve learned — sometimes the hard way.
The soggy cracker problem. This is the most common issue, and it’s frustrating. The culprit is usually moisture from the turkey or cheese. Solution: pat your turkey slices dry with a paper towel before cutting them. If you’re adding lettuce or tomatoes, make sure they’re completely dry too. And here’s a pro tip — assemble the stackers as close to serving time as possible. If you’re packing them the night before, keep the crackers separate and assemble in the morning. The difference is night and day.
Choosing the right cracker. Not all crackers are created equal for stacking. Thin, delicate crackers like saltines can break under pressure. I’ve found that sturdier crackers like Club crackers, Ritz, or even wheat thins hold up much better. They can handle the weight of the filling without crumbling. I once tried using those fancy water crackers — beautiful presentation, but they shattered into a million pieces. Never again.
The perfect cheese-to-turkey ratio. This is personal preference, but I’ve found that a 1:1 ratio of cheese to turkey (by visual volume) gives the best balance. Too much cheese, and the stacker becomes greasy. Too much turkey, and it’s dry. If you’re using a strong cheese like sharp cheddar, you can use a slightly thinner slice since the flavor is more intense.
Multitasking strategy. While the stackers are chilling in the fridge, use that time to wash your cutting board and knife, or prep other lunchbox items like fruit or veggies. It makes the whole lunch-packing process feel less chaotic. I also like to make a double batch and store the extras in the fridge for up to three days. They’re perfect for grabbing on busy mornings.
My biggest failure: I once tried to make these with flavored crackers — everything bagel seasoning crackers, to be exact. The flavor clash with the turkey and cheddar was… not great. Stick with plain or lightly salted crackers for the best results. Trust me on this one.
Variations & Adaptations
One of the best things about this recipe is how customizable it is. Here are some of my favorite variations that I’ve tested and loved.
Dietary Variations
- Gluten-Free: Use gluten-free crackers (like Schar or Crunchmaster) and check that your deli turkey is gluten-free. Most are, but some brands add fillers. This version tastes just as good — I’ve served it to gluten-sensitive friends without complaints.
- Low-Carb/Keto: Swap the crackers for cucumber rounds or cheese crisps. Layer turkey and cheese between two thick cucumber slices for a refreshing, crunchy alternative. It’s not exactly the same, but it scratches the same itch.
- Dairy-Free: Use dairy-free cheese slices (I like Daiya or Violife) or skip the cheese entirely and add avocado slices instead. The avocado adds creaminess and healthy fats.
Flavor Twists
- Italian Style: Use salami or pepperoni instead of turkey, add a thin slice of mozzarella, and spread a little pesto on the crackers. It’s like a mini Italian sub in cracker form.
- Spicy Kick: Spread a thin layer of sriracha mayo on the crackers, use pepper jack cheese, and add a slice of jalapeño. My husband loves this version for his work lunches.
- Sweet & Savory: Use honey ham instead of turkey, add a slice of Swiss cheese, and spread a tiny bit of honey mustard. It’s surprisingly addictive.
Different Cooking Methods
- Toasted version: For a warm twist, assemble the stackers and place them on a baking sheet. Broil for 1-2 minutes until the cheese starts to melt. The crackers get slightly toasted, and the cheese gets gooey. It’s a completely different experience — and totally worth trying.
- Deconstructed lunchbox: Pack the crackers, turkey, and cheese separately and let your kids (or yourself) assemble them at lunchtime. It’s more interactive and keeps everything fresh. My kids actually prefer this method because they feel like they’re “cooking.”
Serving & Storage Suggestions
These turkey cracker stackers are versatile when it comes to serving and storing. Here’s everything you need to know to keep them at their best.
Serving temperature: These stackers are best served at room temperature or slightly chilled. If you’re packing them for lunch, they’ll naturally come to room temperature by the time you eat. If you’re serving them as an appetizer at a party, take them out of the fridge 10 minutes before serving for the best flavor and texture.
What to serve with them: These stackers pair beautifully with a handful of baby carrots, apple slices, or a small cup of soup. For a complete lunch, add some grapes and a yogurt cup. If you’re serving them as appetizers, arrange them on a platter with pickles, olives, and cherry tomatoes for a beautiful spread.
Storage instructions: Store assembled stackers in an airtight container in the refrigerator for up to 3 days. Place parchment paper between layers to prevent sticking. Do not freeze them — the crackers will become soft and unappetizing when thawed. If you want to prep ahead, store the components separately and assemble fresh.
Reheating tips: These are typically served cold or at room temperature, so reheating isn’t necessary. However, if you want a warm version, you can microwave them for 10-15 seconds (watch carefully so the crackers don’t get soggy) or pop them under the broiler for 1 minute. The toasted version I mentioned earlier is my preferred way to reheat leftovers.
How flavors develop over time: Interestingly, these stackers actually taste better after sitting in the fridge for a few hours. The flavors meld together, and the cheese and turkey become more cohesive. They’re still great fresh, but if you can make them a few hours ahead, even better. Just be aware that the crackers will soften slightly over time — that’s why I recommend assembling close to serving if you want maximum crunch.
Nutritional Information & Benefits
Let’s talk about what’s actually in these little stackers. They’re not just delicious — they’re also pretty good for you.
Estimated nutritional values (per stacker, based on 15 stackers):
- Calories: 85-100
- Protein: 5-7g
- Fat: 4-6g
- Carbohydrates: 6-8g
- Fiber: 0-1g
- Sodium: 200-300mg (varies by ingredients)
Health benefits of key ingredients: Turkey is a lean protein source that’s rich in B vitamins, selenium, and tryptophan (which can help with mood regulation). Cheese provides calcium and protein, while crackers offer quick energy from carbohydrates. If you add lettuce or spinach, you’ll get a boost of vitamins A and K. It’s a balanced little snack that keeps you full without weighing you down.
Dietary considerations: This recipe can be easily adapted for gluten-free, low-carb, or dairy-free diets (see variations above). It’s naturally nut-free, making it a safe option for school lunches. If you’re watching your sodium, choose low-sodium turkey and crackers, and use a smaller amount of cheese.
Potential allergens: This recipe contains dairy (cheese) and gluten (crackers). It may also contain traces of soy or other allergens depending on the brands you use. Always check labels if you’re cooking for someone with allergies.
From my perspective, these stackers are a great example of how simple food can be both satisfying and nutritious. They’re not a health food, but they’re a far better choice than processed lunch kits or fast food. And honestly, knowing exactly what’s in my kids’ lunch makes me feel pretty good.
Conclusion
So there you have it — my go-to lunch idea that’s saved me countless mornings of scrambling and stressing. These easy homemade turkey cracker stackers are proof that you don’t need complicated recipes or fancy ingredients to make a meal that feels special. Sometimes the simplest things are the ones that stick.
I love these stackers because they’re forgiving. You can mess up the assembly, use whatever crackers you have, swap the cheese for whatever’s in the drawer, and they still turn out great. They’re not precious or fussy — they’re just good, honest food that makes lunchtime better. And in a world where we’re all busy and tired and trying to do our best, that’s exactly what we need.
I’d love to hear how these turn out for you! Try different variations, make them your own, and let me know what combinations you discover. Drop a comment below with your favorite twist — I’m always looking for new ideas. And if you found this helpful, share it with a friend who’s tired of the same old lunch routine. We’re all in this together, one stacker at a time.
Now go make some stackers. Your lunchbox (and your taste buds) will thank you.
Frequently Asked Questions
Can I make these turkey cracker stackers ahead of time?
Yes, you can make them up to 3 days in advance. Store them in an airtight container in the refrigerator with parchment paper between layers. Just keep in mind that the crackers will soften slightly over time. For the crispiest results, assemble them the morning you plan to eat them.
What if I don’t have square crackers?
No problem! Round crackers work just as well — just make sure your turkey and cheese pieces are cut to match the shape. You can also use rectangular crackers like Wheat Thins or even bagel chips for a different texture. The key is matching the cracker size to your filling pieces.
Can I use leftover roast turkey instead of deli slices?
Absolutely! Leftover roast turkey works great. Just slice it thin (about 1/4-inch thick) and make sure the pieces are roughly the same size as your crackers. Leftover turkey might be slightly drier than deli slices, so consider adding a thin spread of mayonnaise or mustard for moisture.
How do I keep the crackers from getting soggy in a lunchbox?
The best trick is to pack the components separately and assemble at lunchtime. If you need to assemble them ahead, pat all your ingredients dry before stacking, and avoid adding wet ingredients like tomatoes or cucumbers. You can also place a paper towel in the container to absorb excess moisture.
Are these turkey cracker stackers suitable for school lunches?
Yes, they’re perfect for school lunches! They’re nut-free (depending on your ingredients), easy to eat, and don’t require heating. Just make sure to pack them in a sturdy container to prevent crushing. Many schools have nut-free policies, so these are a safe and delicious option.
Pin This Recipe!
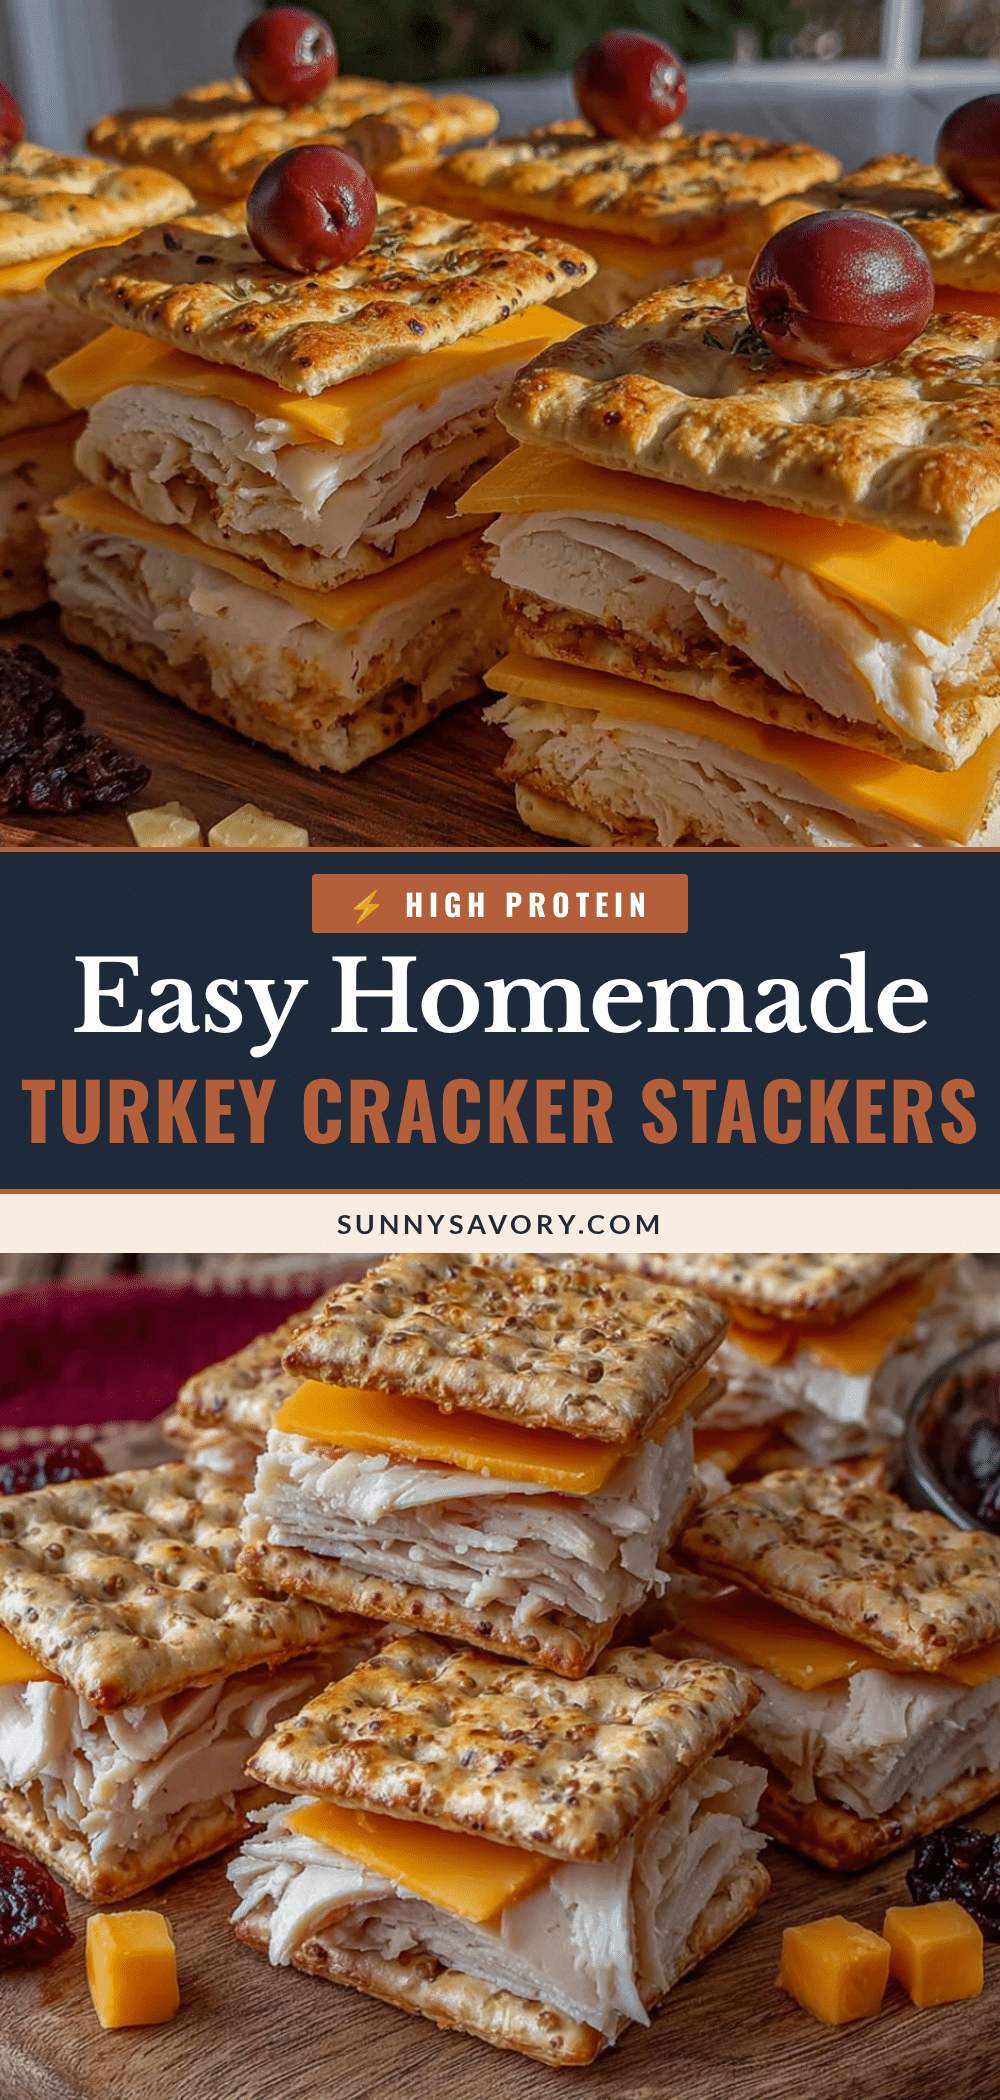
Easy Homemade Turkey Cracker Stackers: Best Lunch Idea

These easy homemade turkey cracker stackers are a quick and delicious lunch idea made with just three simple ingredients: turkey, crackers, and cheese. Perfect for busy mornings, they come together in under 10 minutes and are a crowd-pleaser for kids and adults alike.
- Prep Time: 10 minutes
- Cook Time: 0 minutes
- Total Time: 10 minutes
- Yield: 15-20 stackers 1x
- Category: Lunch
- Cuisine: American
Ingredients
- 8–10 slices of deli turkey (about 200g)
- 30–40 square crackers (like Ritz, Club, or saltines)
- 4–6 slices of cheddar cheese (about 100g)
- 1–2 tablespoons of mayonnaise or cream cheese (optional)
- Lettuce leaves or spinach (optional)
- Thin cucumber or tomato slices (optional)
- Salt and pepper to taste (optional)
Instructions
- Prep your ingredients: Take your turkey slices out of the fridge and let them sit for a minute. Cut each slice into squares that match the size of your crackers. If using block cheese, slice it into thin squares about 1/8-inch thick.
- Optional spread: If using mayonnaise or cream cheese, spread a thin, even layer on half of your crackers.
- Layer the first cracker: Take one cracker (spread-side up if used) and place a piece of turkey on it, covering the cracker completely.
- Add the cheese: Place a piece of cheese on top of the turkey, roughly the same size as the cracker.
- Top with the second cracker: Place another cracker on top of the cheese, pressing down gently to create a sandwich.
- Repeat and assemble: Continue until all ingredients are used, making about 15-20 stackers. Work in an assembly line for efficiency.
- Chill before serving (optional but recommended): Place assembled stackers in the fridge for 10-15 minutes to help them set.
- Pack and serve: Arrange stackers in a lunchbox or container, separating layers with parchment paper if needed. Serve at room temperature or slightly chilled.
Notes
For the crispiest crackers, assemble close to serving time. Pat turkey dry to avoid sogginess. Use sturdy crackers like Club or Ritz. Store in an airtight container in the fridge for up to 3 days. Do not freeze.
Nutrition
- Serving Size: 1 stacker
- Calories: 85100
- Sugar: 1
- Sodium: 200300
- Fat: 46
- Saturated Fat: 23
- Carbohydrates: 68
- Fiber: 1
- Protein: 57
Keywords: turkey cracker stackers, easy lunch idea, kid-friendly lunch, no-cook lunch, turkey and cheese crackers



