Love this? Save it for later!
Share the inspiration with your friends
My friend Jenna asked me last week why I couldn’t just throw some cheese and apples on a board instead of spending an hour fanning out prosciutto roses and arranging fig preserves in those tiny dishes. I started to explain why that wouldn’t work — then stopped. She had a point, honestly.
I mean, let’s face it. Somewhere along the line, I convinced myself that snack trays needed to be complicated to be impressive. That you needed seven kinds of cheese, three types of cured meat, and at least one thing you had to special-order from a deli counter. But Jenna was standing in my kitchen holding a block of sharp cheddar and a bag of Honeycrisp apples, looking at me like I was overthinking things. And I was.
So I shut my mouth, grabbed a cutting board, and let her show me what she meant. She sliced the apples thin — not fancy, just even — and cut the cheddar into these satisfying little rectangles. She arranged them in a way that felt almost lazy, like she wasn’t trying to impress anyone. And you know what? It was perfect. My kids devoured it before I could even grab a plate for myself.
That afternoon changed how I think about snack trays. It made me realize that the best ones aren’t about showing off — they’re about making people feel taken care of. These Easy Cheddar Cheese & Apple Snack Trays are exactly that. They’re the kind of thing you can throw together in five minutes when someone shows up hungry, or when you need a lunch that feels a little more special than a sandwich but doesn’t require actual effort.
I’ve been making them ever since that day, tweaking the ratios and trying different apple varieties. And honestly, Jenna’s version is still the best. Sometimes the simplest ideas really are the ones that stick.
Why You’ll Love This Recipe
Look, I’ve tested a lot of snack combinations over the years. Some were hits, some were… less memorable. But these Easy Cheddar Cheese & Apple Snack Trays? They’re in a league of their own. Here’s why I keep coming back to them:
- Ready in Under 10 Minutes : No cooking, no waiting, no complicated steps. Just slice, arrange, and serve. Perfect for those days when you need food on the table fast.
- Simple Ingredients You Already Have : Cheddar cheese and apples are pantry staples in most kitchens. No special grocery runs or obscure ingredients required.
- Perfect for Any Occasion : Lunchboxes, after-school snacks, party appetizers, wine night with friends — these trays fit everywhere. They’re casual enough for a Tuesday and fancy enough for guests.
- Crowd-Pleaser for All Ages : Kids love the sweetness of the apples, adults appreciate the sharp cheddar, and everyone enjoys the fun of building their own bites. I’ve never seen leftovers.
- Naturally Satisfying : The combination of crisp apple and creamy, sharp cheddar hits that perfect sweet-and-savory spot. It’s the kind of snack that actually feels like a treat.
What makes this version different from just throwing cheese and apples on a plate? It’s the attention to detail. I slice the apples thin enough to stack easily but thick enough to hold their texture. I cut the cheddar into uniform pieces so every bite has the perfect cheese-to-apple ratio. And I arrange everything in a way that feels intentional without being fussy.
This recipe isn’t just good — it’s the kind that makes you close your eyes after the first bite. It’s comfort food reimagined as a simple, wholesome snack. Perfect for impressing guests without stress, or turning a regular afternoon into something memorable.
What Ingredients You Will Need
This recipe uses simple, wholesome ingredients to deliver bold flavor and satisfying texture without any fuss. You probably have most of these in your kitchen right now.
- Sharp cheddar cheese, block form (8 oz / 225 g) — I recommend Cabot or Kerrygold for best flavor. The sharper the better, honestly. Pre-shredded cheese won’t work here because it doesn’t slice into those nice, satisfying pieces.
- Apples, firm and crisp (2 medium) — Honeycrisp, Fuji, or Granny Smith are my top picks. You want something that holds its shape and offers a good balance of sweet and tart.
- Honey, for drizzling (2 tbsp / 30 ml, optional) — A light drizzle adds a lovely sweetness that ties everything together. Local honey is always nice if you have it.
- Fresh lemon juice (1 tbsp / 15 ml) — This prevents the apple slices from browning too quickly. Just a light toss does the trick.
- Sea salt flakes, for finishing (a pinch) — Maldon or any flaky sea salt. That tiny bit of crunch and saltiness makes the flavors pop.
- Fresh thyme leaves (optional, for garnish) — Adds a subtle herbal note and makes the tray look prettier. Totally optional but nice.
- Whole grain crackers or crusty bread (optional, for serving) — Adds texture and makes the snack more filling. I like simple water crackers or a good sourdough.
Ingredient Selection Tips
When picking apples, give them a gentle squeeze at the store. You want firm apples without any soft spots. For the cheddar, buy a block and slice it yourself — it tastes better and gives you control over the thickness. If you’re using honey, look for something light and mild so it doesn’t overpower the cheese.
Substitution Guidance
Use Gouda or Colby Jack if you prefer a milder cheese. Swap apples with firm pears for a seasonal twist. For a dairy-free version, use your favorite plant-based cheddar-style cheese. And if honey isn’t your thing, a drizzle of maple syrup works beautifully too.
Equipment Needed
- Cutting board — Any size works, but a large board gives you room to arrange everything nicely.
- Sharp chef’s knife — A good knife makes all the difference for clean slices of both cheese and apples. I use my Wüsthof for this.
- Small bowl — For the lemon water to keep apples from browning.
- Serving board or platter — A wooden board, slate tile, or even a large dinner plate works. Don’t overthink this.
- Small dish for honey — If you’re serving honey on the side for dipping.
If you don’t have a nice serving board, a baking sheet lined with parchment paper works surprisingly well for casual snacking. I’ve done it plenty of times when my good boards were dirty. And honestly, no one cares what it’s served on once they start eating.
Preparation Method
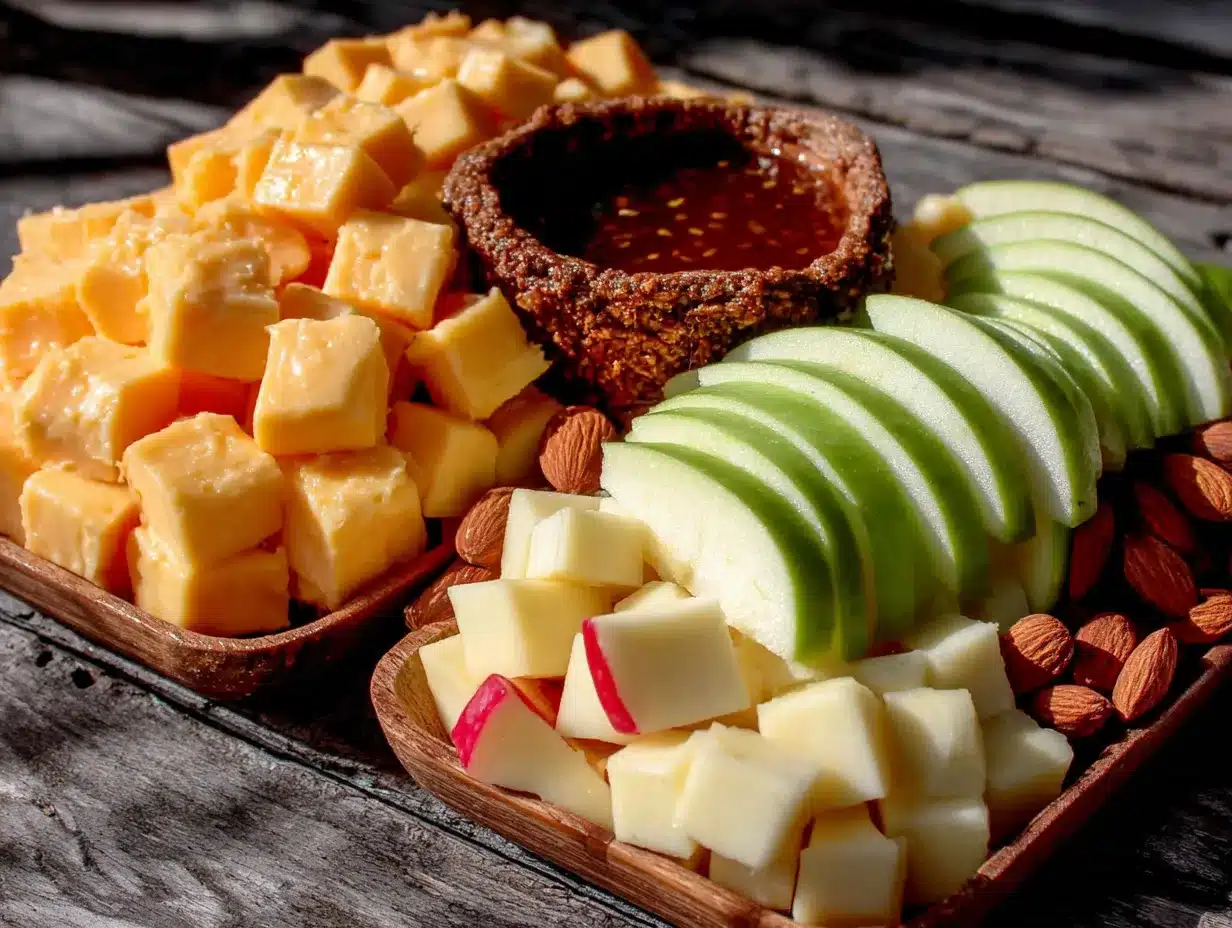
- Prep the apples — Fill a small bowl with cold water and add the lemon juice. Wash and dry your apples. Cut them in half through the core, then remove the core with a knife or melon baller. Slice each half into thin, even slices — about 1/4 inch (6 mm) thick. Drop the slices into the lemon water as you go to prevent browning. Let them soak for about 2 minutes, then drain and pat dry with paper towels.
- Slice the cheese — Cut the block of cheddar into rectangular slices about 1/4 inch (6 mm) thick, then cut those into bite-sized pieces about 1 inch (2.5 cm) long. Aim for uniform pieces so they look neat on the tray. I usually get about 24-30 pieces from an 8 oz block.
- Arrange the tray — Start by placing the cheese pieces in a row or clustered in one section of your board. Arrange the apple slices nearby, slightly overlapping for a nice visual. Leave a little space between them so people can grab what they want without disturbing everything.
- Add finishing touches — If using honey, drizzle a light ribbon over the cheese and apples, or serve it in a small dish on the side. Sprinkle a tiny pinch of sea salt flakes over everything — this really makes the flavors sing. Garnish with fresh thyme leaves if you’re feeling fancy.
- Serve immediately — These trays are best enjoyed right away while the apples are crisp and the cheese is cool. Place any optional crackers or bread on the side for extra crunch.
Pro Tip from My Kitchen: If you’re making these for a party, prep the cheese ahead of time and keep it in the fridge. Slice the apples right before serving to keep them from browning. Your future self will thank you.
Sensory Cue: When you bite into a slice of apple with cheddar, you should hear a crisp snap from the apple, followed by the creamy, slightly crumbly texture of the cheese. The salt and honey should hit your tongue in that perfect sweet-salty wave.
Cooking Tips & Techniques
After making these trays more times than I can count, here are the things I’ve learned the hard way:
Don’t slice the apples too thin. I made this mistake once, and the slices turned into floppy, sad little things that couldn’t hold up to the cheese. Aim for 1/4 inch — thin enough to be pleasant, thick enough to have structure.
Let the cheese come to room temperature. Cold cheddar straight from the fridge tastes muted. Let it sit out for 15-20 minutes before serving. The flavor opens up beautifully, and the texture becomes creamier.
Use a mix of apple varieties if you have them. One time I had a Honeycrisp and a Granny Smith in my fridge, so I used both. The sweet-tart contrast was incredible, and the tray looked way more interesting.
Salt is non-negotiable. I forgot the flaky salt once, and the whole thing fell flat. That tiny pinch of salt is what makes the cheese taste cheesier and the apples taste apple-ier. Trust me on this.
Prep in stages for busy days. I slice the cheese the night before and keep it in an airtight container. Then in the morning, all I have to do is slice the apples and assemble. Takes less than five minutes.
Variations & Adaptations
Seasonal Fruit Swap — In the fall, swap apples for thinly sliced pears. In summer, try fresh figs or peach slices. Each fruit brings a different sweetness that pairs beautifully with the cheddar.
Spicy Kick Version — Add a few thin slices of jalapeño or a drizzle of hot honey instead of regular honey. The heat cuts through the richness of the cheese and adds an unexpected pop. My husband loves this version.
Nutty Crunch Addition — Scatter toasted walnuts or pecans over the tray. The crunch adds texture, and the nuttiness complements both the cheese and the apples. I do this when I want the tray to feel a little more substantial.
Dairy-Free Adaptation — Use a plant-based cheddar-style cheese. I’ve tried several brands, and Violife works best for slicing. The flavor is mild, so you might want to add a bit more salt and honey.
Herb-Infused Version — Instead of thyme, try fresh rosemary or basil. Rosemary adds an almost woodsy note that’s lovely with sharp cheddar. Basil gives it a slightly sweet, peppery finish.
Serving & Storage Suggestions
These snack trays are best served at room temperature, so let the cheese sit out for about 15 minutes before arranging. I like to serve them on a wooden board with small bowls of honey and extra sea salt on the side.
What to Serve Alongside
- A handful of mixed olives
- Thinly sliced salami or prosciutto
- Grapes or dried apricots
- A glass of crisp white wine or cold cider
Storage — If you have leftovers (unlikely, but possible), store the cheese and apples separately. Keep the cheese in an airtight container in the fridge for up to 5 days. Store apple slices in a bowl of cold water with a squeeze of lemon juice to keep them from browning. They’ll last about a day.
Reheating — No reheating needed here! Just let the cheese come to room temperature before serving again. The apples might lose some crunch, but they’ll still taste great.
Make-Ahead Tip — You can slice the cheese up to 2 days ahead. Just keep it wrapped tightly in the fridge. Slice the apples no more than an hour before serving for best texture.
Nutritional Information & Benefits
Here’s the estimated nutritional breakdown for one serving (about 1/4 of the tray, without crackers):
| Nutrient | Amount |
|---|---|
| Calories | 210 |
| Protein | 10g |
| Fat | 14g |
| Carbohydrates | 12g |
| Fiber | 3g |
| Sugar | 9g |
| Sodium | 280mg |
Health Benefits — Cheddar cheese is a great source of calcium and protein, which support bone health and muscle function. Apples are rich in fiber and antioxidants, particularly vitamin C and quercetin, which support immune health. The combination makes for a balanced snack that keeps you full and satisfied without weighing you down.
Dietary Considerations — This recipe is naturally vegetarian and gluten-free (just skip the crackers). For a lower-sodium option, use reduced-sodium cheddar. For a dairy-free version, use plant-based cheese.
FAQs
Can I make this with pre-sliced cheese?
You can, but I don’t recommend it. Pre-sliced cheese is usually thinner and doesn’t have the same satisfying texture. Plus, it’s more expensive. Buying a block and slicing it yourself gives you better control and better flavor.
How do I keep the apples from turning brown?
The lemon water bath works perfectly. Just a quick soak — 2 minutes max — then pat them dry. If you’re serving the tray later, you can also brush the slices with a little lemon juice directly.
What kind of apples work best?
Firm, crisp apples like Honeycrisp, Fuji, or Granny Smith hold up best. Avoid soft varieties like Red Delicious — they get mushy and don’t provide the right texture contrast with the cheese.
Can I add other fruits or nuts?
Absolutely! This recipe is super flexible. Grapes, dried cranberries, toasted almonds, or sliced pears all work beautifully. Just keep the cheddar as the star and build around it.
How far ahead can I assemble the tray?
I’d say no more than 30 minutes before serving. The apples will start to brown and lose their crunch if they sit too long. Slice the cheese ahead of time, but assemble everything close to when you plan to serve it.
Conclusion
These Easy Cheddar Cheese & Apple Snack Trays are proof that simple really is better. No complicated techniques, no fancy ingredients — just good cheese, crisp apples, and a little bit of thought put into how they come together. They’ve become my go-to for everything from lazy Sunday afternoons to last-minute guests, and I don’t see that changing anytime soon.
I’d love to hear how you make these your own. Maybe you’ll add a drizzle of balsamic glaze or swap in your favorite local cheese. Whatever you do, tag me or leave a comment — I’m always looking for new ideas to try. And if you make these for someone you care about, even better. That’s what this whole thing is about, honestly.
So grab an apple, slice up some cheddar, and give yourself permission to keep it simple. You might just surprise yourself with how good it feels.
Pin This Recipe!
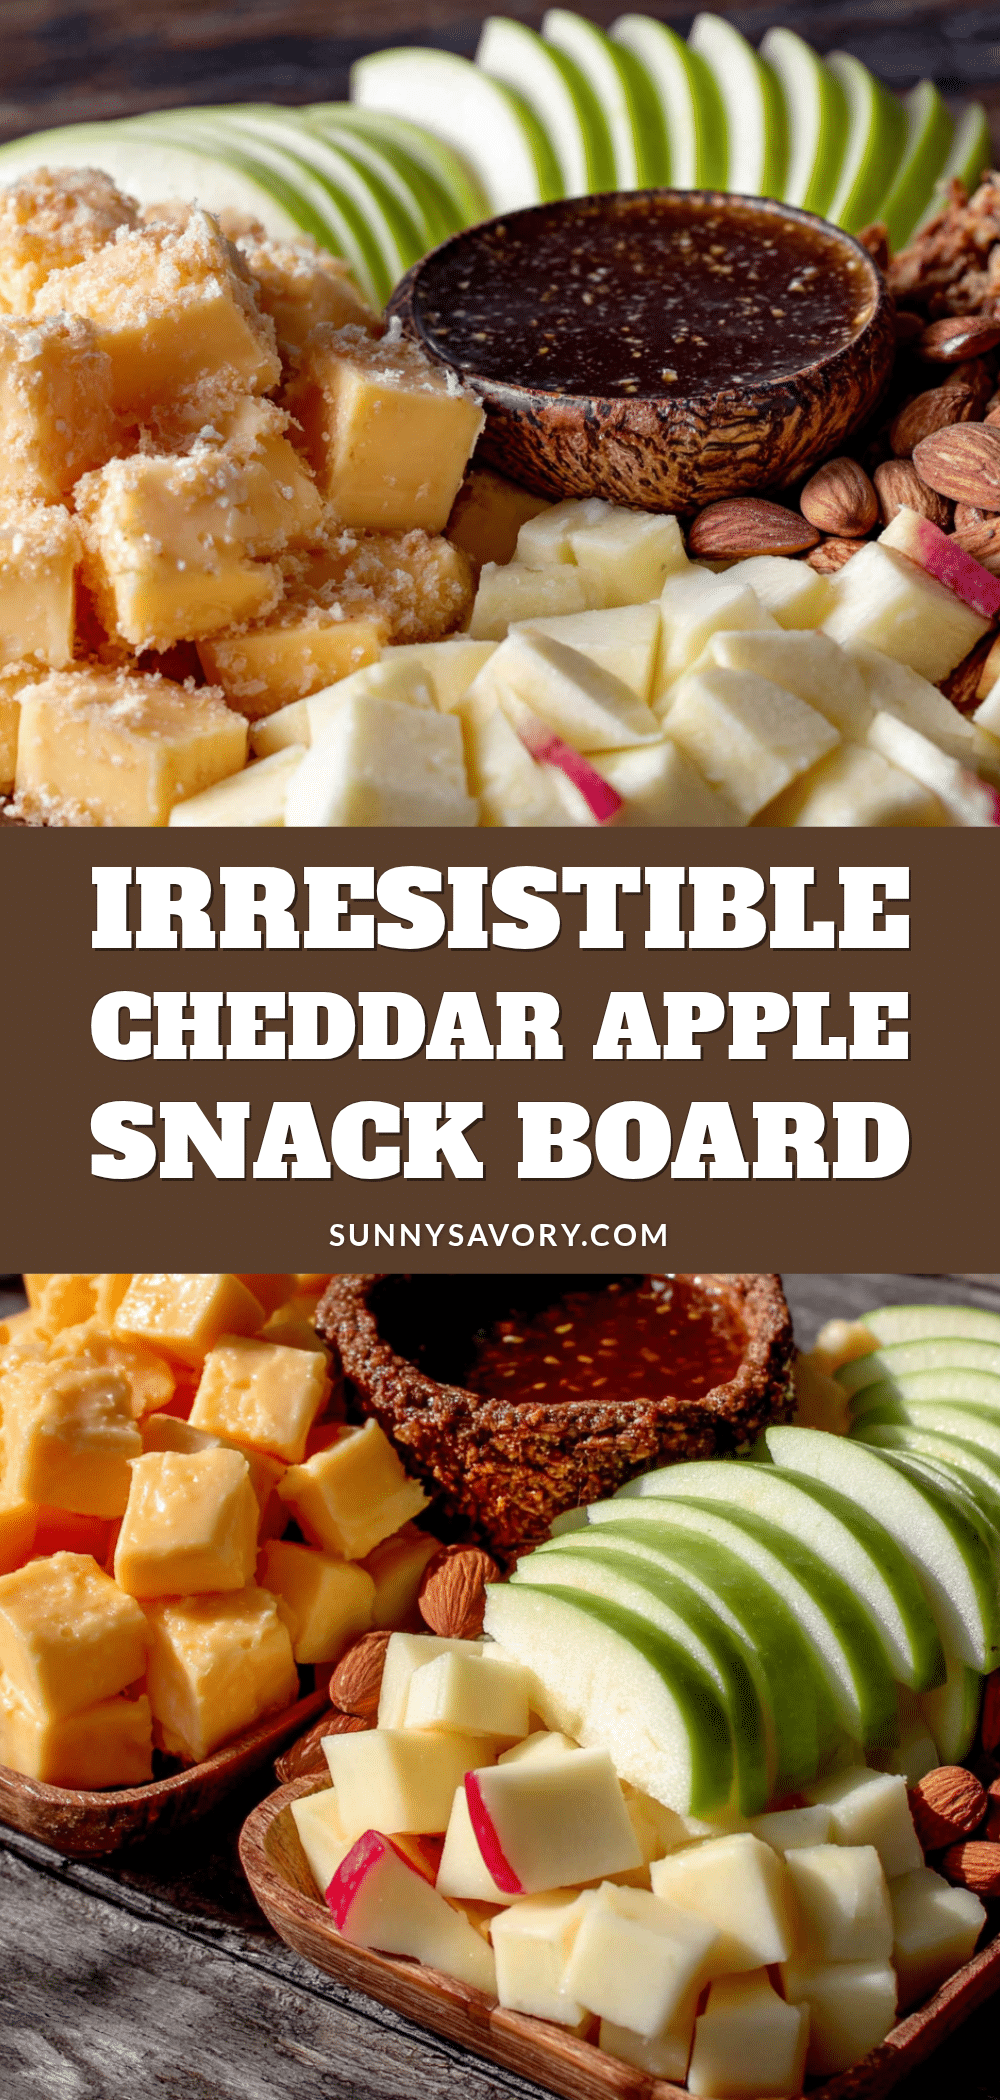
Easy Cheddar Cheese & Apple Snack Trays: Perfect Bites

These Easy Cheddar Cheese & Apple Snack Trays are the perfect no-fuss snack, ready in under 10 minutes. With crisp apple slices, sharp cheddar, and a touch of honey and sea salt, they’re a crowd-pleaser for all ages.
- Prep Time: 10 minutes
- Cook Time: 0 minutes
- Total Time: 10 minutes
- Yield: 4 servings 1x
- Category: Snack
- Cuisine: American
Ingredients
- 8 oz (225 g) sharp cheddar cheese, block form
- 2 medium firm apples (Honeycrisp, Fuji, or Granny Smith)
- 2 tbsp (30 ml) honey (optional)
- 1 tbsp (15 ml) fresh lemon juice
- A pinch of sea salt flakes (e.g., Maldon)
- Fresh thyme leaves (optional, for garnish)
- Whole grain crackers or crusty bread (optional, for serving)
Instructions
- Prep the apples: Fill a small bowl with cold water and add the lemon juice. Wash and dry the apples. Cut them in half through the core, then remove the core. Slice each half into thin, even slices about 1/4 inch (6 mm) thick. Drop the slices into the lemon water as you go to prevent browning. Let them soak for about 2 minutes, then drain and pat dry with paper towels.
- Slice the cheese: Cut the block of cheddar into rectangular slices about 1/4 inch (6 mm) thick, then cut those into bite-sized pieces about 1 inch (2.5 cm) long. Aim for uniform pieces. You should get about 24-30 pieces from an 8 oz block.
- Arrange the tray: Place the cheese pieces in a row or clustered in one section of your board. Arrange the apple slices nearby, slightly overlapping for a nice visual. Leave a little space between them so people can grab what they want without disturbing everything.
- Add finishing touches: If using honey, drizzle a light ribbon over the cheese and apples, or serve it in a small dish on the side. Sprinkle a tiny pinch of sea salt flakes over everything. Garnish with fresh thyme leaves if desired.
- Serve immediately: These trays are best enjoyed right away while the apples are crisp and the cheese is cool. Place any optional crackers or bread on the side for extra crunch.
Notes
For best flavor, let the cheese come to room temperature for 15-20 minutes before serving. Slice apples no more than an hour ahead to prevent browning. Prep cheese up to 2 days ahead and store in an airtight container in the fridge. For a dairy-free version, use plant-based cheddar-style cheese. For a spicy kick, drizzle with hot honey or add thin slices of jalapeño.
Nutrition
- Serving Size: 1/4 of the tray (wit
- Calories: 210
- Sugar: 9
- Sodium: 280
- Fat: 14
- Saturated Fat: 8
- Carbohydrates: 12
- Fiber: 3
- Protein: 10
Keywords: cheddar cheese, apple snack, snack tray, easy snack, no-cook snack, cheese and apple, party appetizer, kid-friendly snack



