Love this? Save it for later!
Share the inspiration with your friends
The woman at the next stall watched me poking at a pile of Bosc pears, probably looking as lost as I felt. I’d just moved to the neighborhood and was trying to make a dessert for a dinner party I was already nervous about. She didn’t say anything at first. Then she reached over, gently pushed my hand aside, and picked up two pears that were slightly bruised on one side. “These,” she said, handing them to me. “They’re past their prime for eating, but they’ll break down beautifully in a crisp. Trust me.”
Her name was Rosa, and she ran a small fruit stand every Saturday. We got to talking, and I mentioned I was looking for something cozy—not too sweet, with a little warmth. She laughed and said, “You need ginger. And not the powder kind. The real stuff.” She told me her grandmother used to make a pear and ginger crisp every autumn, and the smell would fill their whole apartment. She didn’t give me a recipe, just a description. “Lots of ginger, a pinch of cardamom, and don’t you dare skip the lemon zest.”
I went home with a bag of bruised pears, a hunk of fresh ginger, and a vague idea. Honestly, my first attempt was a mess—I used way too much ginger and my topping was more like a sad, soggy blanket. But Rosa’s words stuck with me. Over the next few weeks, I kept tweaking it. I burned one batch, forgot the butter in another (don’t ask), and finally, on a rainy Tuesday night, I got it right. The pears were tender but not mushy, the ginger had this gentle heat that didn’t overpower anything, and the topping was golden and crunchy.
This spiced pear and ginger crisp is the result of those happy accidents. Maybe you’ve been there—standing in a grocery aisle, overwhelmed by choices, just wanting something that feels like a hug in a bowl. This is that dessert. It’s forgiving, deeply aromatic, and the kind of thing that makes your kitchen smell like a fall candle, but better. I keep making it because it reminds me that the best recipes don’t come from perfection. They come from someone willing to share a bruised pear and a little bit of their story.
Why You’ll Love This Recipe
This isn’t just another fruit crisp. I’ve tested this spiced pear and ginger crisp more times than I care to count, and each time I learned something new—like how the texture of the pears changes depending on how ripe they are, or how a tiny pinch of black pepper actually makes the ginger taste brighter. Here’s why I think you’ll absolutely love it:
- Quick & Easy: You can have this in the oven in about 20 minutes. No complicated steps, no stand mixer needed. It’s perfect for a last-minute dessert when you forgot to plan ahead (we’ve all been there).
- Simple Ingredients: Pears, ginger, oats, butter, a few spices—you probably have most of this in your pantry right now. No need for a special trip to a fancy grocery store.
- Perfect for Fall & Winter: This is the ultimate cozy dessert for chilly evenings, Thanksgiving dinners, or just a quiet Sunday afternoon with a cup of tea.
- Crowd-Pleaser: I’ve served this at potlucks and family gatherings, and it always disappears first. It’s familiar enough to feel comforting, but unique enough to get people asking for the recipe.
- Unbelievably Delicious: The combination of tender, spiced pears with a crunchy, buttery oat topping is pure comfort. The fresh ginger adds a zing that makes it feel special without being weird.
What makes this recipe different from the rest? It’s the fresh ginger. Most crisps use dried ginger, which is fine, but it lacks that lively, almost citrusy kick. By using fresh ginger, you get a warmth that spreads through the whole dish without being harsh. And the topping? It’s got a secret ingredient—a little bit of almond flour—which makes it extra crispy and gives it a nutty depth that pairs beautifully with the pears.
This recipe is the kind that makes you close your eyes after the first bite. It’s comfort food reimagined—healthier than a pie, faster than a crumble, but with the same soul-soothing satisfaction. Perfect for impressing guests without stressing yourself out.
What Ingredients You Will Need
This recipe uses simple, wholesome ingredients to deliver bold flavor and satisfying texture without the fuss. Most of these are pantry staples, and the fresh ginger is really the star of the show here.
For the Pear Filling
- 6 medium ripe but firm pears (about 2.5 lbs / 1.1 kg), peeled, cored, and sliced into ½-inch chunks (Bosc or Anjou work best—they hold their shape well)
- 2 tablespoons fresh ginger, finely grated (about a 2-inch piece—don’t skimp here, this is the flavor backbone)
- 3 tablespoons maple syrup (or honey, if you prefer)
- 1 tablespoon lemon juice (fresh squeezed, please—it brightens everything up)
- 1 teaspoon lemon zest
- 1 teaspoon vanilla extract
- ½ teaspoon ground cinnamon
- ¼ teaspoon ground cardamom (this adds a subtle floral note that’s just lovely)
- ⅛ teaspoon ground cloves
- Pinch of salt
- 1 tablespoon cornstarch (to help thicken the juices)
For the Crisp Topping
- 1 cup rolled oats (old-fashioned, not instant—they give better texture)
- ½ cup all-purpose flour (or use a gluten-free 1:1 blend)
- ¼ cup almond flour (this is my secret for extra crunch—trust me on this one)
- ½ cup packed brown sugar (light or dark both work; dark gives a deeper molasses flavor)
- ½ teaspoon ground ginger
- ¼ teaspoon salt
- 6 tablespoons cold unsalted butter, cut into small cubes (I use Kerrygold for the flavor, but any good butter works)
- ½ cup chopped pecans or walnuts (optional, but highly recommended for extra crunch)
Ingredient Tips: For the pears, look for ones that are fragrant but still firm when you gently press the neck. If they’re too soft, they’ll turn to mush. I personally prefer Bosc pears for baking because they keep their shape and have a lovely honeyed sweetness. If you can’t find fresh ginger, you can use 1 teaspoon of ground ginger, but honestly, the fresh stuff makes a huge difference. For a dairy-free version, use cold coconut oil or a vegan butter stick in place of the butter.
Equipment Needed
You don’t need a lot of fancy tools for this recipe, which is part of its charm. Here’s what you’ll need:
- 8×8-inch baking dish (or a 9-inch pie plate—anything similar works)
- Large mixing bowl for the pears
- Medium mixing bowl for the topping
- Vegetable peeler
- Sharp knife and cutting board
- Microplane or fine grater for the ginger and lemon zest
- Measuring cups and spoons
- Pastry cutter or two forks (for cutting butter into the topping—your hands work too, but the pastry cutter is faster and keeps the butter cold)
- Rubber spatula
If you don’t have a pastry cutter, don’t worry. I’ve used two knives in a crisscross motion for years before I got one. You can also use a food processor for the topping, but pulse it—don’t run it continuously—or you’ll end up with paste instead of crumbles. And if you don’t have an 8×8 dish, a small cast-iron skillet works beautifully and looks gorgeous for serving.
Preparation Method
Let’s get cooking. This recipe comes together in a few simple steps, and I’ll walk you through each one so you feel confident.
- Preheat your oven to 375°F (190°C). Position a rack in the center of the oven. While it heats up, get your pears ready.
- Prepare the pears. Peel the pears with a vegetable peeler. Cut them in half, scoop out the core with a spoon or a melon baller, then chop them into roughly ½-inch chunks. Don’t stress about uniformity—some variation in size is fine and gives the filling a nice texture. You should end up with about 5 to 6 cups of chopped pears.
- Make the filling. In a large mixing bowl, combine the chopped pears, grated fresh ginger, maple syrup, lemon juice, lemon zest, vanilla extract, cinnamon, cardamom, cloves, and a pinch of salt. Stir gently with a rubber spatula until the pears are evenly coated. Let this sit for about 5 minutes—you’ll see some juice start to release. Then sprinkle the cornstarch over the top and stir again. The cornstarch will help thicken those lovely juices as the crisp bakes.
- Make the crisp topping. In a medium bowl, whisk together the rolled oats, all-purpose flour, almond flour, brown sugar, ground ginger, and salt. Add the cold butter cubes. Using a pastry cutter or your fingertips, work the butter into the dry ingredients until the mixture looks like coarse meal with some pea-sized butter pieces remaining. This is key—those little butter chunks melt in the oven and create steam pockets, making the topping light and crunchy. If you’re using nuts, stir them in now.
- Assemble the crisp. Pour the pear mixture into your 8×8 baking dish and spread it into an even layer. Sprinkle the topping evenly over the pears. Don’t press it down—let it sit loosely so it can crisp up properly.
- Bake. Place the dish on a baking sheet (to catch any bubbly overflow) and bake for 35 to 40 minutes. The crisp is done when the topping is golden brown and the filling is bubbling around the edges. If the topping starts browning too quickly after 25 minutes, tent it loosely with foil for the remaining time.
- Cool slightly before serving. Let the crisp rest on a wire rack for at least 15 minutes. This allows the filling to set up a bit—if you serve it piping hot, it will be runny. Warm is perfect.
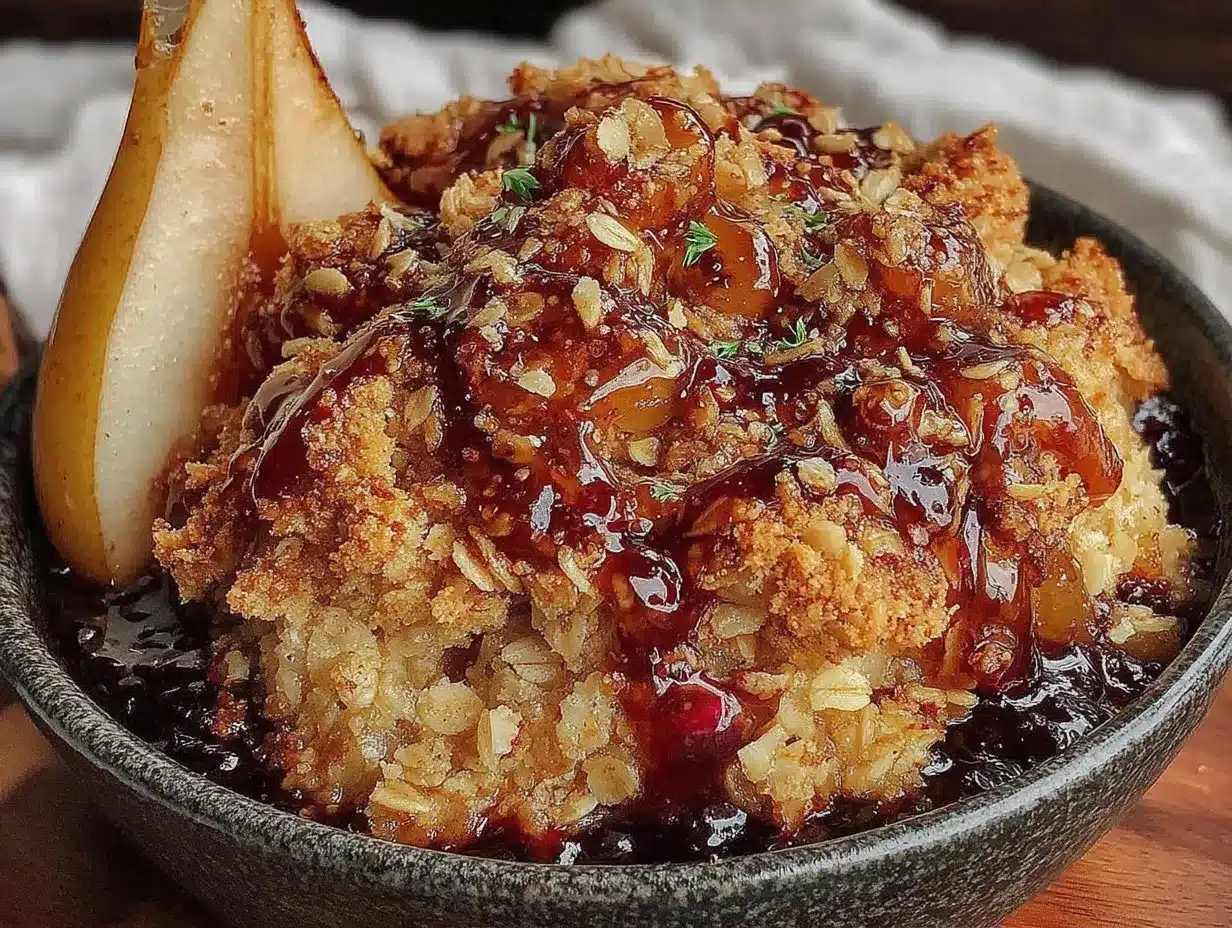
Sensory cues: When you’re grating the ginger, you should smell that sharp, zesty aroma immediately. As the crisp bakes, your kitchen will fill with the most incredible scent—warm, spicy, and sweet. The topping should look like a golden, craggy landscape when it comes out of the oven, and the filling should be thick and glossy, not watery.
Cooking Tips & Techniques
I’ve made this spiced pear and ginger crisp probably a dozen times, and I’ve learned a few things the hard way. Let me save you some trouble.
Don’t overwork the topping. I once got distracted and kept cutting the butter into the flour until it looked like fine sand. The topping came out dense and almost like a shortbread—still tasty, but not the light, crumbly crisp you want. Stop when you still see some butter pieces the size of small peas. Trust the process.
Grate your ginger finely. A microplane is best here. If you cut the ginger into chunks or slices, you’ll end up with unpleasant fibrous bits in your mouth. Fine grating ensures the flavor disperses evenly throughout the filling. And don’t bother peeling the ginger if you’re using a microplane—the skin is thin enough that it grates right through.
Let the pears macerate. That 5-minute rest after mixing the filling isn’t just for show. It draws out the natural juices from the pears, which then combine with the sugar and spices to create a beautiful syrup. If you skip this step, the filling might be a little dry and the flavors won’t meld as well.
Use a baking sheet underneath. I cannot stress this enough. Fruit crisps bubble over. It’s just what they do. Placing your dish on a lined baking sheet saves you from scrubbing burnt sugar off the bottom of your oven. I learned this after a particularly sticky cleanup session that involved a lot of cursing.
Timing is flexible. If your pears are very ripe, they might cook faster—check at the 30-minute mark. If they’re on the firmer side, you might need the full 40 minutes. Look for visual cues: bubbling edges and a golden topping are your best friends.
Variations & Adaptations
One of the best things about this recipe is how easy it is to adapt. Here are a few ways I’ve made it my own over the years.
Gluten-Free Version: Swap the all-purpose flour for a 1:1 gluten-free baking blend. The almond flour is already gluten-free, so you’re halfway there. I’ve used Bob’s Red Mill 1:1 blend with great results. Just make sure your oats are certified gluten-free if that’s a concern.
Vegan Version: Use cold coconut oil or a vegan butter stick in place of the butter. I like using refined coconut oil so there’s no coconut flavor competing with the pears and ginger. For the maple syrup, it’s already vegan, so no changes needed there.
Apple-Pear Hybrid: Replace half the pears with tart apples, like Granny Smith or Honeycrisp. The apples add a nice tangy contrast to the sweet pears. I did this once when I had a half-bag of apples left over, and it was honestly one of my favorite versions.
Spice It Up: If you like things a little more adventurous, add a pinch of cayenne pepper or a star anise pod to the filling (remove the star anise before serving). The heat from the cayenne plays beautifully with the ginger. I tried this on a whim and it was a hit at a Friendsgiving dinner.
Individual Servings: Divide the filling and topping among 4 to 6 small ramekins and bake for about 20 minutes. These are perfect for dinner parties—everyone gets their own little crisp, and they look adorable.
Serving & Storage Suggestions
This crisp is best served warm, but not straight out of the oven. Let it rest for 15 to 20 minutes so the filling sets up. I love serving it with a big scoop of vanilla bean ice cream—the cold creaminess against the warm, spiced fruit is pure magic. A dollop of lightly sweetened whipped cream or a drizzle of heavy cream works beautifully too.
For a cozy fall brunch, try it with a dollop of Greek yogurt and a drizzle of honey. It’s also incredible the next morning with a cup of coffee—honestly, I’ve eaten cold crisp straight from the fridge for breakfast and regretted nothing.
Storage: Cover the cooled crisp tightly with foil or plastic wrap and store it in the refrigerator for up to 4 days. The topping will lose some of its crunch over time, but the flavors actually deepen and get more complex.
Reheating: To bring back some of that crispy topping, reheat individual portions in a 350°F oven for about 10 minutes, or in an air fryer at 325°F for 5 minutes. You can use the microwave in a pinch, but the topping will be soft—still delicious, just different.
Freezing: You can freeze the unbaked crisp for up to 3 months. Assemble it in a freezer-safe dish, wrap it tightly in plastic wrap and foil, and freeze. Bake directly from frozen, adding about 15 minutes to the baking time. Alternatively, bake it first, let it cool completely, then freeze. Thaw overnight in the fridge and reheat as directed.
Nutritional Information & Benefits
This recipe makes about 6 servings. Here are the approximate nutritional values per serving (without ice cream or whipped cream):
- Calories: 380
- Fat: 18g
- Saturated Fat: 8g
- Carbohydrates: 54g
- Fiber: 7g
- Sugar: 32g
- Protein: 5g
Pears are an excellent source of dietary fiber and vitamin C. One medium pear provides about 6 grams of fiber, which supports digestive health. Ginger is well-known for its anti-inflammatory properties and can help soothe an upset stomach. The oats in the topping provide complex carbohydrates and soluble fiber, which can help maintain steady blood sugar levels. This dessert is relatively low in added sugar compared to many baked goods, thanks to the natural sweetness of the pears and the maple syrup.
For those watching their sugar intake, you can reduce the maple syrup to 2 tablespoons—the pears are sweet enough on their own, especially if they’re perfectly ripe. This recipe is naturally nut-free if you skip the pecans or walnuts, and can easily be made gluten-free and vegan with the substitutions mentioned above.
Conclusion
This spiced pear and ginger crisp has become my go-to fall dessert for a reason. It’s simple enough for a weekday treat but impressive enough for company. The fresh ginger gives it a warmth that feels both familiar and surprising, and that crunchy oat topping is absolutely addictive. I love that I can make it with ingredients I usually have on hand, and that it’s forgiving enough to handle substitutions and tweaks.
I hope you give this recipe a try and make it your own. Maybe you’ll add a little extra cardamom, or swap the pecans for almonds, or serve it with a drizzle of caramel sauce. That’s the beauty of a good crisp—it’s a canvas for your creativity. I’d love to hear how it turns out for you. Did you try any variations? Did your kitchen smell amazing? Drop a comment below and let me know. And if you’re looking for another cozy dessert, you might enjoy our easy apple crisp recipe or this gingerbread scones recipe for more spiced fall flavors.
Happy baking, friend. Your coziest autumn awaits.
Frequently Asked Questions
Can I use canned pears for this recipe?
You can, but I wouldn’t recommend it. Canned pears are much softer and have more liquid, which can make the filling watery. If you’re in a pinch, drain them well and reduce the maple syrup slightly since they’re already sweetened. Fresh pears really do give the best texture and flavor here.
Do I have to peel the pears?
Yes, for this recipe I recommend peeling them. Pear skins can become tough and chewy when baked, and they don’t break down the way apple skins do. Peeling gives you that lovely, tender filling that melts in your mouth.
Can I make this ahead of time?
Absolutely. You can assemble the entire crisp (without baking) up to 24 hours in advance. Keep it covered in the refrigerator, then bake it straight from the fridge—just add about 5 to 10 minutes to the baking time. You can also bake it fully, let it cool, and reheat it the next day.
Why is my crisp topping soggy?
Soggy topping usually happens for a few reasons. Either the butter was too warm when you mixed it in, the topping was pressed down too firmly onto the fruit, or the crisp wasn’t baked long enough. Make sure your butter is cold, sprinkle the topping loosely, and bake until the juices are bubbling and the topping is deep golden brown.
Can I use ground ginger instead of fresh?
Yes, but the flavor will be different. Use 1 teaspoon of ground ginger in place of the 2 tablespoons of fresh. Fresh ginger has a bright, almost citrusy heat, while ground ginger is more earthy and mellow. I really encourage you to try the fresh version at least once—it’s a game changer.
Pin This Recipe!
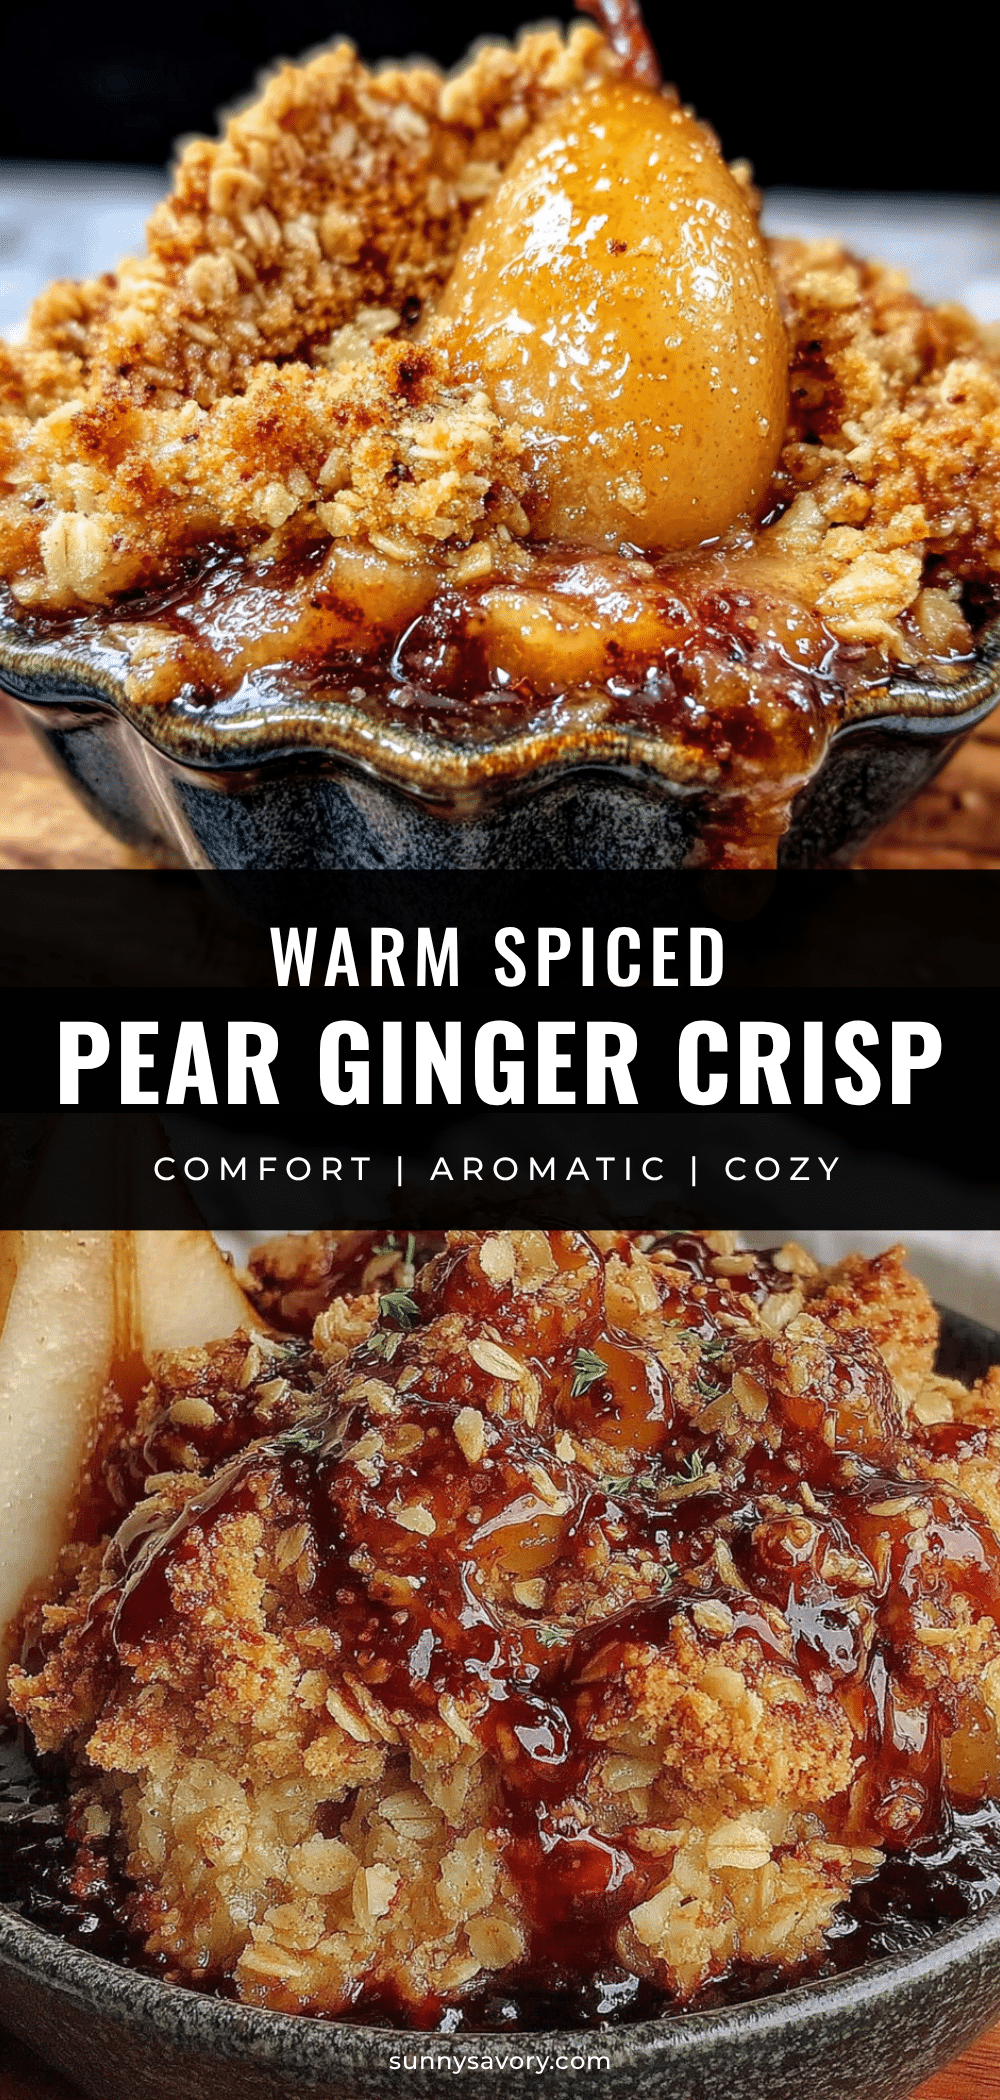
Best Easy Spiced Pear Ginger Crisp Recipe
This spiced pear and ginger crisp features tender pears with fresh ginger and a crunchy oat topping. It’s a cozy, forgiving dessert perfect for fall and winter, made with simple ingredients and ready in about an hour.
- Prep Time: 20 minutes
- Cook Time: 35-40 minutes
- Total Time: 55-60 minutes
- Yield: 6 servings 1x
- Category: Dessert
- Cuisine: American
Ingredients
- 6 medium ripe but firm pears (about 2.5 lbs / 1.1 kg), peeled, cored, and sliced into ½-inch chunks (Bosc or Anjou work best)
- 2 tablespoons fresh ginger, finely grated (about a 2-inch piece)
- 3 tablespoons maple syrup (or honey)
- 1 tablespoon lemon juice (fresh squeezed)
- 1 teaspoon lemon zest
- 1 teaspoon vanilla extract
- ½ teaspoon ground cinnamon
- ¼ teaspoon ground cardamom
- ⅛ teaspoon ground cloves
- Pinch of salt
- 1 tablespoon cornstarch
- 1 cup rolled oats (old-fashioned, not instant)
- ½ cup all-purpose flour (or gluten-free 1:1 blend)
- ¼ cup almond flour
- ½ cup packed brown sugar (light or dark)
- ½ teaspoon ground ginger
- ¼ teaspoon salt
- 6 tablespoons cold unsalted butter, cut into small cubes
- ½ cup chopped pecans or walnuts (optional)
Instructions
- Preheat your oven to 375°F (190°C). Position a rack in the center of the oven.
- Prepare the pears: Peel the pears with a vegetable peeler. Cut them in half, scoop out the core with a spoon or a melon baller, then chop them into roughly ½-inch chunks. You should end up with about 5 to 6 cups of chopped pears.
- Make the filling: In a large mixing bowl, combine the chopped pears, grated fresh ginger, maple syrup, lemon juice, lemon zest, vanilla extract, cinnamon, cardamom, cloves, and a pinch of salt. Stir gently with a rubber spatula until the pears are evenly coated. Let this sit for about 5 minutes—you’ll see some juice start to release. Then sprinkle the cornstarch over the top and stir again.
- Make the crisp topping: In a medium bowl, whisk together the rolled oats, all-purpose flour, almond flour, brown sugar, ground ginger, and salt. Add the cold butter cubes. Using a pastry cutter or your fingertips, work the butter into the dry ingredients until the mixture looks like coarse meal with some pea-sized butter pieces remaining. If you’re using nuts, stir them in now.
- Assemble the crisp: Pour the pear mixture into an 8×8-inch baking dish and spread it into an even layer. Sprinkle the topping evenly over the pears. Don’t press it down—let it sit loosely.
- Bake: Place the dish on a baking sheet (to catch any bubbly overflow) and bake for 35 to 40 minutes. The crisp is done when the topping is golden brown and the filling is bubbling around the edges. If the topping starts browning too quickly after 25 minutes, tent it loosely with foil for the remaining time.
- Cool slightly before serving: Let the crisp rest on a wire rack for at least 15 minutes. This allows the filling to set up a bit—if you serve it piping hot, it will be runny. Warm is perfect.
Notes
For the pears, look for ones that are fragrant but still firm when you gently press the neck. If they’re too soft, they’ll turn to mush. Bosc pears are preferred for baking because they hold their shape well. Fresh ginger is key—don’t substitute with ground ginger if possible. For a dairy-free version, use cold coconut oil or vegan butter. For gluten-free, use certified gluten-free oats and a 1:1 gluten-free flour blend. The topping can be made in a food processor, but pulse it to avoid overmixing. Let the pears macerate for 5 minutes to draw out juices. Always place the dish on a baking sheet to catch overflow. The crisp can be assembled up to 24 hours in advance and refrigerated before baking. Leftovers keep in the refrigerator for up to 4 days; reheat in a 350°F oven for 10 minutes to restore crispness.
Nutrition
- Serving Size: 1 serving (about 1/6
- Calories: 380
- Sugar: 32
- Sodium: 150
- Fat: 18
- Saturated Fat: 8
- Carbohydrates: 54
- Fiber: 7
- Protein: 5
Keywords: pear crisp, ginger crisp, spiced pear crisp, fall dessert, easy crisp recipe, pear ginger crisp, fruit crisp