Love this? Save it for later!
Share the inspiration with your friends
The cookie swap was in two hours and I’d completely forgotten. Everyone else would be bringing those elaborate, three-day projects—you know, the ones with fancy sprinkles and hand-dipped chocolate. I had a half-stick of butter, one egg, and about twenty minutes before I needed to leave. Honestly, I almost just grabbed a bag of store-bought cookies and called it a day. But then I remembered this tiny batch recipe I’d been tinkering with, the one that only makes six perfect cookies. It felt almost too simple to bring to a swap where people were comparing notes on browned butter and imported vanilla.
So there I was, melting butter in the microwave while trying to find a container that wasn’t covered in last week’s chili stains. I dropped a measuring spoon on the floor, used the same one anyway (don’t judge), and accidentally creamed the sugar and butter for maybe thirty seconds too long. The dough looked a little sad, honestly. But I scooped it onto a sheet pan, threw it in the oven, and prayed.
When I walked into that swap carrying a small plate of cookies, I felt like the kid who showed up to show-and-tell with a rock. Then people started trying them. That first bite—the way the edges crunched just a little and the middle stayed soft and gooey. Someone actually asked for the recipe. Someone else asked if I’d cater their next party. The cookies that took twenty minutes flat won the whole thing. Maybe you’ve been there, bringing something simple while everyone else goes overboard, only to realize simple is sometimes exactly right. That’s why I keep coming back to this recipe—it’s the one that reminds me you don’t need to show off to win.
Why You’ll Love This Recipe
Let me tell you why these cookies are different from every other chocolate chip cookie recipe you’ve tried. First off, they’re made for two people—not a crowd. No more being stuck with thirty cookies when you just wanted a little something sweet after dinner.
- Quick & Easy: From start to finish, these take about 20 minutes. That includes prep and baking time. Perfect for those random Tuesday night cravings.
- Simple Ingredients: You probably have everything already. Butter, sugar, an egg, flour, chocolate chips. No weird ingredients you’ll never use again.
- Perfect for Date Night: There’s something special about making cookies just for two. It feels intentional, you know? Like you’re saying “I made these for us.”
- Crowd-Pleaser: Even though it’s a small batch, these cookies disappear fast. My neighbor tried one last week and literally texted me for the recipe before she finished chewing.
- Unbelievably Delicious: The texture is what gets me every time. That perfect chewy middle with slightly crispy edges. It’s the kind of cookie that makes you close your eyes after the first bite.
What makes this recipe different from the rest? It’s the technique. Most small-batch recipes use the same ratios as full-size ones, which never quite works. I tested this one specifically for small quantities—the butter-to-flour ratio, the chill time, the baking temperature. It’s not just a scaled-down version of a bigger recipe. It’s its own thing. And honestly? It’s better than most full-batch recipes I’ve tried.
This isn’t just good—it’s the kind of cookie that makes you wonder why you ever bothered with the full batch. It’s comfort food that comes together fast, tastes incredible, and doesn’t leave you with a mountain of leftovers you’ll feel guilty about. Perfect for impressing someone special without the stress, or just treating yourself on a quiet night in.
What Ingredients You Will Need
This recipe uses simple, everyday ingredients to deliver that perfect chewy texture and rich flavor. Nothing fancy here—just good, basic baking staples that come together beautifully.
- Unsalted butter, 4 tablespoons (57g), softened to room temperature — I prefer Kerrygold for the richness, but any unsalted butter works fine. Salted butter will work too, just reduce the added salt by a pinch.
- Granulated sugar, 3 tablespoons (38g) — adds sweetness and helps create those crispy edges.
- Light brown sugar, 3 tablespoons (38g), packed — this is the secret to chewiness. The molasses in brown sugar keeps cookies soft in the middle. Dark brown sugar works too if that’s what you have.
- Large egg yolk, 1 — just the yolk, not the whole egg. Using only the yolk gives you a richer, chewier cookie. Save the white for scrambled eggs tomorrow.
- Vanilla extract, ½ teaspoon — pure vanilla is best here. I use Nielsen-Massey, but honestly any vanilla works. The flavor difference is subtle in a small batch.
- All-purpose flour, ½ cup (60g) — spoon and level it, don’t scoop directly from the bag. Scooping packs the flour and gives you dry cookies.
- Baking soda, ¼ teaspoon — helps them spread just enough without getting flat.
- Salt, ¼ teaspoon — I use fine sea salt. If you’re using kosher salt, use a little more. Salt balances the sweetness and makes the chocolate pop.
- Semi-sweet chocolate chips, ⅓ cup (60g) — use good quality chips here. Ghirardelli or Guittard are my go-to choices. You can also chop up a chocolate bar for bigger puddles of chocolate. Milk chocolate makes them sweeter, dark chocolate gives a more grown-up flavor.
Ingredient Tips: Make sure your butter is truly softened—it should give slightly when you press it, but not be melty. If you forgot to take it out of the fridge, microwave it for about 10 seconds, then let it sit for a minute. Don’t nuke it until it’s liquid, or your cookies will spread into flat discs. Also, fresh baking soda matters. If yours has been sitting open for more than six months, it might be weak. Test it by dropping a little into vinegar—if it fizzes vigorously, you’re good.
Equipment Needed
You don’t need much for these cookies, which is part of the beauty. Here’s what you’ll need:
- Mixing bowl, medium size — any bowl works, but a medium one keeps everything contained without splashing.
- Hand mixer or whisk — a hand mixer makes creaming the butter and sugar easier, but a good whisk and some elbow grease works too. I’ve done it both ways.
- Rubber spatula — for scraping down the bowl and folding in the chocolate chips. A wooden spoon works in a pinch.
- Baking sheet, small — a quarter sheet pan is perfect. If you only have a full-size one, that’s fine too. Just make sure it’s not dark-colored, which can over-brown the bottoms.
- Parchment paper or silicone baking mat — prevents sticking and makes cleanup a breeze. I prefer parchment because it’s disposable.
- Cookie scoop or tablespoon — for uniform cookies. A #60 scoop (about 1 tablespoon) is ideal. If you don’t have one, just use a regular spoon and try to make them roughly the same size.
- Cooling rack — optional but helpful. Lets cookies cool evenly so they don’t get soggy on the bottom.
I used a cheap hand mixer from Target for years and it worked fine. Don’t feel like you need fancy equipment. The only thing I’d splurge on is a good baking sheet—I love my Nordic Ware half-sheet pans. They’re affordable and last forever. Just don’t put them in the dishwasher or they’ll warp.
Preparation Method
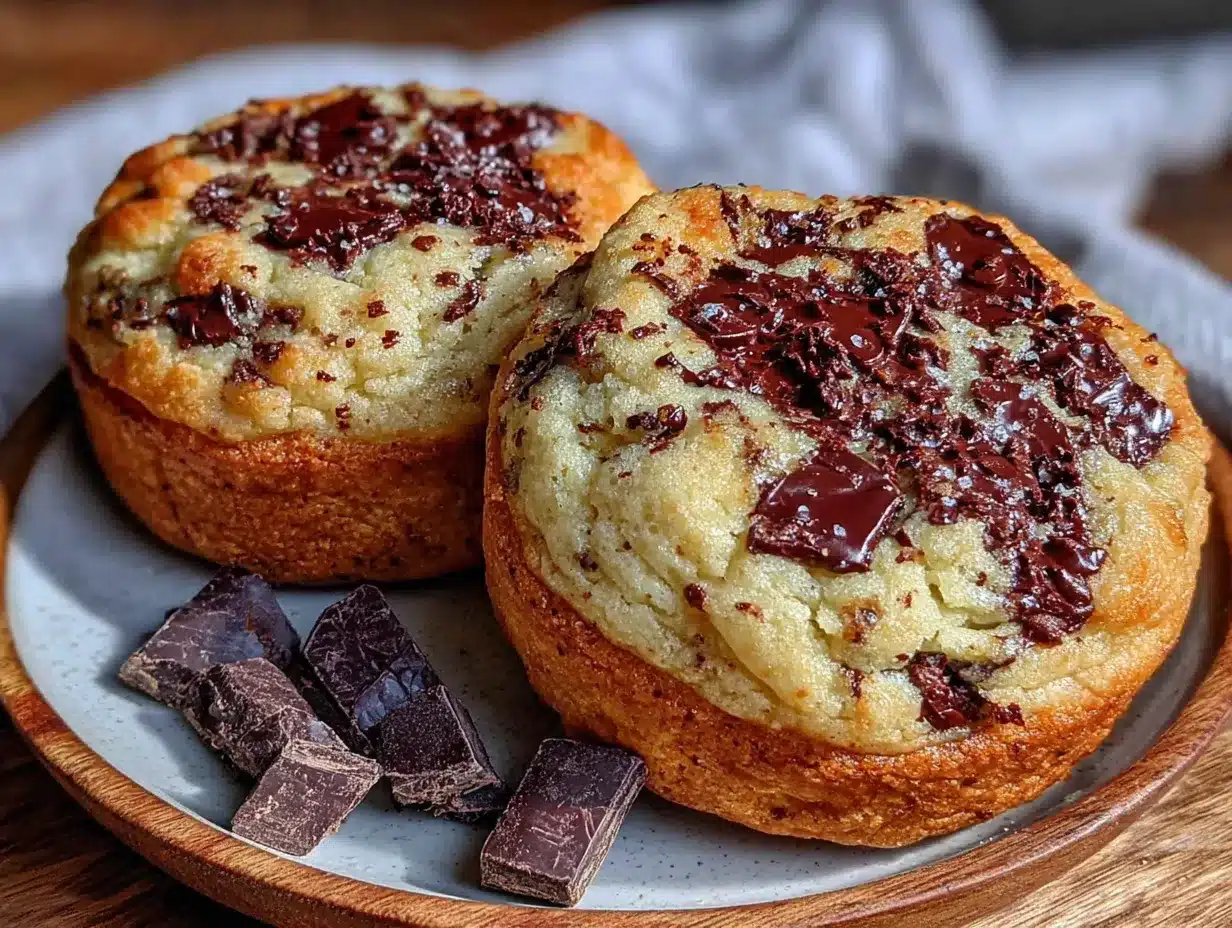
- Preheat your oven to 350°F (175°C). Line your baking sheet with parchment paper or a silicone mat. This gives the cookies a non-stick surface and helps them brown evenly. While the oven heats, start on the dough.
- Cream the butter and sugars together. In your medium bowl, combine the softened butter, granulated sugar, and brown sugar. Beat with a hand mixer on medium speed for about 2 minutes, until light and fluffy. If you’re whisking by hand, go for about 3 minutes—you want the mixture to be pale and creamy. Scrape down the sides of the bowl with your spatula. This step is important because it incorporates air into the dough, which helps the cookies rise just a little.
- Add the egg yolk and vanilla. Drop in the egg yolk and pour in the vanilla extract. Beat on low speed until just combined—about 30 seconds. Don’t overmix here, or the cookies might get tough. The mixture should look smooth and glossy. If it looks curdled, your butter was too cold. Don’t panic, just keep mixing and it’ll come together.
- Mix the dry ingredients. In a separate small bowl, whisk together the flour, baking soda, and salt. This ensures the baking soda and salt are evenly distributed. If you’re feeling lazy, you can add them directly to the wet mixture, but whisking them separately gives better results. I learned this the hard way after biting into a pocket of baking soda once. Not pleasant.
- Combine wet and dry ingredients. Add the flour mixture to the butter mixture. Mix on low speed or fold with your spatula until just combined. You should still see a few streaks of flour. Overmixing at this stage develops gluten, which makes cookies tough and cakey instead of chewy. We want chewy, so stop as soon as the flour disappears.
- Fold in the chocolate chips. Add the chocolate chips and fold them in with your spatula. Make sure they’re evenly distributed, but again, don’t overmix. The dough will be thick and slightly sticky. If it feels too soft to handle, pop it in the fridge for 10 minutes. This is especially helpful if your kitchen is warm.
- Scoop the dough. Using your cookie scoop or a tablespoon, scoop 6 equal-sized balls of dough. Place them on the prepared baking sheet, spacing them about 2 inches apart. They’ll spread a little but not too much. For extra chewiness, gently press each ball down just slightly with your palm—about ½ inch thick. Don’t flatten them completely, or they’ll be thin and crispy.
- Bake for 9-11 minutes. Bake until the edges are golden brown and the centers look slightly underdone and puffy. This is key—you want to pull them out when the centers still look a little soft. They’ll continue baking on the hot sheet pan as they cool. For softer cookies, bake 9 minutes. For crispier edges with a chewy center, go 10-11 minutes. My sweet spot is 10 minutes exactly.
- Cool on the baking sheet. Let the cookies rest on the hot baking sheet for 5 minutes. This allows them to finish setting up without overbaking. After 5 minutes, transfer them to a cooling rack. If you don’t have a rack, just let them cool on the sheet—they’ll be fine, just a little more done on the bottom.
- Serve warm or at room temperature. These are best warm, when the chocolate is still melty. But they’re also fantastic at room temperature—the texture actually improves as they cool. Let them cool completely if you want that perfect chewy texture.
Troubleshooting: If your cookies spread too much, your butter was too soft or your dough wasn’t chilled enough. Next time, chill the dough for 15 minutes before baking. If they’re too thick and puffy, you added too much flour. Spoon and level next time. If they’re dry, you overbaked them—try pulling them out a minute earlier. Every oven runs differently, so keep an eye on them the first time.
Cooking Tips & Techniques
Here are the things I wish someone had told me when I started making small-batch cookies. First, temperature matters more than you think. Room temperature butter that’s actually soft—not melted, not cold—makes the biggest difference. I learned this after making a batch where the butter was too cold and the cookies came out lumpy and uneven. Also, let your egg yolk come to room temperature too. Cold yolk can seize the butter and make the dough stiff.
Another thing: don’t skip the chill time if your dough feels sticky. I know it’s tempting to just scoop and bake, but that 10-minute chill in the fridge prevents the cookies from spreading into flat, greasy discs. I once skipped it because I was impatient, and my cookies looked like sad, thin pancakes. Never again. If you have time, chill for 30 minutes—the flavor actually deepens as the dough rests.
Here’s a tip I picked up from a professional baker: use a cookie scoop for uniform sizes. Uneven cookies bake unevenly—some get too done while others are undercooked. A #60 scoop gives you exactly 6 cookies from this batch. If you don’t have one, use a tablespoon measure and level it off. And here’s a weird trick I love: after scooping, tear each dough ball in half and press the torn sides together. This creates uneven edges that get extra crispy. Sounds crazy, but it works.
One more thing—let the cookies cool on the sheet for the full 5 minutes. I know it’s hard to wait, especially when your kitchen smells amazing. But moving them too early breaks them apart. They’re fragile right out of the oven. Trust the process. And if you want extra gooey cookies, press a few extra chocolate chips onto the tops right after they come out of the oven. It makes them look bakery-style and gives you melty chocolate in every bite.
Variations & Adaptations
One of the best things about this recipe is how easy it is to change up. Here are some variations I’ve tried and loved:
- Gluten-Free Version: Swap the all-purpose flour for a 1:1 gluten-free baking flour. I use Bob’s Red Mill gluten-free flour and it works perfectly. The texture is slightly more tender, but still chewy. Add an extra tablespoon of flour if the dough seems too sticky.
- Double Chocolate: Replace 1 tablespoon of flour with unsweetened cocoa powder. Use white chocolate chips or dark chocolate chunks instead of semi-sweet. These are dangerously good—like a brownie in cookie form.
- Nutty Crunch: Add ¼ cup of toasted chopped walnuts or pecans along with the chocolate chips. Toast them in a dry pan for 3-4 minutes first—it brings out their flavor. I made this version for a friend who’s not a huge chocolate fan, and she ate all six in one sitting.
- Vegan Adaptation: Use vegan butter (I like Miyoko’s) and replace the egg yolk with 1 tablespoon of aquafaba (the liquid from a can of chickpeas) mixed with ½ teaspoon of cornstarch. The texture is slightly less chewy, but still delicious. I tested this for a vegan dinner party and nobody guessed they were plant-based.
- Spiced Up: Add ½ teaspoon of cinnamon and a pinch of nutmeg to the dry ingredients. This gives the cookies a warm, cozy flavor that’s perfect for fall. I made these for a Friendsgiving and they disappeared before the pumpkin pie.
You can also swap the chocolate chips for M&Ms, butterscotch chips, or chopped dried cherries. The possibilities are endless. Just keep the base recipe the same and play with the add-ins. That’s the beauty of a small batch—you can experiment without committing to three dozen cookies.
Serving & Storage Suggestions
These cookies are best served warm, about 5-10 minutes after they come out of the oven. The chocolate is still molten, the edges are crisp, and the center is soft and chewy. Pair them with a cold glass of milk, a scoop of vanilla ice cream, or a hot cup of coffee. For a real treat, sandwich two cookies with a scoop of ice cream in the middle—instant mini ice cream sandwich.
If you’re serving these for a date night or small gathering, arrange them on a small plate with a dusting of powdered sugar or a drizzle of melted chocolate. It looks fancy but takes 30 seconds. I once served them with a side of whipped cream and fresh berries, and my guest thought I’d spent hours on dessert. Little did they know it took 20 minutes.
Storage: Store leftover cookies in an airtight container at room temperature for up to 3 days. They’ll stay soft and chewy. If you want to keep them longer, freeze them. Place the cooled cookies in a freezer-safe bag or container, separating layers with parchment paper. They’ll keep for up to 3 months. To reheat, pop a frozen cookie in the microwave for 10-15 seconds, or warm it in a 300°F oven for 5 minutes. The texture comes back beautifully—almost like fresh-baked.
You can also freeze the raw dough. Scoop the dough balls onto a parchment-lined baking sheet and freeze until solid (about 1 hour). Transfer to a freezer bag. When you’re ready to bake, just add 2-3 minutes to the baking time. No need to thaw. This is my favorite trick for spontaneous cookie cravings—just pull out as many as you want and bake.
One note: these cookies actually get better after a day. The flavors meld together, and the texture becomes even more chewy. So if you can resist eating them all immediately, they’re even better the next day. I know, I know—good luck with that.
Nutritional Information & Benefits
Here’s the estimated nutritional breakdown for one cookie (based on 6 cookies per batch):
- Calories: 185
- Total Fat: 10g
- Saturated Fat: 6g
- Carbohydrates: 23g
- Sugar: 15g
- Protein: 2g
- Fiber: 1g
These numbers are estimates and will vary based on the specific brands and ingredients you use. If you use dark chocolate chips, the sugar content goes down slightly and the antioxidants go up. Dark chocolate is actually a good source of flavonoids, which are heart-healthy compounds. The butter provides vitamin A, and the egg yolk gives you a little protein and healthy fats. Not that I’m claiming cookies are health food—they’re a treat, plain and simple. But knowing what’s in them helps you enjoy them mindfully.
Dietary Considerations: This recipe contains gluten, dairy, and eggs. For gluten-free, dairy-free, or vegan options, check the variations section above. This recipe is vegetarian as written. It’s not low-carb or sugar-free, but the small batch size means you’re only getting six cookies—perfect for portion control. I love that I can make just enough for two people without feeling tempted by a giant batch.
Conclusion
These small-batch chewy chocolate chip cookies are proof that you don’t need a complicated recipe or a kitchen full of gadgets to make something truly special. They come together in minutes, use ingredients you probably already have, and taste like they came from a fancy bakery. Whether you’re making them for a cozy night in, a last-minute dessert for two, or just because you’re craving something sweet, this recipe delivers every time.
I love that this recipe gives me permission to make cookies just for myself—or just for two. No pressure, no leftovers, no waste. Just six perfect cookies that make any moment feel a little more special. And honestly? That’s what cooking should feel like. Simple, joyful, and exactly what you need right now.
I’d love to hear how these turn out for you! Did you try any of the variations? Did you add your own twist? Drop a comment below and let me know. And if you loved this recipe, share it with a friend who needs a little cookie magic in their life. Happy baking!
Frequently Asked Questions
Can I use whole eggs instead of just the yolk?
You can, but the texture will change. Using the whole egg makes the cookies more cakey and less chewy. If you only have whole eggs and no yolk option, use 1 whole egg but reduce the butter by 1 tablespoon. The cookies will still be good, just different.
Why did my cookies spread too much?
This usually happens for one of three reasons: your butter was too soft or melted, your dough wasn’t chilled, or you used too much sugar. Next time, make sure your butter is softened but not greasy, and chill the dough for at least 15 minutes before baking. If the problem persists, add an extra tablespoon of flour.
Can I double this recipe?
Absolutely! This recipe doubles perfectly. Just use a whole egg instead of two yolks for the doubled version—the extra white helps with structure. You’ll get 12 cookies instead of 6, perfect for sharing with a small group.
Can I make these without a hand mixer?
Yes, you can whisk by hand. It takes a little more elbow grease, especially when creaming the butter and sugar. Make sure your butter is very soft—almost room temperature—so it’s easier to work with. Use a sturdy whisk and go for about 3 minutes until the mixture is light and fluffy.
How do I make these cookies softer?
For softer cookies, reduce the baking time by 1-2 minutes. Pull them out when the edges are just barely golden and the centers still look puffy and soft. Also, try using all brown sugar instead of the granulated/brown sugar mix—brown sugar has more moisture, which keeps cookies softer for longer.
Pin This Recipe!
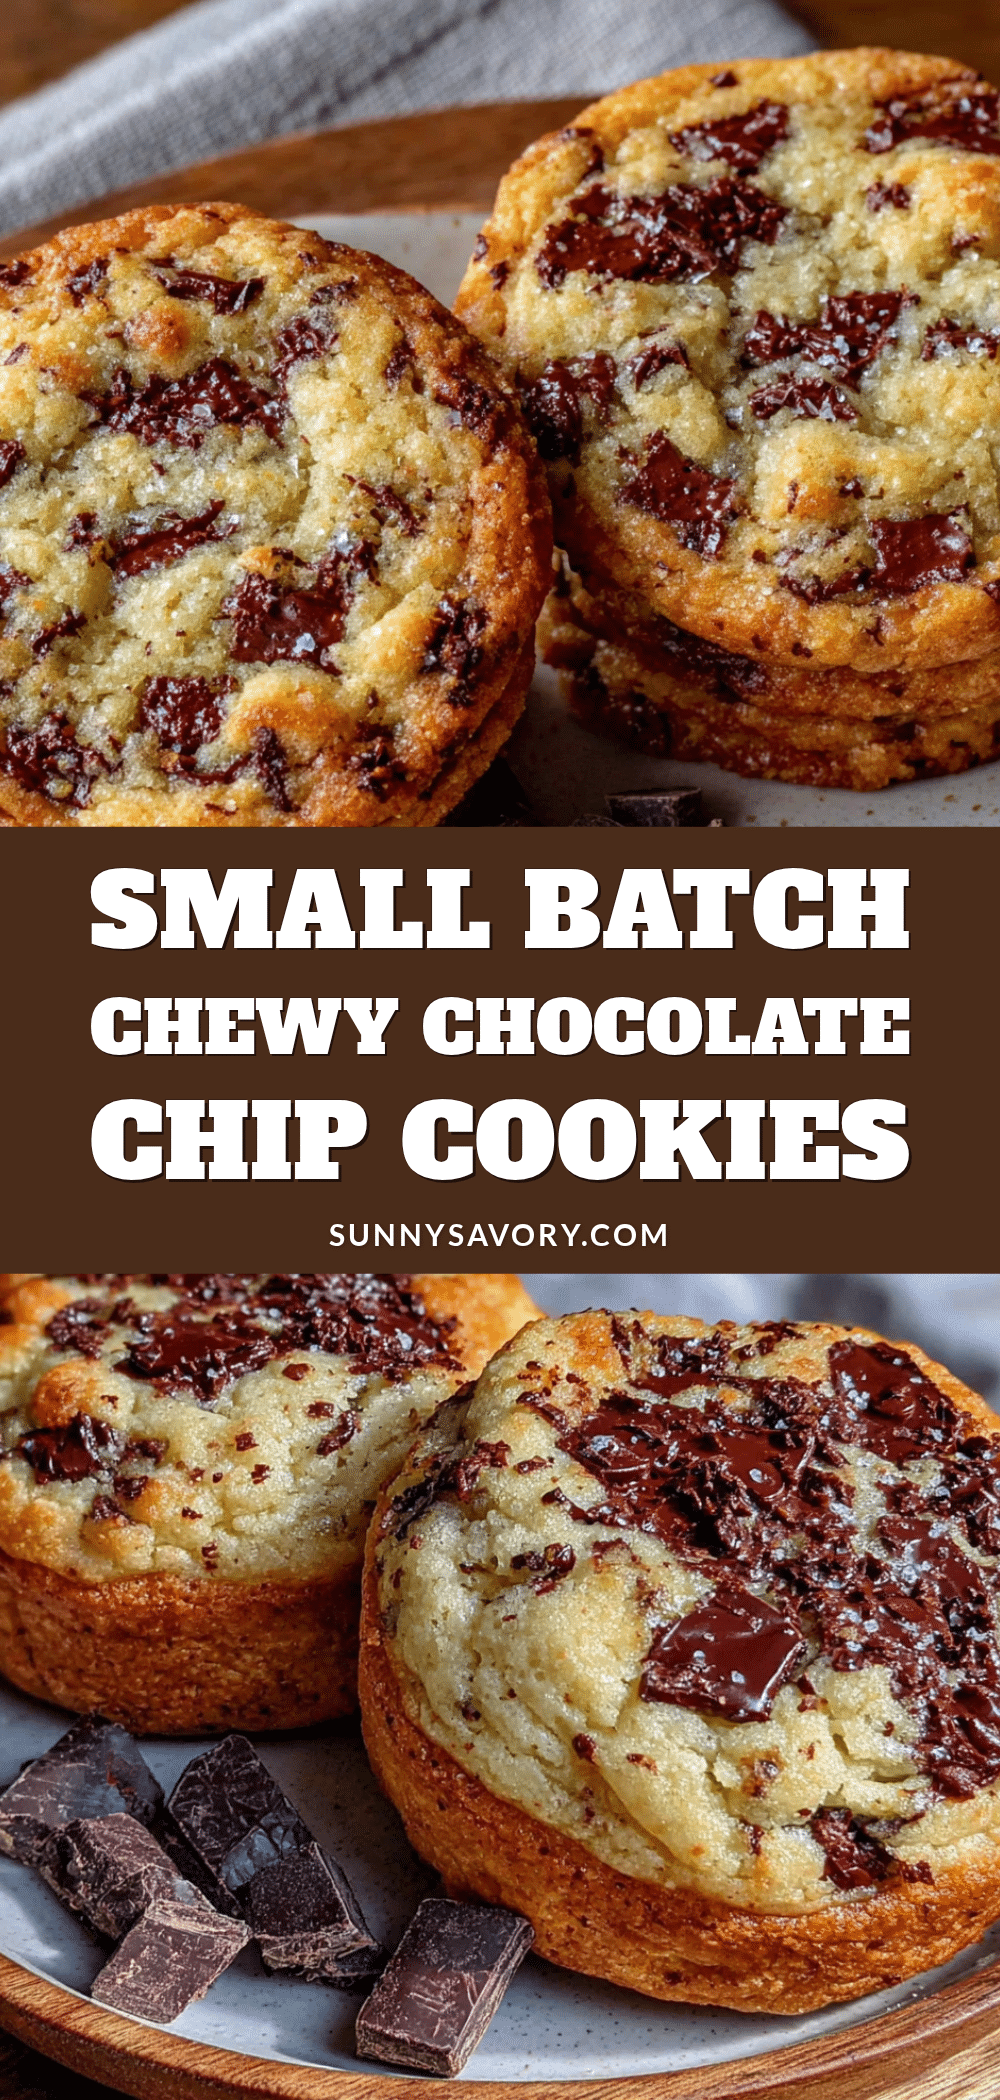
Small-Batch Chewy Chocolate Chip Cookies for Two – Easy Dessert

These small-batch chewy chocolate chip cookies are proof that you don’t need a complicated recipe or a kitchen full of gadgets to make something truly special. They come together in minutes, use ingredients you probably already have, and taste like they came from a fancy bakery.
- Prep Time: 10 minutes
- Cook Time: 10 minutes
- Total Time: 20 minutes
- Yield: 6 cookies (2 servings) 1x
- Category: Dessert
- Cuisine: American
Ingredients
- 4 tablespoons (57g) unsalted butter, softened to room temperature
- 3 tablespoons (38g) granulated sugar
- 3 tablespoons (38g) light brown sugar, packed
- 1 large egg yolk
- ½ teaspoon vanilla extract
- ½ cup (60g) all-purpose flour
- ¼ teaspoon baking soda
- ¼ teaspoon fine sea salt
- ⅓ cup (60g) semi-sweet chocolate chips
Instructions
- Preheat your oven to 350°F (175°C). Line your baking sheet with parchment paper or a silicone mat.
- Cream the butter and sugars together. In your medium bowl, combine the softened butter, granulated sugar, and brown sugar. Beat with a hand mixer on medium speed for about 2 minutes, until light and fluffy. If whisking by hand, go for about 3 minutes—you want the mixture to be pale and creamy. Scrape down the sides of the bowl with your spatula.
- Add the egg yolk and vanilla. Drop in the egg yolk and pour in the vanilla extract. Beat on low speed until just combined—about 30 seconds. Don’t overmix here, or the cookies might get tough. The mixture should look smooth and glossy.
- Mix the dry ingredients. In a separate small bowl, whisk together the flour, baking soda, and salt. This ensures the baking soda and salt are evenly distributed.
- Combine wet and dry ingredients. Add the flour mixture to the butter mixture. Mix on low speed or fold with your spatula until just combined. You should still see a few streaks of flour. Overmixing at this stage develops gluten, which makes cookies tough and cakey instead of chewy.
- Fold in the chocolate chips. Add the chocolate chips and fold them in with your spatula. Make sure they’re evenly distributed, but again, don’t overmix. The dough will be thick and slightly sticky. If it feels too soft to handle, pop it in the fridge for 10 minutes.
- Scoop the dough. Using your cookie scoop or a tablespoon, scoop 6 equal-sized balls of dough. Place them on the prepared baking sheet, spacing them about 2 inches apart. For extra chewiness, gently press each ball down just slightly with your palm—about ½ inch thick.
- Bake for 9-11 minutes. Bake until the edges are golden brown and the centers look slightly underdone and puffy. This is key—you want to pull them out when the centers still look a little soft. They’ll continue baking on the hot sheet pan as they cool. For softer cookies, bake 9 minutes. For crispier edges with a chewy center, go 10-11 minutes.
- Cool on the baking sheet. Let the cookies rest on the hot baking sheet for 5 minutes. This allows them to finish setting up without overbaking. After 5 minutes, transfer them to a cooling rack.
- Serve warm or at room temperature. These are best warm, when the chocolate is still melty. But they’re also fantastic at room temperature—the texture actually improves as they cool.
Notes
Make sure your butter is truly softened—it should give slightly when you press it, but not be melty. If you forgot to take it out of the fridge, microwave it for about 10 seconds, then let it sit for a minute. Don’t nuke it until it’s liquid, or your cookies will spread into flat discs. Also, fresh baking soda matters. If yours has been sitting open for more than six months, it might be weak. Test it by dropping a little into vinegar—if it fizzes vigorously, you’re good. If your cookies spread too much, your butter was too soft or your dough wasn’t chilled enough. Next time, chill the dough for 15 minutes before baking. If they’re too thick and puffy, you added too much flour. Spoon and level next time. If they’re dry, you overbaked them—try pulling them out a minute earlier.
Nutrition
- Serving Size: 3 cookies
- Calories: 185
- Sugar: 15
- Fat: 10
- Saturated Fat: 6
- Carbohydrates: 23
- Fiber: 1
- Protein: 2
Keywords: small batch cookies, chocolate chip cookies, cookies for two, easy dessert, chewy cookies, quick cookies