Love this? Save it for later!
Share the inspiration with your friends
My neighbor, Mrs. Kowalski, had a strict rule about dessert. It had to be store-bought. She swore by those little cardboard pints from the grocery store and would not touch homemade ice cream with a ten-foot pole. “Too icy,” she’d say, wrinkling her nose. “Not worth the fuss.” For three summers, I listened to this while she happily scooped her mass-produced vanilla. Then, on a sweltering Tuesday last July, I brought her a bowl of this creamy no-churn salted caramel ice cream just to prove a point. I caught her licking the bowl clean in her kitchen, spoon clinking against the ceramic. She tried to look surprised, but the damage was done. She asked for the recipe before I even left her porch.
Honestly, I get it. I used to think homemade ice cream was a project for people with fancy machines and too much time on their hands. But this recipe? It changed my mind completely. You do not need a churn, you do not need an ice cream maker, and you definitely do not need a culinary degree. You just need three simple ingredients, a little bit of patience, and a craving for something sweet and salty. I first made it on a whim when a heatwave hit and I refused to leave the house. I had heavy cream in the fridge, a can of sweetened condensed milk in the pantry, and a bag of salted caramel candies leftover from a holiday baking spree. The result was so good I actually texted a photo to my sister, which I never do.
Maybe you have been there—standing in front of your freezer, wishing you had something cold and decadent but not wanting to deal with a complicated process. This creamy no-churn salted caramel ice cream is the answer. It is rich, it is silky, and it has that perfect balance of sweet caramel and flaky salt that makes you close your eyes after the first bite. The best part? It comes together in about ten minutes of active work. The hardest thing you will do is wait for it to freeze. And trust me, that wait is worth every second. I keep making it because it feels like a little victory every time. No machine, no stress, just pure, creamy goodness that tastes like it took hours.
Why You’ll Love This Recipe
This creamy no-churn salted caramel ice cream is not just another dessert recipe. It is the kind of recipe that makes you feel like a kitchen genius with almost zero effort. I have tested it more times than I care to admit, tweaking the ratios and the timing until it was absolutely perfect. Here is why it stands out from every other frozen treat you have tried.
- Quick & Easy: This comes together in under 10 minutes of active prep time. No custard base, no tempering eggs, no endless stirring. You whip, you fold, you freeze. That is it.
- Simple Ingredients: You likely have everything you need in your kitchen right now. Heavy cream, sweetened condensed milk, and your favorite salted caramel sauce. No fancy grocery trips required.
- Perfect for Hot Days: When the temperature spikes and you need something cold fast, this is your go-to. It is great for backyard barbecues, poolside afternoons, or just a quiet night on the couch.
- Crowd-Pleaser: I have brought this to potlucks and dinner parties, and it always gets rave reviews. Even the pickiest eaters go back for seconds. Mrs. Kowalski is living proof.
- Unbelievably Delicious: The texture is what gets everyone. It is creamy, scoopable, and velvety smooth—no ice crystals, no icy chunks. The salted caramel swirls through each bite like little pockets of joy.
What makes this recipe different from all the other no-churn recipes out there? It is the technique. Most recipes just swirl caramel into the base and call it a day. But I found that layering the caramel in between spoonfuls of the cream mixture creates those gorgeous, distinct ribbons that do not disappear into the ice cream. It is a small tweak, but it makes a huge difference. Plus, I use a specific type of salted caramel sauce that holds its texture better during freezing. This is not just another version—it is the best version I have ever made.
This recipe is the kind that makes you close your eyes after the first bite. It is comfort food reimagined—indulgent, creamy, and perfectly balanced with that hit of salt. It is perfect for impressing guests without any stress, or for turning a regular Tuesday into something a little special. You deserve a dessert that feels this good.
What Ingredients You Will Need
This creamy no-churn salted caramel ice cream uses simple, wholesome ingredients to deliver that rich, decadent flavor and silky texture. No weird additives or hard-to-find items here. Just three main components that work together beautifully.
- Heavy cream (2 cups / 480 ml): This is the backbone of your ice cream. You want heavy cream with at least 36% milk fat for the best texture. Whipping it to stiff peaks incorporates air, which is what makes this ice cream light and scoopable instead of dense and icy. I prefer using organic heavy cream from a local dairy when I can find it, but any good-quality brand works. Make sure it is very cold before you start whipping.
- Sweetened condensed milk (1 can / 14 oz / 397 g): This is your secret weapon. It adds sweetness, creaminess, and body without needing to cook a custard. The sugar in the condensed milk also lowers the freezing point, which keeps your ice cream soft and scoopable straight from the freezer. I use Eagle Brand or Carnation, both work perfectly. Do not substitute with evaporated milk—it is not the same thing and will not give you the right texture.
- Salted caramel sauce (1/2 cup / 120 ml, plus more for drizzling): This is where the magic happens. You can use homemade or store-bought, but I recommend a thick, high-quality sauce. I personally love using Trader Joe’s salted caramel sauce or making my own with butter, brown sugar, and sea salt. The key is to use a sauce that is thick enough to create ribbons without sinking to the bottom. If your sauce is too runny, it will just blend into the cream mixture and you will lose those beautiful swirls.
- Flaky sea salt (optional, for garnish): A sprinkle of flaky sea salt right before serving takes this over the top. It adds that little crunch and burst of salt that contrasts perfectly with the sweet caramel. I use Maldon sea salt flakes, but any flaky salt works.
Ingredient Selection Tips: When choosing your heavy cream, look for one that does not have any added stabilizers or gums. The simpler the ingredient list, the better. For the sweetened condensed milk, check the expiration date—fresh is always best. And for the caramel sauce, taste it before you use it. If it is too sweet or too thin, it will affect the final result. I once used a cheap store-brand caramel sauce and the ice cream turned out grainy. Lesson learned.
Substitution Guidance: If you need a dairy-free option, you can use full-fat coconut cream instead of heavy cream and a dairy-free sweetened condensed milk. The texture will be slightly different—a bit more coconut flavor—but it still works beautifully. For a lower-sugar version, look for a sugar-free sweetened condensed milk and a sugar-free caramel sauce. Just note that the texture may be a little less creamy.
Equipment Needed
You do not need much to make this creamy no-churn salted caramel ice cream. That is the beauty of it. Here is what you will need.
- Large mixing bowl: A stainless steel or glass bowl works best. Make sure it is clean and completely dry—any grease or moisture can prevent your cream from whipping properly.
- Electric hand mixer or stand mixer: You can whip the cream by hand with a whisk, but it will take forever and your arm will ache. An electric mixer makes it quick and easy. I use my KitchenAid hand mixer for this, but any brand works.
- Rubber spatula: For folding the condensed milk and caramel into the whipped cream. A silicone spatula is ideal because it is flexible and non-stick.
- Loaf pan or freezer-safe container: A standard 9×5-inch loaf pan is perfect. You can also use a metal cake pan or a plastic container with a lid. The key is to have a container that allows the ice cream to freeze evenly.
- Plastic wrap or parchment paper: To cover the surface of the ice cream directly. This prevents ice crystals from forming on top.
- Measuring cups and spoons: For accuracy. I have learned the hard way that eyeballing ingredients in ice cream can lead to disaster.
Budget-Friendly Alternatives: If you do not have an electric mixer, you can use a whisk and some elbow grease. It will take about 10-15 minutes of vigorous whisking, but it is doable. You can also use a food processor with a whisk attachment if you have one. And if you do not have a loaf pan, any freezer-safe bowl or container will work. Just make sure it has a tight-fitting lid or you cover it well with plastic wrap.
Preparation Method
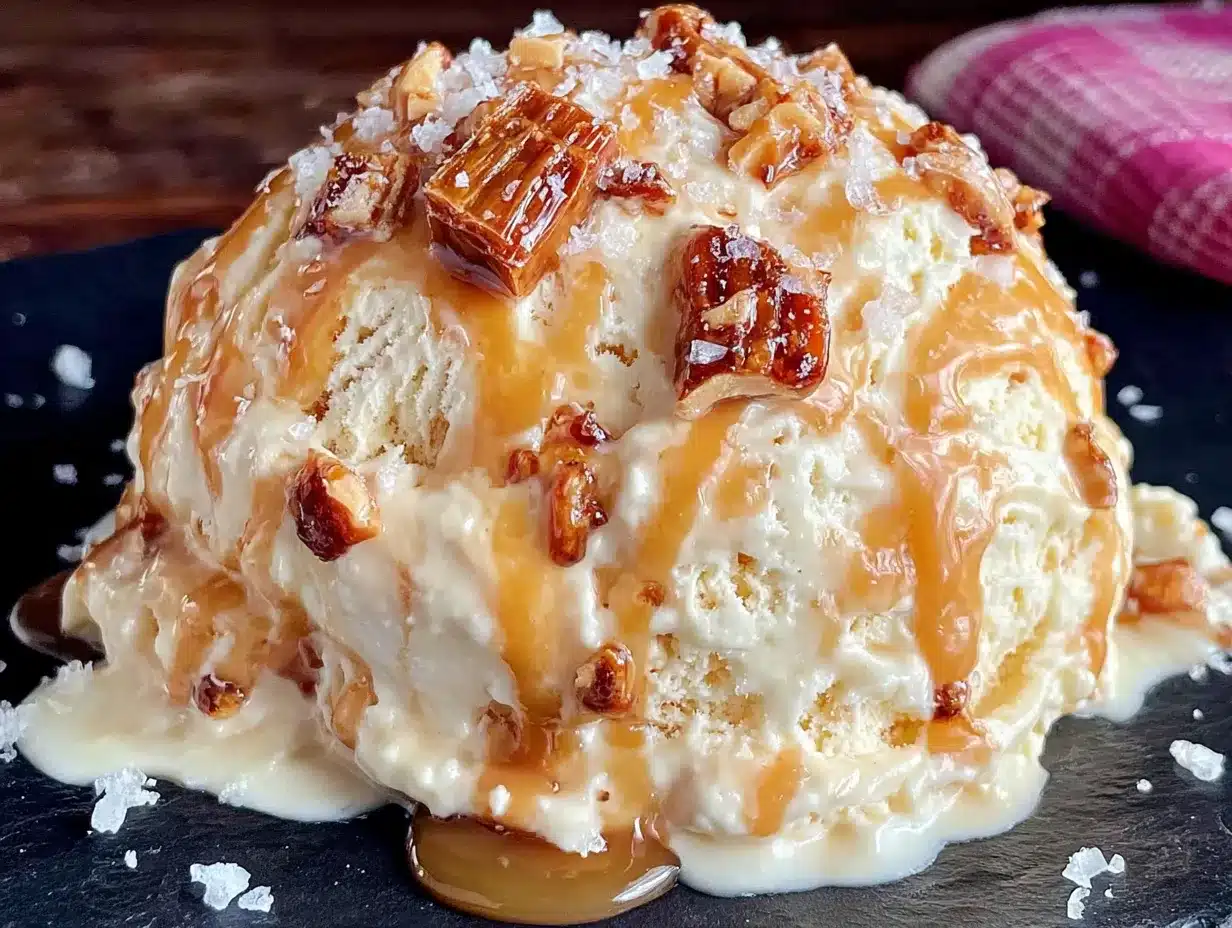
Follow these steps carefully, and you will have the most creamy no-churn salted caramel ice cream you have ever tasted. I have broken it down so even a beginner can nail it on the first try.
- Chill your bowl and beaters (optional but recommended): If you have time, pop your mixing bowl and the beaters from your hand mixer into the freezer for 10-15 minutes. This helps the cream whip up faster and hold its shape better. I do this every time now, and it makes a noticeable difference.
- Whip the heavy cream: Pour the 2 cups of cold heavy cream into your chilled bowl. Using an electric hand mixer on medium-high speed, whip the cream until stiff peaks form. This usually takes about 3-5 minutes. You will know it is ready when you lift the beaters and the cream holds its shape without drooping. Be careful not to over-whip, or you will end up with butter. I have made that mistake before, and it is not pretty. Stop as soon as the peaks are stiff and glossy.
- Fold in the sweetened condensed milk: Pour the entire can of sweetened condensed milk into the bowl with the whipped cream. Use your rubber spatula to gently fold it together. Start from the bottom and work your way up, turning the bowl as you go. Do not stir vigorously—you want to keep as much air in the mixture as possible. Fold just until no white streaks remain. The mixture should be thick, smooth, and pale yellow.
- Prepare your loaf pan: Take your loaf pan and spread about one-third of the cream mixture evenly across the bottom. Use your spatula to smooth it out. This first layer will be the base of your ice cream.
- Add the first caramel layer: Drizzle about 2 tablespoons of your salted caramel sauce over the cream mixture in the pan. Use a spoon or the tip of a knife to gently swirl it into the cream. Do not over-swirl—you want distinct ribbons of caramel, not a fully blended mixture. I like to leave some pockets of pure caramel for those surprise bites.
- Repeat the layers: Add another third of the cream mixture on top of the caramel layer, spreading it gently. Drizzle another 2 tablespoons of caramel sauce and swirl it in. Repeat with the final third of the cream mixture and the remaining caramel sauce. You should end up with three layers of cream and three layers of caramel. Top with a final drizzle of caramel if you like a really swirly top.
- Cover and freeze: Press a piece of plastic wrap directly onto the surface of the ice cream mixture. This is crucial—it prevents ice crystals from forming on top. Then cover the pan with a lid or another layer of plastic wrap. Place it in the freezer on a flat surface. Freeze for at least 6 hours, but overnight is best. The longer it freezes, the firmer and more scoopable it becomes.
- Serve and enjoy: When you are ready to serve, remove the pan from the freezer and let it sit at room temperature for about 5-10 minutes. This makes scooping much easier. Use a warm ice cream scoop for the cleanest scoops. Drizzle with extra caramel sauce and sprinkle with flaky sea salt if desired. Enjoy immediately!
Pro Tip: If you want those Instagram-worthy swirls, do not stir the caramel into the cream mixture in the bowl. Layering it in the pan is the trick. I learned this after making a few batches that turned into a uniform caramel color instead of having those beautiful ribbons. The layering method is a game-changer.
Cooking Tips & Techniques
Over the years, I have made a lot of mistakes with no-churn ice cream. Like the time I forgot to chill the cream and ended up with a soupy mess. Or the time I over-whipped the cream and had to start over. Here are the tips I wish someone had told me from the beginning.
Use cold cream straight from the fridge: Warm cream will not whip properly. It will stay thin and never reach stiff peaks. Keep your cream in the coldest part of your fridge until you are ready to use it. If your kitchen is particularly warm, you can even set your bowl over an ice bath while whipping.
Do not skip the plastic wrap directly on the surface: This is the number one mistake people make. If you just cover the top of the pan, ice crystals will form on the surface of the ice cream. Pressing plastic wrap directly onto the mixture creates a barrier that keeps the texture smooth and creamy. Trust me on this one.
Let it soften before scooping: No-churn ice cream freezes harder than churned ice cream because it has less air incorporated. Give it 5-10 minutes at room temperature before you try to scoop. If you try to scoop it rock hard, you will end up with a bent spoon and a frustrated attitude.
Use a thick caramel sauce: Thin caramel sauce will sink to the bottom of the pan and create a hard, sticky layer. Thick sauce stays suspended in the cream mixture and creates those beautiful ribbons. If your sauce is too thin, you can simmer it on the stove for a few minutes to thicken it up. Let it cool completely before using.
Be patient with freezing time: I know it is tempting to check on it after a few hours, but 6 hours is the minimum. Overnight is truly best. The ice cream needs time to freeze all the way through, especially if you are using a deep loaf pan. If you scoop it too early, it will be more like soft serve. Which is not bad, but it is not the same experience.
Variations & Adaptations
This creamy no-churn salted caramel ice cream is incredibly versatile. I have experimented with all sorts of add-ins and substitutions, and here are my favorites.
Chocolate Salted Caramel: Add 1/4 cup of cocoa powder to the cream mixture before folding in the condensed milk. Sift it in to avoid lumps. The chocolate and salted caramel combo is absolutely divine. I made this for a friend’s birthday and it was gone in minutes.
Vegan Version: Use full-fat coconut cream instead of heavy cream and a dairy-free sweetened condensed milk. The coconut flavor pairs surprisingly well with the salted caramel. Just make sure your coconut cream is very cold before whipping. It will not get as stiff as dairy cream, but it still works. Freeze for at least 8 hours.
Nutty Caramel Crunch: Fold in 1/2 cup of toasted chopped pecans or walnuts after layering the caramel. The nuts add a wonderful crunch and nutty flavor that complements the caramel. I love using candied pecans for an extra layer of sweetness. Toast the nuts in a dry pan over medium heat for 3-4 minutes until fragrant, then let them cool completely before adding.
Bourbon Salted Caramel: Add 2 tablespoons of bourbon to the caramel sauce before layering. The alcohol will not freeze solid, so it keeps the ice cream slightly softer. Plus, the bourbon adds a warm, smoky depth that is perfect for adult gatherings. I made this for a New Year’s Eve party and it was a huge hit.
Cookie Butter Swirl: Swap the salted caramel sauce for cookie butter (like Biscoff spread). Warm it slightly to make it drizzle-able, then layer it the same way. The spiced cookie flavor is incredible with the creamy base. This is my current obsession.
Serving & Storage Suggestions
This creamy no-churn salted caramel ice cream is best served slightly softened, straight from the freezer. Here is how to make it shine.
Serving Temperature: Let the ice cream sit at room temperature for 5-10 minutes before scooping. This makes it creamy and scoopable without being melty. Serve it in chilled bowls or glasses for an extra touch of elegance.
Presentation Ideas: Drizzle extra salted caramel sauce over each scoop and sprinkle with flaky sea salt. You can also add a dollop of whipped cream, a drizzle of chocolate sauce, or a few toasted nuts. For a fun sundae, layer scoops with crushed graham crackers and more caramel sauce. It is also amazing served alongside a warm brownie or a slice of apple pie.
Storage Instructions: Store any leftover ice cream in the freezer, tightly covered with plastic wrap pressed directly onto the surface and then a lid or additional wrap. It will keep well for up to 2 weeks. After that, it may start to develop ice crystals or lose its creamy texture. I have never had it last that long in my house, but theoretically it is fine.
Reheating Tips: If your ice cream becomes too hard after a few days, let it sit at room temperature for 10-15 minutes before scooping. You can also microwave the container for 10-15 seconds to soften it slightly. Do not overdo it, or you will end up with soup.
Flavor Development: The flavors actually meld and deepen after a day or two in the freezer. The caramel becomes more pronounced and the saltiness mellows out slightly. I actually prefer the ice cream on day two or three. It is worth making ahead of time if you can resist the temptation.
Nutritional Information & Benefits
Let’s be honest—this is a treat. It is not health food. But knowing what is in it can help you enjoy it mindfully. Here is the estimated nutritional breakdown per serving (based on 8 servings).
Per Serving (1/2 cup): Calories: 380 | Fat: 24g | Carbohydrates: 38g | Protein: 5g | Sugar: 35g | Sodium: 180mg
Health Benefits of Key Ingredients: Heavy cream provides calcium and vitamin A, which are good for bone health and immune function. Sweetened condensed milk offers a quick source of energy. The salted caramel, while indulgent, can be made with high-quality sea salt which contains trace minerals. And honestly, the mental health benefit of enjoying a delicious homemade treat is real. Sometimes you just need something decadent.
Dietary Considerations: This recipe is vegetarian. It contains dairy and gluten (check your caramel sauce for gluten if that is a concern). For a lower-sugar option, use a sugar-free sweetened condensed milk and a sugar-free caramel sauce. The texture will be slightly different, but it still satisfies that craving.
Potential Allergens: Dairy and possibly gluten (depending on your caramel sauce). Always check labels if you are serving someone with allergies. You can make this vegan by using coconut cream and dairy-free condensed milk, as mentioned in the variations section.
Conclusion
This creamy no-churn salted caramel ice cream is proof that you do not need fancy equipment or complicated techniques to make something truly special. It is simple, it is indulgent, and it is absolutely worth every single calorie. I love how it turns a handful of basic ingredients into a dessert that tastes like it came from a high-end ice cream shop. And I love the look on people’s faces when they take that first bite and realize it is homemade.
I encourage you to make this recipe your own. Play with the variations, tweak the caramel-to-cream ratio, add your favorite mix-ins. That is the beauty of no-churn ice cream—it is forgiving and adaptable. Whether you serve it at a summer barbecue, a holiday dinner, or just a quiet night in, it is guaranteed to bring a smile to your face.
If you make this creamy no-churn salted caramel ice cream, I would love to hear about it. Drop a comment below and let me know how it turned out. Did you try any variations? Did your family fight over the last scoop? Share your stories and photos—I read every single one. And do not forget to pin this recipe for later. Happy freezing, friends!
Frequently Asked Questions
Can I use half-and-half instead of heavy cream?
No, I would not recommend it. Half-and-half has a much lower fat content and will not whip into stiff peaks. Your ice cream will be icy and dense instead of creamy and light. Stick with heavy cream for the best texture.
How long does this ice cream need to freeze?
At least 6 hours, but overnight is best. The longer it freezes, the firmer and more scoopable it becomes. If you are in a hurry, you can try freezing it for 4 hours, but it will be more like soft serve.
Can I use homemade caramel sauce?
Absolutely! Homemade caramel sauce works wonderfully. Just make sure it is thick enough to create ribbons. If it is too thin, simmer it on the stove for a few minutes to thicken it, then let it cool completely before using.
Why did my ice cream turn out icy?
This usually happens for one of two reasons. Either you did not whip the cream to stiff enough peaks, or you did not press plastic wrap directly onto the surface before freezing. Both steps are crucial for preventing ice crystals. Also, make sure your freezer is cold enough—ideally 0°F (-18°C) or below.
Can I add mix-ins like chocolate chips or cookie pieces?
Yes! Fold them in gently after layering the caramel. Add about 1/2 cup of your chosen mix-in. Chocolate chips, crushed cookies, or toffee bits all work great. Just make sure they are small enough to distribute evenly without sinking to the bottom.
Pin This Recipe!
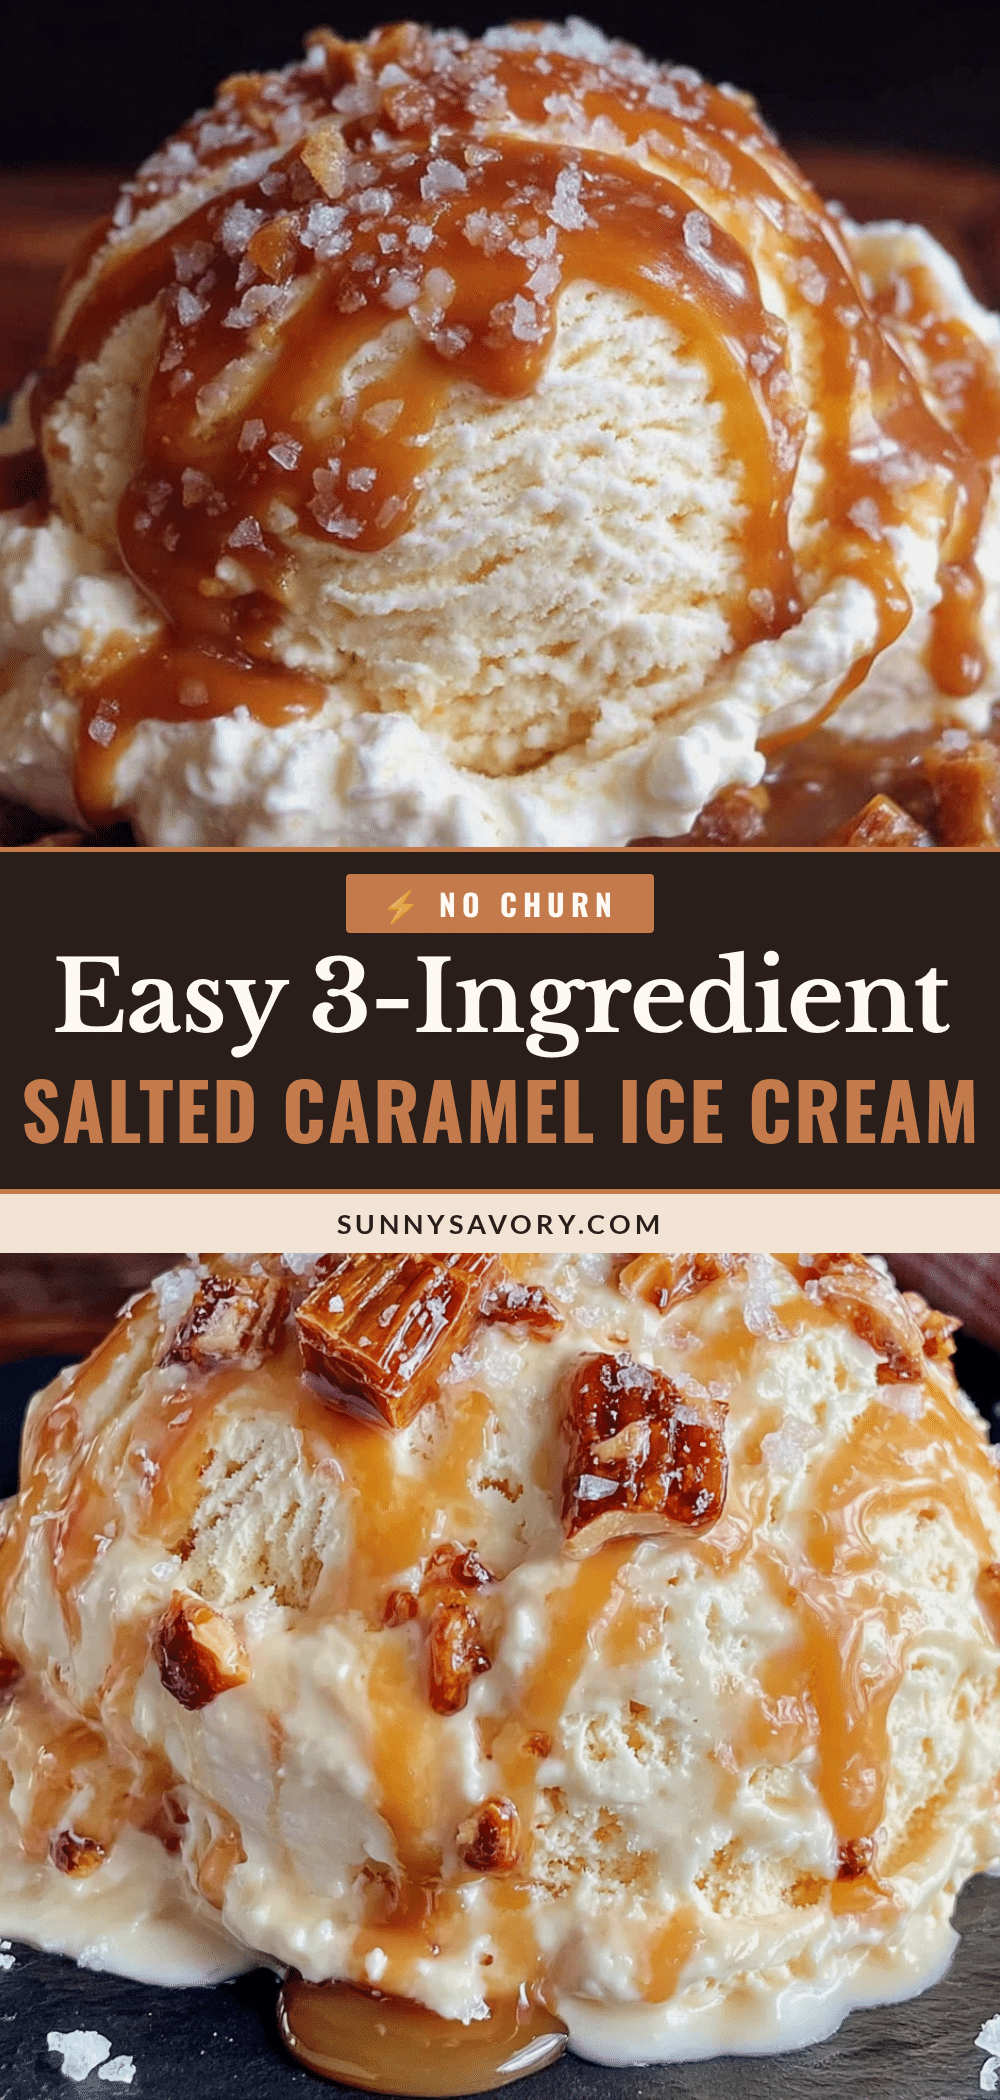
Creamy No-Churn Salted Caramel Ice Cream: Easy 3-Ingredient Dessert
This creamy no-churn salted caramel ice cream is a rich, silky, and indulgent dessert made with just three simple ingredients. It requires no ice cream maker and comes together in under 10 minutes of active prep time, with a perfect balance of sweet caramel and flaky salt.
- Prep Time: 10 minutes
- Cook Time: 0 minutes
- Total Time: 6 hours 10 minutes (includes freezing time)
- Yield: 8 servings 1x
- Category: Dessert
- Cuisine: American
Ingredients
- 2 cups (480 ml) heavy cream (at least 36% milk fat)
- 1 can (14 oz / 397 g) sweetened condensed milk
- 1/2 cup (120 ml) salted caramel sauce (plus more for drizzling)
- Flaky sea salt (optional, for garnish)
Instructions
- Chill your mixing bowl and beaters in the freezer for 10-15 minutes (optional but recommended).
- Pour the cold heavy cream into the chilled bowl and whip with an electric hand mixer on medium-high speed until stiff peaks form, about 3-5 minutes.
- Pour the sweetened condensed milk into the bowl with the whipped cream. Gently fold together with a rubber spatula until no white streaks remain. The mixture should be thick, smooth, and pale yellow.
- Spread about one-third of the cream mixture evenly into the bottom of a loaf pan.
- Drizzle about 2 tablespoons of salted caramel sauce over the cream mixture and gently swirl with a spoon or knife. Do not over-swirl.
- Repeat layering: add another third of the cream mixture, drizzle 2 tablespoons of caramel, and swirl. Repeat with the final third of cream and remaining caramel. Top with a final drizzle of caramel if desired.
- Press a piece of plastic wrap directly onto the surface of the ice cream mixture to prevent ice crystals. Cover the pan with a lid or additional plastic wrap.
- Freeze for at least 6 hours, preferably overnight, until firm and scoopable.
- Before serving, let the ice cream sit at room temperature for 5-10 minutes to soften. Scoop into bowls, drizzle with extra caramel sauce, and sprinkle with flaky sea salt if desired.
Notes
For best results, use a thick salted caramel sauce to create distinct ribbons. Pressing plastic wrap directly onto the surface prevents ice crystals. Let the ice cream soften for 5-10 minutes before scooping. The ice cream keeps well for up to 2 weeks in the freezer.
Nutrition
- Serving Size: 1/2 cup
- Calories: 380
- Sugar: 35
- Sodium: 180
- Fat: 24
- Saturated Fat: 15
- Carbohydrates: 38
- Protein: 5
Keywords: no-churn ice cream, salted caramel ice cream, easy ice cream, 3-ingredient dessert, homemade ice cream, no machine ice cream