Love this? Save it for later!
Share the inspiration with your friends
My neighbor asked me last week why I couldn’t just use my stand mixer for the whole challah dough. I started to explain why that wouldn’t work — then stopped. Honestly, I had no good reason. I’d been kneading this round challah bread with raisins by hand for years, convinced the mixer would somehow ruin the texture. She looked at me like I was crazy, and honestly? She was right.
I’d built this whole story in my head about how hand-kneading was the only way to get that perfect, pillowy crumb. Let me tell you, the first time I let the dough hook do the work, I felt a little embarrassed. The dough came together smoother, faster, and the bread turned out just as beautiful — maybe even better. That moment taught me something about letting go of kitchen rules I’d made up myself.
This round challah with raisins has been my go-to for holidays and quiet Friday nights alike. The golden crust, the sweet bursts of raisin in every slice, the way the braided rounds look like a crown on the table — it’s pure comfort. Maybe you’ve been there too, holding onto a cooking habit that doesn’t really serve you anymore. This recipe is proof that sometimes the best discoveries happen when you’re willing to be wrong.
Why You’ll Love This Recipe
This isn’t just another challah recipe. After testing this dough more times than I care to count, I can tell you it’s the one that finally clicked. Here’s why it works so well:
- Foolproof Dough: The stand mixer method gives you consistent results every single time. No more guessing if you’ve kneaded enough.
- Perfectly Sweet: The raisins add just the right amount of natural sweetness without making it dessert-like. It’s balanced and satisfying.
- Beautiful Presentation: The round shape is stunning for Rosh Hashanah, but it works for any special occasion. It looks like you spent hours — but the technique is simpler than you think.
- Make-Ahead Friendly: This dough actually develops better flavor if you let it rest overnight in the fridge. Weekend baking has never been easier.
- Freezes Beautifully: Bake two loaves and freeze one. The texture stays soft and fresh for weeks when wrapped properly.
What makes this version different from the rest? It’s the balance. The dough is enriched with eggs and oil, giving it that signature challah richness without being greasy. The raisins are plumped just enough so they don’t dry out during baking. And the braiding technique for a round loaf is actually easier than the traditional three-strand braid — I promise.
This is the kind of bread that makes people close their eyes after the first bite. It’s the recipe you’ll pull out for holidays, but also for Tuesday nights when you just want something warm and homemade.
What Ingredients You Will Need
This recipe uses simple, wholesome ingredients to create something truly special. Most of these are pantry staples, which makes this round challah bread with raisins surprisingly accessible for a weekday bake.
- 4 cups all-purpose flour (I prefer King Arthur for consistent protein content, but any brand works)
- 1/4 cup granulated sugar (just enough to feed the yeast and add subtle sweetness)
- 2 1/4 teaspoons active dry yeast (one standard packet — make sure it’s fresh)
- 1 1/4 cups warm water (about 110°F — warm but not hot to the touch)
- 3 large eggs, room temperature (two for the dough, one for the egg wash)
- 1/3 cup vegetable oil (canola or avocado oil work well too)
- 1 1/2 teaspoons salt (fine sea salt is best, table salt works in a pinch)
- 1 cup raisins (golden or dark — I love the sweetness of golden raisins here)
- 1 tablespoon poppy seeds or sesame seeds (optional, for topping)
For the raisins, look for plump, moist ones. If your raisins are a bit dry, soak them in hot water for 10 minutes before using — it makes a world of difference in the final texture. I made the mistake of skipping this step once, and the raisins turned into little hard nuggets in the bread. Never again.
The eggs should definitely be at room temperature. Cold eggs will shock the yeast and slow down your rise. If you forget to take them out ahead of time, place them in a bowl of warm water for 5 minutes — that trick has saved me more times than I can count.
Equipment Needed
You don’t need fancy equipment for this recipe, but a few tools make the process smoother.
- Stand mixer with dough hook (my KitchenAid gets weekly use — the dough hook handles this dough beautifully)
- Large mixing bowl (glass or ceramic — metal can react with the yeast)
- Baking sheet (lined with parchment paper — this is non-negotiable for easy cleanup)
- Pastry brush (for the egg wash — a silicone brush works best)
- Plastic wrap or clean kitchen towel (for covering the dough while it rises)
If you don’t have a stand mixer, you can absolutely knead this dough by hand. It’ll take about 10 minutes of solid kneading, and you’ll know it’s ready when the dough springs back when you poke it. I actually prefer the hand-kneading method when I’m feeling stressed — there’s something therapeutic about working the dough. But the mixer is faster and more consistent if you’re short on time.
A bench scraper is also handy for dividing the dough, but a sharp knife works just fine. Don’t overthink the equipment — this is a forgiving recipe.
Preparation Method
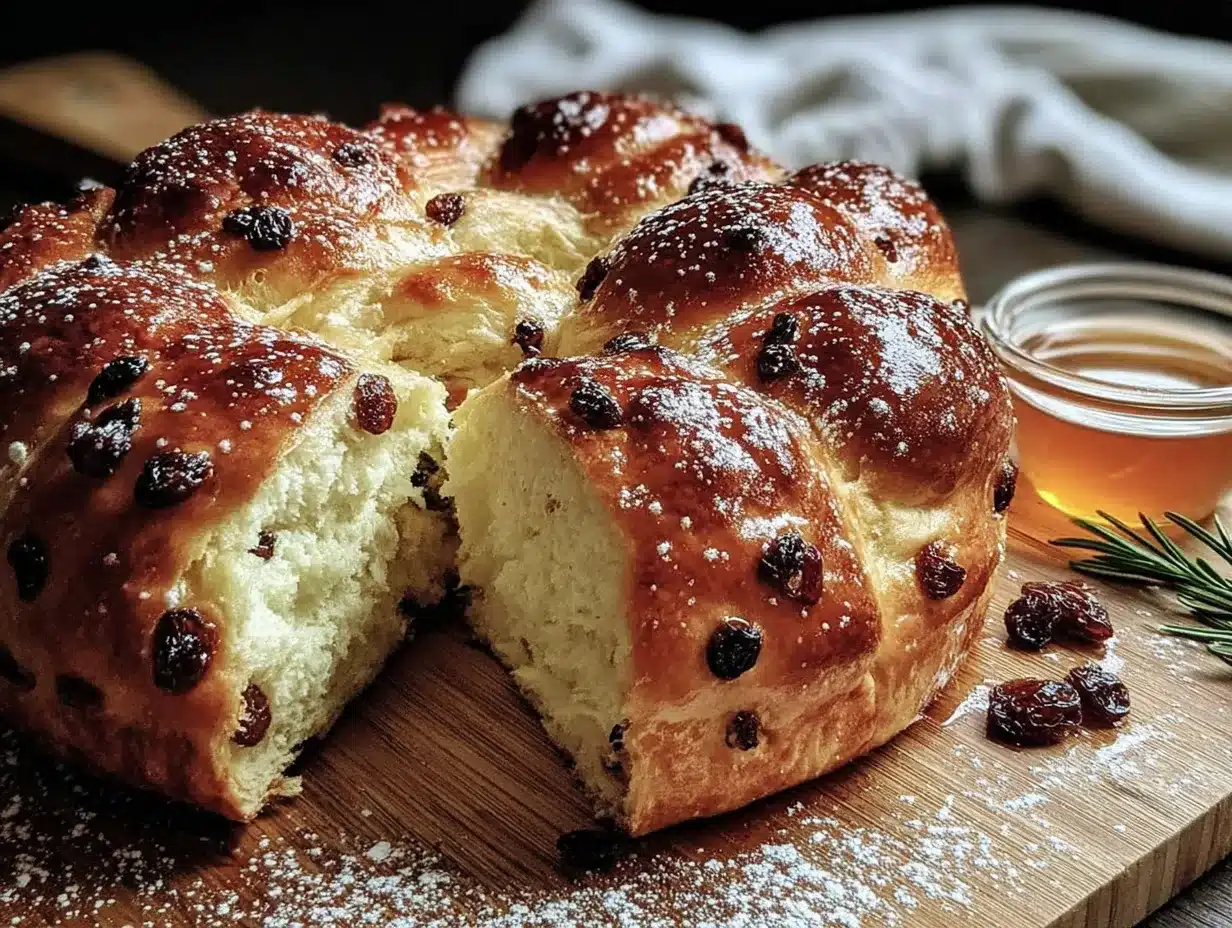
Let me walk you through this step by step. I’ve made this round challah bread with raisins dozens of times, and these are the exact steps I follow every time.
- Activate the yeast: In the bowl of your stand mixer, combine the warm water, sugar, and yeast. Give it a gentle stir and let it sit for 5-10 minutes until it’s foamy and bubbly. If it doesn’t foam, your yeast might be dead — start over with fresh yeast. I learned this the hard way during a holiday baking session.
- Mix the wet ingredients: Add 2 eggs, the oil, and salt to the yeast mixture. Whisk by hand until everything is combined. It’ll look a little strange at this point — don’t worry, that’s normal.
- Add the flour: With the dough hook attached, add the flour one cup at a time on low speed. The dough will look shaggy at first, but keep mixing. After about 3-4 minutes, it should come together into a smooth, elastic ball. If it’s too sticky, add a tablespoon of flour at a time. Too dry? Add a tablespoon of warm water.
- Add the raisins: Once the dough is smooth, add the raisins and mix on low just until they’re distributed evenly. Don’t overmix at this stage — you want pockets of raisin throughout, not a uniform paste.
- First rise: Transfer the dough to a lightly oiled bowl, cover with plastic wrap, and let it rise in a warm spot for 1-2 hours, or until doubled in size. I like to put it in my oven with the light on — it’s the perfect temperature. The dough should feel puffy and airy when you poke it.
- Shape the loaf: Punch down the dough gently to release the air. Turn it out onto a lightly floured surface. Divide the dough into 4 equal pieces. Roll each piece into a rope about 12 inches long. Pinch the four ropes together at the top, then braid them. Here’s the trick for round challah: instead of tucking the ends under, coil the braid into a spiral on your parchment-lined baking sheet. Pinch the end to seal it.
- Second rise: Cover the shaped loaf loosely with plastic wrap and let it rise for another 45-60 minutes. It should look puffy and almost doubled. This is the hardest part — waiting — but don’t skip it.
- Egg wash and toppings: Beat the remaining egg with a tablespoon of water. Brush this mixture gently over the entire surface of the loaf. Sprinkle with poppy seeds or sesame seeds if you’re using them. Be generous — the seeds add great texture and flavor.
- Bake: Preheat your oven to 350°F. Bake the challah for 30-35 minutes, rotating the pan halfway through. The loaf should be deep golden brown and sound hollow when you tap the bottom. If the top is browning too quickly, tent it with foil for the last 10 minutes.
- Cool completely: Transfer the loaf to a wire rack and let it cool for at least 1 hour before slicing. I know it’s tempting to cut into it warm, but the structure needs time to set. Trust me on this one.
Cooking Tips & Techniques
After making this bread more times than I can count, I’ve collected a few tricks that make a real difference.
Temperature matters: The biggest mistake I made early on was using water that was too hot. Yeast is a living thing — if the water is over 120°F, you’ll kill it. I use my instant-read thermometer every single time now. It’s worth the extra step.
Don’t rush the rise: I once tried to speed things up by putting the dough in a warm oven. It rose too fast and the flavor was flat. Slow, patient rising develops that complex, slightly sweet flavor that makes challah special. If your kitchen is cold, let it rise near a sunny window or on top of the refrigerator.
The poke test: To check if your dough has risen enough, lightly poke it with your finger. If the indentation stays, it’s ready. If it springs back immediately, give it more time. If it deflates completely, you’ve over-proofed it — bake it anyway, it’ll still taste good.
Egg wash technique: Apply the egg wash gently with a pastry brush. If you press too hard, you’ll deflate the dough. And don’t skip the second coat after 10 minutes of baking — it gives that gorgeous, shiny crust that makes challah so beautiful.
Cooling is crucial: I know the smell of fresh challah is intoxicating, but cutting into it warm will give you a gummy texture. Let it cool completely on a wire rack. The steam needs to escape, and the structure needs to set. Your patience will be rewarded.
Variations & Adaptations
This recipe is wonderfully adaptable. Here are some of my favorite variations:
- Chocolate Chip Challah: Swap the raisins for 1 cup of semi-sweet chocolate chips. My kids beg for this version every holiday. The chocolate gets melty and delicious — just make sure to fold them in gently so they don’t break apart.
- Whole Wheat Challah: Replace half the all-purpose flour with whole wheat flour. You’ll need to add an extra tablespoon of water since whole wheat absorbs more liquid. The texture is denser but incredibly satisfying. I make this version for myself on regular Fridays.
- Savory Challah: Reduce the sugar to 2 tablespoons and add 1 teaspoon of garlic powder, 1 teaspoon of dried rosemary, and 1/2 cup of grated Parmesan cheese. It’s amazing with soup or as sandwich bread. My neighbor who inspired this recipe loves this version.
- Vegan Challah: Replace the eggs with a flax egg (1 tablespoon ground flaxseed mixed with 3 tablespoons water per egg) and use a plant-based milk wash instead of egg wash. The texture is slightly different but still delicious.
- Spiced Raisin Challah: Add 1 teaspoon of cinnamon and 1/2 teaspoon of cardamom to the flour mixture. The warm spices pair beautifully with the raisins. This is my go-to for fall baking.
Don’t be afraid to experiment. The basic dough is forgiving, and most substitutions work well. I once accidentally used honey instead of sugar — it turned out amazing, with a deeper, more complex sweetness.
Serving & Storage Suggestions
This round challah bread with raisins is beautiful on its own, but here’s how to make it even better.
Serving temperature: Serve at room temperature or slightly warm. If you’re reheating, wrap the loaf in foil and warm it in a 300°F oven for 10 minutes. The crust gets crisp and the inside stays soft.
Presentation ideas: Place the round challah on a wooden board or a beautiful plate. For holidays, I like to dust it with a little powdered sugar or drizzle it with a simple honey glaze (1/4 cup honey mixed with 1 tablespoon warm water). Fresh flowers on the table make it feel extra special.
Pairings: This bread is incredible with butter and honey, but it also works beautifully as French toast the next day. It pairs perfectly with a cup of strong coffee or tea. For a savory option, serve it alongside roasted chicken or a hearty soup.
Storage: Store the challah in a paper bag at room temperature for up to 3 days. Plastic bags will make the crust soft and soggy. If you need to keep it longer, wrap it tightly in plastic wrap and then foil, and freeze for up to 3 months.
Reheating from frozen: Thaw the loaf at room temperature, then reheat in a 300°F oven for 10-15 minutes. It’ll taste almost as good as fresh-baked. I always make two loaves and freeze one for busy weeks.
The flavors actually develop over time. Day-old challah is perfect for French toast or bread pudding. The raisins continue to plump and the flavors meld together beautifully.
Nutritional Information & Benefits
Here’s the approximate nutritional breakdown for one slice (based on 12 slices per loaf):
| Nutrient | Amount per slice |
|---|---|
| Calories | 220 |
| Total Fat | 7g |
| Saturated Fat | 1g |
| Cholesterol | 35mg |
| Sodium | 200mg |
| Total Carbohydrates | 35g |
| Dietary Fiber | 1g |
| Sugars | 12g |
| Protein | 5g |
Raisins are packed with antioxidants and fiber, making this bread a bit more nutritious than your average white loaf. The eggs provide high-quality protein, and the oil offers healthy fats. While challah isn’t health food, it’s a wholesome, homemade alternative to store-bought bread with preservatives.
For those watching their sugar intake, you can reduce the sugar to 2 tablespoons without affecting the texture too much. The raisins provide natural sweetness that compensates. This recipe is vegetarian and can be made vegan with the substitutions mentioned above.
FAQs
Can I make this challah without a stand mixer?
Absolutely! Mix the dough by hand with a wooden spoon until it comes together, then turn it out onto a floured surface and knead for 8-10 minutes. The dough should be smooth and elastic when you’re done. It’s a great arm workout, honestly.
Why didn’t my challah rise properly?
The most common culprit is old yeast. Check the expiration date on your yeast packet. Also, make sure your water was warm enough (around 110°F) but not too hot. If your kitchen is cold, find a warmer spot for the dough to rise.
Can I use bread flour instead of all-purpose flour?
Yes! Bread flour has more protein, which gives you a chewier texture. You might need an extra tablespoon of water since bread flour absorbs more liquid. I’ve used both and prefer all-purpose for a softer crumb, but bread flour works beautifully.
How do I know when the challah is fully baked?
The loaf should be deep golden brown and sound hollow when you tap the bottom. If you have an instant-read thermometer, the internal temperature should be around 190°F. When in doubt, give it an extra 5 minutes — underbaked challah is gummy and disappointing.
Can I freeze the dough instead of the baked bread?
Yes! After the first rise, punch down the dough, wrap it tightly in plastic wrap, and freeze for up to 1 month. Thaw it overnight in the refrigerator, then shape and let it rise before baking. This is a great way to have fresh challah on demand.
Conclusion
This round challah bread with raisins has become a staple in my kitchen for good reason. It’s forgiving enough for beginners but impressive enough for holidays and special occasions. The golden crust, the soft interior, the sweet bursts of raisin in every bite — it’s the kind of bread that makes you slow down and appreciate the simple things.
I hope you give this recipe a try and make it your own. Maybe you’ll add cinnamon, or swap in chocolate chips, or serve it with honey and butter on a quiet Friday evening. Whatever you do, remember that the best recipes are the ones you make with your own hands and share with people you love.
I’d love to hear how your challah turns out! Drop a comment below and let me know if you tried any variations or if this was your first time making challah. Don’t forget to pin this recipe for later — your future self will thank you when the holidays roll around. Happy baking!
Pin This Recipe!
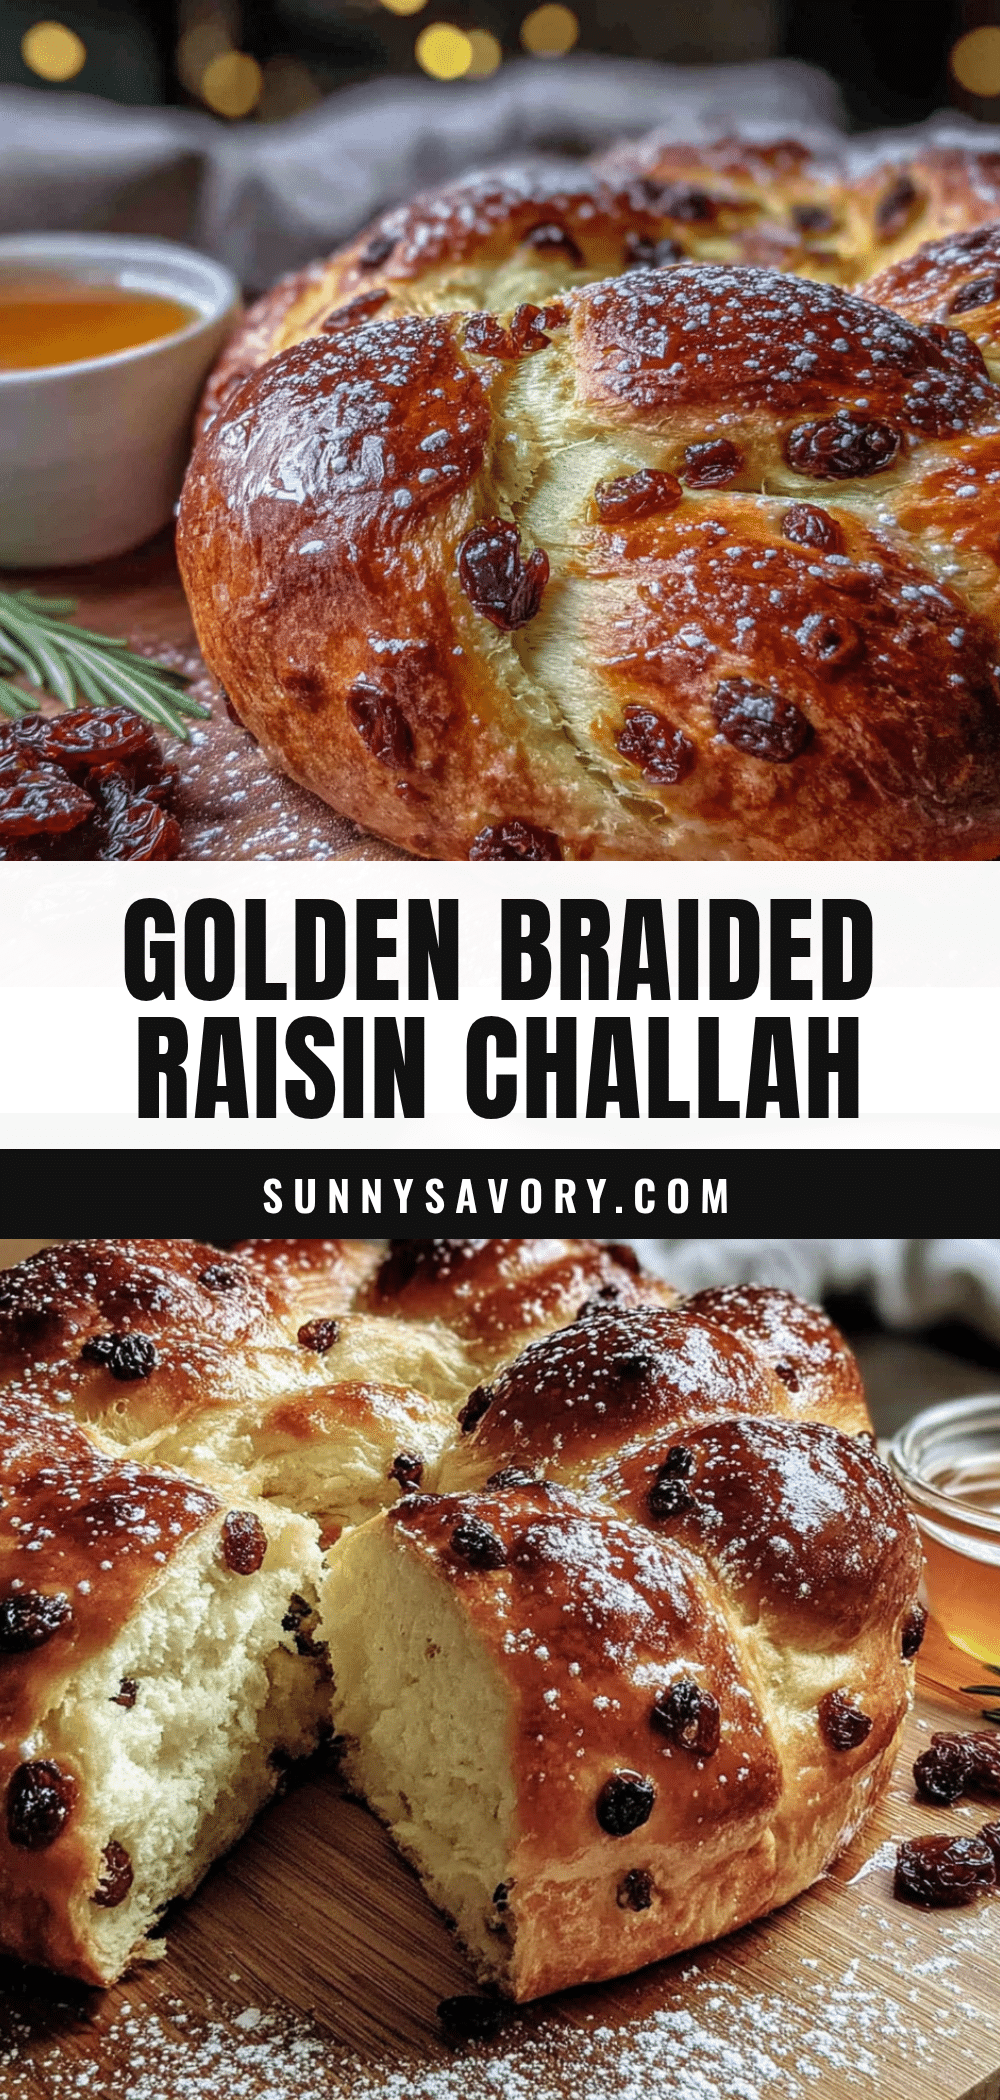
Best Easy Round Challah with Raisins Recipe

This foolproof round challah with raisins features a golden crust, soft interior, and sweet bursts of raisin in every slice. Made with a stand mixer for consistent results, it’s perfect for holidays or any special occasion.
- Prep Time: 30 minutes
- Cook Time: 35 minutes
- Total Time: 2 hours 35 minutes (including rising time)
- Yield: 12 servings 1x
- Category: Bread
- Cuisine: Jewish
Ingredients
- 4 cups all-purpose flour
- 1/4 cup granulated sugar
- 2 1/4 teaspoons active dry yeast
- 1 1/4 cups warm water (about 110°F)
- 3 large eggs, room temperature
- 1/3 cup vegetable oil
- 1 1/2 teaspoons salt
- 1 cup raisins
- 1 tablespoon poppy seeds or sesame seeds (optional)
Instructions
- Activate the yeast: In the bowl of your stand mixer, combine the warm water, sugar, and yeast. Give it a gentle stir and let it sit for 5-10 minutes until it’s foamy and bubbly.
- Mix the wet ingredients: Add 2 eggs, the oil, and salt to the yeast mixture. Whisk by hand until everything is combined.
- Add the flour: With the dough hook attached, add the flour one cup at a time on low speed. Mix for 3-4 minutes until the dough comes together into a smooth, elastic ball. If too sticky, add a tablespoon of flour at a time; if too dry, add a tablespoon of warm water.
- Add the raisins: Once the dough is smooth, add the raisins and mix on low just until distributed evenly.
- First rise: Transfer the dough to a lightly oiled bowl, cover with plastic wrap, and let it rise in a warm spot for 1-2 hours, or until doubled in size.
- Shape the loaf: Punch down the dough gently. Turn it out onto a lightly floured surface. Divide the dough into 4 equal pieces. Roll each piece into a rope about 12 inches long. Pinch the four ropes together at the top, then braid them. Coil the braid into a spiral on a parchment-lined baking sheet. Pinch the end to seal.
- Second rise: Cover the shaped loaf loosely with plastic wrap and let it rise for another 45-60 minutes until puffy and almost doubled.
- Egg wash and toppings: Beat the remaining egg with a tablespoon of water. Brush this mixture gently over the entire surface of the loaf. Sprinkle with poppy seeds or sesame seeds if using.
- Bake: Preheat oven to 350°F. Bake the challah for 30-35 minutes, rotating the pan halfway through. The loaf should be deep golden brown and sound hollow when tapped on the bottom. If browning too quickly, tent with foil for the last 10 minutes.
- Cool completely: Transfer the loaf to a wire rack and let it cool for at least 1 hour before slicing.
Notes
For best results, use room temperature eggs and warm water around 110°F. If raisins are dry, soak them in hot water for 10 minutes before using. The dough can be made ahead and refrigerated overnight for better flavor. Freezes well for up to 3 months.
Nutrition
- Serving Size: 1 slice
- Calories: 220
- Sugar: 12
- Sodium: 200
- Fat: 7
- Saturated Fat: 1
- Carbohydrates: 35
- Fiber: 1
- Protein: 5
Keywords: round challah, challah with raisins, braided bread, Jewish bread, holiday bread, Rosh Hashanah challah, homemade challah



