Love this? Save it for later!
Share the inspiration with your friends
This was supposed to be a pumpkin bread. I had the can of pumpkin, the spices lined up, the loaf pan greased and ready. But somewhere between answering my phone and realizing I was out of loaf pans—don’t ask, it was one of those days—I grabbed a baking sheet instead. The batter looked wrong on the flat surface, all spread out and sad. I almost scraped it into the trash, honest to goodness. But I slid it into the oven anyway, figuring I’d salvage what I could. What came out of that oven was nothing like the plan—and better.
These pumpkin cookies happened because I was too distracted to make bread. The edges got crispy, the centers stayed soft, and that brown butter icing? That was a happy accident too. I was melting butter for a different recipe, let it go a shade too far, and decided to just go with it. The nutty, toasty flavor paired with the pumpkin in a way that made me stop mid-bite. I mean, really stop and stare at the cookie in my hand. Maybe you’ve been there—when a mistake in the kitchen turns into something you end up making every single fall.
I’ve made these cookies at least twenty times since that first accidental batch. They’ve shown up at potlucks, Thanksgiving dinners, and random Tuesday afternoons when I needed a little comfort. The brown butter icing is what gets people every time. They take a bite, get that warm spicy pumpkin flavor, and then the icing hits them with this deep, almost caramel-like richness. It’s the kind of cookie that makes people close their eyes without realizing it. And honestly? That’s why I keep making them. Sometimes the best recipes come from the moments when everything goes wrong.
Why You’ll Love This Recipe
I’ve tested these pumpkin cookies more times than I care to count. My family has been my unwilling taste-test crew for three years running, and let me tell you, they’ve never complained once. These cookies have that rare quality of being both incredibly soft and perfectly sturdy—they hold up to the icing without falling apart, which is harder to achieve than you might think.
- Quick & Easy : From start to finish, you’re looking at about 30 minutes. The dough comes together in one bowl, no mixer required if you’ve got a strong arm and a whisk.
- Simple Ingredients : Canned pumpkin, basic pantry spices, butter, sugar, flour—nothing fancy. You probably have most of this stuff already.
- Perfect for Fall Gatherings : These cookies disappear at Thanksgiving, Halloween parties, and cozy weekend baking sessions. They scream autumn without being complicated.
- Crowd-Pleaser : Kids love the icing, adults appreciate the sophisticated brown butter flavor. It’s a rare cookie that bridges that gap.
- Unbelievably Delicious : The texture is what gets me every time—cakey centers with slightly crisp edges, topped with that glossy, nutty icing. It’s next-level comfort food disguised as a simple cookie.
What makes this recipe different from all the other pumpkin cookie recipes out there? It’s the brown butter icing. Most recipes use cream cheese frosting or a basic powdered sugar glaze. But browning the butter first adds this incredible depth that complements the pumpkin spices perfectly. It’s not just another pumpkin cookie—it’s the one I keep coming back to year after year.
This is the kind of cookie that makes you feel like you’ve got your act together, even if you don’t. It’s impressive enough for guests but simple enough for a random Wednesday. And that first bite, where the warm spices hit your tongue followed by that nutty, buttery icing? Pure magic.
What Ingredients You Will Need
This recipe uses straightforward ingredients that come together to create something genuinely special. The magic is in the technique, not in hunting down obscure items at specialty stores.
For the Pumpkin Cookies:
- 1 cup (226g) unsalted butter, softened to room temperature
- 1 cup (200g) granulated sugar
- 1/2 cup (100g) packed light brown sugar
- 1 large egg, room temperature
- 1 teaspoon vanilla extract
- 1 cup (245g) canned pumpkin puree (not pumpkin pie filling)
- 2 cups (250g) all-purpose flour
- 1 teaspoon baking soda
- 1/2 teaspoon salt
- 2 teaspoons pumpkin pie spice (or 1 teaspoon cinnamon, 1/2 teaspoon ginger, 1/4 teaspoon nutmeg, 1/4 teaspoon cloves)
For the Brown Butter Icing:
- 1/2 cup (113g) unsalted butter
- 2 cups (240g) powdered sugar, sifted
- 2-3 tablespoons milk or heavy cream
- 1 teaspoon vanilla extract
- Pinch of salt
Ingredient Tips from My Kitchen:
Use canned pumpkin puree, not pumpkin pie filling. The pie filling has added sugar and spices that will throw off the whole balance. I use Libby’s brand most of the time—it’s consistent and widely available. For the butter, I prefer unsalted so I can control the salt level myself. If you only have salted butter on hand, just reduce the added salt to 1/4 teaspoon.
The pumpkin pie spice is totally customizable. Sometimes I make my own blend with extra cinnamon and a pinch of cardamom when I’m feeling fancy. During the holidays, I’ve been known to add a tiny bit of fresh grated nutmeg on top of the spices—it makes the kitchen smell incredible.
For the brown butter icing, use real butter. Margarine or spreads won’t brown the same way and the flavor just won’t be there. Trust me on this one—I tried it once when I was out of butter and regretted every bite.
Equipment Needed
You don’t need a fancy kitchen to make these cookies. Here’s what you’ll actually use:
- Baking sheets : Two large baking sheets work best so you can bake multiple batches. I use Nordic Ware aluminum sheets—they heat evenly and don’t warp.
- Parchment paper or silicone baking mats : Parchment paper makes cleanup a breeze and prevents sticking. Silicone mats work great too, just watch your bake time as they can affect browning.
- Mixing bowls : One large bowl for the cookie dough, one medium bowl for the dry ingredients.
- Whisk and spatula : A good whisk for combining dry ingredients and a rubber spatula for folding everything together.
- Cookie scoop : A 1.5-tablespoon scoop gives you consistent cookies that bake evenly. If you don’t have one, use two spoons to drop rounded portions.
- Cooling rack : Essential for letting the cookies cool properly before icing them. I’ve used wire cooling racks for years and they’re worth the small investment.
- Small saucepan : For browning the butter. A light-colored pan helps you see the color change more easily.
- Hand mixer or stand mixer : Optional but helpful for creaming the butter and sugar. You can absolutely do it by hand with some elbow grease.
If you don’t have a cookie scoop, just use a tablespoon measure and drop rounded spoonfuls onto the baking sheet. They won’t be perfectly round, but honestly, homemade-looking cookies have more charm anyway.
Preparation Method
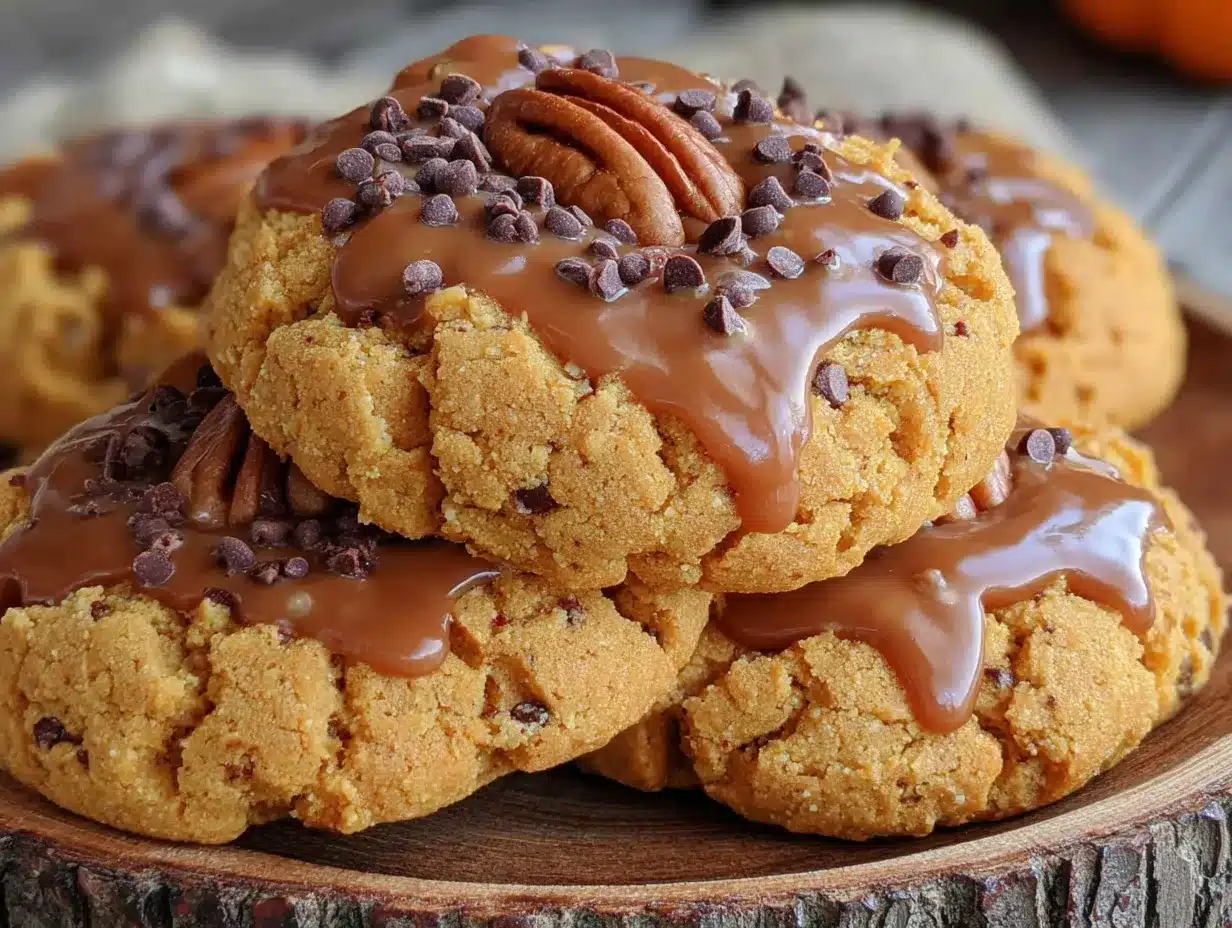
Let’s make these pumpkin cookies. I’ve broken it down step by step so nothing gets missed.
Step 1: Preheat and Prep
Preheat your oven to 350°F (175°C). Line two baking sheets with parchment paper or silicone baking mats. This ensures your cookies won’t stick and the bottoms won’t burn.
Step 2: Cream the Butter and Sugars
In a large mixing bowl, beat the softened butter, granulated sugar, and brown sugar together until light and fluffy. This takes about 2-3 minutes with a hand mixer, or about 4 minutes if you’re doing it by hand. The mixture should look pale and airy. Scrape down the sides of the bowl halfway through.
Step 3: Add Wet Ingredients
Beat in the egg and vanilla extract until combined. Then add the pumpkin puree and mix until fully incorporated. The mixture might look a little curdled at this point—don’t panic, that’s normal. The pumpkin will smooth everything out.
Step 4: Combine Dry Ingredients
In a separate medium bowl, whisk together the flour, baking soda, salt, and pumpkin pie spice. Whisking aerates the flour and distributes the spices evenly. Nobody wants a cookie with one bite full of cinnamon and the next one bland.
Step 5: Mix Wet and Dry
Gradually add the dry ingredients to the wet mixture, mixing on low speed or folding with a spatula until just combined. Do not overmix! Overmixing develops gluten and will make your cookies tough instead of tender. Stop when you no longer see streaks of flour.
Step 6: Scoop and Bake
Drop rounded tablespoons of dough onto the prepared baking sheets, spacing them about 2 inches apart. These cookies spread a little, so give them room to breathe. Bake for 10-12 minutes, or until the edges are set and lightly golden. The centers will look slightly underdone—that’s what you want. They’ll continue cooking on the hot baking sheet after you pull them out.
Step 7: Cool Completely
Let the cookies cool on the baking sheet for 5 minutes, then transfer them to a wire cooling rack to cool completely. Do not ice them while they’re still warm or the icing will slide right off and make a mess. I learned this the hard way, and let me tell you, it’s not pretty.
Step 8: Make the Brown Butter Icing
While the cookies are cooling, make the icing. Place the butter in a small saucepan over medium heat. Melt the butter, then continue cooking, swirling the pan occasionally. The butter will foam up, then subside, and you’ll start to see brown specks forming at the bottom. This is the milk solids toasting. Swirl the pan and watch carefully—once the butter turns a golden brown and smells nutty, remove it from the heat immediately. This whole process takes about 5-7 minutes. Pour the brown butter into a heatproof bowl to stop it from cooking further.
Step 9: Finish the Icing
Let the brown butter cool for about 5 minutes. Then whisk in the sifted powdered sugar, vanilla extract, and a pinch of salt. Add milk or cream one tablespoon at a time until you reach a smooth, pourable consistency. The icing should be thick enough to coat the back of a spoon but thin enough to drizzle.
Step 10: Ice the Cookies
Once the cookies are completely cool, drizzle the icing over them using a spoon or a piping bag with the tip snipped off. Let the icing set for about 15-20 minutes before serving or stacking.
Cooking Tips & Techniques
I’ve made enough mistakes with these cookies to fill a cookbook. Let me save you some trouble.
Don’t overmix the dough. Pumpkin cookies are prone to getting tough if you work the flour too much. Mix until the flour disappears and then stop. A few streaks of flour are better than a tough cookie.
Chill the dough if you have time. I know I didn’t include this in the main instructions because these cookies work fine without chilling. But if you chill the dough for 30 minutes, the cookies will be thicker and chewier. The trade-off is they won’t spread as much, so you’ll get a taller, softer cookie. Both versions are delicious—it just depends on your preference.
Watch the brown butter like a hawk. Brown butter goes from perfect to burnt in about 30 seconds. The first time I made it, I got distracted by my phone and ended up with black butter that smelled like burnt popcorn. Pour it into a bowl the second it turns golden brown, even if you think it could go a little longer. Trust me on this.
Use room temperature ingredients. Cold butter won’t cream properly with the sugar, and a cold egg can seize the mixture. Take your butter and egg out of the fridge about 30 minutes before you start baking. If you forget, you can soften butter in the microwave in 10-second bursts, but watch it carefully—you want softened, not melted.
Rotate your baking sheets halfway through. Most ovens have hot spots. Rotating the sheets front to back and switching racks halfway through baking ensures even browning. I do this at the 6-minute mark for these cookies.
Let the icing set completely before stacking. I once packed these cookies for a party while the icing was still tacky and ended up with a beautiful stack of cookies stuck together like one giant cookie blob. Give them at least 20 minutes to set, or pop them in the fridge for 10 minutes if you’re in a hurry.
Variations & Adaptations
These pumpkin cookies are pretty forgiving, and I’ve played around with them quite a bit. Here are some variations worth trying:
Gluten-Free Version: Substitute the all-purpose flour with a 1:1 gluten-free baking flour blend. I’ve used Bob’s Red Mill and King Arthur Measure for Measure with great results. The texture will be slightly more tender, but the flavor stays spot on.
Dairy-Free Option: Use vegan butter sticks for both the cookies and the icing. Just note that vegan butter doesn’t brown the same way as dairy butter—it will get golden but won’t develop that same nutty flavor. Add a teaspoon of maple syrup to the icing to compensate for the missing depth.
Spiced-Up Version: Add 1/4 teaspoon of black pepper and a pinch of cayenne to the dry ingredients. It sounds weird, I know, but the heat plays beautifully with the pumpkin and brown butter. My husband thought I was crazy until he tried one.
Add-In Options: Fold in 1/2 cup of chopped pecans, walnuts, or white chocolate chips after mixing the dough. The nuts add crunch, and the white chocolate pairs perfectly with the pumpkin spices. I’ve also made these with dried cranberries mixed in, and they were a hit at Thanksgiving.
Icing Variations: If brown butter feels like too much effort, you can use the same amount of regular melted butter in the icing. It won’t have that nutty depth, but it’ll still be delicious. For a cream cheese version, substitute 2 ounces of softened cream cheese for half the butter in the icing.
Make it a Sandwich Cookie: Double the icing recipe and spread a generous layer between two cookies. It’s over the top and completely worth it every once in a while.
Serving & Storage Suggestions
These cookies are best served at room temperature, ideally within a few hours of making them. The icing stays glossy and the cookies are perfectly soft. If you’re serving them at a gathering, arrange them on a platter in a single layer—stacking can smudge the icing.
They pair beautifully with a hot cup of coffee, chai tea, or a cold glass of milk. For a dessert spread, I’ve served them alongside apple cider and a cheese board, and they disappeared before the cheddar.
Storage: Store the cookies in an airtight container at room temperature for up to 5 days. Layer them between sheets of parchment paper to prevent the icing from sticking. Do not refrigerate them—the fridge dries out the cookies and makes them stale faster.
Freezer Instructions: You can freeze the baked cookies (un-iced) for up to 3 months. Wrap them tightly in plastic wrap and place them in a freezer bag. When you’re ready to serve, thaw them at room temperature and make the icing fresh. The icing does not freeze well—it gets grainy and loses its glossy finish. I’ve tried it, and it’s just not the same.
Make Ahead Tip: The cookie dough can be refrigerated for up to 48 hours before baking. Scoop the dough onto a parchment-lined baking sheet, cover with plastic wrap, and pop it in the fridge. Bake straight from the fridge, adding an extra minute or two to the bake time.
The flavors actually deepen after a day in the fridge. I’ve noticed the pumpkin and spice flavors meld together more, and the brown butter icing somehow gets even better. If you can resist eating them all on day one, day two is even better.
Nutritional Information & Benefits
Let’s be real—these are cookies, not health food. But they do have some redeeming qualities worth mentioning.
Estimated Nutrition Per Cookie (makes 24 cookies):
- Calories: 185
- Fat: 9g
- Saturated Fat: 5.5g
- Carbohydrates: 25g
- Sugar: 17g
- Fiber: 1g
- Protein: 2g
- Sodium: 95mg
Health Highlights: Pumpkin is packed with vitamin A, which supports eye health and immune function. Each cookie gives you about 10% of your daily vitamin A needs, which isn’t bad for a dessert. The cinnamon in the pumpkin pie spice has anti-inflammatory properties, and the brown butter, while indulgent, contains butyrate, a fatty acid that supports gut health in small amounts.
Dietary Considerations: These cookies are vegetarian. To make them dairy-free, use the substitutions mentioned in the variations section. They are not gluten-free unless you use a gluten-free flour blend. The recipe contains wheat, dairy, and eggs—be mindful if you’re cooking for someone with allergies.
I’m not a nutritionist, and I don’t pretend to be one. These cookies are a treat, meant to be enjoyed in moderation. But if you’re going to have a treat, at least it’s one with some actual pumpkin in it, right?
Conclusion
These Perfect Pumpkin Cookies with Brown Butter Icing are the kind of recipe that earns a permanent spot in your fall baking rotation. They came from a mistake, got better through trial and error, and now they’re the first thing I reach for when the weather turns cool and the leaves start changing.
The brown butter icing is what makes them special. It’s that little extra step that transforms a good cookie into something people remember. And the best part? You don’t need to be a professional baker to pull it off. If I can make these cookies while distracted, talking on the phone, and using the wrong pan, you can absolutely make them.
I’d love to hear how yours turn out. Did you add nuts? Try a different spice blend? Make them into sandwich cookies? Drop a comment below and let me know—I read every single one, and your variations might inspire my next batch. Happy baking, and don’t forget to save one for yourself before they disappear!
Frequently Asked Questions
Can I use fresh pumpkin instead of canned?
Yes, you can use fresh pumpkin puree. Just make sure to drain it well after cooking and mashing—fresh pumpkin tends to be more watery than canned. Spread the puree on paper towels and pat it dry before using to avoid overly wet dough.
Why did my cookies turn out flat?
Flat cookies usually mean the butter was too soft or melted, or the dough wasn’t chilled enough. Make sure your butter is softened, not melted, and consider chilling the dough for 20-30 minutes before baking if you’re in a warm kitchen.
Can I freeze the brown butter icing?
I don’t recommend it. The icing tends to separate and become grainy after freezing and thawing. It’s best to make the icing fresh when you’re ready to serve the cookies. The un-iced cookies freeze beautifully though.
How do I know when the brown butter is done?
Watch for the butter to turn a golden amber color with small brown specks at the bottom of the pan. It will smell nutty and toasty. Remove it from the heat immediately—it goes from perfect to burnt very quickly. I always err on the side of pulling it off a little early.
Can I make these cookies without an electric mixer?
Absolutely. You can cream the butter and sugar by hand with a wooden spoon—it just takes a little more arm work. Make sure your butter is properly softened to make the process easier. The rest of the mixing is straightforward with a spatula or whisk.
Pin This Recipe!
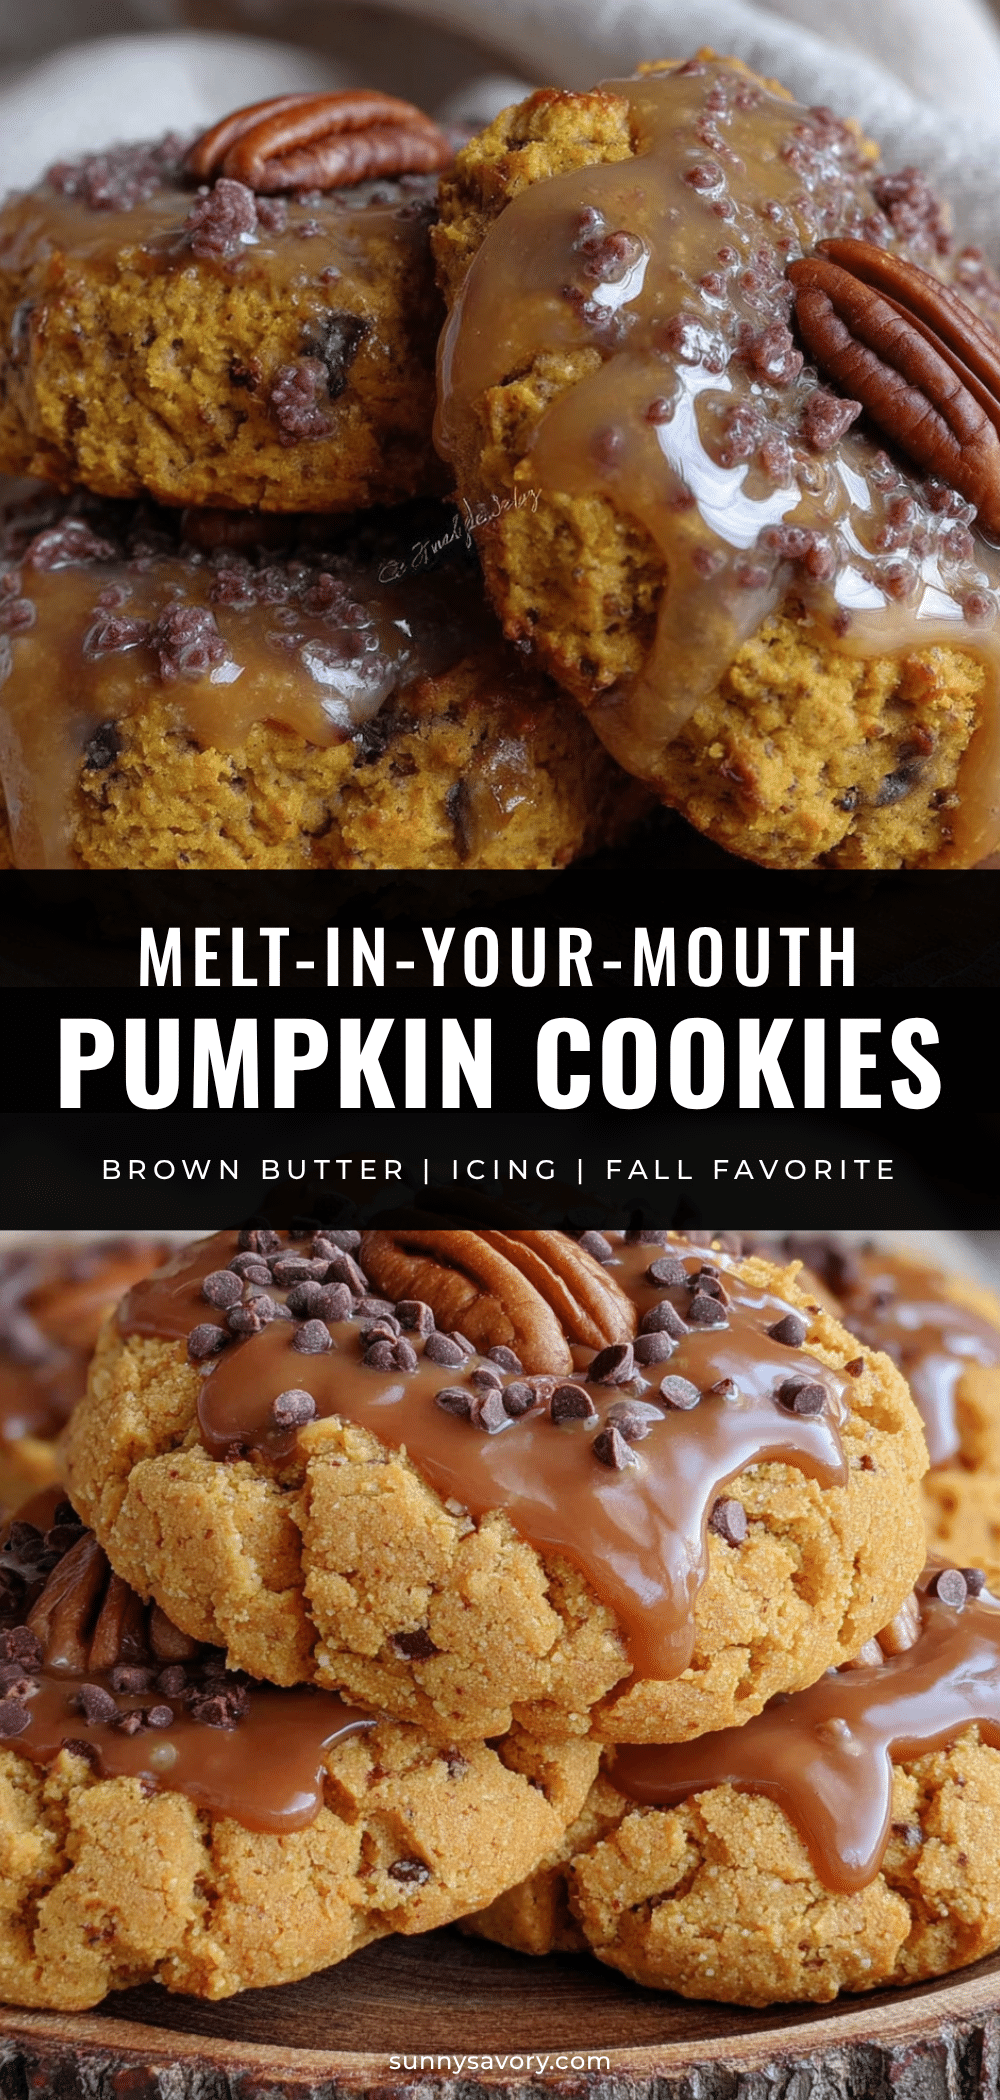
Perfect Pumpkin Cookies with Brown Butter Icing
These soft, cakey pumpkin cookies with crisp edges are topped with a nutty brown butter icing. A happy accident turned into a fall favorite that’s quick, easy, and perfect for gatherings.
- Prep Time: 15 minutes
- Cook Time: 12 minutes
- Total Time: 30 minutes
- Yield: 24 cookies 1x
- Category: Dessert
- Cuisine: American
Ingredients
- 1 cup (226g) unsalted butter, softened to room temperature
- 1 cup (200g) granulated sugar
- 1/2 cup (100g) packed light brown sugar
- 1 large egg, room temperature
- 1 teaspoon vanilla extract
- 1 cup (245g) canned pumpkin puree (not pumpkin pie filling)
- 2 cups (250g) all-purpose flour
- 1 teaspoon baking soda
- 1/2 teaspoon salt
- 2 teaspoons pumpkin pie spice (or 1 teaspoon cinnamon, 1/2 teaspoon ginger, 1/4 teaspoon nutmeg, 1/4 teaspoon cloves)
- 1/2 cup (113g) unsalted butter (for icing)
- 2 cups (240g) powdered sugar, sifted
- 2–3 tablespoons milk or heavy cream
- 1 teaspoon vanilla extract (for icing)
- Pinch of salt (for icing)
Instructions
- Preheat your oven to 350°F (175°C). Line two baking sheets with parchment paper or silicone baking mats.
- In a large mixing bowl, beat the softened butter, granulated sugar, and brown sugar together until light and fluffy, about 2-3 minutes with a hand mixer or 4 minutes by hand.
- Beat in the egg and vanilla extract until combined. Add the pumpkin puree and mix until fully incorporated.
- In a separate medium bowl, whisk together the flour, baking soda, salt, and pumpkin pie spice.
- Gradually add the dry ingredients to the wet mixture, mixing on low speed or folding with a spatula until just combined. Do not overmix.
- Drop rounded tablespoons of dough onto the prepared baking sheets, spacing them about 2 inches apart. Bake for 10-12 minutes, until edges are set and lightly golden. Centers will look slightly underdone.
- Let the cookies cool on the baking sheet for 5 minutes, then transfer to a wire cooling rack to cool completely.
- While cookies cool, make the brown butter icing: Place 1/2 cup butter in a small saucepan over medium heat. Melt the butter, then continue cooking, swirling occasionally, until it turns golden brown and smells nutty, about 5-7 minutes. Remove from heat immediately and pour into a heatproof bowl.
- Let the brown butter cool for about 5 minutes. Whisk in the sifted powdered sugar, vanilla extract, and a pinch of salt. Add milk or cream one tablespoon at a time until smooth and pourable.
- Once cookies are completely cool, drizzle the icing over them. Let the icing set for 15-20 minutes before serving or stacking.
Notes
Do not overmix the dough to avoid tough cookies. Chilling the dough for 30 minutes yields thicker, chewier cookies. Watch the brown butter carefully—it goes from perfect to burnt in about 30 seconds. Use room temperature ingredients for best results. Rotate baking sheets halfway through baking for even browning. Let icing set completely before stacking cookies.
Nutrition
- Serving Size: 1 cookie
- Calories: 185
- Sugar: 17
- Sodium: 95
- Fat: 9
- Saturated Fat: 5.5
- Carbohydrates: 25
- Fiber: 1
- Protein: 2
Keywords: pumpkin cookies, brown butter icing, fall baking, pumpkin spice, easy cookie recipe



