Love this? Save it for later!
Share the inspiration with your friends
There used to be a tiny bakery tucked between a dry cleaner and a vintage shop in my old neighborhood that made the most incredible peppermint bark cheesecake bars. When they closed their doors three years ago—just a handwritten sign saying “Thank you, it’s been a slice” taped to the window—I honestly felt a little lost. I mean, I’d stop in every December for that exact combination of creamy cheesecake, crunchy chocolate crust, and that cool peppermint snap on top. After twelve tries—twelve, let me tell you, including one batch that looked like a peppermint disaster zone—I finally got it. These easy peppermint bark cheesecake bars taste exactly like those bakery bars I used to love, maybe even better. The first time I pulled a perfect pan out of the oven, I actually texted my sister a photo with the caption “We’re back.” Maybe you’ve been there, chasing a flavor memory that just won’t let go. That’s what this recipe is for me—a little piece of holiday magic I can make anytime the craving hits.
Why You’ll Love This Recipe
Let me be real with you—I’ve tested this recipe more times than I care to count, and each batch taught me something new. These easy peppermint bark cheesecake bars aren’t just another holiday dessert; they’re the kind of thing that makes people close their eyes after the first bite. Here’s why they work so well:
- Quick & Easy : Comes together in under an hour of active time, perfect for holiday baking marathons or last-minute party invites.
- Simple Ingredients : No fancy grocery trips needed; you likely already have cream cheese, butter, and chocolate chips in your kitchen.
- Perfect for Holiday Gatherings : Great for cookie exchanges, Christmas dinners, or cozy nights by the fire with hot cocoa.
- Crowd-Pleaser : Always gets rave reviews from kids and adults alike—the peppermint crunch wins everyone over.
- Unbelievably Delicious : The texture combo is next-level: creamy filling, buttery crust, and that satisfying snap of crushed candy canes.
What makes these bars different from the rest is the layering technique. Instead of stirring crushed candy canes into the batter (which can turn it pink and weepy), I sprinkle them right on top so they stay crunchy and vibrant. It’s a small tweak I figured out after my third failed attempt, and honestly, it changed everything. These easy peppermint bark cheesecake bars are comfort food reimagined—faster, simpler, but with the same soul-soothing satisfaction that makes the holidays feel special.
What Ingredients You Will Need
This recipe uses simple, wholesome ingredients to deliver bold flavor and satisfying texture without the fuss. Most of these are pantry staples, especially if you do any holiday baking. Let me walk you through what you’ll need and why each one matters.
For the Crust
- Chocolate sandwich cookies, crushed – 2 cups (about 20 cookies, crushed finely). I prefer Oreo brand for the best dark chocolate flavor and crumb texture.
- Unsalted butter, melted – 6 tablespoons (85 grams). Use the real stuff here—margarine changes the texture.
- Granulated sugar – 2 tablespoons (25 grams). Just a touch to balance the dark cookie crumbs.
For the Cheesecake Filling
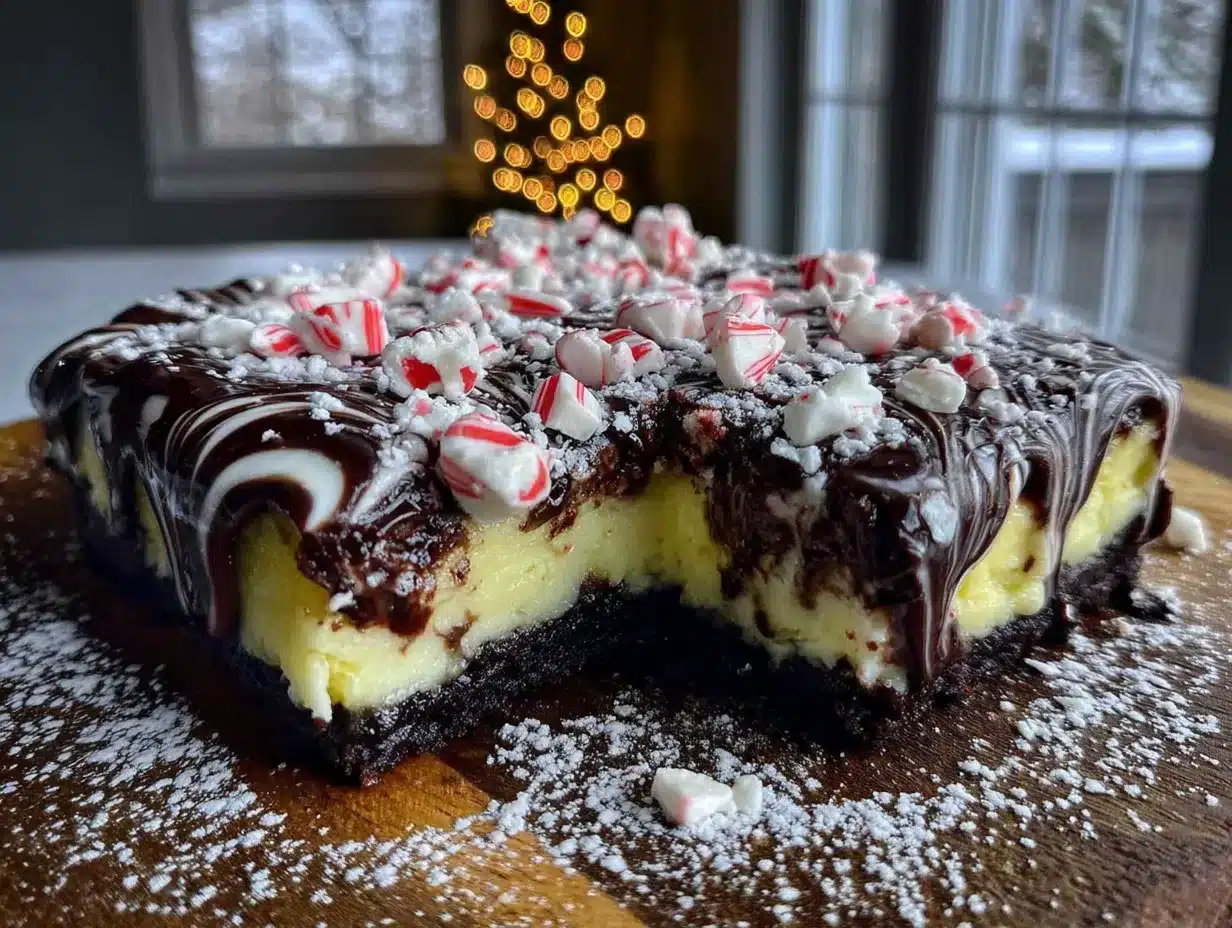
- Cream cheese, softened – 16 ounces (two 8-ounce blocks, 454 grams). Full-fat is non-negotiable here for that luscious texture. Let it sit on the counter for at least 30 minutes before starting.
- Granulated sugar – ½ cup (100 grams)
- Sour cream, room temperature – ¼ cup (60 grams). Adds tanginess and keeps the filling silky.
- Vanilla extract – 1 teaspoon (5 ml). Pure vanilla, not imitation, makes a real difference.
- Peppermint extract – ½ teaspoon (2.5 ml). Go easy here—it’s potent. I use Nielsen-Massey brand for a clean, natural mint flavor.
- Large eggs, room temperature – 2. Crack them into a bowl first to avoid shell surprises.
- All-purpose flour – 2 tablespoons (16 grams). This secret ingredient prevents cracking.
For the Topping
- Semi-sweet chocolate chips – ½ cup (90 grams). I like Ghirardelli for smooth melting.
- Coconut oil or vegetable shortening – 1 teaspoon (5 ml). Helps the chocolate stay glossy and slice cleanly.
- Crushed candy canes or peppermint candies – ½ cup (about 6 candy canes, crushed). Unwrap them first—trust me on this one.
- White chocolate chips – ¼ cup (45 grams), optional for drizzling.
For substitutions, you can use gluten-free chocolate sandwich cookies if needed, and dairy-free cream cheese works in a pinch, though the texture will be slightly softer. If peppermint extract isn’t your thing, try spearmint for a different minty vibe.
Equipment Needed
You don’t need a professional bakery setup to make these easy peppermint bark cheesecake bars, but a few tools make the process smoother. Here’s what I recommend:
- 9×9-inch baking pan – Glass or metal both work. I prefer metal for even heat distribution.
- Parchment paper – Cut two strips to create a sling for easy lifting.
- Electric hand mixer or stand mixer – A whisk and strong arm work too, but the mixer gives you that perfectly smooth filling.
- Mixing bowls – At least three: one for crust, one for filling, one for chocolate.
- Food processor or zip-top bag and rolling pin – For crushing cookies and candy canes. The bag method is oddly satisfying.
- Rubber spatula – For scraping every bit of filling into the pan.
- Small saucepan or microwave-safe bowl – For melting chocolate.
If you don’t have a 9×9 pan, an 8×8 works—just increase baking time by 5 minutes. I once used a loaf pan in a pinch, and while the bars were hilariously tall, they still tasted amazing. Budget tip: dollar store parchment paper works just as well as the fancy kind.
Preparation Method
Alright, let’s make these easy peppermint bark cheesecake bars. I’ll walk you through every step, including the little things I learned the hard way.
- Preheat your oven to 325°F (163°C). Line your 9×9 pan with parchment paper, leaving overhang on two sides. This sling is your best friend for lifting out the finished bars.
- Make the crust. Pulse the chocolate sandwich cookies in a food processor until they’re fine crumbs. If you’re using the bag method, seal them in a zip-top bag and go to town with a rolling pin—great stress relief. Pour the crumbs into a bowl, add the melted butter and sugar, and stir until it looks like wet sand. Press this mixture firmly into the bottom of your prepared pan. I use the bottom of a measuring cup to get it even. Bake for 10 minutes, then set aside to cool slightly.
- Start the filling. In a large bowl, beat the softened cream cheese with an electric mixer on medium speed until it’s smooth and fluffy—about 2 minutes. Scrape the bowl well. Add the sugar and beat for another minute. You want zero lumps here; cold cream cheese is the enemy of smooth filling.
- Add the wet ingredients. Mix in the sour cream, vanilla extract, and peppermint extract until combined. The batter should smell like a candy cane in the best way. Add the eggs one at a time, mixing on low after each just until incorporated. Overmixing at this stage adds air bubbles that cause cracks.
- Finish the filling. Sprinkle the flour over the batter and fold it in gently with a spatula. This little trick stabilizes the cheesecake so it doesn’t crack as it cools. Pour the filling over the warm crust and spread it evenly.
- Bake the bars. Place the pan in the oven and bake for 30-35 minutes. The edges should look set, but the center should still jiggle slightly when you gently shake the pan. That jiggle is your cue—it will firm up as it cools. Remove from the oven and let it cool on a wire rack for 1 hour.
- Chill completely. Transfer the pan to the refrigerator and chill for at least 4 hours, or overnight. I know waiting is hard, but this step is crucial for clean slices. The bars need time to fully set.
- Make the topping. Once chilled, melt the semi-sweet chocolate chips with the coconut oil in a microwave-safe bowl in 20-second bursts, stirring between each. Drizzle or spread the chocolate over the chilled cheesecake. Immediately sprinkle the crushed candy canes on top before the chocolate sets. If you’re using white chocolate drizzle, melt that separately and add it after the dark chocolate firms up a bit.
- Slice and serve. Use the parchment sling to lift the entire block out of the pan. Use a sharp knife dipped in hot water and wiped dry between cuts for those gorgeous clean edges. Cut into 16 squares.
Sensory cue: When you bite into one, you should hear the candy cane crunch, feel the creamy filling melt, and taste that cool peppermint finish. That’s the moment it all comes together.
Cooking Tips & Techniques
After a dozen attempts at these easy peppermint bark cheesecake bars, I’ve collected some hard-won wisdom. Let me share what I wish someone had told me.
Room temperature ingredients matter. I know it’s tempting to use cold cream cheese straight from the fridge, but it creates lumps that no amount of mixing can fully fix. Set everything out 30 minutes before you start. Your eggs, cream cheese, and sour cream should all lose their chill.
Don’t overmix the filling. This was my biggest mistake early on. When you beat too much air into the batter, it puffs up in the oven and then collapses, leaving cracks across the surface. Mix just until each ingredient is incorporated, then stop. Trust me, your bars will thank you.
The jiggle test is real. I used to bake cheesecake until it was completely firm, and it always came out dry. The center should still wobble when you take it out—it will continue cooking from residual heat and set perfectly as it cools. If it’s fully firm in the oven, it’s overdone.
Crush candy canes strategically. I learned this the messy way: put the unwrapped candy canes in a zip-top bag, cover with a kitchen towel, and gently tap with a rolling pin. You want a mix of fine powder and small chunks. Too fine and it dissolves; too big and it’s a choking hazard. Aim for pea-sized pieces.
Patience with chilling. I once tried to rush the cooling process by sticking the pan in the freezer for an hour. The edges froze while the center stayed soft, and my bars were a sloppy mess. Four hours minimum in the fridge, no shortcuts.
Variations & Adaptations
One of the best things about these easy peppermint bark cheesecake bars is how flexible they are. Here are some variations I’ve tried and loved:
- Dark Chocolate Lover’s Version : Use dark chocolate cookies for the crust and dark chocolate for the topping. The bitterness balances the sweet filling beautifully.
- Gluten-Free Option : Swap the chocolate sandwich cookies for gluten-free chocolate wafer cookies. Everything else in the recipe is naturally gluten-free. I tested this for my friend Sarah, and she said they were the best holiday dessert she’d had in years.
- Mint Chocolate Chip Twist : Fold ½ cup of mini chocolate chips into the cheesecake filling before baking. The little chocolate flecks add texture and extra richness.
- White Chocolate Peppermint : Use all white chocolate for the topping instead of semi-sweet. It looks stunning against the red and white candy cane pieces.
- No-Bake Adaptation : Press the crust into the pan and chill for 20 minutes. Prepare a no-bake cheesecake filling (cream cheese, sugar, whipped cream, peppermint extract) and spread over the crust. Chill for 6 hours before adding the topping. The texture is lighter but just as delicious.
I once made a batch with crushed gingerbread cookies instead of chocolate for the crust. It was a little unconventional, but honestly, it worked. The gingerbread added a warm spice that paired surprisingly well with the cool peppermint. Don’t be afraid to experiment—that’s half the fun.
Serving & Storage Suggestions
These easy peppermint bark cheesecake bars are best served chilled, straight from the refrigerator. The cold temperature keeps the filling firm and the topping snappy. Here’s how to make the most of them:
Serving temperature : Pull them out about 10 minutes before serving to take the chill off slightly—this lets the flavors open up. Arrange them on a festive platter with a few extra crushed candy canes scattered around for visual appeal. They pair beautifully with a cup of hot coffee, spiced tea, or a glass of cold milk.
Storage : Keep leftover bars in an airtight container in the refrigerator for up to 5 days. Layer them between sheets of parchment paper to prevent sticking. The flavors actually deepen after a day or two—the peppermint mellows and the chocolate sets perfectly.
Freezing instructions : These bars freeze like a dream. Wrap the entire block (or individual slices) tightly in plastic wrap, then aluminum foil, and freeze for up to 3 months. When you’re ready to enjoy, thaw overnight in the refrigerator. I always keep a stash in my freezer for unexpected guests or late-night cravings.
Reheating : Don’t. Seriously, these are meant to be eaten cold. The only exception is if you want to warm the chocolate topping slightly—pop a slice in the microwave for 5 seconds, but no more.
One thing I love about these bars is how the texture evolves. On day one, the crust is crisp and the filling is firm. By day three, everything softens slightly and melds together into something almost fudge-like. Both versions are wonderful in their own way.
Nutritional Information & Benefits
While these easy peppermint bark cheesecake bars are definitely a treat, they do offer some surprising benefits. Here’s a breakdown per bar (based on 16 servings):
| Nutrient | Amount Per Serving |
|---|---|
| Calories | 285 |
| Total Fat | 18g |
| Saturated Fat | 10g |
| Cholesterol | 65mg |
| Sodium | 210mg |
| Total Carbohydrates | 28g |
| Dietary Fiber | 1g |
| Sugars | 20g |
| Protein | 4g |
The cream cheese provides a good amount of calcium and protein, while the dark chocolate offers antioxidants. Peppermint has been shown to aid digestion and can even help with headaches. Of course, these are still a dessert, so enjoy them in moderation. I like to think of them as a holiday indulgence that brings joy—and that has its own kind of nutritional value.
For dietary considerations, this recipe contains dairy, gluten, and eggs. For a dairy-free version, use plant-based cream cheese and butter substitutes. The candy canes are typically gluten-free, but always check the label.
Conclusion
These easy peppermint bark cheesecake bars have become my holiday tradition, and I hope they become yours too. They capture everything I love about the season—the cool freshness of peppermint, the richness of chocolate, the creamy comfort of cheesecake—all in one perfect bite. Whether you’re making them for a party, a gift, or just because you deserve something special, these bars deliver every time.
I’d love to hear how yours turn out. Did you try a variation? Did your family fight over the last piece? Drop a comment below and share your experience. And if you snap a photo, tag me—I live for seeing these bars in your kitchens. Until next time, happy baking, and may your holidays be filled with good food and even better company.
Frequently Asked Questions
Can I use store-bought crust instead of making my own?
Absolutely, though the texture won’t be quite as sturdy. A pre-made graham cracker crust works in a pinch, but I’d recommend adding a tablespoon of cocoa powder to keep that chocolate flavor. Press it firmly into the pan and pre-bake as directed.
Why did my cheesecake filling crack?
Cracks usually happen from overmixing or overbaking. Mix on low speed just until ingredients combine, and pull the bars out when the center still jiggles slightly. Cooling them slowly—first on the counter, then in the fridge—also helps prevent cracks.
Can I make these bars ahead of time?
Yes, and I actually recommend it. These bars taste even better after a day or two in the fridge. You can make them up to 3 days in advance, or freeze them for up to 3 months. Just add the topping after thawing for the freshest crunch.
What if I don’t have peppermint extract?
You can use vanilla extract instead for a plain cheesecake bar, or try spearmint extract for a different mint flavor. Another option is to crush extra candy canes and stir them into the filling for natural peppermint flavor—just note that the color might turn slightly pink.
How do I crush candy canes without making a huge mess?
Unwrap the candy canes and place them in a sturdy zip-top bag. Cover the bag with a kitchen towel (this muffles the sound and contains the pieces), then gently tap with a rolling pin or heavy skillet. Aim for a mix of fine powder and small chunks. The towel trick is a game-changer.
Pin This Recipe!
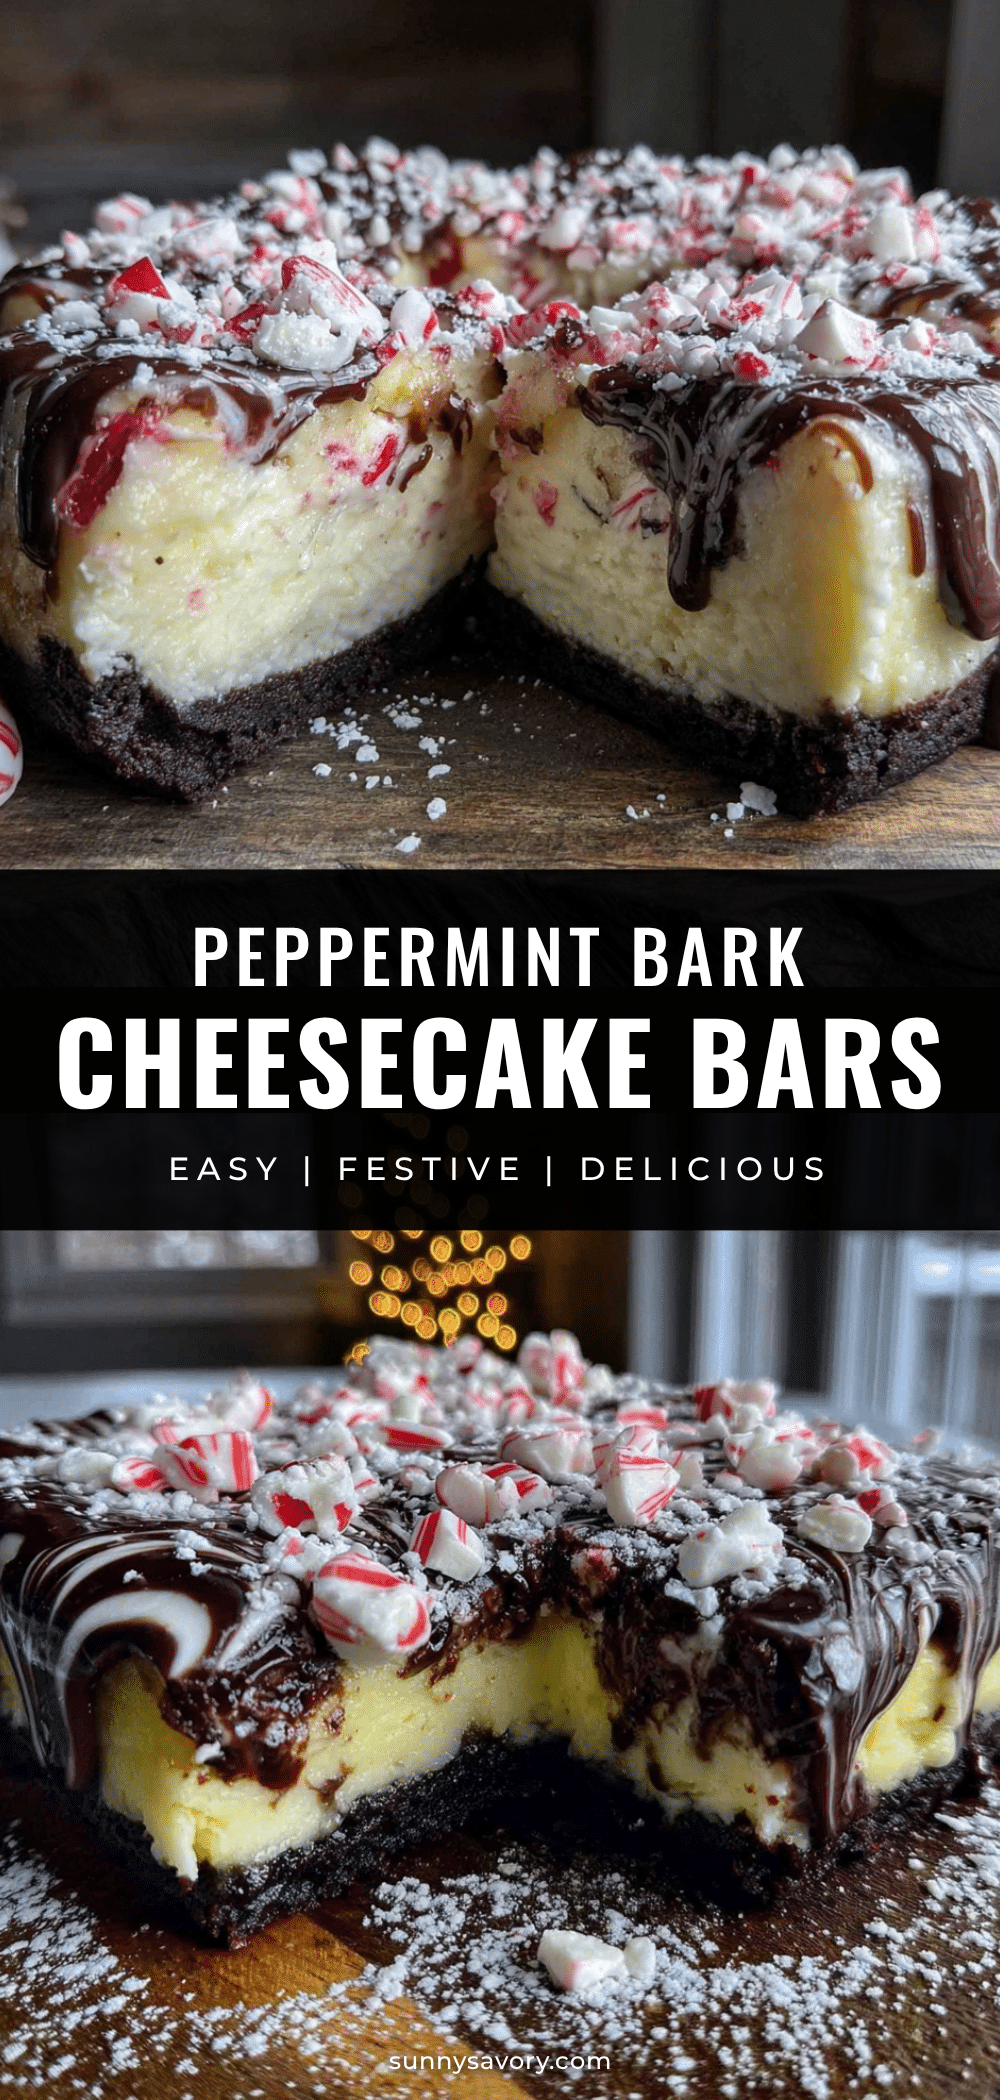
Easy Peppermint Bark Cheesecake Bars: Best Holiday Dessert

These easy peppermint bark cheesecake bars feature a creamy cheesecake filling on a chocolate cookie crust, topped with melted chocolate and crushed candy canes. They’re the perfect holiday dessert that captures the flavors of peppermint bark in a convenient bar form.
- Prep Time: 20 minutes
- Cook Time: 35 minutes
- Total Time: 5 hours 55 minutes (includes chilling)
- Yield: 16 servings 1x
- Category: Dessert
- Cuisine: American
Ingredients
- 2 cups (about 20 cookies) chocolate sandwich cookies, crushed (e.g., Oreo)
- 6 tablespoons (85 grams) unsalted butter, melted
- 2 tablespoons (25 grams) granulated sugar
- 16 ounces (two 8-ounce blocks, 454 grams) cream cheese, softened
- ½ cup (100 grams) granulated sugar
- ¼ cup (60 grams) sour cream, room temperature
- 1 teaspoon (5 ml) vanilla extract
- ½ teaspoon (2.5 ml) peppermint extract
- 2 large eggs, room temperature
- 2 tablespoons (16 grams) all-purpose flour
- ½ cup (90 grams) semi-sweet chocolate chips
- 1 teaspoon (5 ml) coconut oil or vegetable shortening
- ½ cup (about 6 candy canes, crushed) crushed candy canes or peppermint candies
- ¼ cup (45 grams) white chocolate chips (optional, for drizzling)
Instructions
- Preheat your oven to 325°F (163°C). Line a 9×9-inch baking pan with parchment paper, leaving overhang on two sides.
- Make the crust: Pulse the chocolate sandwich cookies in a food processor until fine crumbs. Alternatively, seal them in a zip-top bag and crush with a rolling pin. In a bowl, combine the crumbs, melted butter, and sugar; stir until it looks like wet sand. Press the mixture firmly into the bottom of the prepared pan. Bake for 10 minutes, then set aside to cool slightly.
- Start the filling: In a large bowl, beat the softened cream cheese with an electric mixer on medium speed until smooth and fluffy, about 2 minutes. Scrape the bowl well. Add the sugar and beat for another minute.
- Add the wet ingredients: Mix in the sour cream, vanilla extract, and peppermint extract until combined. Add the eggs one at a time, mixing on low after each just until incorporated. Do not overmix.
- Finish the filling: Sprinkle the flour over the batter and fold it in gently with a spatula. Pour the filling over the warm crust and spread evenly.
- Bake the bars: Place the pan in the oven and bake for 30-35 minutes. The edges should look set, but the center should still jiggle slightly when gently shaken. Remove from the oven and let cool on a wire rack for 1 hour.
- Chill completely: Transfer the pan to the refrigerator and chill for at least 4 hours, or overnight.
- Make the topping: Once chilled, melt the semi-sweet chocolate chips with the coconut oil in a microwave-safe bowl in 20-second bursts, stirring between each. Drizzle or spread the chocolate over the chilled cheesecake. Immediately sprinkle the crushed candy canes on top before the chocolate sets. If using white chocolate drizzle, melt it separately and add after the dark chocolate firms up.
- Slice and serve: Use the parchment sling to lift the entire block out of the pan. Use a sharp knife dipped in hot water and wiped dry between cuts. Cut into 16 squares.
Notes
Room temperature ingredients are crucial for a smooth filling. Do not overmix the batter to avoid cracks. The jiggle test is key: the center should still wobble when you take it out. Chill for at least 4 hours for clean slices. Crush candy canes in a zip-top bag with a towel to contain mess. These bars freeze well for up to 3 months.
Nutrition
- Serving Size: 1 bar
- Calories: 285
- Sugar: 20
- Sodium: 210
- Fat: 18
- Saturated Fat: 10
- Carbohydrates: 28
- Fiber: 1
- Protein: 4
Keywords: peppermint bark cheesecake bars, holiday dessert, cheesecake bars, peppermint dessert, Christmas dessert, easy cheesecake