Love this? Save it for later!
Share the inspiration with your friends
I was standing in the checkout line at our local hardware store, of all places, holding a new paintbrush and trying to remember if I needed more sandpaper. The man in front of me—an older guy named Frank who I’d only ever seen buying birdseed—turned around and out of nowhere said, “You know what makes a Saturday morning worth getting up for? Fluffy buttermilk pancakes from scratch.” I blinked, a little confused. I mean, who gives pancake advice at the hardware store? But Frank just grinned and started telling me about the secret to getting them so light they practically float off the plate. He wasn’t a chef or a food blogger—just a retired plumber who loved cooking breakfast for his grandkids every weekend. Honestly, I almost laughed it off. But the way he described the batter bubbling on the griddle made me stop and listen. So there I was, paintbrush in one hand, mental notes on pancake technique in the other. Maybe you’ve been in a spot where the best cooking tip comes from the least expected place. That conversation stuck with me, and I’ve been making these pancakes ever since. They’re the kind that makes everyone at the table go quiet for a minute—then ask for more. Let me tell you, Frank knew what he was talking about.
Why You’ll Love This Recipe
These aren’t just any pancakes. They’re the ones that disappear faster than you can flip them, especially when you’ve got a crowd around the table. I’ve tested this recipe more times than I can count—tweaking the flour ratio, playing with the buttermilk amount, even testing different griddle temperatures. What I landed on is a pancake that’s consistently tall, tender, and golden brown. It’s the kind of breakfast that makes hosting feel effortless, even when you’re juggling a dozen other things.
- Quick & Easy: From mixing bowl to plate in under 20 minutes. Perfect for when guests show up hungry and you need something fast.
- Simple Ingredients: No weird specialty items. You probably have most of this in your pantry right now.
- Perfect for Brunch Gatherings: This recipe scales beautifully. Double it for a crowd without any fuss.
- Crowd-Pleaser: Kids love them, adults rave about them, and even picky eaters ask for seconds.
- Unbelievably Fluffy: The texture is what sets these apart—light, airy, with just the right amount of tang from the buttermilk.
What makes this version different from every other pancake recipe out there? It’s the technique of letting the batter rest for five minutes before cooking. That little pause lets the gluten relax and the baking soda start working, which gives you taller, more tender pancakes every single time. I’ve tried shortcuts, and trust me—skipping the rest is a mistake you only make once. This recipe isn’t just good; it’s the one I make for every brunch, every holiday morning, and every time I want to impress without breaking a sweat.
What Ingredients You Will Need
This recipe uses simple, everyday ingredients that work together to create something truly special. The buttermilk is the star here—it adds tenderness and a subtle tang that makes these pancakes stand out from plain milk versions. Most of these are pantry staples, so you can whip up a batch anytime the craving hits.
- All-purpose flour – 2 cups (240g). Spoon and level it for accuracy. Too much flour makes dense pancakes.
- Granulated sugar – 2 tablespoons (25g). Just enough sweetness without making them dessert-like.
- Baking powder – 2 teaspoons (8g). This gives the initial lift.
- Baking soda – 1 teaspoon (5g). Reacts with the buttermilk for extra fluffiness.
- Salt – ½ teaspoon (3g). Don’t skip it—it balances the sweetness and enhances flavor.
- Buttermilk – 2 cups (480ml). Full-fat works best, but low-fat is fine too. Shake the carton before measuring. (I prefer Daisy brand for consistent thickness.)
- Large eggs – 2, separated. Room temperature is key. The whites get whipped separately for maximum lift.
- Unsalted butter – 4 tablespoons (56g), melted and slightly cooled. Use Kerrygold if you want a richer flavor.
- Vanilla extract – 1 teaspoon (5ml). Pure vanilla makes a difference—avoid imitation if you can.
- Neutral oil – For greasing the griddle. Avocado oil works great because it has a high smoke point.
If you don’t have buttermilk on hand, you can make a quick substitute by adding 2 tablespoons of lemon juice or white vinegar to 2 cups of milk. Let it sit for 5 minutes until it curdles slightly. It’s not quite the same, but it works in a pinch. For a dairy-free version, use almond milk with a splash of apple cider vinegar and a dairy-free butter substitute.
Equipment Needed
You don’t need fancy gadgets to make great pancakes, but a few key tools make the process smoother. I’ve learned the hard way that using the wrong pan can lead to uneven browning or sticking—so here’s what I recommend.
- Large mixing bowls – Two bowls: one for dry ingredients, one for wet. Glass or stainless steel work best.
- Whisk – A sturdy balloon whisk for mixing batter and whipping egg whites.
- Electric hand mixer or stand mixer – Optional but helpful for whipping egg whites to stiff peaks quickly.
- Griddle or non-stick frying pan – A flat griddle gives you more surface area for cooking multiple pancakes at once. I use a Lodge cast iron griddle for even heat distribution. If you’re using a non-stick pan, make sure it’s in good condition—scratched pans cause sticking.
- Spatula – A thin, flexible metal spatula is best for flipping. Avoid plastic ones—they’re too thick and can deflate the pancakes.
- Measuring cups and spoons – Accurate measurements matter, especially for flour and leavening agents.
- Kitchen scale – Not required, but using grams for flour gives you the most consistent results.
- Cooling rack – Keeps pancakes from getting soggy if you’re cooking in batches.
If you don’t have a griddle, a large cast iron skillet works beautifully. Just make sure it’s well-seasoned to prevent sticking. Budget-friendly tip: a basic non-stick pan from T-fal costs under $30 and works perfectly for pancakes.
Preparation Method
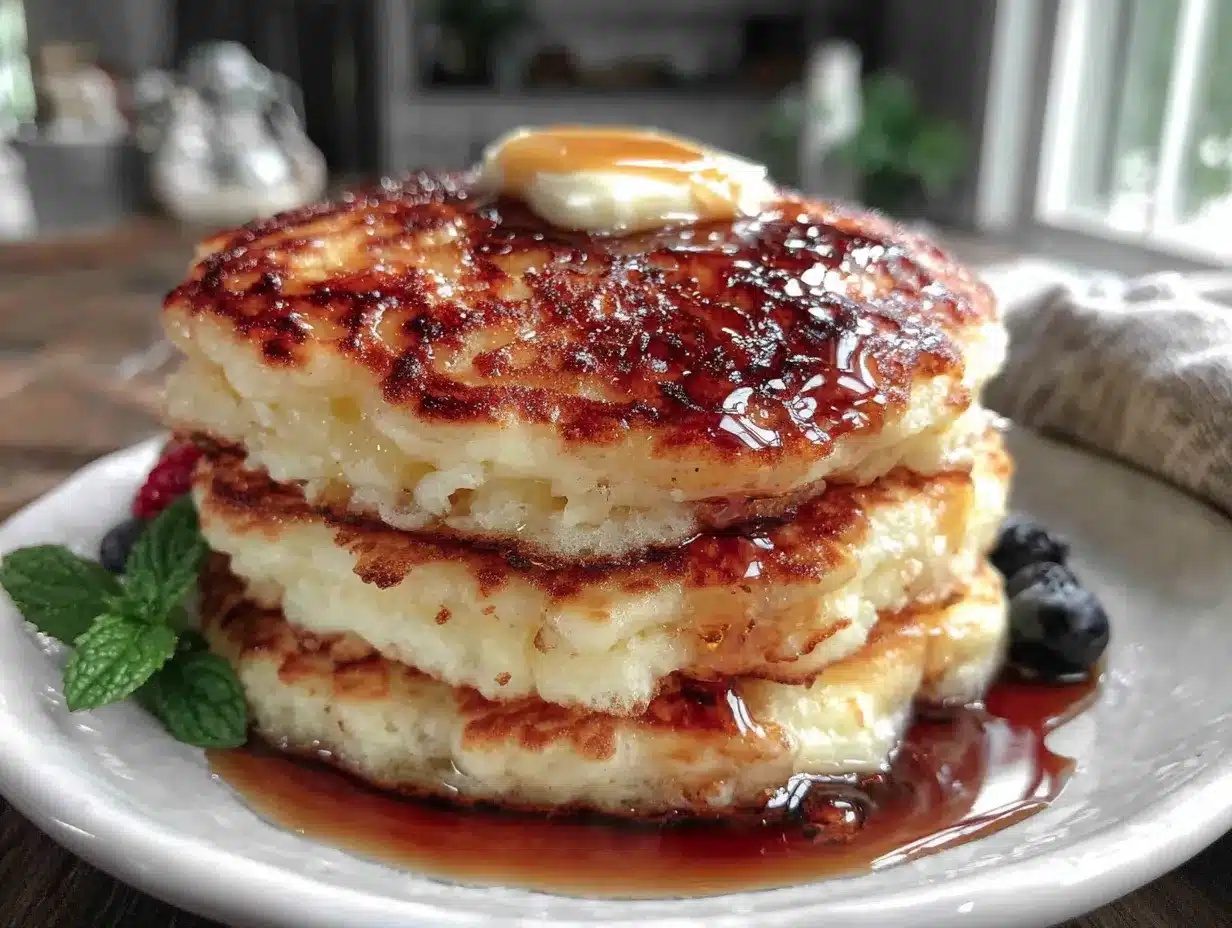
Follow these steps carefully, and you’ll have the fluffiest pancakes of your life. The key is handling the batter gently—overmixing is the enemy of fluffiness.
- Separate the eggs – Crack the eggs and separate the whites from the yolks. Place the whites in a clean, dry bowl. Make sure no yolk gets in the whites—any fat will prevent them from whipping properly. Let the whites come to room temperature while you prepare the batter.
- Mix the dry ingredients – In a large bowl, whisk together 2 cups flour, 2 tablespoons sugar, 2 teaspoons baking powder, 1 teaspoon baking soda, and ½ teaspoon salt. Whisk thoroughly to distribute the leavening agents evenly. This step prevents bitter pockets of baking powder in your finished pancakes.
- Combine the wet ingredients – In a separate bowl, whisk together 2 cups buttermilk, 2 egg yolks, 4 tablespoons melted butter, and 1 teaspoon vanilla extract. Whisk until smooth and fully combined. The mixture should look pale yellow and slightly thick.
- Whip the egg whites – Using a hand mixer or stand mixer with the whisk attachment, beat the egg whites on medium-high speed until stiff peaks form. This takes about 2-3 minutes. You’ll know they’re ready when you lift the whisk and the peaks stand straight up without collapsing. Don’t overwhip, or they’ll become dry and grainy.
- Combine wet and dry – Pour the wet ingredients into the dry ingredients. Stir gently with a spatula or whisk until just combined. A few lumps are totally fine—actually, they’re desirable. Overmixing develops gluten and makes pancakes tough. The batter should look thick and slightly lumpy.
- Fold in the egg whites – Add the whipped egg whites to the batter. Use a rubber spatula to fold them in gently. Start from the bottom of the bowl, bring the spatula up and over, and rotate the bowl. Repeat until no white streaks remain. Be patient—this takes about 10-12 folds. The batter will be airy and voluminous.
- Rest the batter – Let the batter sit at room temperature for 5 minutes. This is non-negotiable. During this time, the baking soda reacts with the buttermilk, creating bubbles that make the pancakes taller. The gluten also relaxes, resulting in more tender pancakes. You’ll see small bubbles forming on the surface—that’s a good sign.
- Preheat the griddle – While the batter rests, place your griddle or pan over medium heat. Add a thin layer of neutral oil. To test if it’s hot enough, sprinkle a few drops of water on the surface—they should sizzle and evaporate immediately. If the water beads up and dances, the temperature is perfect. If it smokes, turn the heat down.
- Cook the pancakes – Pour about ⅓ cup of batter onto the griddle for each pancake. Leave space between them for spreading. Cook until bubbles form on the surface and the edges look set—about 2-3 minutes. The bottom should be golden brown. Flip carefully using a thin spatula, then cook for another 1-2 minutes on the second side. The pancakes should feel springy when pressed gently.
- Keep warm – Transfer cooked pancakes to a cooling rack set over a baking sheet. Place them in a 200°F oven to keep warm while you cook the remaining batter. Don’t stack them directly on a plate, or they’ll steam and lose their crispy edges.
Your pancakes should be about ½-inch thick, golden brown on both sides, and light as a cloud when you cut into them. If they’re browning too quickly, lower the heat. If they’re pale and doughy, increase the heat slightly.
Cooking Tips & Techniques
After making these pancakes more times than I can count, I’ve picked up a few tricks that make a real difference. Here’s what I wish someone had told me sooner.
Don’t overmix the batter. This is the number one mistake home cooks make. Stir until the flour disappears, then stop. Lumps are your friend. Overmixing develops gluten, which gives you rubbery, tough pancakes instead of tender, fluffy ones.
Let the batter rest. I mentioned this earlier, but it’s worth repeating. That 5-minute rest allows the baking soda to start working and the gluten to relax. I once skipped this step when I was in a hurry, and the pancakes were noticeably flatter. Never again.
Control your heat. Medium heat is your sweet spot. If the griddle is too hot, the outside burns before the inside cooks through. Too cool, and the pancakes spread too thin and turn out dense. I use an infrared thermometer to check—aim for 375°F. If you don’t have one, the water droplet test works great.
Flip only once. Resist the urge to peek or flip repeatedly. Let the first side cook until bubbles form and the edges look dry. One flip is all you need. Flipping multiple times deflates the airy structure and makes pancakes tough.
Use a thin spatula. A thick spatula can squish the pancake and knock out the air. I use a fish spatula—it’s thin, flexible, and slides under the pancake easily. It was a game-changer for me.
Keep batches warm properly. Like I said, use a cooling rack over a baking sheet in the oven. Stacking pancakes directly on a plate traps steam and makes them soggy. If you’re serving a crowd, this step is crucial.
I once forgot to separate the eggs and just threw everything together. The pancakes were edible, but they were nowhere near as fluffy. That mistake taught me that the whipped egg whites are what give these pancakes their signature height. Don’t skip that step.
Variations & Adaptations
One of the best things about this recipe is how adaptable it is. I’ve played around with different add-ins and substitutions over the years, and here are some of my favorites.
- Blueberry Buttermilk Pancakes: Gently fold 1 cup of fresh or frozen blueberries into the batter just before cooking. If using frozen berries, don’t thaw them first—they’ll bleed into the batter and turn it purple. Toss them in a little flour first to prevent sinking.
- Chocolate Chip Pancakes: Add ¾ cup of mini chocolate chips to the batter. Mini chips distribute more evenly than regular-sized ones. Use semi-sweet or dark chocolate to balance the tangy buttermilk.
- Whole Wheat Version: Substitute half the all-purpose flour with whole wheat flour. Add an extra tablespoon of buttermilk to compensate for the extra absorbency of whole wheat. The pancakes will be slightly denser but still delicious.
- Gluten-Free Option: Use a 1:1 gluten-free flour blend that contains xanthan gum. King Arthur Measure for Measure works perfectly. The texture will be slightly different, but they still come out fluffy.
- Vegan Adaptation: Replace buttermilk with 2 cups of almond milk mixed with 2 tablespoons of apple cider vinegar. Use flax eggs (2 tablespoons ground flaxseed mixed with 6 tablespoons water) instead of regular eggs. Use melted coconut oil instead of butter. The pancakes will be a bit thinner but still tasty.
My personal favorite variation is adding a teaspoon of lemon zest to the batter and serving them with fresh raspberries and a drizzle of honey. The brightness of the lemon cuts through the richness perfectly. I made these for a brunch last spring, and they were gone in minutes.
Serving & Storage Suggestions
These pancakes are best served warm, straight off the griddle. But if you’re hosting a brunch, you can keep them warm in the oven for up to 30 minutes without losing quality. Here’s how I like to serve them:
- Classic style: Stack 3-4 pancakes on a plate, add a pat of butter on top, and drizzle with warm maple syrup. The butter melting into the syrup is pure magic.
- Berry compote: Simmer 2 cups of mixed berries with 2 tablespoons of maple syrup and a squeeze of lemon juice until thickened. Spoon over the pancakes for a fancy touch.
- Whipped cream and fruit: Top with freshly whipped cream and sliced strawberries or bananas. This feels indulgent but takes minimal effort.
- Savory twist: Serve with crispy bacon or breakfast sausage on the side. The salty-sweet combo is unbeatable.
For beverages, these pancakes pair beautifully with a hot cup of coffee, a cold glass of milk, or a fresh orange juice. If you’re feeling fancy, a mimosa or bloody mary makes brunch feel extra special.
Storage: Let leftover pancakes cool completely on a wire rack. Store them in an airtight container in the refrigerator for up to 3 days. To freeze, place them in a single layer on a baking sheet and freeze until solid, then transfer to a freezer bag. They’ll keep for up to 2 months.
Reheating: The best way to reheat pancakes is in a toaster or toaster oven. It restores the crispy edges and fluffy interior. You can also reheat them in a 350°F oven for 5-7 minutes. Microwaving works in a pinch, but the pancakes will be softer and less crisp.
Flavors don’t really develop much with these pancakes since they’re best fresh. But leftover pancakes make a great quick breakfast—just pop them in the toaster and go.
Nutritional Information & Benefits
Here’s the approximate nutritional breakdown for one serving (3 pancakes) made with the standard recipe:
| Nutrient | Amount per serving |
|---|---|
| Calories | 380 |
| Total Fat | 14g |
| Saturated Fat | 8g |
| Cholesterol | 115mg |
| Sodium | 680mg |
| Total Carbohydrates | 52g |
| Dietary Fiber | 1g |
| Sugars | 12g |
| Protein | 10g |
These pancakes provide a good source of calcium from the buttermilk and protein from the eggs. The buttermilk also contains probiotics, which support gut health. If you’re watching your sugar intake, you can reduce the sugar to 1 tablespoon without affecting the texture too much.
For a lower-carb option, you can try using almond flour, but the texture will be significantly different. These pancakes are not gluten-free unless you use a gluten-free flour blend, and they contain dairy from the buttermilk and butter. If you have allergies, check the variations section for substitutions.
I personally love that this recipe uses real, whole ingredients. There’s nothing processed or artificial, which makes me feel good about serving them to my family and guests. It’s comfort food you can feel good about.
FAQs
Can I make the batter the night before?
I don’t recommend it. The leavening agents start reacting as soon as they hit the buttermilk, so the batter loses its lift overnight. If you want to prep ahead, mix the dry ingredients and wet ingredients separately, then combine them in the morning. That saves time without sacrificing fluffiness.
Why are my pancakes flat and dense?
This usually happens for one of three reasons: overmixing the batter, skipping the egg white whipping step, or not letting the batter rest. Make sure you whip the egg whites to stiff peaks and fold them in gently. Also, check that your baking powder and baking soda are fresh—old leavening agents lose their power.
Can I use regular milk instead of buttermilk?
You can, but the pancakes won’t be as fluffy or tangy. Buttermilk’s acidity reacts with the baking soda to create extra lift. If you don’t have buttermilk, make the quick substitute I mentioned earlier: add 2 tablespoons of lemon juice or vinegar to 2 cups of milk and let it sit for 5 minutes.
How do I keep pancakes warm for a crowd?
Preheat your oven to 200°F. Place a cooling rack on a baking sheet, and transfer cooked pancakes to the rack in a single layer. This keeps them warm and crispy without steaming. You can hold them for up to 30 minutes this way.
Can I freeze these pancakes?
Absolutely. Let them cool completely, then freeze them in a single layer on a baking sheet. Once frozen, transfer to a freezer bag. They’ll keep for up to 2 months. Reheat directly from frozen in a toaster or 350°F oven for 5-7 minutes.
Conclusion
These fluffy buttermilk pancakes from scratch are everything you want in a breakfast recipe: simple, reliable, and absolutely delicious. They’re the kind of pancakes that make you look forward to weekend mornings, whether you’re cooking for your family or hosting a big brunch with friends. The technique of whipping the egg whites and resting the batter makes all the difference, and once you try it, you’ll never go back to boxed mix.
I still think about Frank at the hardware store every time I make these. It’s funny how the best recipes come from the most unexpected places. So go ahead—give these pancakes a try. Add your own twist, experiment with toppings, and make them your own. And when you do, I’d love to hear about it. Leave a comment below and let me know how they turned out. Did you add blueberries? Chocolate chips? Something totally unexpected? Share your creation with the community. Happy flipping!
Pin This Recipe!
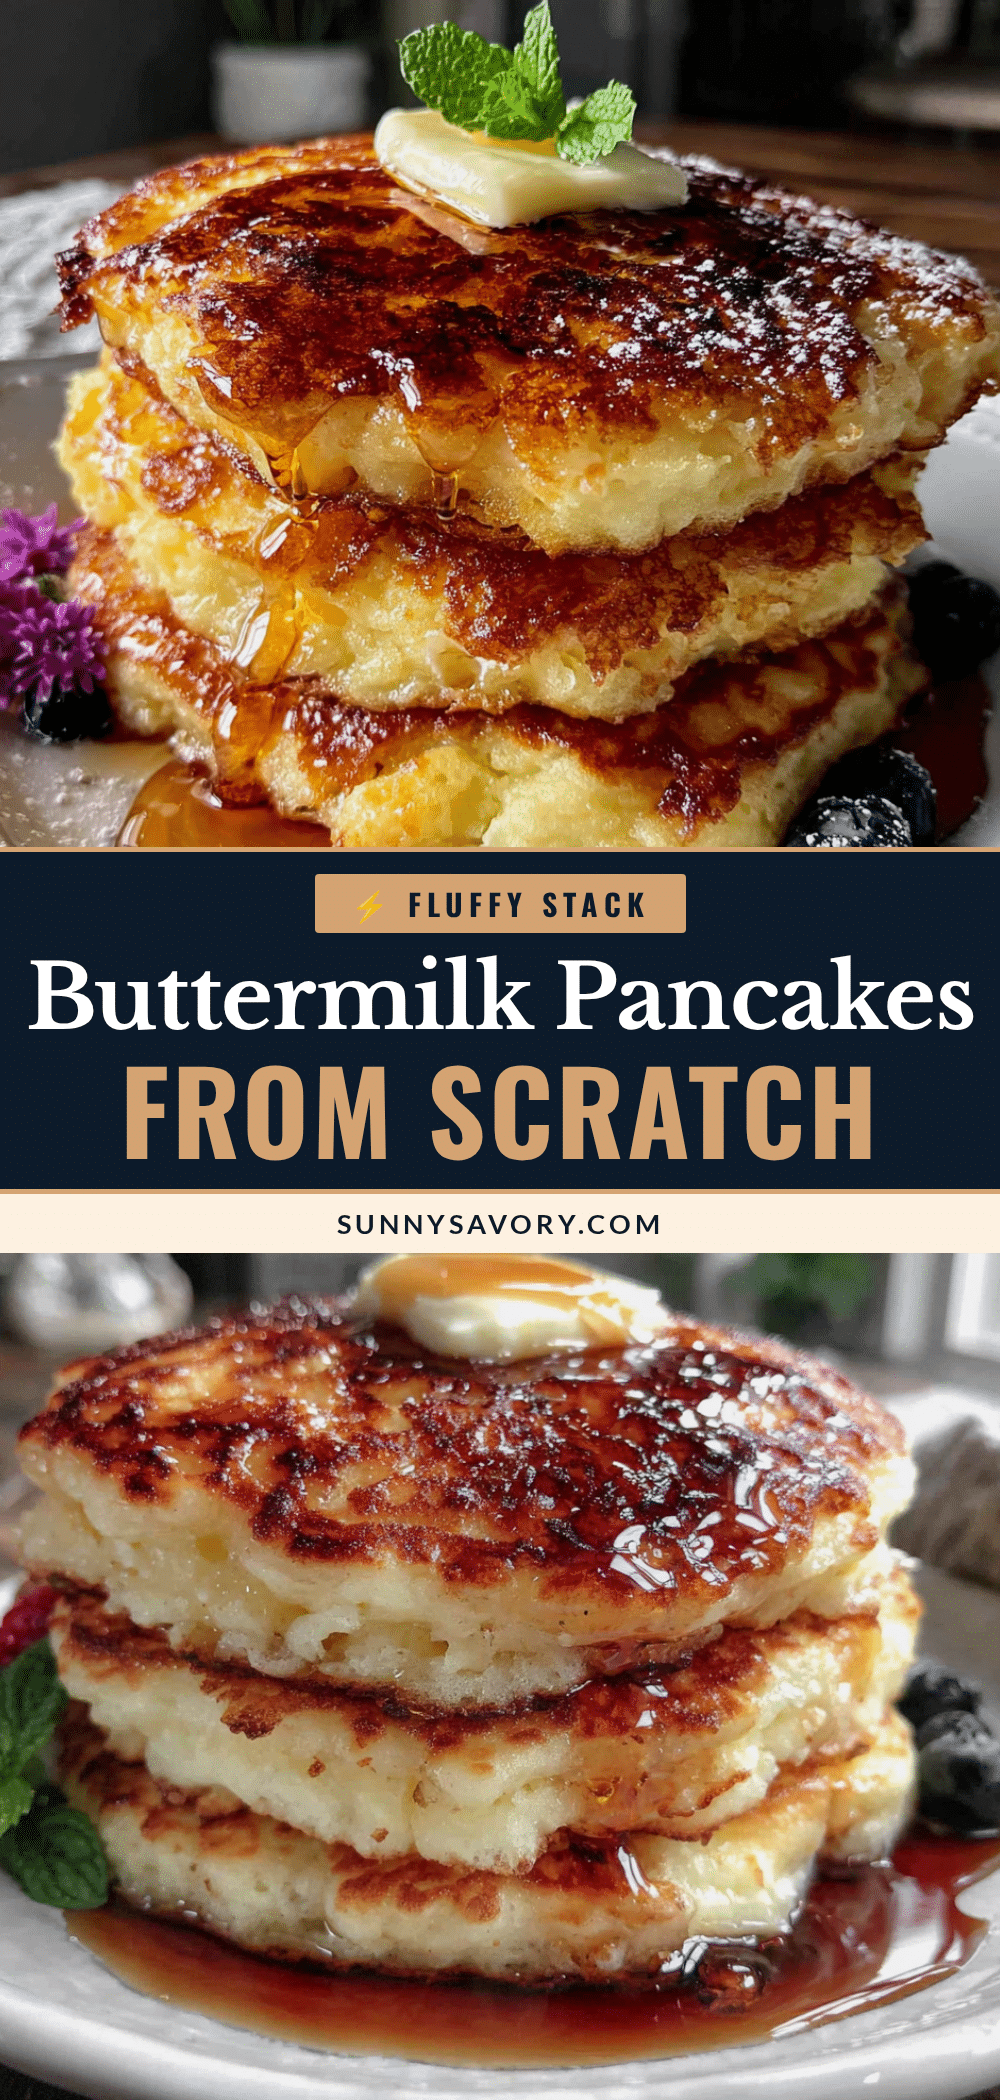
Best Fluffy Buttermilk Pancakes from Scratch Recipe
These fluffy buttermilk pancakes are consistently tall, tender, and golden brown. Made with simple ingredients and a special technique of whipping egg whites and resting the batter, they’re the perfect breakfast for weekend mornings or brunch gatherings.
- Prep Time: 15 minutes
- Cook Time: 10 minutes
- Total Time: 25 minutes
- Yield: 4 servings (about 12 pancakes) 1x
- Category: Breakfast
- Cuisine: American
Ingredients
- 2 cups (240g) all-purpose flour
- 2 tablespoons (25g) granulated sugar
- 2 teaspoons (8g) baking powder
- 1 teaspoon (5g) baking soda
- ½ teaspoon (3g) salt
- 2 cups (480ml) buttermilk (full-fat preferred, low-fat fine)
- 2 large eggs, separated (room temperature)
- 4 tablespoons (56g) unsalted butter, melted and slightly cooled
- 1 teaspoon (5ml) vanilla extract (pure vanilla preferred)
- Neutral oil (e.g., avocado oil) for greasing the griddle
Instructions
- Separate the eggs: Crack the eggs and separate the whites from the yolks. Place the whites in a clean, dry bowl. Let the whites come to room temperature while you prepare the batter.
- Mix the dry ingredients: In a large bowl, whisk together 2 cups flour, 2 tablespoons sugar, 2 teaspoons baking powder, 1 teaspoon baking soda, and ½ teaspoon salt. Whisk thoroughly to distribute the leavening agents evenly.
- Combine the wet ingredients: In a separate bowl, whisk together 2 cups buttermilk, 2 egg yolks, 4 tablespoons melted butter, and 1 teaspoon vanilla extract until smooth and fully combined.
- Whip the egg whites: Using a hand mixer or stand mixer with the whisk attachment, beat the egg whites on medium-high speed until stiff peaks form (about 2-3 minutes).
- Combine wet and dry: Pour the wet ingredients into the dry ingredients. Stir gently with a spatula or whisk until just combined. A few lumps are fine—do not overmix.
- Fold in the egg whites: Add the whipped egg whites to the batter. Use a rubber spatula to fold them in gently until no white streaks remain (about 10-12 folds).
- Rest the batter: Let the batter sit at room temperature for 5 minutes. This is non-negotiable for fluffy pancakes.
- Preheat the griddle: Place your griddle or pan over medium heat. Add a thin layer of neutral oil. Test by sprinkling a few drops of water—they should sizzle and evaporate immediately.
- Cook the pancakes: Pour about ⅓ cup of batter onto the griddle for each pancake. Cook until bubbles form on the surface and the edges look set (about 2-3 minutes). Flip carefully and cook for another 1-2 minutes on the second side.
- Keep warm: Transfer cooked pancakes to a cooling rack set over a baking sheet. Place them in a 200°F oven to keep warm while you cook the remaining batter.
Notes
Don’t overmix the batter—lumps are your friend. Let the batter rest for exactly 5 minutes; this allows the baking soda to react and gluten to relax. Control your heat to medium (375°F if using an infrared thermometer). Flip only once to maintain fluffiness. Use a thin spatula to avoid deflating the pancakes. Keep batches warm on a cooling rack in the oven, not stacked on a plate, to prevent sogginess.
Nutrition
- Serving Size: 3 pancakes
- Calories: 380
- Sugar: 12
- Sodium: 680
- Fat: 14
- Saturated Fat: 8
- Carbohydrates: 52
- Fiber: 1
- Protein: 10
Keywords: fluffy buttermilk pancakes, homemade pancakes, from scratch pancakes, easy pancake recipe, best pancake recipe, brunch pancakes, weekend breakfast



