Love this? Save it for later!
Share the inspiration with your friends
I was standing in the baking aisle of our local grocery store last Tuesday—just trying to grab a bag of chocolate chips for a different recipe entirely—when the scent of peppermint from those cheap candy canes by the register hit me. And suddenly I was seven years old at my Aunt Jean’s kitchen table, snow melting on my boots, watching her crush candy canes with the bottom of a heavy skillet. She wasn’t one for fancy desserts, but every December she’d make this one chocolate cake that had bits of peppermint hiding inside, and she’d let me lick the spatula. Honestly, I hadn’t thought about that cake in maybe twenty years. But there I was, holding a bag of semi-sweet chips, feeling that exact mix of warm kitchen air and cold window glass on my cheek.
I called my mom that night, trying to piece together what Aunt Jean actually did. “She just threw things together,” Mom said, laughing. “You know how she was.” So I spent the rest of the week testing versions—some too dry, some where the peppermint completely disappeared, one where the cake stuck to the pan so badly I nearly cried. But this one? This Kid-Friendly Peppermint Bark Chocolate Bundt Cake is exactly what I was chasing. It’s not fancy or fussy. It’s the kind of cake you make on a Wednesday because the kids are bouncing off the walls and you need something that smells like Christmas but doesn’t require a pastry degree. Maybe you’ve been there—standing in your kitchen, wanting to create something special without losing your mind. That’s what this cake is for.
Why You’ll Love This Recipe
Let me tell you why this particular cake has earned a permanent spot in my winter rotation. I’ve tested it on my own kids, my neighbor’s picky eaters, and even a classroom of second-graders, and it passed every single test.
- Kid-Approved Without Being Boring : The peppermint flavor is noticeable but not overwhelming—think candy cane magic, not toothpaste. My youngest, who usually picks around anything “crunchy,” actually asked for seconds of the peppermint bark topping.
- Budget-Friendly Ingredients : You likely have most of these in your pantry right now. No expensive extracts or specialty flours. I tested this with store-brand chocolate chips and generic candy canes, and it worked beautifully.
- Comes Together in Under 15 Minutes : The batter is a simple dump-and-mix situation. No creaming butter, no fussing with stand mixers. Perfect for those after-school baking emergencies when someone announces they need a treat for the class party tomorrow morning.
- Leftovers Reheat Like a Dream : Day-old cake? Pop a slice in the microwave for 12 seconds, and it tastes fresh-baked. This is crucial for busy families—I’ve packed it in lunchboxes and served it as after-school snacks all week.
- Looks Impressive, Requires Zero Skill : The crackled peppermint bark topping hides any imperfections. I’ve brought this to three holiday gatherings and everyone thought I spent hours on it. I didn’t.
This recipe is the one that makes you close your eyes after the first bite—not because it’s fancy, but because it tastes like the kind of kitchen magic you remember from childhood. It’s comfort food reimagined for actual real life.
What Ingredients You Will Need
This recipe uses simple, pantry-friendly ingredients to deliver that perfect chocolate-peppermint combination. Nothing here should require a special trip to a gourmet store.
For the Cake
- 1 box (15.25 oz) chocolate cake mix (I prefer Duncan Hines Devil’s Food for the richest flavor, but any brand works)
- 1 cup (240 ml) whole milk (room temperature helps everything blend smoothly)
- 1/2 cup (120 ml) vegetable oil (or melted coconut oil for a subtle flavor twist)
- 3 large eggs (room temperature if you remember—if not, cold is fine, the cake still turns out)
- 1 teaspoon peppermint extract (not mint—peppermint is sweeter and more festive. I use McCormick brand)
- 1/2 cup (85 g) semi-sweet chocolate chips (folded in at the end for little pockets of melted chocolate)
For the Peppermint Bark Topping
- 1 cup (170 g) white chocolate chips (I like Ghirardelli—they melt smoother)
- 1/2 cup (85 g) semi-sweet chocolate chips
- 1/2 cup (60 g) crushed candy canes or peppermint candies (about 6-8 regular candy canes, crushed in a bag with a rolling pin—let the kids help with this part)
- 1 tablespoon coconut oil or vegetable shortening (divided—helps the chocolate melt silky smooth)
Ingredient Tips from My Kitchen
I’ve made this cake with both generic and name-brand cake mixes, and honestly, the difference is minimal. Use what you have. For the peppermint extract, though, don’t skip it—that’s where the real flavor comes from. If you’re feeding very young kids, start with 1/2 teaspoon and taste the batter (yes, raw eggs aside—just a tiny dip). You can always add more.
For the candy canes, buy the cheap ones. The fancy organic peppermint candies actually don’t crush as evenly. I learned this the hard way after spending four dollars on a bag of “artisan” candy canes that shattered into dust. Stick with the classic red-and-white striped ones from the holiday aisle.
Equipment Needed
You don’t need a fully stocked bakery kitchen for this one. Here’s what you’ll actually use:
- 10-cup bundt pan (the standard size for most recipes—if yours is smaller, fill it only 2/3 full and make a few cupcakes with the extra batter)
- Large mixing bowl (any bowl works—I’ve used a plastic one from the dollar store for years)
- Whisk or electric mixer (whisk is faster for cleanup; mixer is fine if you prefer)
- Rubber spatula (for scraping every last bit of batter—don’t waste a drop)
- Small microwave-safe bowls (for melting the chocolate toppings separately)
- Ziploc bag and rolling pin (for crushing candy canes—let the kids go to town on this)
- Cooling rack (if you don’t have one, just use the stovetop grates—I’ve done it many times)
One note on bundt pans: I’ve had cakes stick to cheap nonstick pans before. It’s heartbreaking. If you’re using an older pan, grease it thoroughly with butter and dust it with cocoa powder instead of flour—it prevents those white flour marks on your finished cake.
Preparation Method
Let’s walk through this step by step. I’ve included all the little details that make the difference between a good cake and a “can I have another slice?” cake.
- Preheat your oven to 350°F (175°C). Position the rack in the center of the oven. While it’s heating, generously grease your bundt pan. I use a pastry brush to get butter into every nook and cranny of the pan’s design, then dust it with cocoa powder. Tap out the excess over the sink.
- In your large bowl, combine the cake mix, milk, oil, eggs, and peppermint extract. Whisk until just combined—about 30 seconds. You’ll see a few small lumps, and that’s perfectly fine. Overmixing makes the cake tough, so resist the urge to keep stirring. I once beat the batter for two full minutes because I was distracted by a phone call, and that cake came out dense as a brick. Learn from my mistake.
- Fold in the 1/2 cup of semi-sweet chocolate chips. Use your rubber spatula and give it about 8-10 gentle folds. You want the chips distributed evenly but not smashed into the batter. They’ll sink slightly during baking, creating a lovely chocolatey middle layer.
- Pour the batter into your prepared bundt pan. Use the spatula to spread it evenly. Give the pan a gentle tap on the counter to release any air bubbles—this prevents those annoying holes in your finished cake.
- Bake for 35-40 minutes. Start checking at 35 minutes by inserting a wooden skewer or toothpick into the thickest part. You want it to come out with a few moist crumbs attached, not wet batter. Every oven runs differently—my friend’s oven takes a full 42 minutes, while mine is done at 37. Trust the skewer, not the timer.
- Cool in the pan for exactly 10 minutes. Set a timer for this—I cannot stress this enough. If you flip it too early, the cake will crumble. If you wait too long, it’ll stick. After 10 minutes, place a cooling rack (or your stovetop grate) over the pan and flip confidently. Let it cool completely before adding the topping—about 1 hour.
- While the cake cools, crush your candy canes. Place them in a ziploc bag and go to town with a rolling pin. You want a mix of fine dust and small chunks—that’s what creates the “bark” texture. My kids fight over who gets to do this part. Let them. It’s messy and wonderful.
- Make the topping. In a small microwave-safe bowl, melt the white chocolate chips with 1/2 tablespoon of coconut oil. Microwave in 20-second bursts, stirring between each, until smooth. Do the same with the semi-sweet chips and remaining oil in a separate bowl. Let both cool for 2-3 minutes—if you pour them on the cake while hot, they’ll slide right off.
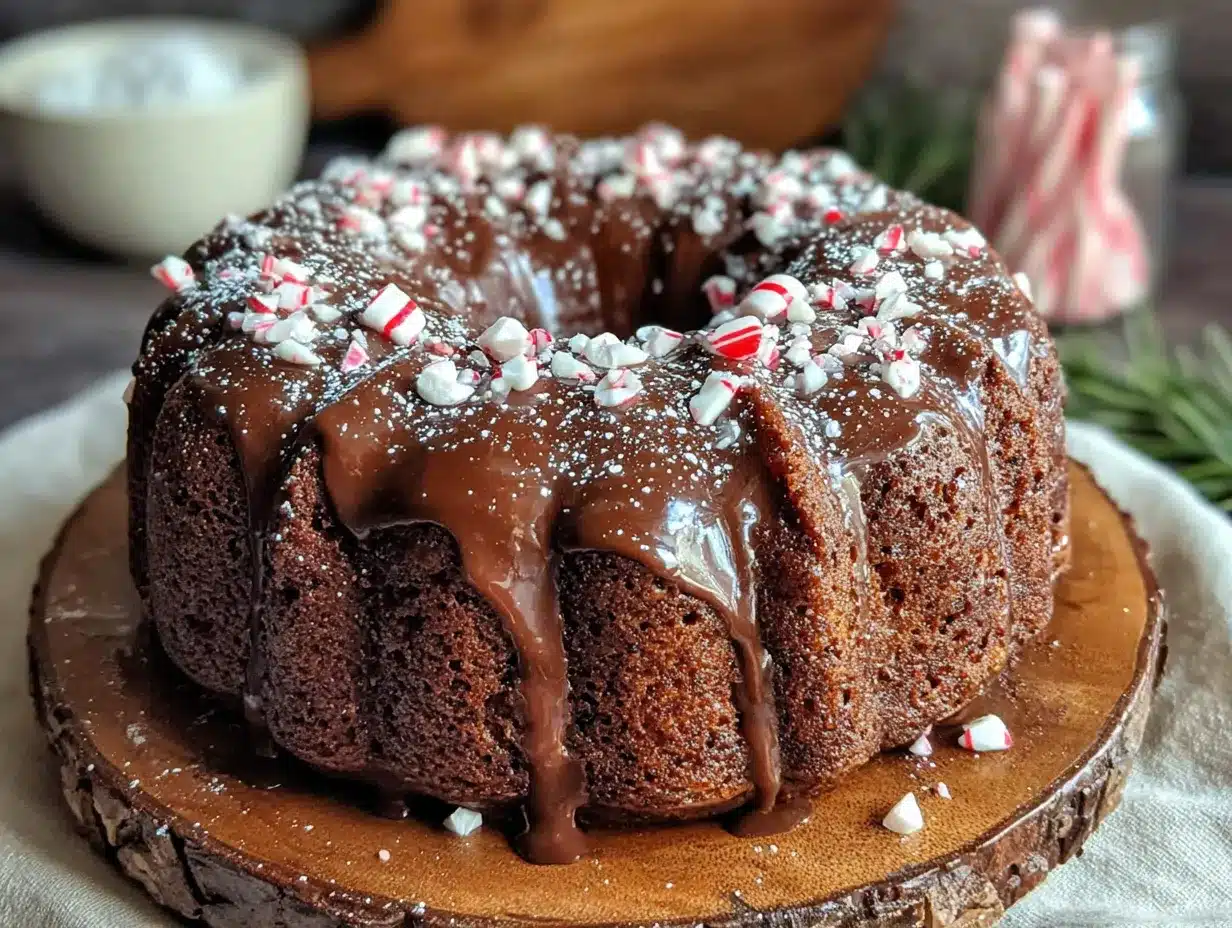
- Decorate the cake. Drizzle the white chocolate over the cooled cake first, then the semi-sweet. While both are still wet, sprinkle the crushed candy canes generously over the top. Press them in gently with your fingers so they stick. Let the topping set for about 15 minutes before slicing.
Cooking Tips & Techniques
I’ve made this cake at least a dozen times now, and here’s what I’ve learned the hard way so you don’t have to.
Don’t overdo the peppermint extract. I once added a full tablespoon because I thought “more is better,” and the cake tasted like a cough drop. Stick with 1 teaspoon. If you want a stronger peppermint presence, add crushed candy canes to the batter itself—about 1/4 cup folded in with the chocolate chips.
Room temperature ingredients matter more than you think. Cold eggs and milk can seize the batter, making it lumpy. If you forgot to take them out ahead of time (which I do constantly), place the eggs in a bowl of warm water for 5 minutes and microwave the milk for 15 seconds. Problem solved.
The 10-minute cooling rule is non-negotiable. I learned this when I got impatient and flipped a cake after 6 minutes. Half of it stayed in the pan. I cried a little. Then I scooped it out, crumbled it into a trifle dish with whipped cream, and called it “deconstructed cake.” Everyone loved it, but I knew the truth.
For cleaner slices, use a serrated knife. Run it under hot water, wipe it dry, then slice. The heat helps cut through the chocolate topping without cracking it. Wipe the blade between each slice for picture-perfect pieces.
Multitask like a pro: While the cake bakes, crush your candy canes and clean up your mixing bowls. While it cools, make the toppings. This way, when the cake is ready, you’re not scrambling with sticky chocolate while trying to keep kids out of the kitchen.
Variations & Adaptations
This recipe is forgiving enough to adapt to almost any dietary need or flavor preference. Here are a few ways I’ve tweaked it over the years:
Gluten-Free Version: Use a gluten-free chocolate cake mix (King Arthur Flour makes an excellent one). Everything else stays the same. My gluten-sensitive friend couldn’t tell the difference.
Dairy-Free Adaptation: Swap the milk for almond or oat milk, use dairy-free chocolate chips (Enjoy Life brand is my go-to), and replace the butter for greasing the pan with coconut oil. The texture is slightly denser but still delicious.
Peppermint Chocolate Chip Version: Skip the bark topping entirely and stir 1/2 cup mini chocolate chips and 1/4 cup crushed candy canes directly into the batter. Bake as directed, then dust with powdered sugar. This version is less messy and travels better for potlucks.
Double Chocolate Peppermint: Add 1/4 cup unsweetened cocoa powder to the dry cake mix for an extra-chocolatey punch. Reduce the milk by 2 tablespoons to compensate. My husband claims this is the “real” version.
White Chocolate Peppermint: Use a white cake mix instead of chocolate, add 1 teaspoon peppermint extract, and fold in 1/2 cup white chocolate chips. Top with dark chocolate drizzle and crushed candy canes. It looks stunning and tastes like a candy cane in cake form.
Serving & Storage Suggestions
This cake is best served at room temperature—the flavors are more pronounced, and the texture is perfectly tender. If you’ve refrigerated it, let slices sit out for 20 minutes before serving.
For a show-stopping presentation: Place the cake on a stand, drizzle with extra melted chocolate, and sprinkle fresh crushed candy canes on top. Add a few whole candy canes around the base for a festive look that screams “holiday gathering.”
What to serve with it: A scoop of vanilla bean ice cream or a dollop of fresh whipped cream balances the richness beautifully. For a cozy winter drink pairing, try hot cocoa or peppermint hot chocolate. Coffee works too—the bitterness cuts through the sweetness.
Storage: Keep the cake in an airtight container at room temperature for up to 4 days. Do not refrigerate—it dries out the cake. If you live in a humid climate, store it in the microwave (I know it sounds weird, but it’s airtight and out of the way).
Freezing instructions: Wrap the cooled, undecorated cake tightly in plastic wrap, then in foil, and freeze for up to 3 months. Thaw overnight in the refrigerator, then bring to room temperature before adding the topping. I actually prefer freezing the cake—the texture becomes even more moist after thawing.
Reheating: Microwave individual slices for 10-12 seconds. The chocolate chips get slightly melty, and the cake tastes fresh-baked. For a whole cake, warm it in a 300°F oven for 10 minutes, tented with foil.
Nutritional Information & Benefits
Let’s be real—this is a treat, not a health food. But here’s the breakdown so you can plan accordingly:
| Per Slice (1/12 of cake) | Amount |
|---|---|
| Calories | 385 |
| Total Fat | 18g |
| Saturated Fat | 8g |
| Carbohydrates | 52g |
| Sugar | 34g |
| Protein | 5g |
What’s actually good about it: The semi-sweet chocolate chips contain antioxidants called flavonoids, which support heart health. Peppermint has been shown to aid digestion—so maybe that second slice is medicinal? The eggs provide high-quality protein, and if you use whole milk, you’re getting calcium and vitamin D. It’s not a salad, but it’s not pure junk either.
Dietary considerations: This recipe contains gluten, dairy, and eggs. For allergen-friendly versions, see the variations section above. The candy canes are typically gluten-free, but check the label if that’s a concern.
Conclusion
This Kid-Friendly Peppermint Bark Chocolate Bundt Cake is the recipe I keep coming back to, winter after winter. It’s not the fanciest cake on the block, but it’s the one that makes people smile—the one that disappears fastest at the holiday party, the one my kids request by name starting in November. It tastes like the kind of kitchen magic that doesn’t require a pastry degree or a specialty ingredient list.
I hope you make it your own. Add extra candy canes if your family loves crunch. Swap in dark chocolate if that’s your thing. Forget to grease the pan properly and serve it as “rustic crumble cake” like I did that one time. It’ll still be delicious. That’s the beauty of a recipe like this—it’s forgiving, it’s flexible, and it’s made for real life.
When you make it (and I really hope you do), come back and tell me how it turned out. Did your kids help crush the candy canes? Did you sneak a slice before the party? I want to hear it all. Drop a comment below or tag me in your photos—nothing makes my day like seeing this cake in your kitchen.
Now go preheat that oven. Your family’s about to think you’re a baking genius.
Frequently Asked Questions
Can I use a different cake mix flavor?
Absolutely. Yellow cake mix works well for a vanilla-peppermint version. Red velvet creates a stunning visual with the white chocolate topping. Just keep the peppermint extract at 1 teaspoon regardless of the cake flavor.
Why did my cake stick to the pan?
This usually happens for one of three reasons: you didn’t grease thoroughly enough, you flipped it too early (before the 10-minute mark), or you waited too long (over 15 minutes). Next time, use a butter-and-cocoa-powder paste and set a timer for exactly 10 minutes.
Can I make this cake ahead of time?
Yes! Bake the cake up to 2 days in advance and store it wrapped tightly at room temperature. Add the peppermint bark topping the day you plan to serve it—the candy canes can get sticky if left on too long.
How do I crush candy canes without making a huge mess?
Place them in a sturdy ziploc bag, then place that bag inside a second bag (the double-bag method prevents punctures). Lay it on a cutting board and use a rolling pin or heavy skillet. For less mess, pulse them in a food processor—but watch closely so you don’t end up with powder.
My topping looks messy—what did I do wrong?
Nothing! Messy toppings are part of the charm. But if you want cleaner lines, let the melted chocolate cool for 3-4 minutes until it’s slightly thickened before drizzling. Use a spoon to drizzle rather than pouring directly from the bowl. And remember—the crushed candy canes hide everything anyway.
Pin This Recipe!
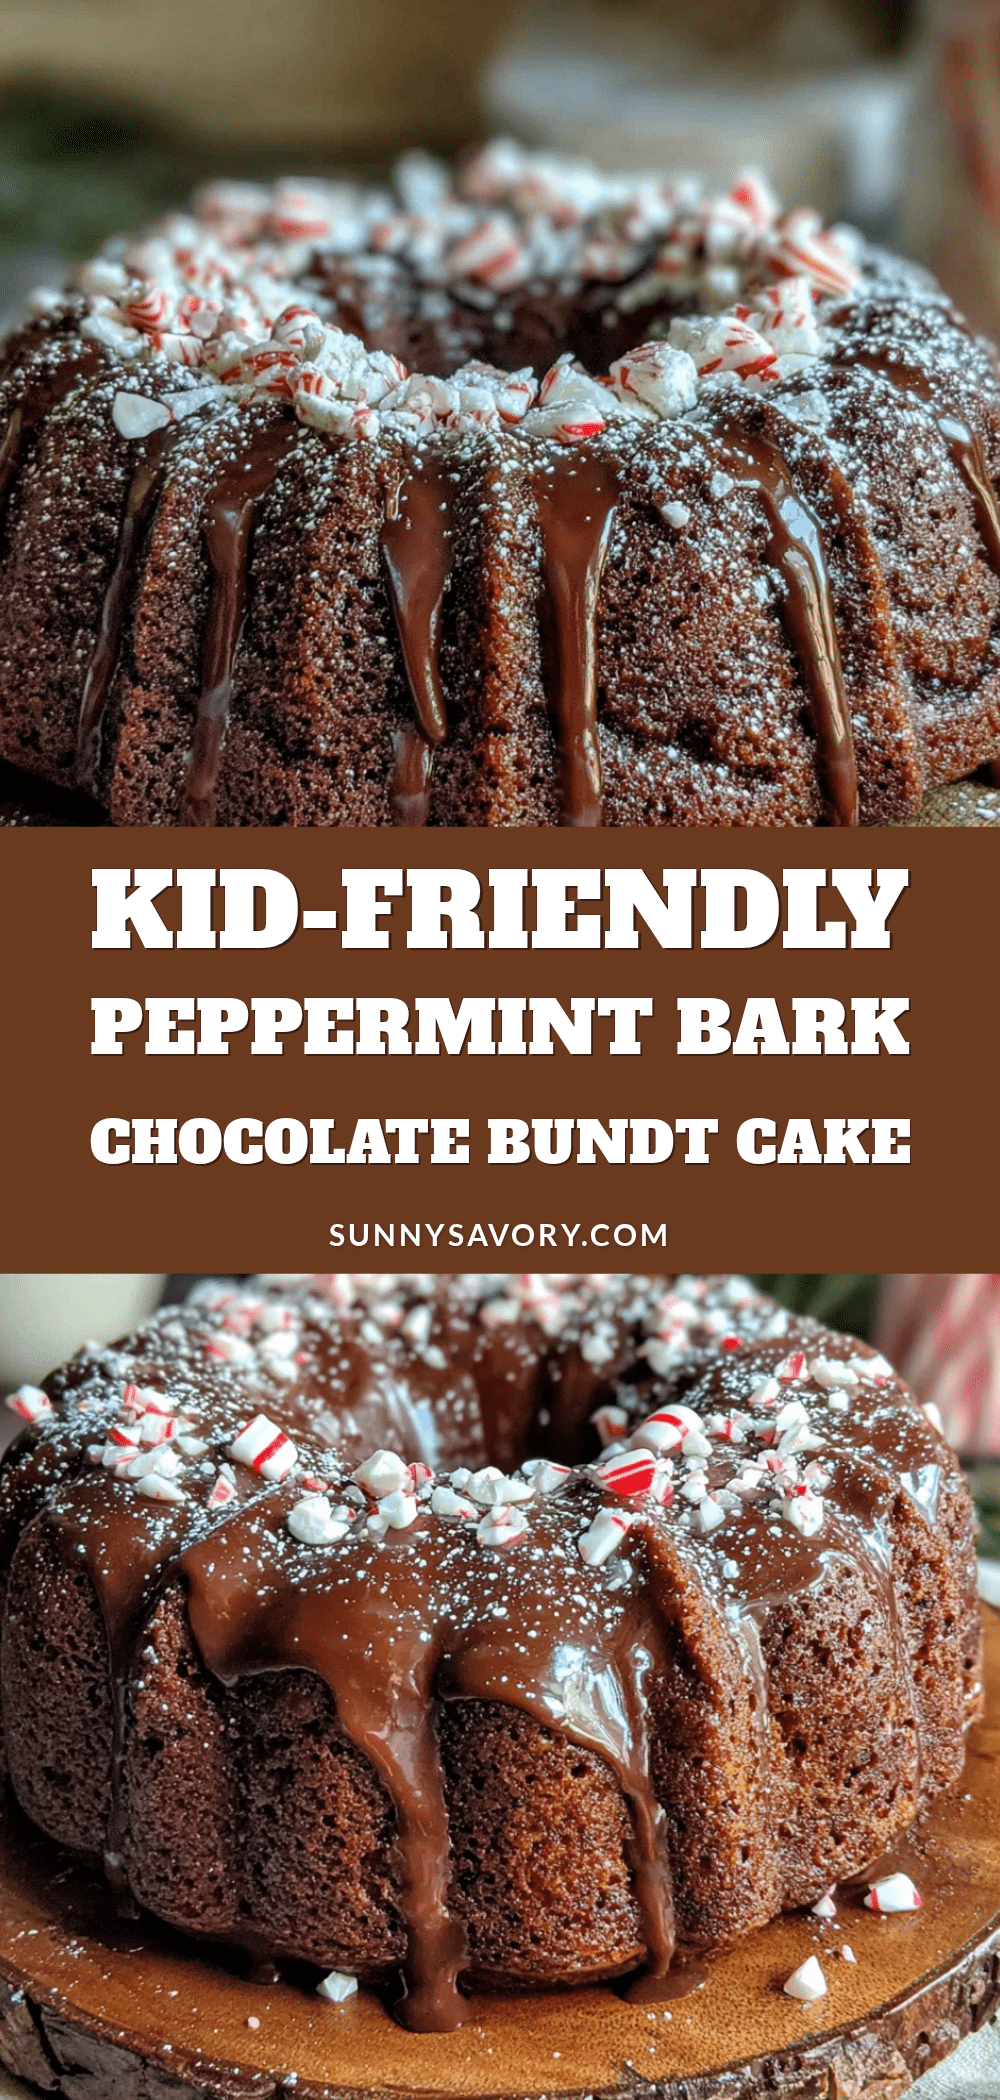
Kid-Friendly Peppermint Bark Bundt Cake

A simple, kid-approved chocolate bundt cake with peppermint bark topping that tastes like Christmas magic without requiring a pastry degree. Made with pantry-friendly ingredients, it comes together in under 15 minutes and looks impressive with zero skill required.
- Prep Time: 15 minutes
- Cook Time: 35-40 minutes
- Total Time: 1 hour 10 minutes (including cooling)
- Yield: 12 servings 1x
- Category: Dessert
- Cuisine: American
Ingredients
- 1 box (15.25 oz) chocolate cake mix (preferably Duncan Hines Devil’s Food)
- 1 cup (240 ml) whole milk, room temperature
- 1/2 cup (120 ml) vegetable oil (or melted coconut oil)
- 3 large eggs, room temperature
- 1 teaspoon peppermint extract (not mint)
- 1/2 cup (85 g) semi-sweet chocolate chips
- 1 cup (170 g) white chocolate chips
- 1/2 cup (85 g) semi-sweet chocolate chips (for topping)
- 1/2 cup (60 g) crushed candy canes or peppermint candies (about 6–8 regular candy canes)
- 1 tablespoon coconut oil or vegetable shortening, divided
Instructions
- Preheat oven to 350°F (175°C). Generously grease a 10-cup bundt pan with butter and dust with cocoa powder.
- In a large bowl, combine cake mix, milk, oil, eggs, and peppermint extract. Whisk until just combined (about 30 seconds). Do not overmix.
- Fold in 1/2 cup semi-sweet chocolate chips with a rubber spatula using 8-10 gentle folds.
- Pour batter into prepared bundt pan and spread evenly. Tap pan gently on counter to release air bubbles.
- Bake for 35-40 minutes, until a toothpick inserted in the thickest part comes out with a few moist crumbs.
- Cool in pan for exactly 10 minutes. Place a cooling rack over the pan and flip confidently. Cool completely (about 1 hour).
- While cake cools, crush candy canes in a ziploc bag with a rolling pin until you have a mix of fine dust and small chunks.
- In separate microwave-safe bowls, melt white chocolate chips with 1/2 tablespoon coconut oil and semi-sweet chips with remaining oil. Microwave in 20-second bursts, stirring between each, until smooth. Let cool 2-3 minutes.
- Drizzle white chocolate over cooled cake, then semi-sweet chocolate. While both are still wet, sprinkle crushed candy canes generously on top and press gently. Let topping set for 15 minutes before slicing.
Notes
Don’t overdo the peppermint extract—stick with 1 teaspoon. Room temperature ingredients matter; if forgotten, warm eggs in warm water for 5 minutes and microwave milk for 15 seconds. The 10-minute cooling rule is non-negotiable to prevent sticking. For cleaner slices, use a serrated knife run under hot water. Store in an airtight container at room temperature for up to 4 days; do not refrigerate. Freeze undecorated cake for up to 3 months.
Nutrition
- Serving Size: 1 slice (1/12 of cak
- Calories: 385
- Sugar: 34
- Sodium: 320
- Fat: 18
- Saturated Fat: 8
- Carbohydrates: 52
- Fiber: 2
- Protein: 5
Keywords: peppermint bark, bundt cake, chocolate cake, holiday dessert, kid-friendly, Christmas cake, easy cake recipe



