Love this? Save it for later!
Share the inspiration with your friends
I was standing in the checkout line at the hardware store last February, holding a bag of soil and a new trowel, when the woman behind me tapped my shoulder. She was maybe seventy, with silver hair and a flour-dusted sweater, and she pointed at my cart and said, “You’re planning your garden, but what about Valentine’s Day?” I laughed and admitted I hadn’t even thought about it. She pulled a crumpled envelope from her coat pocket, the kind you pay bills with, and on the back was a handwritten recipe for red velvet heart cupcakes. “My husband taught me this,” she said. “He was a baker in the army. Never used a measuring cup, just his hands.” I thanked her, stuffed the envelope in my wallet, and honestly forgot about it until I found it weeks later, stained with coffee and soil. That’s how these cupcakes came into my life—from a stranger in a hardware store who missed her husband and wanted someone to keep his recipe alive.
These aren’t your average red velvet cupcakes. They’re tender, with that perfect crumb that melts a little on your tongue, and the cream cheese frosting is so silky you’ll want to eat it with a spoon. I’ve tweaked the original a bit—added a splash of vanilla bean paste and a pinch of salt to balance the sweetness—but the heart shape? That’s all her husband’s idea. He used to bake them for the whole battalion, she said, and they’d fight over the ones with the most frosting. Maybe you’ve been there, trying to make something special without spending a fortune or stressing yourself out. These cupcakes are that recipe. They look fancy, but they’re made with simple ingredients you probably already have. I mean, who doesn’t have flour, sugar, and cocoa powder in the pantry?
The first time I made them, I forgot to bring the eggs to room temperature and the batter came out lumpy. I almost threw it out, but I baked them anyway, and you know what? They were still delicious. That’s the kind of forgiving recipe this is. It doesn’t demand perfection; it just asks for a little love. And honestly, that’s what Valentine’s Day is about, right? Not the fancy dinners or expensive gifts, but the small, messy moments of showing someone you care. These cupcakes have become my go-to for every February 14th, and I keep making them because they remind me of that woman in the hardware store, sharing a piece of her heart with a stranger.
Why You’ll Love This Recipe
Let’s be real—finding a Valentine’s Day dessert that’s both impressive and practical can feel impossible. You want something that looks like you spent hours on it, but you also need to get dinner on the table and maybe help with homework. These red velvet heart cupcakes check every box. I’ve tested them at least a dozen times, tweaking the ratios until the crumb was just right, and I promise they deliver every single time.
- Quick & Easy: From start to finish, these come together in under an hour. The batter takes about 15 minutes, and while they bake, you can whip up the frosting. Perfect for busy weeknights or last-minute Valentine’s plans.
- Simple Ingredients: No fancy grocery trips needed. Flour, sugar, cocoa powder, buttermilk, eggs, and a little red food coloring. You probably have most of this in your kitchen right now.
- Perfect for Valentine’s Day: The heart shape and rich red color make them the ultimate romantic treat. Great for school parties, date night, or just surprising your kids with something special.
- Crowd-Pleaser: I’ve brought these to potlucks and family dinners, and they disappear faster than anything else on the table. Kids love the color, adults love the flavor, and everyone loves the cream cheese frosting.
- Unbelievably Delicious: The texture is what sets these apart. They’re moist without being heavy, with a subtle cocoa flavor that doesn’t overpower the sweetness. The tangy cream cheese frosting cuts through the richness perfectly.
What makes this recipe different from every other red velvet cupcake out there? It’s the technique. Most recipes tell you to mix the wet and dry ingredients separately, then combine them. But here’s the trick: you add the vinegar and baking soda at the very end, right before you pour the batter into the pan. That little chemical reaction creates a lighter, fluffier crumb that stays tender for days. I learned that from the hardware store lady’s husband, and I’ve never gone back.
This recipe isn’t just good—it’s the kind that makes you close your eyes after the first bite. It’s comfort food reimagined, with that same soul-soothing satisfaction but without the stress. Perfect for impressing your sweetheart without breaking the bank, or turning a regular Tuesday into something memorable.
What Ingredients You Will Need
This recipe uses simple, wholesome ingredients to deliver bold flavor and satisfying texture without the fuss. Most of these are pantry staples, so you probably won’t need a special trip to the store. Here’s what you’ll need and why each one matters.
For the Cupcakes
- All-purpose flour (1 ½ cups / 180g): The base of the cupcake. I use Gold Medal or King Arthur for consistent results. Don’t swap in cake flour here—it’s too delicate and the cupcakes won’t hold their shape as well.
- Granulated sugar (1 cup / 200g): Adds sweetness and helps with browning. You can reduce this to ¾ cup if you prefer a less sweet cupcake, but don’t go lower or the texture will suffer.
- Unsweetened cocoa powder (2 tablespoons / 10g): Just enough to give that classic red velvet flavor without making the cupcakes taste like chocolate. I prefer Hershey’s or Ghirardelli for a smooth finish.
- Baking soda (1 teaspoon / 5g): Works with the vinegar to create lift. Make sure it’s fresh—test it by dropping a pinch into vinegar; if it fizzes, you’re good.
- Salt (½ teaspoon / 3g): Balances the sweetness and enhances the cocoa flavor. I use fine sea salt for even distribution.
- Vegetable oil (½ cup / 120ml): Keeps the cupcakes moist without adding butter’s density. Canola or sunflower oil work great too. Avoid olive oil—it’s too strong in flavor.
- Buttermilk (½ cup / 120ml): The secret to tender crumb. The acidity tenderizes the gluten and reacts with the baking soda for a fluffy rise. If you don’t have buttermilk, mix ½ cup milk with 1 tablespoon lemon juice and let it sit for 5 minutes.
- Large eggs (2, room temperature): They bind the batter and add structure. Room temperature eggs incorporate more air, making the cupcakes lighter. Take them out of the fridge 30 minutes before baking.
- Red food coloring (2 tablespoons / 30ml): The signature color. I use gel food coloring for a deeper red without thinning the batter. Liquid works too, but you might need a little more. For a natural option, try beet powder mixed with a tablespoon of water.
- Vanilla extract (1 teaspoon / 5ml): Rounds out the flavor. Pure vanilla is best, but imitation works in a pinch. I sometimes use vanilla bean paste for those little specks of vanilla goodness.
- White vinegar (1 teaspoon / 5ml): Reacts with the baking soda for that light, airy texture. Don’t skip it—it’s the magic ingredient.
For the Cream Cheese Frosting
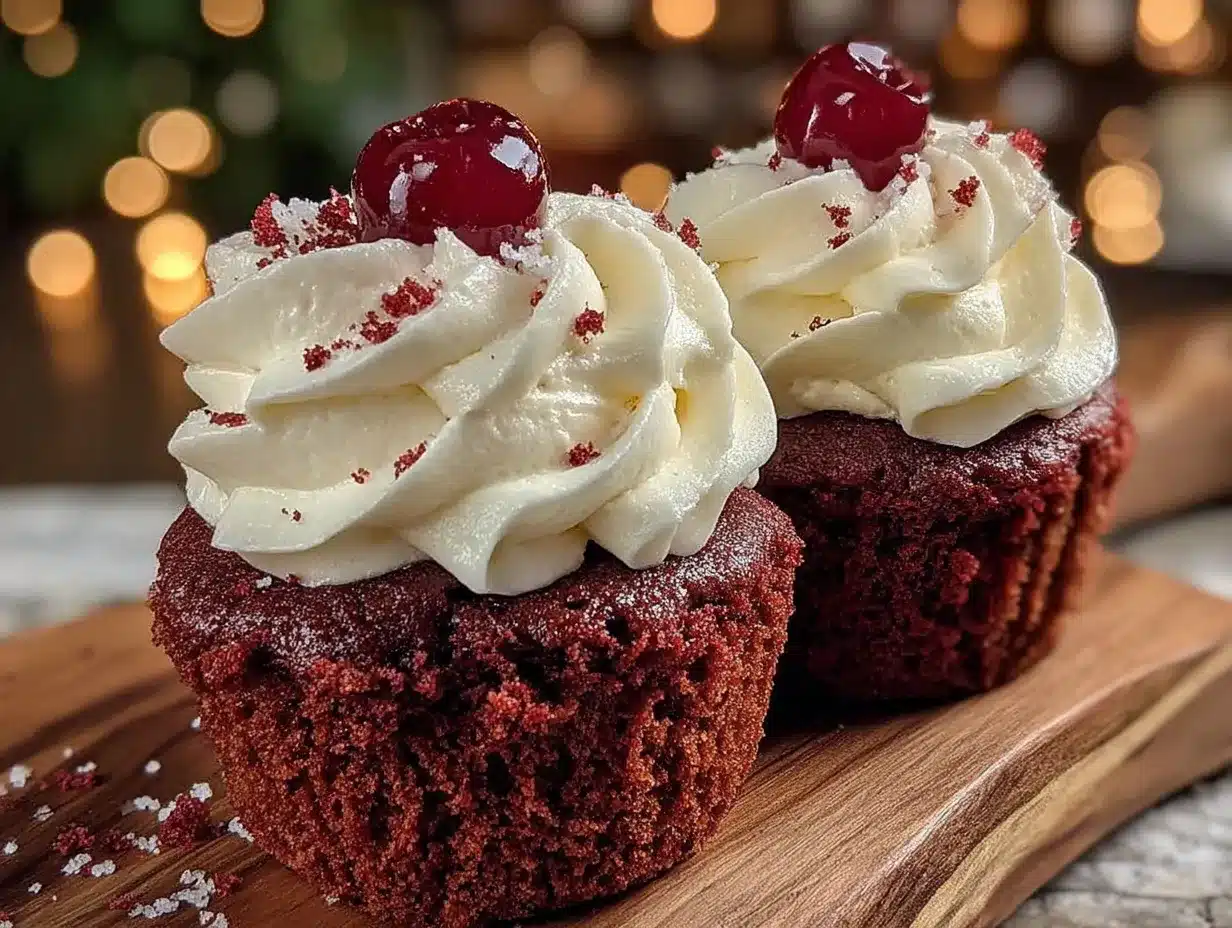
- Cream cheese (8 oz / 226g, softened): The star of the show. Use full-fat for the creamiest texture. Philadelphia is my go-to brand. Let it sit out for at least an hour so it’s really soft.
- Unsalted butter (½ cup / 113g, softened): Adds richness and stability. Salted butter will make the frosting too salty, so stick with unsalted.
- Powdered sugar (3 cups / 360g): Sweetens and thickens the frosting. Sift it first to avoid lumps—trust me, nobody wants a lumpy frosting on a pretty cupcake.
- Vanilla extract (1 teaspoon / 5ml): Enhances the flavor. Again, pure vanilla is worth the splurge here.
- Pinch of salt: Balances the sweetness and brings out the tanginess of the cream cheese.
For Decoration (Optional but Fun)
- Heart-shaped sprinkles or sanding sugar
- Fresh raspberries or strawberries
- Edible glitter or gold dust
Equipment Needed
You don’t need a fancy bakery setup to make these cupcakes. Here’s what I use, along with some budget-friendly swaps.
- Heart-shaped silicone cupcake mold: This is the key to getting that perfect heart shape. I got mine from Amazon for about $12. If you don’t have one, you can use a regular muffin tin and cut the cupcakes into hearts with a cookie cutter after baking. It’s a little extra work, but it works.
- Standard 12-cup muffin tin: For holding the silicone mold or for baking regular-shaped cupcakes. I’ve had my Wilton one for years and it still works perfectly.
- Paper liners: If you’re using a regular muffin tin, heart-printed liners add a nice touch. I found some at the dollar store last year.
- Electric hand mixer or stand mixer: A hand mixer is fine for the frosting—you don’t need a stand mixer. I’ve used a $20 hand mixer from Target for years and it’s never let me down.
- Mixing bowls (at least 2): One for dry ingredients, one for wet. I use glass or stainless steel because they don’t hold onto odors.
- Whisk and rubber spatula: For mixing and scraping the bowl clean. A silicone spatula is worth the investment—it’s heat-resistant and easy to clean.
- Piping bag with star tip: For a professional-looking swirl. If you don’t have a piping bag, a zip-top bag with the corner snipped off works just fine.
- Cooling rack: Lets air circulate around the cupcakes so they cool evenly. I use a simple wire rack from the grocery store.
One tip: if you’re using a silicone mold, place it on a baking sheet first. It’s floppy and hard to move when full of batter. I learned that the hard way when I spilled half the batter trying to get it into the oven.
Preparation Method
This method is broken down into simple steps. Take your time, read through everything once before you start, and you’ll be fine. I promise.
Step 1: Preheat and Prep
Preheat your oven to 350°F (175°C). Place your heart-shaped silicone mold on a baking sheet, or line your muffin tin with paper liners. If using the silicone mold, give it a light spray of non-stick cooking spray—even though it’s non-stick, a little spray helps the cupcakes release cleanly.
Step 2: Mix the Dry Ingredients
In a medium bowl, whisk together 1 ½ cups (180g) all-purpose flour, 1 cup (200g) granulated sugar, 2 tablespoons (10g) unsweetened cocoa powder, 1 teaspoon (5g) baking soda, and ½ teaspoon (3g) salt. Whisk for about 30 seconds to aerate everything. This step is important—it ensures the cocoa powder and baking soda are evenly distributed so you don’t get a bitter bite of baking soda in one cupcake.
Step 3: Mix the Wet Ingredients
In a large bowl, combine ½ cup (120ml) vegetable oil, ½ cup (120ml) buttermilk, 2 room-temperature eggs, 2 tablespoons (30ml) red food coloring, and 1 teaspoon (5ml) vanilla extract. Whisk until smooth and fully combined. The mixture should be a vibrant red—if it looks more pink than red, add another teaspoon of coloring. Don’t worry if it separates a little; that’s normal.
Step 4: Combine Wet and Dry
Pour the dry ingredients into the wet ingredients. Stir with a rubber spatula until just combined. A few lumps are okay—overmixing will make the cupcakes tough. The batter should be thick but pourable, like a smoothie.
Step 5: Add the Magic
In a small bowl, stir together 1 teaspoon (5ml) white vinegar and ¼ teaspoon baking soda (yes, an extra pinch). It will fizz immediately. Quickly fold this into the batter until just incorporated. Work fast—the reaction starts right away, and you want that lift to happen in the oven, not the bowl.
Step 6: Fill the Molds
Spoon or pour the batter into the heart-shaped molds, filling each about ⅔ full. For regular muffin tins, use a cookie scoop for even portions. I use a 2-tablespoon scoop and get exactly 12 cupcakes every time.
Step 7: Bake
Bake for 15-18 minutes, or until a toothpick inserted into the center comes out clean or with a few moist crumbs. The tops should spring back when lightly touched. For heart-shaped molds, start checking at 14 minutes—they can go from perfect to dry quickly. Let them cool in the mold for 5 minutes, then transfer to a cooling rack to cool completely. Don’t skip this cooling step, or the frosting will melt right off.
Step 8: Make the Frosting
While the cupcakes cool, make the frosting. In a large bowl, beat 8 oz (226g) softened cream cheese and ½ cup (113g) softened unsalted butter together until smooth and creamy, about 2 minutes. Scrape down the sides. Gradually add 3 cups (360g) sifted powdered sugar, 1 cup at a time, beating on low speed to avoid a sugar cloud. Add 1 teaspoon (5ml) vanilla extract and a pinch of salt. Beat on medium-high for 2 minutes until light and fluffy. If it’s too thick, add a tablespoon of milk. Too thin, add another ¼ cup of powdered sugar.
Step 9: Frost and Decorate
Once the cupcakes are completely cool, transfer the frosting to a piping bag fitted with a star tip. Pipe a swirl starting from the outside and working inward. Top with heart sprinkles, a fresh raspberry, or a dusting of edible glitter. I like to add a little gold dust for that extra-special touch.
Cooking Tips & Techniques
I’ve made these cupcakes more times than I can count, and I’ve learned a few things along the way. Here are my best tips to help you avoid my mistakes.
Room temperature ingredients matter. I know it’s tempting to use cold eggs and butter straight from the fridge, but room temperature ingredients emulsify better, creating a smoother batter and more tender crumb. Take everything out 30-40 minutes before you start. If you forget, place the eggs in a bowl of warm water for 5 minutes and microwave the buttermilk for 15 seconds.
Don’t overmix the batter. This is the number one mistake I see. Once you add the dry ingredients to the wet, mix only until no streaks of flour remain. Overmixing develops gluten, which makes the cupcakes dense and rubbery. A few lumps are fine—they’ll bake out.
The vinegar trick is non-negotiable. I once skipped it because I was out of vinegar, thinking it wouldn’t matter. The cupcakes came out flat and dense. That little fizz is what gives red velvet its signature lightness. Don’t skip it.
Use gel food coloring for the best color. Liquid food coloring works, but you need more of it, which can thin the batter. Gel coloring gives a deeper, more vibrant red without changing the consistency. I use about 2 tablespoons of gel, but start with 1 and add more if needed.
Cool completely before frosting. I was impatient once and frosted warm cupcakes. The frosting melted into a sad, soupy mess. Let them cool for at least 30 minutes on a wire rack. If you’re in a hurry, pop them in the fridge for 15 minutes.
Pipe frosting in a spiral for the prettiest look. Start at the outer edge of the cupcake and work your way inward, applying even pressure. Lift straight up at the end for a little peak. It takes practice, but even a messy swirl looks beautiful.
Variations & Adaptations
One of the best things about this recipe is how flexible it is. Here are some ways to make it your own.
Gluten-Free Version: Swap the all-purpose flour with a 1:1 gluten-free baking flour blend. I use Bob’s Red Mill. Add 1 teaspoon of xanthan gum if your blend doesn’t include it. The texture will be slightly denser but still delicious.
Dairy-Free Version: Use dairy-free buttermilk (1 cup plant milk + 1 tablespoon lemon juice), dairy-free cream cheese (Kite Hill is my favorite), and vegan butter (Miyoko’s or Earth Balance). The frosting will be a bit softer, so chill it for 10 minutes before piping.
Natural Red Coloring: If you want to avoid artificial dyes, use 2 tablespoons of beet powder mixed with 2 tablespoons of water. The color will be more of a deep burgundy than bright red, but it’s all natural. I’ve also tried pomegranate juice, but it made the batter too thin.
Chocolate Lover’s Twist: Add ¼ cup (30g) of mini chocolate chips to the batter before baking. They sink to the bottom and create a fudgy layer. My kids go crazy for this version.
Mini Cupcakes: Use a mini muffin tin and bake for 8-10 minutes. You’ll get about 36 mini cupcakes. Perfect for classroom parties or snack-sized treats.
Stuffed Cupcakes: After baking and cooling, use a small knife to cut a cone out of the center. Fill with a teaspoon of raspberry jam or chocolate ganache, then replace the top and frost. It’s a little extra work, but the surprise filling is amazing.
Serving & Storage Suggestions
These cupcakes are best served at room temperature, which lets the frosting soften and the crumb shine. If you’ve refrigerated them, take them out 20-30 minutes before serving.
Presentation Ideas: Arrange them on a white cake stand for contrast. Add a few fresh raspberries and mint leaves around the base. For a Valentine’s Day party, place them on a heart-shaped platter or a wooden board. I like to sprinkle a little powdered sugar over the top for a snowy effect.
What to Serve With: A glass of cold milk is the classic pairing, but a cup of hot coffee or tea works beautifully too. For a grown-up twist, serve with a glass of sparkling rosé or a dark stout beer—the bitterness cuts the sweetness.
Storage: Store unfrosted cupcakes in an airtight container at room temperature for up to 3 days. Frosted cupcakes should be stored in the refrigerator for up to 5 days. The frosting will firm up, so let them sit out for 20 minutes before eating.
Freezing: You can freeze unfrosted cupcakes for up to 3 months. Wrap each one tightly in plastic wrap, then place in a freezer bag. Thaw at room temperature for 2 hours before frosting. Frosting can also be frozen in a piping bag for up to 2 months—just thaw in the fridge overnight.
Flavor Development: Honestly, these cupcakes taste even better the next day. The flavors meld together, and the crumb becomes even more tender. If you can, make them a day ahead and frost them the morning you plan to serve them.
Nutritional Information & Benefits
Let’s be honest—these are a treat, not a health food. But I believe in enjoying dessert in moderation, and this recipe is made with real ingredients you can feel good about.
| Nutrient | Per Cupcake (with frosting) |
|---|---|
| Calories | 380 |
| Total Fat | 18g |
| Saturated Fat | 8g |
| Cholesterol | 55mg |
| Sodium | 220mg |
| Total Carbohydrates | 52g |
| Dietary Fiber | 1g |
| Sugars | 40g |
| Protein | 4g |
Health Benefits: Cocoa powder is rich in antioxidants called flavonoids, which can support heart health. Cream cheese provides calcium and protein. And the buttermilk adds probiotics that are good for digestion. Of course, these benefits are small in the context of a cupcake, but every little bit counts.
Dietary Considerations: This recipe contains gluten, dairy, and eggs. For allergen-friendly options, see the Variations section above. If you’re watching your sugar intake, you can reduce the sugar in the frosting by using 2 ½ cups instead of 3, but it won’t be as stiff for piping.
My Perspective: I don’t believe in guilt when it comes to dessert. These cupcakes are made with love and real ingredients, and sharing them with people you care about is a beautiful thing. Enjoy them without apology.
Conclusion
These red velvet heart cupcakes are more than just a dessert—they’re a little piece of someone’s history, passed along in a hardware store checkout line. They’re tender, sweet, and full of that tangy cream cheese goodness that makes red velvet so irresistible. And the best part? They’re easy enough for a beginner but impressive enough to steal the show at any Valentine’s Day celebration.
I hope you make them your own. Add extra sprinkles, stuff them with jam, or keep them classic. Share them with your sweetheart, your kids, your neighbors, or just keep them all for yourself (no judgment here). The recipe is forgiving, the ingredients are affordable, and the result is always delicious. That’s the kind of recipe I love, and I think you will too.
If you try these cupcakes, I’d love to hear about it. Leave a comment below and tell me how they turned out—did you add a twist? Did your kids help you bake them? Did you eat three in one sitting? (I won’t tell.) And if you’re looking for more easy, budget-friendly desserts, check out my easy chocolate bundt cake or these no-bake strawberry cheesecake bites. Happy Valentine’s Day, friends. Go make something sweet.
Frequently Asked Questions
Can I make these cupcakes without a heart-shaped mold?
Absolutely. Use a regular muffin tin with paper liners. After baking and cooling, you can cut the cupcakes into heart shapes using a cookie cutter. It’s a little extra work, but it works perfectly.
How do I get the red color without artificial food coloring?
Use 2 tablespoons of beet powder mixed with 2 tablespoons of water. The color will be more of a deep burgundy, but it’s all natural and adds a subtle earthy sweetness.
Can I freeze these cupcakes?
Yes! Freeze unfrosted cupcakes wrapped tightly in plastic wrap for up to 3 months. Thaw at room temperature before frosting. Frosting can also be frozen in a piping bag.
Why did my cupcakes come out flat?
Most likely, the baking soda was old or the vinegar didn’t react properly. Make sure your baking soda is fresh (test it with vinegar) and add it right before baking.
Can I make these cupcakes dairy-free?
Yes. Use dairy-free buttermilk (plant milk + lemon juice), dairy-free cream cheese, and vegan butter. The texture will be slightly different, but they’ll still be delicious.
Pin This Recipe!
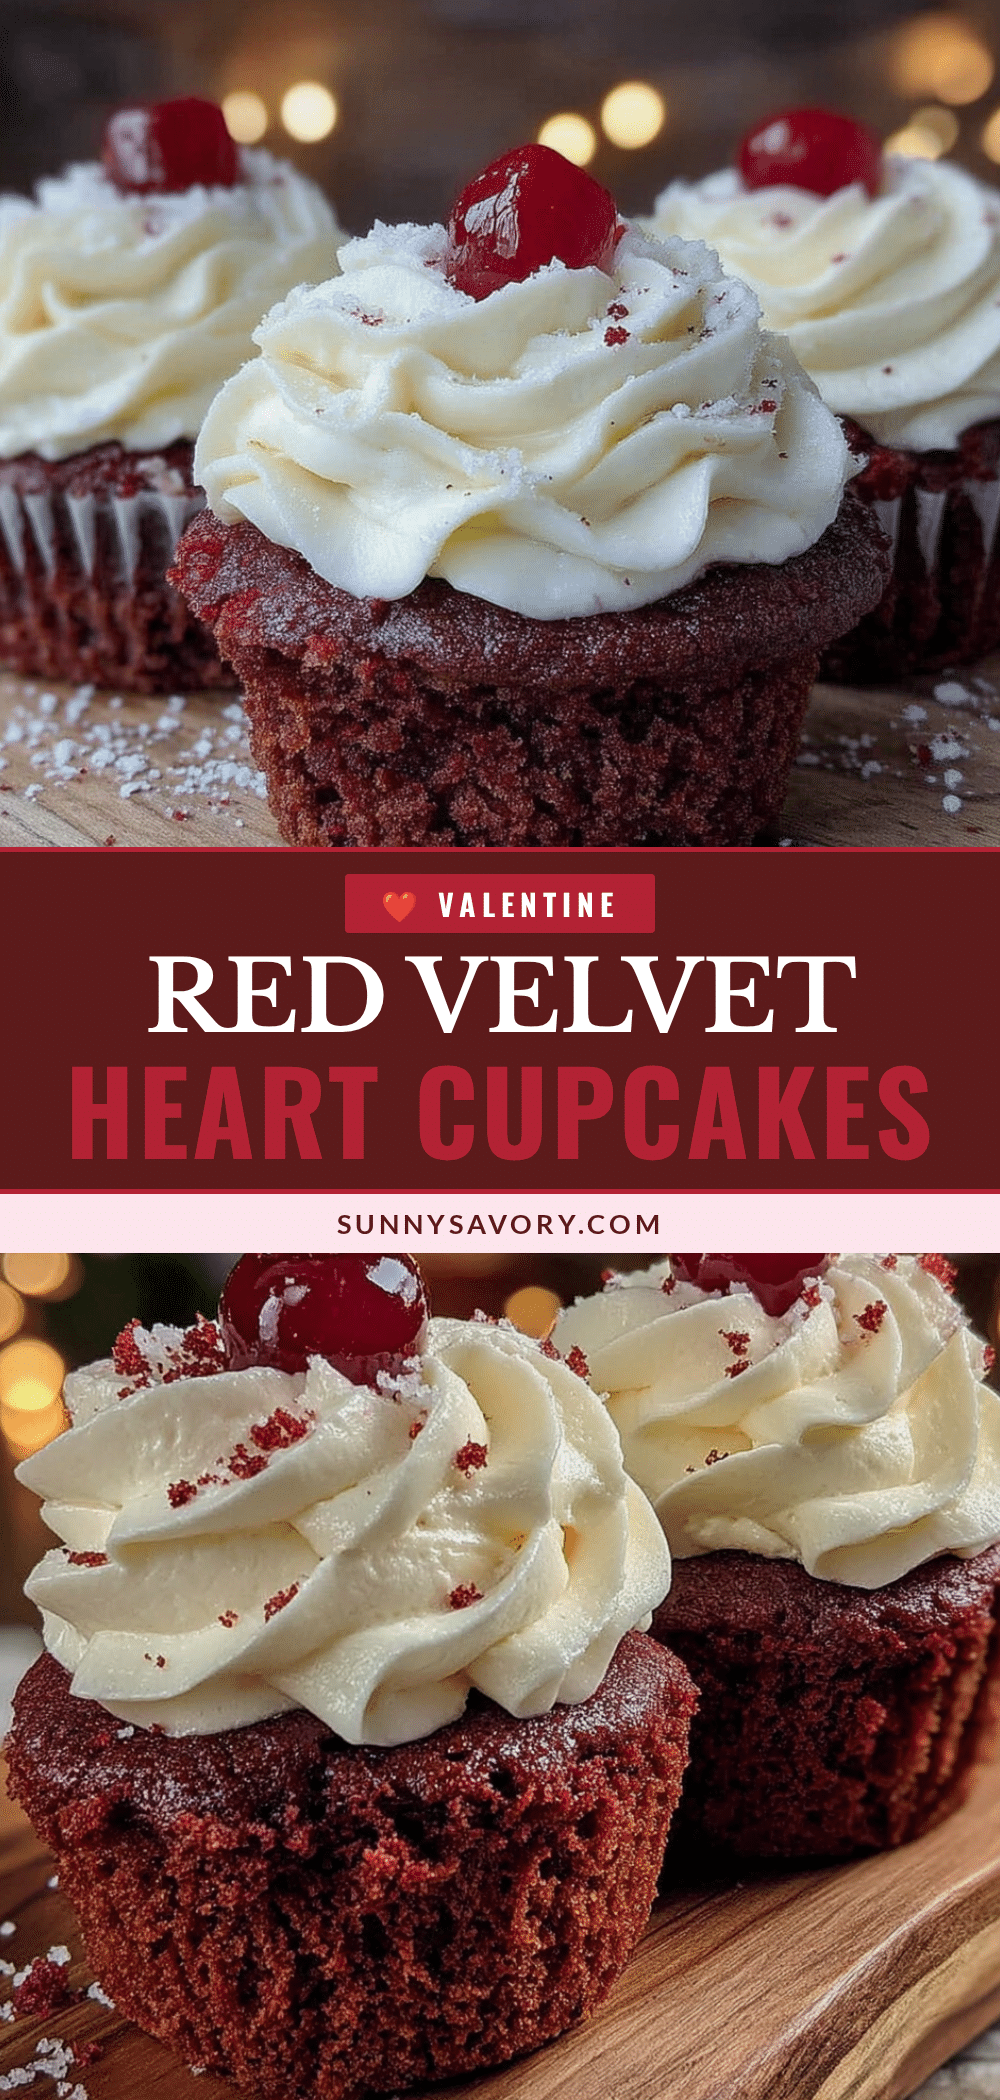
Best Red Velvet Heart Cupcakes – Easy Valentine’s Day Dessert
Tender red velvet cupcakes with a perfect crumb and silky cream cheese frosting, shaped like hearts for a romantic touch. This forgiving recipe uses simple ingredients and comes together in under an hour, making it ideal for busy weeknights or last-minute Valentine’s plans.
- Prep Time: 15 minutes
- Cook Time: 18 minutes
- Total Time: 33 minutes
- Yield: 12 servings 1x
- Category: Dessert
- Cuisine: American
Ingredients
- 1 ½ cups (180g) all-purpose flour
- 1 cup (200g) granulated sugar
- 2 tablespoons (10g) unsweetened cocoa powder
- 1 teaspoon (5g) baking soda
- ½ teaspoon (3g) salt
- ½ cup (120ml) vegetable oil
- ½ cup (120ml) buttermilk
- 2 large eggs, room temperature
- 2 tablespoons (30ml) red food coloring (gel preferred)
- 1 teaspoon (5ml) vanilla extract
- 1 teaspoon (5ml) white vinegar
- 8 oz (226g) cream cheese, softened
- ½ cup (113g) unsalted butter, softened
- 3 cups (360g) powdered sugar, sifted
- 1 teaspoon (5ml) vanilla extract
- Pinch of salt
- Heart-shaped sprinkles or sanding sugar (optional)
- Fresh raspberries or strawberries (optional)
- Edible glitter or gold dust (optional)
Instructions
- Preheat oven to 350°F (175°C). Place heart-shaped silicone mold on a baking sheet or line a 12-cup muffin tin with paper liners. Lightly spray silicone mold with non-stick cooking spray.
- In a medium bowl, whisk together flour, sugar, cocoa powder, baking soda, and salt for 30 seconds.
- In a large bowl, whisk together vegetable oil, buttermilk, eggs, red food coloring, and vanilla extract until smooth.
- Pour dry ingredients into wet ingredients and stir with a rubber spatula until just combined (a few lumps are okay).
- In a small bowl, stir together white vinegar and an extra ¼ teaspoon baking soda (it will fizz). Quickly fold into batter until just incorporated.
- Spoon batter into prepared molds, filling each about ⅔ full.
- Bake for 15-18 minutes, or until a toothpick inserted in center comes out clean or with a few moist crumbs. Cool in mold for 5 minutes, then transfer to a wire rack to cool completely.
- For frosting: In a large bowl, beat cream cheese and butter until smooth and creamy (about 2 minutes). Gradually add powdered sugar, 1 cup at a time, beating on low. Add vanilla and salt, then beat on medium-high for 2 minutes until light and fluffy.
- Once cupcakes are completely cool, transfer frosting to a piping bag fitted with a star tip. Pipe a swirl starting from the outside and working inward. Decorate with sprinkles, berries, or edible glitter as desired.
Notes
Room temperature ingredients are key for best texture. Don’t overmix the batter. The vinegar trick is essential for lightness. Use gel food coloring for vibrant color. Cool cupcakes completely before frosting. For dairy-free, use plant-based buttermilk, cream cheese, and butter. For natural red color, use 2 tablespoons beet powder mixed with 2 tablespoons water.
Nutrition
- Serving Size: 1 cupcake with frost
- Calories: 380
- Sugar: 40
- Sodium: 220
- Fat: 18
- Saturated Fat: 8
- Carbohydrates: 52
- Fiber: 1
- Protein: 4
Keywords: red velvet cupcakes, heart cupcakes, Valentine's Day dessert, cream cheese frosting, easy cupcake recipe



