Love this? Save it for later!
Share the inspiration with your friends
I was supposed to be making brownies. That was the plan, anyway. I had the butter melting, the dark chocolate chopped, and I was feeling pretty good about myself for being so organized on a rainy Tuesday afternoon. Then I realized I was out of eggs. Not just low on eggs—completely, utterly out. And the nearest store was a twenty-minute drive through pouring rain. I stood there, staring into my empty fridge like it had personally betrayed me.
So I did what any reasonable person would do when their baking plans fall apart. I panicked for a minute, then started rummaging through my pantry like a woman possessed. I found some flour, a half-empty bag of sugar, and—thankfully—a jar of raspberry jam I’d bought on a whim last month. The chocolate was already melted, so there was no going back. I grabbed a stick of butter, creamed it with sugar, and just started throwing things together. No eggs, no plan, and honestly, no hope that this would turn into anything edible.
The dough was crumbly and weird. I had to press it together with my fingers just to form little balls, and when I made the indentations for the jam, half of them cracked apart. I was convinced I’d created a monstrosity. But I baked them anyway—what else was I going to do with a bowl of sad cookie dough? When they came out of the oven, golden and fragrant, I filled each little well with raspberry jam and drizzled melted dark chocolate over the top. That first bite was a revelation. The cookie was buttery and tender, the jam was bright and sweet, and the chocolate? Deep, rich, and completely perfect. I sat there on my kitchen stool, eating one after another, laughing at how wrong I’d been. Maybe you’ve been there—that moment when a kitchen disaster turns into something you’ll make for years. These cookies are proof that sometimes the best recipes come from the messiest moments.
Why You’ll Love This Recipe
Let me tell you why these cookies have become my go-to for everything from cozy nights in to holiday cookie exchanges. I’ve tested this recipe at least a dozen times since that rainy afternoon, tweaking the flour ratio and the baking time until it was absolutely perfect. Here’s what makes them special:
- Quick & Easy: From start to finish, these cookies come together in under 35 minutes. No chilling required, no complicated techniques—just straightforward baking that works every time.
- Simple Ingredients: You probably have most of these in your pantry right now. Butter, sugar, flour, cocoa powder, and jam. It doesn’t get much simpler than that.
- Perfect for Cozy Evenings: These are the cookies you make when the weather turns cold and you need something warm and chocolatey to curl up with. They pair beautifully with a cup of tea or a glass of cold milk.
- Crowd-Pleaser: I’ve brought these to potlucks, work parties, and family gatherings, and they disappear faster than anything else on the table. Kids love the jammy center, and adults appreciate the sophisticated dark chocolate.
- Unbelievably Delicious: The combination of buttery shortbread-like cookie, tart raspberry jam, and rich dark chocolate is next-level comfort food. It’s the kind of cookie that makes you close your eyes after the first bite.
What makes this recipe different from all the other thumbprint cookies out there? It’s the texture. The cookie base is tender and slightly crumbly, almost like a shortbread, but it holds together perfectly around that jammy center. And instead of just dusting with powdered sugar, we’re drizzling melted dark chocolate over the top. It adds a layer of richness that takes these from simple to spectacular. These cookies aren’t just good—they’re the kind that make people ask for the recipe before they’ve even finished eating one.
What Ingredients You Will Need
This recipe uses simple, wholesome ingredients to create cookies that taste like they came from a fancy bakery. Most of these are pantry staples, which means you can whip up a batch anytime the craving strikes.
- Unsalted butter, softened (1 cup / 226g) – Make sure it’s at room temperature for easy creaming. I prefer using European-style butter like Kerrygold for extra richness, but any good unsalted butter works.
- Granulated sugar (¾ cup / 150g) – Regular white sugar gives these cookies their delicate sweetness and helps create that tender crumb.
- Large egg yolk (1) – Just the yolk, not the whole egg. It adds richness and helps bind the dough without making it too soft. Save the egg white for another use or discard it.
- Vanilla extract (1 teaspoon) – Pure vanilla extract makes a difference here. Skip the imitation stuff if you can.
- All-purpose flour (1½ cups / 190g) – Spoon and level your flour for the most accurate measurement. Scooping directly from the bag can pack in too much flour and make your cookies dry.
- Unsweetened cocoa powder (⅓ cup / 30g) – I recommend using a high-quality Dutch-process cocoa powder like Valrhona or Guittard for the deepest chocolate flavor. Natural cocoa powder works too, but the flavor won’t be as rich.
- Salt (¼ teaspoon) – Just a pinch to balance the sweetness and enhance the chocolate flavor.
- Raspberry jam or preserves (about ½ cup / 160g) – Use seedless jam if you prefer a smoother texture, but I actually love the little seeds in preserves. Bonne Maman is my go-to brand for its bright, authentic raspberry flavor.
- Dark chocolate chips or chopped dark chocolate (½ cup / 85g) – Look for chocolate with 60-70% cocoa content for the perfect balance of sweetness and bitterness. Ghirardelli 60% cacao chips work beautifully here.
- Coconut oil or vegetable shortening (1 teaspoon, optional) – Adding this to the melted chocolate helps it drizzle more smoothly and gives it a nice shine. Not essential, but it makes a difference.
Equipment Needed
You don’t need any fancy equipment to make these cookies, which is part of their charm. Here’s what you’ll need:
- Mixing bowls – One large bowl for the dough and one small bowl for melting chocolate. I use glass or stainless steel bowls.
- Electric hand mixer or stand mixer – You can cream the butter and sugar by hand with a wooden spoon, but a mixer makes it much easier. I’ve done it both ways, and honestly, the mixer saves about ten minutes of arm work.
- Baking sheets – Two standard half-sheet pans work perfectly. Line them with parchment paper for easy cleanup.
- Parchment paper – Non-negotiable for preventing sticking and ensuring even browning. I buy the pre-cut sheets for convenience.
- Small cookie scoop or tablespoon – For portioning uniform dough balls. A #60 cookie scoop (about 1 tablespoon) is perfect.
- Measuring cups and spoons – Accurate measurements matter in baking, so use proper measuring tools, not random spoons from your drawer.
- Cooling rack – Essential for letting the cookies cool properly before adding the chocolate drizzle. A hot cookie will melt the chocolate into a puddle.
- Small piping bag or zip-top bag – For drizzling the melted chocolate. A zip-top bag with the corner snipped off works just as well as a fancy piping bag.
If you don’t have a cookie scoop, just use a tablespoon and shape the dough balls with your hands. And if you don’t have a cooling rack, you can cool the cookies on the parchment paper—just give them extra time.
Preparation Method
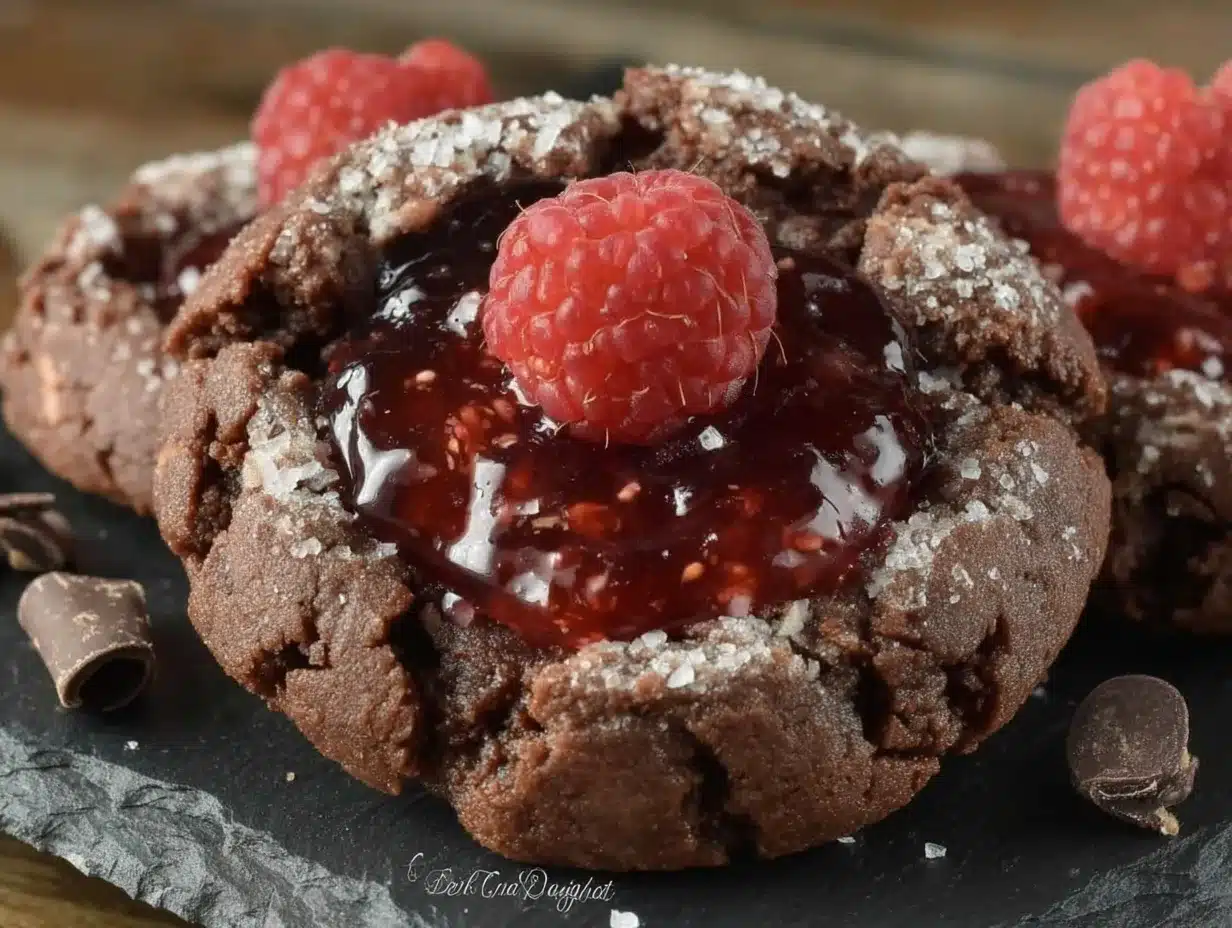
Follow these steps carefully, and you’ll have perfect cookies every time. I’ve included all the little details that make the difference between good cookies and unforgettable ones.
- Preheat your oven to 350°F (175°C) and line two baking sheets with parchment paper. Get this done first so your oven is ready when the dough is.
- Cream the butter and sugar together in a large mixing bowl. Beat the softened butter and granulated sugar with an electric mixer on medium speed for about 2-3 minutes, until the mixture is light, fluffy, and pale in color. Scrape down the sides of the bowl halfway through. You’re looking for a texture that’s almost like whipped frosting—airy and smooth.
- Add the egg yolk and vanilla extract to the creamed butter mixture. Beat on low speed until just combined, about 30 seconds. Don’t overmix here, or the dough might become too dense. The mixture will look slightly curdled at this point—that’s totally normal.
- Whisk the dry ingredients together in a separate medium bowl. Combine the flour, cocoa powder, and salt, and whisk until evenly distributed. This ensures the cocoa powder is fully incorporated without having to overmix the dough later.
- Gradually add the dry ingredients to the wet mixture, mixing on low speed. Add about one-third of the flour mixture at a time, mixing just until you can’t see any more dry flour. The dough will look crumbly and dry—resist the urge to add liquid. It should hold together when pressed between your fingers but won’t form a smooth ball like regular cookie dough.
- Scoop and roll the dough into balls. Use a small cookie scoop or a tablespoon to portion out the dough. Roll each portion between your palms into a smooth ball, about 1 inch in diameter. If the dough cracks or falls apart, just press it back together—it’s forgiving. Place the balls about 2 inches apart on the prepared baking sheets.
- Make the indentations. Use your thumb, the back of a rounded teaspoon, or the handle of a wooden spoon to press a deep well into the center of each dough ball. Go almost to the bottom but not all the way through—you want a little cookie base underneath the jam. If the edges crack, just gently press them back together with your fingers. This happens to me every time, and it’s never been a problem.
- Fill each indentation with raspberry jam. Use a small spoon or a piping bag to add about ½ teaspoon of jam to each well. Don’t overfill, or the jam will bubble over and spread during baking. A little goes a long way.
- Bake for 10-12 minutes, rotating the pans halfway through. The cookies are done when the edges are set and the bottoms are lightly golden. The centers will still look slightly soft—that’s okay. They’ll continue to set as they cool. If you overbake them, they’ll be dry instead of tender.
- Cool on the baking sheet for 5 minutes, then transfer to a wire cooling rack. Let them cool completely before adding the chocolate drizzle. This is important—warm cookies will turn the chocolate into a sticky mess.
- Melt the dark chocolate in a small microwave-safe bowl. Heat in 20-second intervals, stirring between each, until smooth and fully melted. If using coconut oil, stir it in after the chocolate is melted for a glossier finish.
- Drizzle the melted chocolate over the cooled cookies. Transfer the chocolate to a small piping bag or a zip-top bag with a tiny corner snipped off. Drizzle back and forth over each cookie in a zigzag pattern. Let the chocolate set at room temperature for about 30 minutes, or pop them in the fridge for 15 minutes if you’re impatient like me.
Cooking Tips & Techniques
After making these cookies more times than I can count, I’ve learned a few things the hard way. Here are my best tips for perfect results every time:
Don’t overmix the dough. I know it’s tempting to keep mixing until everything comes together into a smooth ball, but that’s actually the enemy here. Overmixing develops the gluten in the flour, which makes the cookies tough instead of tender. Mix just until the flour disappears, then stop. The crumbly texture is what you want.
Chill if you need to, but you probably don’t. This dough doesn’t require chilling, which is one of the things I love about it. However, if your kitchen is very warm or your butter was too soft, the dough might be sticky. In that case, pop the baking sheets in the fridge for 15 minutes before baking. It’ll help the cookies hold their shape better.
Use a measuring spoon for the indentations. I learned this trick from my neighbor who’s been baking for forty years. Instead of using your thumb (which can be uneven), use the back of a ½ teaspoon measure to press the wells. It creates a perfect, uniform indentation every time, and it’s much easier on your thumb.
Watch the jam. Raspberry jam can bubble up and spread during baking if you overfill the wells. I always fill them just to the brim, not heaping. If the jam does overflow, don’t panic—it’ll still taste delicious, it just won’t look as pretty. You can trim away any burnt jam edges after cooling.
Let the chocolate set properly. I once got impatient and stacked the cookies before the chocolate was fully set. Big mistake. The chocolate smeared everywhere, and I ended up with a plate of messy (but still tasty) cookies. Give the chocolate at least 30 minutes at room temperature, or use the fridge trick if you’re in a hurry.
Toast the cookies briefly after adding jam if you want. This is a pro tip I picked up from a pastry chef friend. After filling the indentations with jam, pop the cookies back in the oven for 2 minutes. This helps the jam set slightly and prevents it from becoming too runny. I don’t always do this, but it does make a difference.
Variations & Adaptations
One of the best things about this recipe is how adaptable it is. Here are some variations I’ve tried and loved:
Different jam flavors. Raspberry is classic, but strawberry, apricot, or blackberry jam all work beautifully. I made a batch with fig jam last fall that was absolutely incredible—the sweet, earthy fig paired perfectly with the dark chocolate. For a holiday twist, try cranberry-orange marmalade or spiced apple butter.
White chocolate drizzle. If dark chocolate isn’t your thing, swap it for white chocolate. The creamy sweetness of white chocolate contrasts beautifully with the tart raspberry jam. I’ve also tried it with milk chocolate, and while it’s sweeter, it’s still delicious. Just use good-quality white chocolate—the cheap stuff doesn’t melt as smoothly.
Gluten-free option. Substitute the all-purpose flour with a 1:1 gluten-free baking flour blend that contains xanthan gum. I’ve tested this with King Arthur’s Measure for Measure flour, and the results were nearly identical to the original. The cookies might be slightly more delicate, so handle them gently when making the indentations.
Add nuts for crunch. Roll the dough balls in finely chopped pecans or almonds before baking for added texture. Press the nuts gently into the dough so they stick. The nutty flavor pairs wonderfully with both the chocolate and the raspberry. I made a batch with pistachios once, and they were stunning—the green nuts against the dark chocolate and red jam were almost too pretty to eat.
Vegan adaptation. Use vegan butter (I like Miyoko’s) and replace the egg yolk with 1 tablespoon of aquafaba (the liquid from a can of chickpeas) or a flax egg (1 tablespoon ground flaxseed mixed with 3 tablespoons water). The texture will be slightly different—a bit more crumbly—but still delicious. Use vegan dark chocolate for the drizzle.
Spiced version. Add ½ teaspoon of cinnamon and ¼ teaspoon of cayenne pepper to the dry ingredients for a Mexican chocolate-inspired twist. The warmth of the spices complements the raspberry jam in a way that’s unexpected but completely addictive. I made these for a Christmas party, and they were gone in minutes.
Serving & Storage Suggestions
These cookies are at their absolute best when served at room temperature. The chocolate should be fully set but still soft enough to give slightly when you bite into it. I like to arrange them on a simple white platter with a few fresh raspberries scattered around for color—it makes them look almost too pretty to eat.
For drinks, you can’t go wrong with a hot cup of coffee or a tall glass of cold milk. The bitterness of coffee cuts through the sweetness beautifully, while milk is the classic companion for any chocolate cookie. If you’re serving these at a holiday party, try pairing them with a glass of port or a warm mug of spiced cider. The rich, fruity notes in both drinks echo the raspberry jam in the cookies.
Storage instructions: Store the cookies in an airtight container at room temperature for up to 5 days. Layer them between sheets of parchment paper to prevent the chocolate from smudging. Do not refrigerate them—the fridge will dry out the cookies and make the chocolate bloom (turn white and streaky). If your kitchen is very warm, you can store them in a cool, dark cupboard.
Freezing instructions: These cookies freeze beautifully. Place them in a single layer on a baking sheet and freeze until solid, about 1 hour. Then transfer them to a freezer-safe container or zip-top bag, separating layers with parchment paper. They’ll keep for up to 3 months. To thaw, let them sit at room temperature for about 30 minutes. The chocolate might look a little dull after freezing, but the flavor will still be perfect.
Make-ahead tip: You can prepare the dough up to 2 days in advance and keep it in the refrigerator. When you’re ready to bake, let the dough sit at room temperature for 10-15 minutes to soften slightly, then proceed with shaping and baking. The flavor actually improves after a day in the fridge—the cocoa powder has time to fully hydrate and deepen.
One thing I’ve noticed is that these cookies taste even better the day after baking. The flavors meld together overnight, and the jam soaks slightly into the cookie base, creating a texture that’s somehow even more tender. So don’t be afraid to make them a day ahead if you’re planning for a party.
Nutritional Information & Benefits
Let’s be real—these are cookies, not health food. But that doesn’t mean they can’t have a place in a balanced diet. Here’s the estimated nutritional breakdown per cookie (based on 24 cookies):
- Calories: 145
- Total Fat: 8g
- Saturated Fat: 5g
- Carbohydrates: 18g
- Sugar: 11g
- Fiber: 1g
- Protein: 2g
- Sodium: 35mg
Dark chocolate (60-70% cacao) is actually a decent source of antioxidants, particularly flavonoids, which have been linked to heart health benefits. It also contains iron, magnesium, and zinc. Raspberries are rich in vitamin C and dietary fiber. So while these cookies are definitely a treat, they’re not completely devoid of nutritional value.
Dietary considerations: This recipe contains dairy (butter) and gluten (flour). For a dairy-free version, use vegan butter. For a gluten-free version, use a 1:1 gluten-free flour blend. The recipe is naturally nut-free, but check your chocolate and jam labels for potential cross-contamination if you have severe allergies.
I personally believe that food should be enjoyed without guilt. These cookies are meant to be a source of comfort and joy, not stress. So make them, share them, and savor every single bite. Life is too short for bad cookies.
Conclusion
These Dark Chocolate Raspberry Thumbprint Cookies started as a happy accident, but they’ve become one of my most treasured recipes. They’re the cookies I turn to when I need a little comfort, when I want to impress someone without stress, or when I just want to fill my kitchen with the smell of chocolate and butter. The combination of tender chocolate cookie, bright raspberry jam, and rich dark chocolate drizzle is nothing short of magical.
I hope you’ll make these cookies your own. Experiment with different jams, try different chocolates, add your favorite spices—make them a reflection of what you love. That’s the beauty of baking, isn’t it? Every batch is a little different, and every batch has its own story.
When you make these (and I hope you do), I’d love to hear about it. Drop a comment below and tell me how they turned out, what variations you tried, or just share your own kitchen disaster story. And if you loved them as much as I do, share the recipe with someone who needs a little sweetness in their life. Happy baking, friend.
Frequently Asked Questions
Can I use salted butter instead of unsalted?
Yes, you can. Just reduce or omit the added salt in the recipe. Salted butter typically contains about ¼ teaspoon of salt per stick, so you might want to skip the extra ¼ teaspoon called for in the recipe. The cookies might be slightly saltier, but honestly, a little extra salt with chocolate is never a bad thing.
Why did my cookies spread too much?
This usually happens when the butter is too soft or the dough is too warm. Make sure your butter is softened but not melted—it should still hold its shape when you press it. If your kitchen is warm, chill the shaped dough balls for 15 minutes before baking. Also, check that you measured your flour correctly; too little flour can cause spreading.
Can I use frozen raspberries instead of jam?
I wouldn’t recommend it. Frozen raspberries release a lot of moisture as they bake, which will make the cookies soggy and cause the filling to spread everywhere. If you really want to use fresh fruit, try cooking the raspberries down with a little sugar and cornstarch to make a quick compote first. But honestly, jam works best here for both texture and flavor.
How do I prevent the jam from bubbling over?
Don’t overfill the indentations—about ½ teaspoon per cookie is plenty. Also, make sure your indentations are deep enough but not so deep that they go through the bottom of the cookie. If you’re still having trouble, try baking the cookies for 2 minutes before adding the jam, then add the jam and continue baking. This sets the cookie slightly and helps contain the jam.
Can I make these cookies ahead of time for a party?
Absolutely. You can make the dough up to 2 days ahead and keep it in the fridge. Or you can bake the cookies completely (without the chocolate drizzle) up to 3 days ahead, store them in an airtight container, and add the chocolate drizzle the day you plan to serve them. The cookies also freeze beautifully for up to 3 months—just thaw and add the chocolate drizzle before serving.
Pin This Recipe!
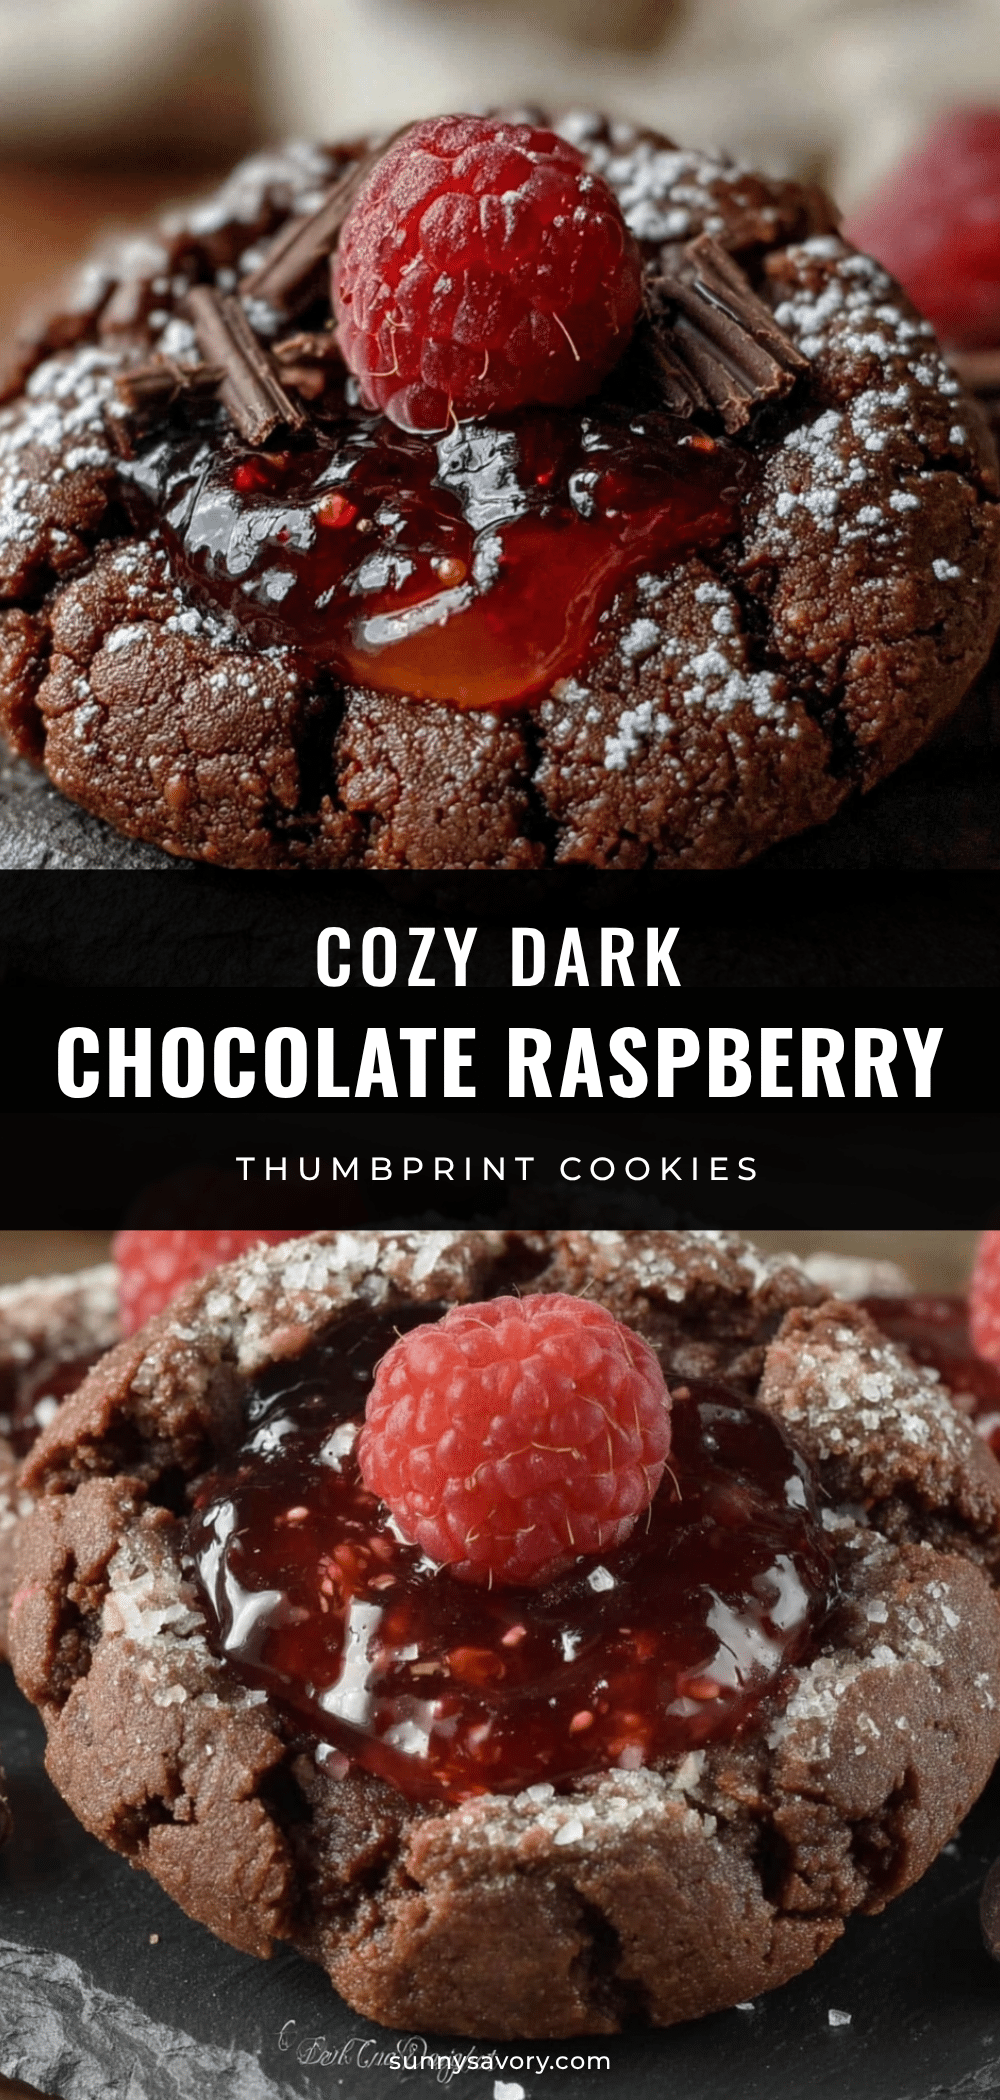
Easy Dark Chocolate Raspberry Thumbprint Cookies

These buttery, tender chocolate thumbprint cookies are filled with bright raspberry jam and drizzled with rich dark chocolate. A happy accident turned into a beloved recipe that’s perfect for cozy evenings, holiday cookie exchanges, or any time you need a little sweetness.
- Prep Time: 20 minutes
- Cook Time: 12 minutes
- Total Time: 32 minutes
- Yield: 24 cookies 1x
- Category: Dessert
- Cuisine: American
Ingredients
- 1 cup (226g) unsalted butter, softened
- 3/4 cup (150g) granulated sugar
- 1 large egg yolk
- 1 teaspoon vanilla extract
- 1 1/2 cups (190g) all-purpose flour
- 1/3 cup (30g) unsweetened cocoa powder (Dutch-process preferred)
- 1/4 teaspoon salt
- 1/2 cup (160g) raspberry jam or preserves
- 1/2 cup (85g) dark chocolate chips or chopped dark chocolate (60-70% cacao)
- 1 teaspoon coconut oil or vegetable shortening (optional, for smoother drizzle)
Instructions
- Preheat oven to 350°F (175°C). Line two baking sheets with parchment paper.
- In a large bowl, cream together softened butter and granulated sugar with an electric mixer on medium speed until light, fluffy, and pale (about 2-3 minutes). Scrape down sides as needed.
- Add egg yolk and vanilla extract; beat on low speed until just combined (about 30 seconds). Mixture may look slightly curdled.
- In a separate medium bowl, whisk together flour, cocoa powder, and salt until evenly distributed.
- Gradually add dry ingredients to wet mixture, mixing on low speed in thirds, just until no dry flour remains. Dough will be crumbly and dry but should hold together when pressed.
- Scoop dough into 1-inch balls (about 1 tablespoon each) and roll between palms into smooth balls. Place 2 inches apart on prepared baking sheets.
- Use your thumb, the back of a rounded teaspoon, or the handle of a wooden spoon to press a deep well into the center of each ball, almost to the bottom but not through. Gently press any cracked edges back together.
- Fill each indentation with about 1/2 teaspoon raspberry jam. Do not overfill.
- Bake for 10-12 minutes, rotating pans halfway through, until edges are set and bottoms are lightly golden. Centers will still look soft.
- Cool on baking sheet for 5 minutes, then transfer to a wire cooling rack. Cool completely before adding chocolate drizzle.
- Melt dark chocolate in a small microwave-safe bowl in 20-second intervals, stirring between each, until smooth. If using, stir in coconut oil or shortening for a glossier finish.
- Transfer melted chocolate to a small piping bag or zip-top bag with a tiny corner snipped off. Drizzle zigzag pattern over each cooled cookie. Let chocolate set at room temperature for about 30 minutes, or refrigerate for 15 minutes.
Notes
Don’t overmix the dough to keep cookies tender. If dough is sticky, chill for 15 minutes before baking. Use a measuring spoon for uniform indentations. Cookies taste even better the day after baking. Store in an airtight container at room temperature for up to 5 days. Freeze for up to 3 months.
Nutrition
- Serving Size: 1 cookie
- Calories: 145
- Sugar: 11
- Sodium: 35
- Fat: 8
- Saturated Fat: 5
- Carbohydrates: 18
- Fiber: 1
- Protein: 2
Keywords: thumbprint cookies, dark chocolate, raspberry jam, easy cookies, no chill cookies, holiday cookies, chocolate cookies



