Love this? Save it for later!
Share the inspiration with your friends
This was supposed to be a batch of oatmeal raisin cookies. I know, I know—who reaches for oatmeal raisin when you could have chocolate chip? But I had this jar of fancy dried figs I was determined to use, and I was convinced that a chewy, spiced cookie was the answer. I had the oats measured, the cinnamon ready, and I was feeling pretty smug about my healthy-ish baking plan. Then my three-year-old wandered into the kitchen, spotted the bag of semi-sweet chocolate chips I’d left on the counter from a different project, and asked the question that derailed everything: “Why are those hiding, Mama?”
In my distraction—honestly, I was already mentally patting myself on the back for the fig idea—I grabbed the wrong measuring cup. Instead of the oat flour I’d prepped, I scooped up all-purpose flour. I didn’t even notice until I’d already mixed it into the butter and sugar. The oats sat abandoned on the counter. The figs went back in the fridge. I stood there staring at a bowl of what was basically sugar cookie dough, feeling like I’d just wasted a stick of butter. I almost threw it out. But the kid was still watching me, and I didn’t have the heart to start over. So I tossed in a handful of chocolate chips, scooped the dough onto a tray, and slid it into the oven with absolutely no expectations.
What came out was nothing like the plan—and better. They were soft, almost pillowy, with that slight crackle on top and a center that stayed tender for days. My daughter ate three before dinner. My husband asked if I’d changed my recipe. I mumbled something about a “new technique” and didn’t admit the truth until the next batch. That was six months ago, and I haven’t made oatmeal raisin since. Maybe you’ve been there—where a kitchen mistake ends up being the thing you keep coming back to. These cookies are that mistake, and honestly, I’m glad I made it.
Why You’ll Love This Recipe
These aren’t just any chocolate chip cookies. They’re the ones you make when you want a warm, soft cookie without committing to a full batch that lasts a week. I’ve tested this small-batch recipe more times than I can count, and it’s become the go-to in my house for a reason. Here’s what makes it stand out:
- Quick & Easy: From mixing bowl to cooling rack in under 30 minutes. Perfect for after-school cravings or a late-night dessert impulse.
- Simple Ingredients: No weird flours, no chilling required, and you probably have everything in your pantry right now. I mean it—check your cupboard.
- Perfect for Small Families: This batch makes exactly 8 cookies. Enough for a treat, not so many that you’re eating stale cookies by day three.
- Crowd-Pleaser: My kids devour them, my neighbor asked for the recipe, and even my picky-eater nephew gave them a thumbs up. That’s a win in my book.
- Unbelievably Soft: The texture is what gets people. They stay soft for days—if they last that long—thanks to a little trick with melted butter and an extra yolk.
What makes these different from every other chocolate chip cookie recipe out there? It’s the method. Most small-batch recipes either turn out too cakey or too flat. These hit that sweet spot—chewy edges, soft centers, and just enough chocolate in every bite. I’ve tried versions with browned butter, with chilling, with all sorts of fussy steps. This one skips all that and still delivers the kind of cookie that makes you close your eyes after the first bite. It’s comfort food, simplified, and it works every single time.
What Ingredients You Will Need
This recipe uses basic, everyday ingredients to create something special. No hunting down specialty items—just the staples you probably already have. Here’s what you’ll need and why each one matters:
- Unsalted butter, melted (4 tablespoons or 57g): Melting the butter is the secret to that soft, chewy texture. It coats the flour proteins differently than creamed butter, giving you a tender crumb without any extra effort. I use unsalted so I can control the salt level, but if you only have salted, just skip the added salt in the recipe.
- Granulated sugar (3 tablespoons or 38g): Adds sweetness and helps with spreading. Don’t reduce this too much or the cookies won’t spread properly.
- Light brown sugar, packed (3 tablespoons or 38g): This is where the moisture and that slight caramel flavor come from. I recommend Domino or C&H for consistent results—they’re reliable and widely available.
- Large egg yolk (1 yolk, about 18g): Just the yolk, not the whole egg. The yolk adds richness and tenderness, while skipping the white keeps the cookies from puffing up too much. Save the white for scrambled eggs or freeze it for later.
- Vanilla extract (1/2 teaspoon): Pure vanilla makes a difference here. I prefer Nielsen-Massey for its deep flavor, but any pure vanilla works. Avoid imitation if you can—it tends to taste artificial in small batches.
- All-purpose flour (1/2 cup plus 1 tablespoon, or 75g): Spoon and level your flour—don’t scoop straight from the bag. Too much flour makes dry, crumbly cookies. If you’re measuring by volume, fluff the flour first, then spoon it into your cup and level it off.
- Baking soda (1/4 teaspoon): Helps the cookies spread just enough and gives them a slight lift. Make sure yours isn’t expired—test it by dropping a pinch into vinegar; if it fizzes, it’s good.
- Salt (1/4 teaspoon): Balances the sweetness and brings out the chocolate flavor. Fine sea salt or table salt works best here.
- Semi-sweet chocolate chips (1/3 cup, or 60g): I use Ghirardelli for their consistent melt and rich flavor, but any good-quality chip works. You can also chop up a chocolate bar for bigger puddles of chocolate—my kids love when I do that.
Substitution guidance: For a dairy-free version, use vegan butter sticks (like Earth Balance) in place of regular butter. For a gluten-free option, swap the all-purpose flour with a 1:1 gluten-free baking flour blend—I’ve had good results with Bob’s Red Mill. The texture will be slightly more delicate, but still delicious. If you’re out of brown sugar, you can mix 3 tablespoons of granulated sugar with 1 teaspoon of molasses as a quick substitute.
Equipment Needed
You don’t need a fancy kitchen setup for these cookies. Here’s what I use and what you can substitute if needed:
- Mixing bowls (2 small to medium): One for the wet ingredients, one for the dry. I use stainless steel bowls because they’re lightweight and easy to clean, but glass or ceramic works fine.
- Whisk: For blending the melted butter and sugars together. A fork works in a pinch, but a whisk gives you a smoother mixture.
- Rubber spatula or wooden spoon: For folding in the flour and chocolate chips. I prefer a spatula because it scrapes the bowl clean.
- Baking sheet: A standard half-sheet pan works perfectly. If you only have a dark nonstick pan, reduce the oven temperature by 25°F to prevent over-browning.
- Parchment paper or silicone baking mat: Essential for easy cleanup and preventing sticking. I’ve used both—parchment is cheaper, but silicone mats are reusable and give slightly more even browning.
- Cookie scoop (1.5-tablespoon size): Not required, but it gives you evenly sized cookies that bake uniformly. A regular spoon works too—just try to make each portion about the same size.
- Cooling rack: Lets air circulate under the cookies so they don’t get soggy on the bottom. If you don’t have one, slide the cookies onto a plate after a few minutes on the pan.
Budget-friendly tip: Skip the cookie scoop and use two spoons to portion the dough. And if you don’t have parchment, lightly grease your baking sheet with butter or nonstick spray—just watch the bottoms so they don’t over-brown.
Preparation Method
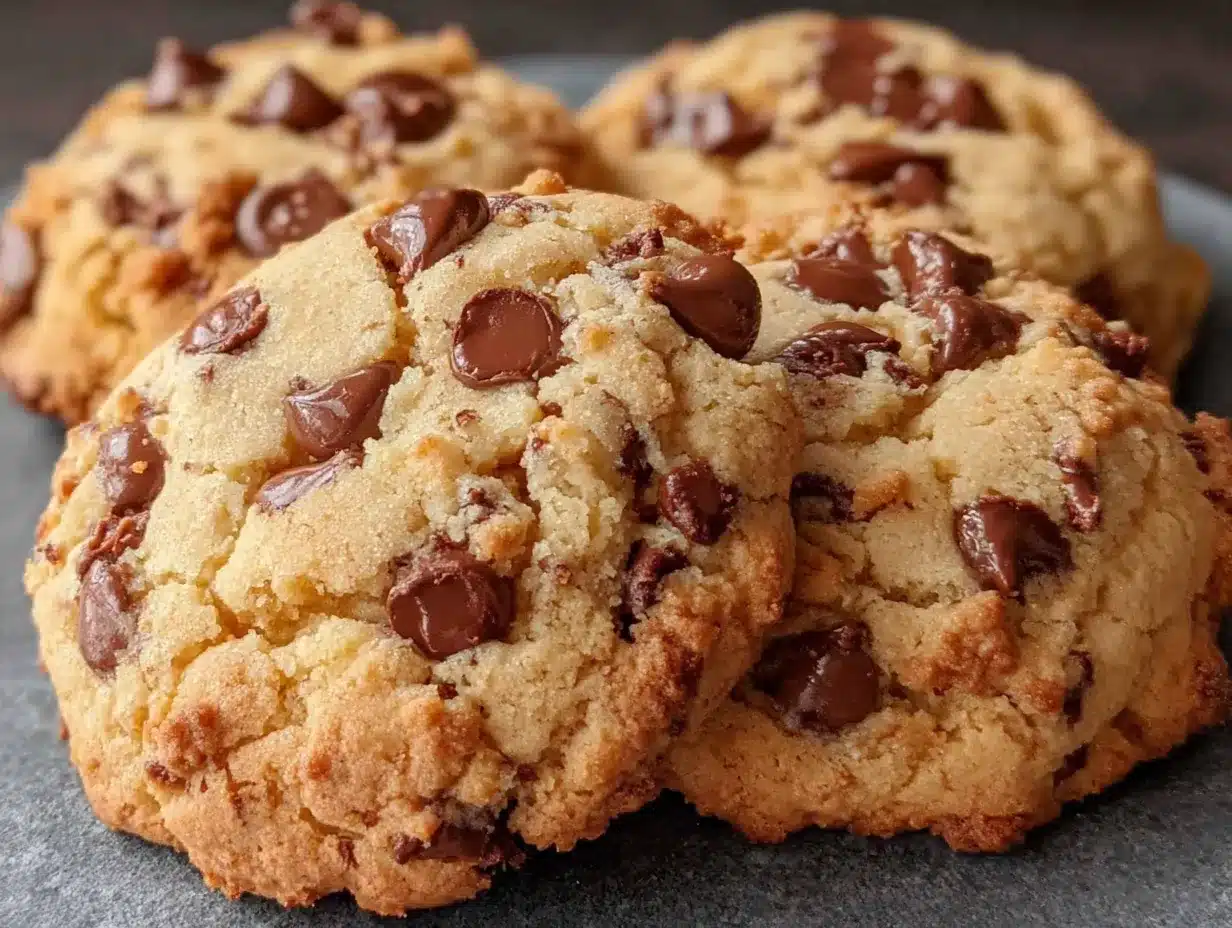
Follow these steps, and you’ll have warm, soft cookies in under half an hour. I’ve included sensory cues at each stage so you know exactly what to look for.
- Preheat your oven to 350°F (175°C). Position the rack in the center of the oven. While it heats, line your baking sheet with parchment paper or a silicone mat. This step matters—don’t skip the lining, or the cookies might stick.
- Melt the butter. Place 4 tablespoons of unsalted butter in a microwave-safe bowl and heat in 15-second bursts until just melted. It should be liquid but not hot—warm to the touch, not bubbling. Let it cool for 2 minutes while you gather the other ingredients. Hot butter can cook the egg yolk and change the texture.
- Mix the wet ingredients. In a medium bowl, whisk the melted butter with 3 tablespoons granulated sugar and 3 tablespoons packed light brown sugar. Whisk vigorously for about 30 seconds until the mixture looks smooth and slightly thicker, like a thin caramel sauce. Add 1 large egg yolk and 1/2 teaspoon vanilla extract, then whisk again until fully combined. The mixture should be glossy and smell like vanilla.
- Combine the dry ingredients. In a separate small bowl, whisk together 1/2 cup plus 1 tablespoon all-purpose flour, 1/4 teaspoon baking soda, and 1/4 teaspoon salt. Whisking aerates the flour and distributes the leavener evenly—don’t skip this step or you might get a pocket of baking soda in one cookie.
- Fold the dry into the wet. Pour the flour mixture into the butter mixture. Using a rubber spatula, fold gently until just combined. Stop when you no longer see streaks of flour—overmixing develops gluten and makes tough cookies. The dough will be soft and slightly sticky, not dry.
- Add the chocolate chips. Fold in 1/3 cup semi-sweet chocolate chips with a few strokes. Make sure they’re evenly distributed, but don’t overwork the dough. If the dough feels too soft to scoop, let it rest for 5 minutes—it will firm up slightly as the flour hydrates.
- Portion the dough. Using a 1.5-tablespoon cookie scoop or two spoons, drop 8 equal mounds of dough onto the prepared baking sheet, spacing them about 2 inches apart. They’ll spread, so give them room. For taller, thicker cookies, roll each mound into a ball between your palms—this helps them bake up rounder.
- Bake. Place the sheet in the preheated oven and bake for 9 to 11 minutes. At 9 minutes, the edges should be set and lightly golden, but the centers will still look soft and slightly underdone. That’s exactly what you want—they’ll continue cooking on the hot pan. For softer cookies, pull them at 9 minutes. For slightly crisper edges, go to 11.
- Cool on the pan. Let the cookies rest on the baking sheet for 5 minutes. This is crucial—moving them too soon can break them apart. During this time, the centers will set up while staying soft. After 5 minutes, transfer them to a cooling rack to cool completely, or serve them warm if you can’t wait (I never can).
Troubleshooting tip: If your cookies spread too much and turn into flat discs, your butter was too warm or your flour was under-measured. Next time, cool the melted butter for 3 to 4 minutes before mixing, and spoon and level your flour carefully.
Cooking Tips & Techniques
I’ve made these cookies at least twenty times, and I’ve learned a few things the hard way. Here’s what I wish someone had told me:
Don’t skip the cooling step. The first time I made these, I was so excited that I tried to move a cookie off the pan after two minutes. It fell apart in my hands. That 5-minute rest on the hot baking sheet is non-negotiable—it lets the centers firm up without drying out. Trust the process.
Watch your oven temperature. Ovens run hot or cold more often than you’d think. I burned my first batch because my oven runs 25°F hotter than the dial says. If your cookies are browning too fast on the edges but staying raw in the middle, your oven is too hot. An inexpensive oven thermometer saved my baking game.
Room temperature ingredients matter less here. Unlike traditional cookie recipes that call for room-temperature butter and eggs, this one works with melted butter and a cold egg yolk straight from the fridge. That’s the beauty of this method—less planning, same great results.
For consistent cookies every time, weigh your ingredients. I resisted buying a kitchen scale for years, thinking it was unnecessary. Then I used one for a week, and I’ll never go back. Flour is especially tricky by volume—a scale eliminates the guesswork. If you don’t have one, fluff your flour with a fork before spooning it into your measuring cup.
Multitasking tip: While the oven preheats, melt your butter and measure your dry ingredients. By the time the oven beeps, your dough will be ready to scoop. Total active time is about 10 minutes—the rest is just waiting.
Variations & Adaptations
One of the best things about this recipe is how easy it is to change up. Here are some variations I’ve tried and loved:
- Double Chocolate Chip: Replace 1 tablespoon of the flour with 1 tablespoon of unsweetened cocoa powder. The cookies turn out darker and richer, with a brownie-like flavor. My kids call them “midnight cookies.”
- Peanut Butter Swirl: After scooping the dough onto the pan, drop a small teaspoon of peanut butter on top of each mound and use a toothpick to swirl it in. Bake as directed. The peanut butter gets slightly caramelized and adds a salty contrast.
- Gluten-Free Version: Use a 1:1 gluten-free baking flour blend. I’ve tested this with King Arthur’s Measure for Measure blend, and the cookies come out slightly more delicate but still soft and chewy. Add an extra tablespoon of flour if the dough seems too sticky.
- Vegan Adaptation: Replace the butter with 4 tablespoons of vegan butter sticks (melted) and the egg yolk with 1 tablespoon of aquafaba (the liquid from a can of chickpeas). The texture won’t be quite as rich, but it’s surprisingly close. My vegan friend couldn’t tell the difference.
- Mix-In Swaps: Instead of chocolate chips, try white chocolate chips and dried cranberries, or chopped pecans and butterscotch chips. For a fun twist, use mini M&M’s—my daughter’s favorite birthday treat.
One personal variation I keep coming back to: I add a sprinkle of flaky sea salt on top of each cookie right after they come out of the oven. That tiny bit of saltiness against the sweet, soft cookie is absolutely addictive.
Serving & Storage Suggestions
These cookies are best served warm, when the chocolate is still melty and the centers are ultra-soft. I like to plate them on a small dish with a glass of cold milk—classic for a reason. If you’re feeling fancy, sandwich two cookies with a scoop of vanilla ice cream for an instant dessert.
Storage instructions: Keep leftover cookies in an airtight container at room temperature for up to 3 days. To maintain their softness, add a slice of bread to the container—the cookies will absorb the moisture from the bread and stay tender. Replace the bread slice every day if the cookies last that long.
Freezing: These freeze beautifully. Place baked cookies in a single layer in a freezer-safe bag or container, separating layers with parchment paper. They’ll keep for up to 2 months. To enjoy, let them thaw at room temperature for 15 minutes, then warm in a 300°F oven for 3 to 4 minutes. You can also freeze the raw dough: scoop it into balls, freeze on a baking sheet until solid, then transfer to a bag. Bake from frozen, adding 2 minutes to the baking time.
Reheating: For a just-baked experience, microwave a single cookie for 8 to 10 seconds. Don’t overdo it, or the chocolate will turn into a puddle. If you’re reheating multiple cookies, pop them in a 325°F oven for 3 to 4 minutes.
Flavor note: These cookies actually taste better the day after baking. The flavors meld together, and the texture stays soft. I’ve been known to hide a couple in the back of the pantry just for myself.
Nutritional Information & Benefits
Here’s the estimated nutritional breakdown per cookie (based on 8 cookies total):
| Nutrient | Amount per Cookie |
|---|---|
| Calories | 185 |
| Total Fat | 10g |
| Saturated Fat | 6g |
| Cholesterol | 35mg |
| Sodium | 115mg |
| Total Carbohydrates | 23g |
| Dietary Fiber | 1g |
| Sugars | 14g |
| Protein | 2g |
While these are definitely a treat, there are a few bright spots. The butter provides a small amount of vitamin A, and the dark chocolate chips offer antioxidants and a touch of iron. Using just an egg yolk reduces the overall cholesterol compared to using a whole egg. If you’re watching your sugar intake, you can reduce the granulated sugar to 2 tablespoons—the cookies will be slightly less sweet but still delicious.
These cookies are vegetarian and can be made gluten-free or vegan with the substitutions listed above. They contain dairy, eggs, and gluten in their standard form. For a lower-calorie option, swap half the chocolate chips for chopped walnuts or omit them entirely for a plain sugar cookie.
Conclusion
These small batch soft chocolate chip cookies are proof that the best recipes often come from the messiest mistakes. They’re quick, they’re forgiving, and they deliver that soft, chewy texture that everyone craves without the fuss of chilling dough or washing a million dishes. Whether you’re baking with a toddler “helping” at your elbow or just need a little sweetness on a Tuesday night, this recipe works.
I love that I can make these on a whim with ingredients I always have on hand. No planning, no special trip to the store—just butter, sugar, flour, and chocolate chips. And the fact that my kids devour them every single time? That’s the real win.
I’d love to hear how yours turn out. Did you try a variation? Did your kids help you scoop the dough? Drop a comment below and tell me about it—or tag me in your photos on social media. Happy baking, friend. You’ve got this.
Frequently Asked Questions
Can I double this recipe?
Absolutely. Simply double all the ingredients. You’ll get about 16 cookies. Bake them in two batches or on two separate baking sheets, rotating the pans halfway through for even baking.
Why did my cookies turn out flat?
Flat cookies usually mean the butter was too warm when mixed, or the flour was under-measured. Make sure your melted butter has cooled for at least 2 minutes before adding the sugars. Also, spoon and level your flour rather than scooping it directly from the bag.
Can I use margarine instead of butter?
I don’t recommend it. Margarine has a higher water content than butter, which can make the cookies spread too much and turn out greasy. Stick with real butter for the best texture and flavor.
How do I make these cookies chewier?
For chewier cookies, add an extra tablespoon of brown sugar and reduce the granulated sugar by one tablespoon. Brown sugar adds moisture, which creates a chewier texture. You can also bake them for one minute less to keep the centers extra soft.
Can I chill the dough before baking?
You can, but it’s not necessary for this recipe. If you do chill the dough, let it sit at room temperature for 10 minutes before scooping, as it will be quite firm. Chilling will result in slightly thicker cookies with less spread, which some people prefer.
Pin This Recipe!
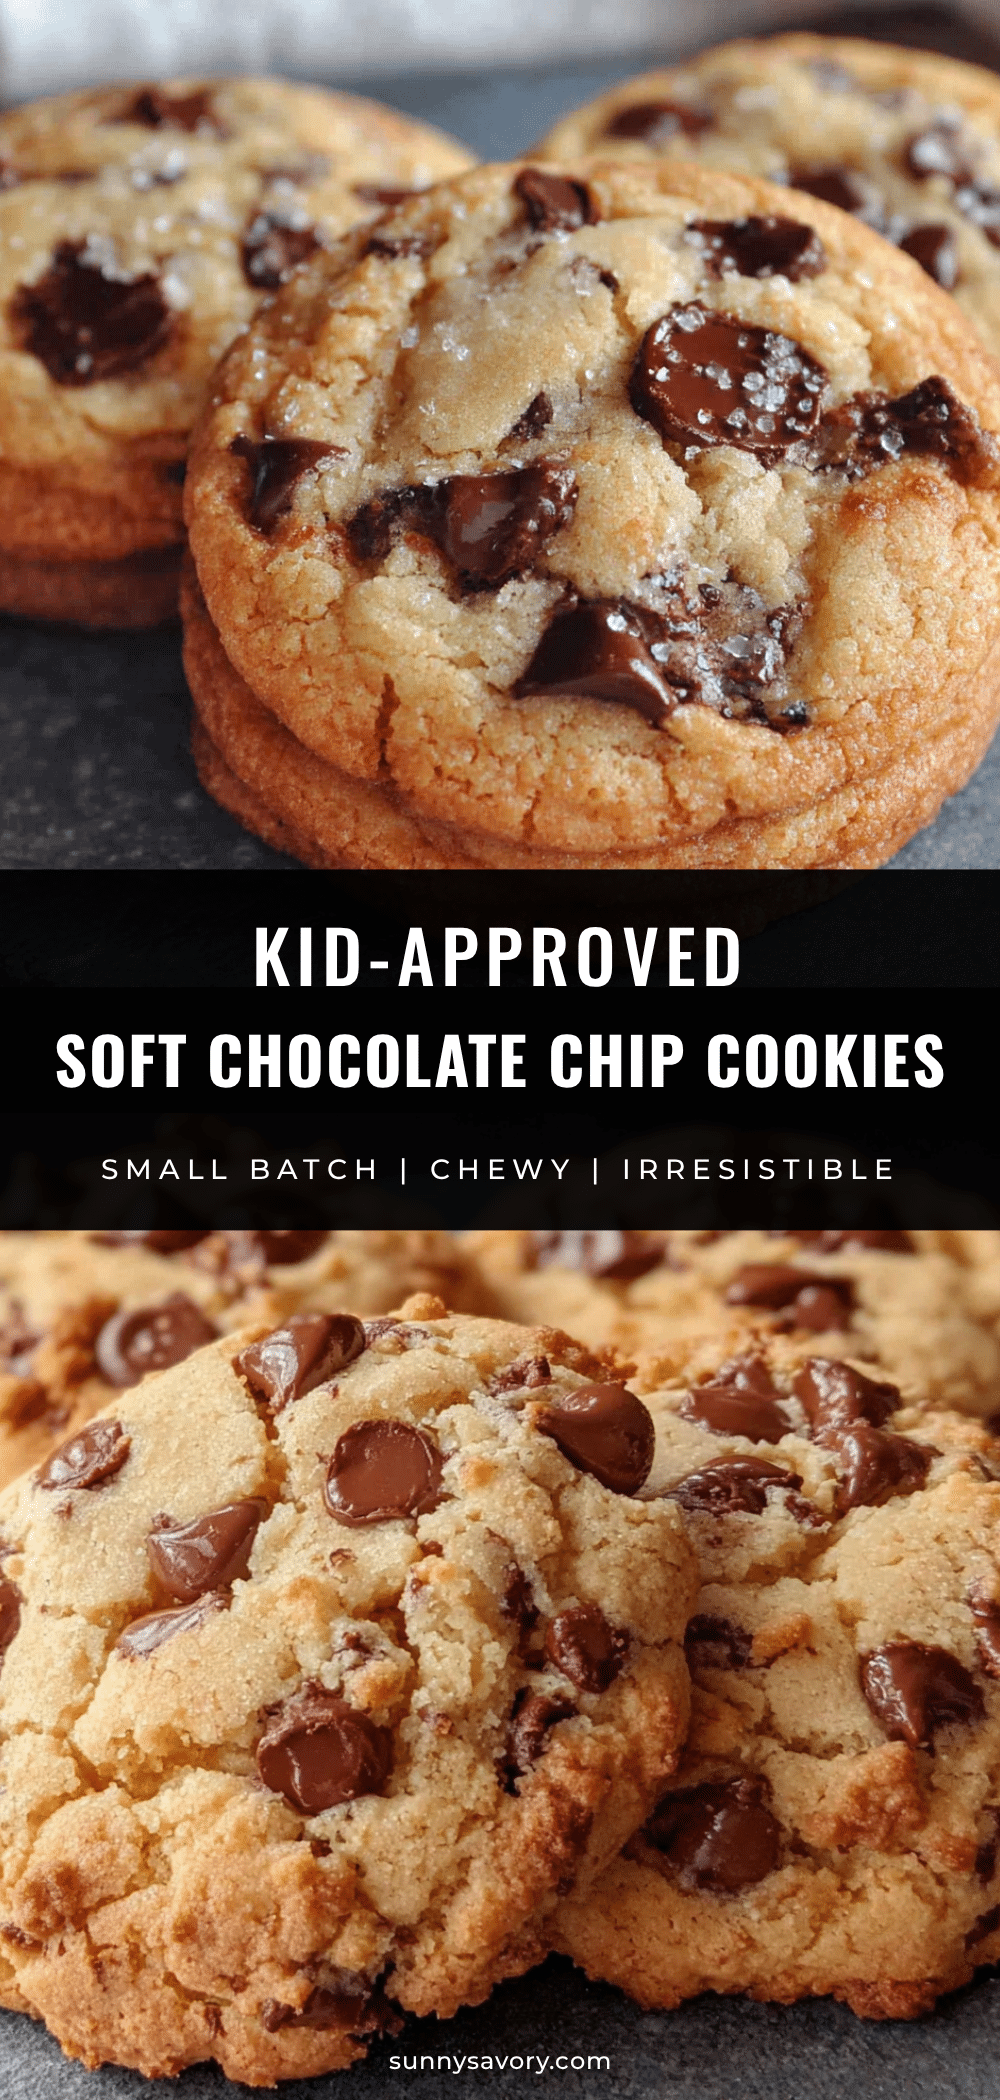
The Best Easy Small Batch Soft Chocolate Chip Cookies

These small batch soft chocolate chip cookies are quick, easy, and made with simple ingredients. They deliver a soft, chewy texture without chilling the dough, perfect for a small family or a late-night treat.
- Prep Time: 10 minutes
- Cook Time: 9-11 minutes
- Total Time: 20-25 minutes
- Yield: 8 cookies 1x
- Category: Dessert
- Cuisine: American
Ingredients
- 4 tablespoons (57g) unsalted butter, melted
- 3 tablespoons (38g) granulated sugar
- 3 tablespoons (38g) light brown sugar, packed
- 1 large egg yolk (about 18g)
- 1/2 teaspoon vanilla extract
- 1/2 cup plus 1 tablespoon (75g) all-purpose flour
- 1/4 teaspoon baking soda
- 1/4 teaspoon salt
- 1/3 cup (60g) semi-sweet chocolate chips
Instructions
- Preheat your oven to 350°F (175°C). Position the rack in the center of the oven. Line your baking sheet with parchment paper or a silicone mat.
- Melt the butter in a microwave-safe bowl in 15-second bursts until just melted. Let it cool for 2 minutes.
- In a medium bowl, whisk the melted butter with granulated sugar and packed light brown sugar for about 30 seconds until smooth and slightly thicker. Add the egg yolk and vanilla extract, then whisk until fully combined and glossy.
- In a separate small bowl, whisk together the all-purpose flour, baking soda, and salt.
- Pour the flour mixture into the butter mixture. Using a rubber spatula, fold gently until just combined. The dough will be soft and slightly sticky.
- Fold in the chocolate chips with a few strokes until evenly distributed. If the dough feels too soft, let it rest for 5 minutes.
- Using a 1.5-tablespoon cookie scoop or two spoons, drop 8 equal mounds of dough onto the prepared baking sheet, spacing them about 2 inches apart. For taller cookies, roll each mound into a ball.
- Bake for 9 to 11 minutes. At 9 minutes, the edges should be set and lightly golden, but the centers will still look soft. For softer cookies, pull at 9 minutes; for crisper edges, go to 11.
- Let the cookies rest on the baking sheet for 5 minutes. Then transfer them to a cooling rack to cool completely, or serve warm.
Notes
For softer cookies, bake for 9 minutes. For chewier cookies, add an extra tablespoon of brown sugar and reduce granulated sugar by one tablespoon. If cookies spread too much, the butter was too warm or flour under-measured. Cool melted butter for 3-4 minutes before mixing next time. For consistent results, weigh ingredients. Store in an airtight container at room temperature for up to 3 days; add a slice of bread to maintain softness. Freeze baked cookies for up to 2 months or raw dough for later use.
Nutrition
- Serving Size: 1 cookie
- Calories: 185
- Sugar: 14
- Sodium: 115
- Fat: 10
- Saturated Fat: 6
- Carbohydrates: 23
- Fiber: 1
- Protein: 2
Keywords: small batch chocolate chip cookies, soft chocolate chip cookies, easy cookie recipe, quick cookies, no chill cookies



