Love this? Save it for later!
Share the inspiration with your friends
I wasn’t expecting culinary inspiration from the quiet guy who fixes our office printer, but there I was, watching him methodically dip strawberries into a small bowl of melted chocolate he’d brought to work in a lunchbox. He noticed me staring and just shrugged. “My wife’s on a health kick. These are my rebellion.” He offered me one, and honestly, that first bite was a revelation. The chocolate shell cracked perfectly, and underneath was this creamy, cold, cheesecake-like center wrapped around a sweet, juicy strawberry. I practically demanded the recipe right there on the spot, probably scaring the poor man half to death.
He scribbled it on a sticky note, and I tucked it into my bag, half-convinced it wouldn’t work when I tried it at home. But let me tell you, that sticky note became the most dog-eared, splattered piece of paper in my recipe box. These Best Chocolate Covered Strawberry Cheesecake Bites are my absolute go-to for any occasion that calls for something that feels fancy but is secretly simple. The combination of a creamy no-bake cheesecake filling, a juicy fresh strawberry, and a thick shell of rich chocolate is just pure magic.
Maybe you’ve been there—staring at a pint of strawberries, wanting to do something more than just eat them plain. Or maybe you’re looking for a dessert that looks like you spent hours in the kitchen when you really didn’t. That’s exactly where this recipe shines. These little bites are the perfect balance of sweet, tangy, and rich. They are the kind of treat that makes people close their eyes and sigh. I’ve been making them for years now, and they never fail to disappear in minutes.
Why You’ll Love This Recipe
These aren’t just another dessert recipe. They are a tried-and-true, tested-by-fire kind of recipe that I’ve made for everything from casual family movie nights to fancy holiday parties. Here is why these chocolate covered strawberry cheesecake bites are going to become your new favorite.
- No-Bake & Incredibly Easy: You don’t even need to turn on your oven. This recipe comes together with just a few simple steps and a bit of chilling time. It’s perfect for hot days or when you want a dessert without the fuss.
- Made with Simple Ingredients: No fancy, hard-to-find ingredients here. You likely have most of these in your fridge and pantry right now. Cream cheese, heavy cream, powdered sugar, strawberries, and chocolate chips.
- Perfect for Any Occasion: These are the ultimate crowd-pleaser. They look elegant enough for a Valentine’s Day party or a wedding shower, but they are simple enough for a random Tuesday treat. They are always the first thing to go at a potluck.
- Unbelievably Delicious: The texture is what gets everyone. You have the firm, creamy cheesecake center, the burst of fresh strawberry, and the snap of the chocolate coating. It’s a flavor and texture combo that is pure comfort food, but somehow feels a little bit fancy.
- Completely Customizable: You can easily make them your own. Swap the dark chocolate for milk or white chocolate. Add a sprinkle of sea salt or crushed nuts on top. The possibilities are endless, and I’ll walk you through all the best variations.
What makes this recipe different from all the other versions out there is the technique. I’ve learned through trial and error that the key to a perfectly creamy cheesecake filling that doesn’t get too soft when you dip it is all in the cream cheese and the chilling time. I’ve tested this dozens of times to get the ratio just right. This isn’t just another recipe—it is the best version, the one that works every single time. It’s the kind of dessert that makes you look like a rockstar with zero stress.
What Ingredients You Will Need
This recipe uses a short list of simple, wholesome ingredients to create something that tastes incredibly complex. Each one plays a vital role in building that perfect creamy, fruity, and chocolatey bite. Most of these are probably already in your kitchen.
- For the Cheesecake Filling:
- 8 oz (226g) cream cheese, softened: This is the star of the show. Make sure it is full-fat for the creamiest texture. Let it sit out on the counter for at least 30 minutes before you start. I use Philadelphia brand, but any good quality block cream cheese works.
- 1/4 cup (60g) granulated sugar: Adds just the right amount of sweetness to balance the tangy cream cheese.
- 1 teaspoon vanilla extract: Pure vanilla extract is best. It adds a warm, sweet flavor that complements the strawberries and chocolate perfectly.
- 1/4 cup (60ml) heavy cream: This is my secret for an extra light and fluffy filling. It adds richness and helps the filling hold its shape beautifully.
- For the Strawberries:
- 12 large, fresh strawberries: You want berries that are firm, ripe, and roughly the same size. Look for ones that are bright red all over with fresh green leaves. Wash them and pat them completely dry. Any moisture will cause the chocolate to seize.
- For the Chocolate Coating:
- 1 cup (170g) semi-sweet or dark chocolate chips: I prefer semi-sweet as it balances the sweetness of the cheesecake filling. You can also use milk chocolate or white chocolate chips. I recommend Ghirardelli or Guittard for a smooth melt.
- 1 tablespoon coconut oil or vegetable shortening: This is optional but highly recommended. It helps thin the chocolate, making it easier to dip and gives it a beautiful, glossy shine.
- Optional Toppings:
- White chocolate drizzle, crushed pistachios, flaky sea salt, or sprinkles: These add a beautiful finishing touch and extra flavor or texture. Get creative!
If you need to swap an ingredient, here are a few simple options. For a lighter version, you can use reduced-fat cream cheese, but the filling won’t be quite as rich. You can substitute the heavy cream with an equal amount of full-fat Greek yogurt for a tangier flavor. For a dairy-free option, use a high-quality vegan cream cheese and a dairy-free chocolate. Just be aware the texture might be slightly different.
Equipment Needed
You don’t need a lot of fancy gadgets to make these, which is part of their charm. Here is what you will need to gather from your kitchen.
- Electric hand mixer or stand mixer: This is key for getting the cream cheese filling smooth and fluffy. You can do it by hand with a whisk, but it will take a lot of elbow grease and might not be as smooth.
- Large mixing bowl: For making the cheesecake filling.
- Small, sharp paring knife: For hulling the strawberries. A small melon baller also works great for this.
- Baking sheet lined with parchment paper: This is where the assembled bites will chill. The parchment paper prevents them from sticking.
- Small, microwave-safe bowl: For melting the chocolate.
- Fork or dipping tool: A regular fork works perfectly for dipping the strawberries into the chocolate. You can also use a skewer or a special candy dipping tool.
- Toothpicks: These are super helpful for holding the strawberry while you dip it into the chocolate.
If you don’t have a melon baller, a small spoon works just fine for scooping out the strawberry centers. And if you don’t have a microwave, you can melt the chocolate in a heatproof bowl set over a pot of simmering water (a double boiler). That’s actually my preferred method because it gives you more control and is harder to burn the chocolate.
Preparation Method
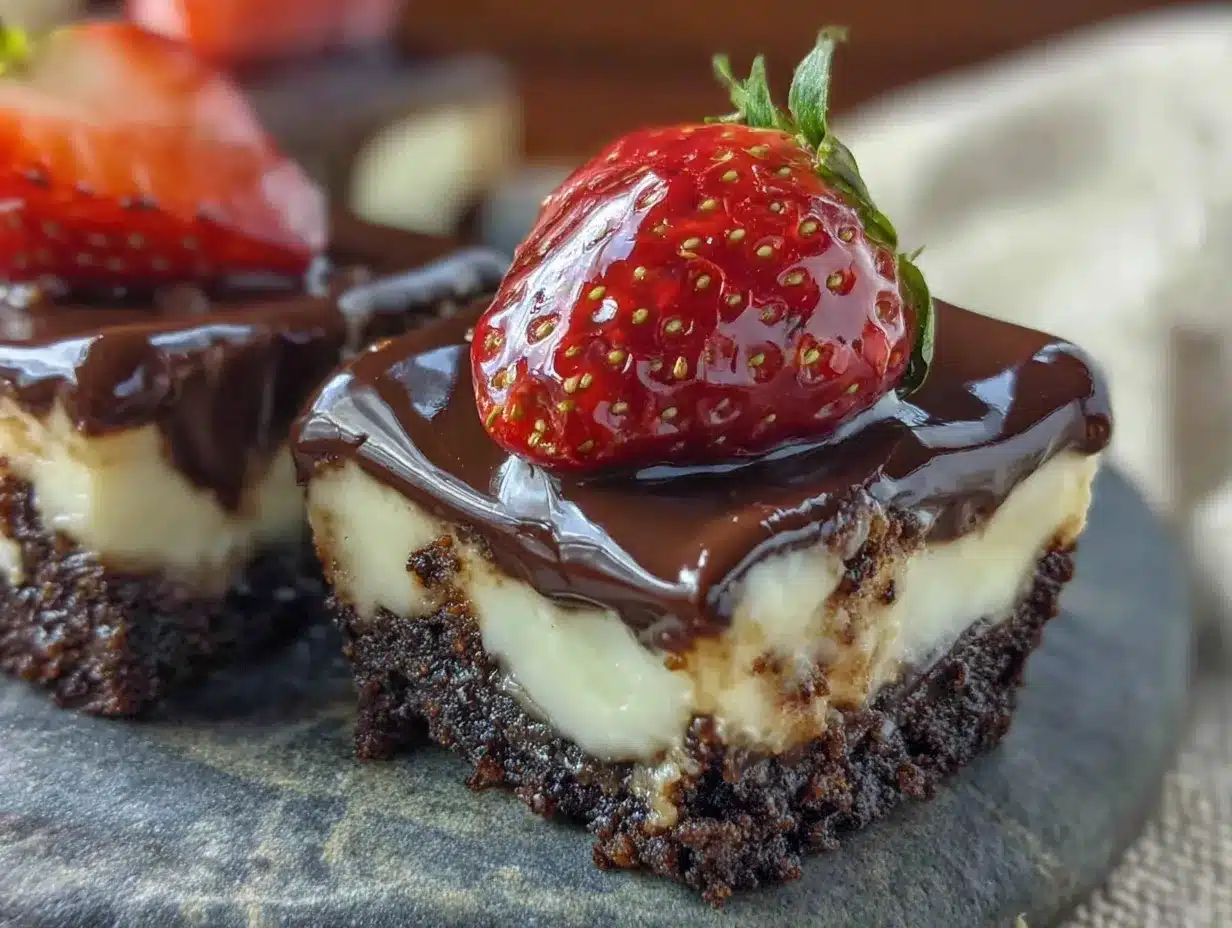
Alright, let’s get to the fun part. I am going to walk you through every single step so you get perfect results, even if it’s your first time making them. Trust me, it’s easier than it looks.
- Prepare the Strawberries: First things first, wash and thoroughly dry your strawberries. This is the most important step! Any water on the strawberry will make the chocolate seize and turn grainy. Gently pat them dry with a paper towel. Then, using a small paring knife or a melon baller, carefully hull the strawberries. You want to remove the green top and the white core, creating a small, even cavity. Be careful not to cut all the way through the bottom of the berry. Set them aside on a paper towel-lined plate to make sure they stay dry.
- Make the Cheesecake Filling: In a large mixing bowl, beat the softened cream cheese with an electric mixer on medium speed until it is completely smooth and creamy. This should take about 1-2 minutes. You don’t want any lumps. Add the granulated sugar and vanilla extract, and beat again until well combined and fluffy. Scrape down the sides of the bowl with a spatula to make sure everything is incorporated.
- Whip the Cream: In a separate small bowl, using clean beaters, whip the heavy cream until stiff peaks form. This means when you lift the beaters, the cream stands up straight and doesn’t fall over. Be careful not to over-whip it, or you’ll end up with butter. Gently fold the whipped cream into the cream cheese mixture using a rubber spatula. Fold until just combined—you want a light, airy filling, not a dense one.
- Fill the Strawberries: Transfer the cheesecake filling into a small piping bag or a sturdy zip-top bag. If using a zip-top bag, snip off a small corner. Pipe the filling into the cavity of each strawberry, mounding it slightly on top. You want a nice little cheesecake cap on each berry. Place the filled strawberries on the parchment-lined baking sheet. Once all are filled, pop the baking sheet into the freezer for at least 30 minutes, or up to 1 hour. This step is crucial—it firms up the filling so it doesn’t melt when you dip it in the warm chocolate.
- Melt the Chocolate: While the strawberries are chilling, melt your chocolate. Place the chocolate chips and coconut oil (if using) in a small microwave-safe bowl. Microwave in 30-second intervals, stirring well after each interval, until the chocolate is completely smooth and melted. Be careful not to overheat it, or the chocolate will burn and seize. It should be warm but not hot to the touch.
- Dip the Strawberries: Remove the baking sheet from the freezer. Working with one strawberry at a time, stick a toothpick into the top of the cheesecake filling. Holding the toothpick, dip the strawberry into the melted chocolate, turning to coat it completely. Let any excess chocolate drip back into the bowl. You can gently tap the toothpick on the side of the bowl to help remove the excess.
- Set the Bites: Place the dipped strawberry back onto the parchment-lined baking sheet. Gently remove the toothpick. If you want to add any toppings like sea salt, crushed nuts, or sprinkles, now is the time to do it while the chocolate is still wet. Repeat with the remaining strawberries.
- Final Chill: Once all the strawberries are dipped, return the baking sheet to the refrigerator. Let them chill for at least 30 minutes, or until the chocolate is completely set and firm. This is the hardest part—the waiting!
You’ll know the filling is the right consistency when it holds its shape perfectly after being piped. The chocolate is ready to dip when it’s smooth and flows like warm honey. If it seems too thick, add another teaspoon of coconut oil.
Cooking Tips & Techniques
I’ve made these Best Chocolate Covered Strawberry Cheesecake Bites more times than I can count, and I’ve definitely learned a few things the hard way. Here are my best tips to make sure yours turn out perfect every time.
The Dry Strawberry Rule: I cannot stress this enough. A wet strawberry is the enemy of smooth chocolate. After washing them, lay them out on a clean kitchen towel and let them air dry for a bit before you even start. Any moisture will cause the chocolate to seize into a thick, clumpy mess. It’s a heartbreaking mistake, and one I made my first time.
Don’t Skip the Freeze: That 30-minute freeze is not optional. It firms up the cheesecake filling so it stays put when you dip it into the warm chocolate. I once tried to skip this step because I was in a hurry, and the filling immediately started to melt and slide right off the strawberry into the chocolate bowl. It was a disaster. Learn from my impatience!
Work in Batches: If you are making a double batch, don’t take all the strawberries out of the freezer at once. Work with just a few at a time, keeping the rest frozen. This prevents the filling from getting too soft before you dip them. It makes the whole process much smoother and less stressful.
Temper Your Chocolate (Optional but Worth It): For a super shiny, snappy chocolate shell that doesn’t melt at room temperature, you can temper the chocolate. It’s a bit more advanced, but the result is professional-level. If you don’t want to bother, using the coconut oil trick works great for most home cooks and gives a nice glossy finish.
Use a Deep Bowl for Dipping: Use a small, deep bowl for the melted chocolate rather than a wide, shallow one. This allows you to fully submerge the strawberry without having to use a ton of chocolate. It’s more efficient and gives a more even coating.
Variations & Adaptations
One of the best things about this recipe is how easily you can change it up. I love playing around with different flavors and toppings. Here are a few of my favorite variations that I’ve tried over the years.
White Chocolate Dream: Swap the semi-sweet chocolate for high-quality white chocolate chips. The sweet, creamy white chocolate is a beautiful contrast to the tangy cheesecake filling. Drizzle a little dark chocolate on top for a stunning two-tone look. This is my go-to for bridal showers.
Nutty Crunch: After dipping the strawberries in the chocolate, immediately roll them in finely chopped toasted almonds, pistachios, or pecans. The crunch adds a fantastic textural element and a lovely nutty flavor that pairs wonderfully with the fruit and chocolate. I love using salted pistachios for a sweet-salty kick.
Vegan & Dairy-Free Option: This is a great adaptation for those with dietary needs. Use a high-quality vegan cream cheese (like Miyoko’s or Kite Hill) and a dairy-free heavy cream alternative (like coconut cream). Make sure to use dairy-free chocolate chips. The texture will be slightly different, but it’s still incredibly delicious. I made these for a friend with a dairy allergy, and she couldn’t stop eating them.
Spicy Chocolate Kick: For a grown-up twist, add a pinch of cayenne pepper or a dash of chili powder to the melted chocolate. The subtle heat from the chili will surprise and delight your taste buds, complementing the sweetness of the strawberry and the richness of the cheesecake. It’s an unexpected combination that really works.
Bite-Sized Mini Version: Instead of using large strawberries, use smaller, bite-sized ones. You can even use halved strawberries. This makes them perfect for a party platter where guests can grab a few without committing to a huge dessert. Just adjust the filling amount accordingly.
Serving & Storage Suggestions
These little bites are best served cold, straight from the fridge. The contrast between the firm chocolate shell, the cold creamy filling, and the juicy strawberry is just perfect. Here is how to serve and store them for the best experience.
Serving: Arrange the chocolate covered strawberry cheesecake bites on a beautiful platter or cake stand. They look stunning on their own, but you can add a few fresh mint leaves or extra strawberries around the base for a pop of color. They are perfect for dessert tables, Valentine’s Day dinners, or as a sweet treat after a brunch. I like to serve them with a small cup of extra melted chocolate for dipping, because why not?
Storage: Store any leftovers in an airtight container in the refrigerator. They will stay fresh for up to 3 days. It’s important to keep them chilled, as the cheesecake filling will soften and the chocolate can become sticky if left at room temperature for too long. Layer them between sheets of parchment paper to prevent them from sticking to each other.
Freezing: You can absolutely freeze these for later! Place the fully set, undipped cheesecake bites on a baking sheet and freeze until solid. Then, transfer them to a freezer-safe bag or container. They will keep for up to 2 months. When you are ready to enjoy them, you can dip them straight from the freezer in the melted chocolate. The chocolate will set quickly on the frozen filling. They are a fantastic make-ahead dessert for the holidays.
Reheating: Honestly, you don’t want to reheat these. They are meant to be enjoyed cold. If you’ve frozen them, just let them thaw in the refrigerator for about 30 minutes before serving. The flavor actually develops and deepens a bit after a day in the fridge, so they taste even better the next day!
Nutritional Information & Benefits
While these are definitely a treat, they do offer some surprising benefits thanks to the whole ingredients. Here is a general idea of the nutritional content per one cheesecake bite (based on a recipe yielding 12 bites).
- Calories: Approximately 180-220
- Fat: 12-15g
- Carbohydrates: 18-22g
- Protein: 3-4g
- Fiber: 1-2g
- Sugar: 14-17g
Health Benefits: Strawberries are packed with Vitamin C and antioxidants, which are great for your immune system and skin. Dark chocolate, especially if you use a high-quality one with 70% cocoa or more, is also rich in antioxidants and can be good for heart health in moderation. The cream cheese provides a bit of calcium and protein. So, while they are a dessert, they are made with real, whole ingredients that offer a little more than just empty calories.
Dietary Considerations: This recipe is naturally vegetarian. To make it gluten-free, just double-check that your chocolate chips are certified gluten-free (most are). As mentioned, it can be adapted to be dairy-free and vegan with a few simple swaps. Keep in mind that the nutritional values will change based on the specific ingredients and substitutions you use.
Conclusion
So there you have it—my absolute best recipe for Chocolate Covered Strawberry Cheesecake Bites. They are the dessert that looks like a million bucks but is secretly one of the simplest things you can make. The combination of that creamy, tangy cheesecake filling with a sweet, juicy strawberry and a rich chocolate shell is just unbeatable. It’s a flavor that feels both nostalgic and exciting at the same time.
I honestly love making these because they never fail to impress. People always think I spent hours in the kitchen, and I just smile and let them believe it. But now you know the secret. They are forgiving, customizable, and absolutely delicious. I encourage you to make them your own—try the white chocolate version, add some chili, or roll them in nuts. The best part of cooking is putting your own spin on things.
I would love to hear how yours turn out! Leave a comment below and tell me which variation you tried, or tag me in your photos on social media. Your feedback and creativity inspire me every day. Now go on, grab some strawberries and get dipping. You’ve got this!
Frequently Asked Questions
Can I use frozen strawberries for this recipe?
I really don’t recommend using frozen strawberries. They release a lot of water as they thaw, which will make the cheesecake filling watery and cause the chocolate to seize. Fresh, firm strawberries are essential for the best texture and flavor.
My chocolate seized and became clumpy. What did I do wrong?
This usually happens for one of two reasons. The most common is that your strawberries were not completely dry. Even a tiny drop of water can cause chocolate to seize. The other reason is that you overheated the chocolate. Always melt it slowly in 30-second intervals and stir well.
How far in advance can I make these?
You can make the filled strawberries (without the chocolate coating) up to 24 hours in advance and keep them in the refrigerator. For the best texture, I recommend dipping them in chocolate no more than 24 hours before you plan to serve them. They are best eaten within 2 days of being dipped.
Can I use a different type of chocolate for the coating?
Absolutely! You can use milk chocolate, white chocolate, or even ruby chocolate. Just keep in mind that different chocolates have different melting properties. White chocolate is a bit more delicate and can seize more easily, so be extra careful when melting it. Adding a little coconut oil helps with all types.
Can I make this recipe without a mixer?
Yes, you can! It will take a bit more arm strength, but it’s totally doable. Make sure your cream cheese is very soft. You can use a wooden spoon and a lot of elbow grease to beat it until smooth. For the whipped cream, a whisk will work, but it will take a few minutes of vigorous whisking to get stiff peaks. A mixer just makes it much faster and easier.
Pin This Recipe!
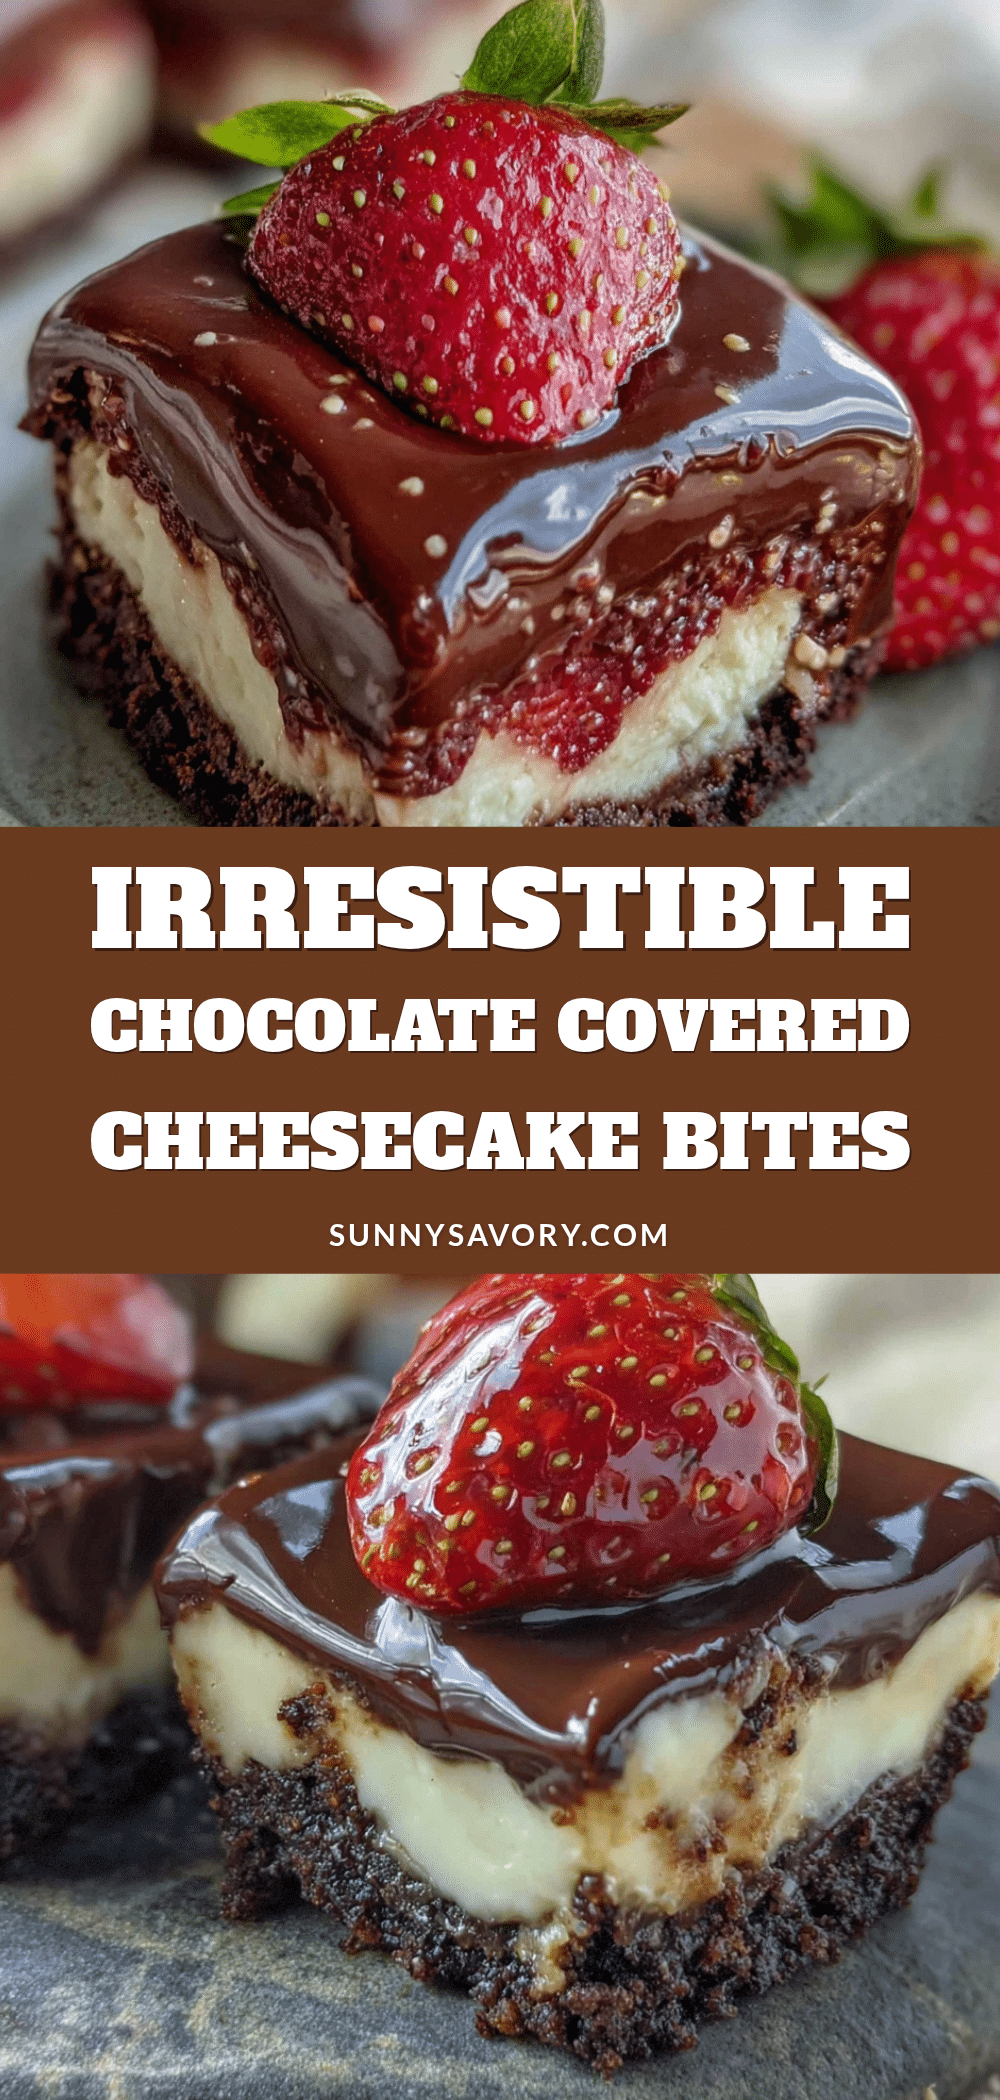
Best Chocolate Covered Strawberry Cheesecake Bites Recipe
These no-bake chocolate covered strawberry cheesecake bites are the perfect balance of sweet, tangy, and rich. A creamy cheesecake filling, a juicy fresh strawberry, and a thick shell of rich chocolate make for a dessert that looks fancy but is secretly simple.
- Prep Time: 30 minutes
- Cook Time: 0 minutes
- Total Time: 1 hour 30 minutes (includes chilling time)
- Yield: 12 servings 1x
- Category: Dessert
- Cuisine: American
Ingredients
- 8 oz (226g) cream cheese, softened
- 1/4 cup (60g) granulated sugar
- 1 teaspoon vanilla extract
- 1/4 cup (60ml) heavy cream
- 12 large, fresh strawberries
- 1 cup (170g) semi-sweet or dark chocolate chips
- 1 tablespoon coconut oil or vegetable shortening (optional)
- White chocolate drizzle, crushed pistachios, flaky sea salt, or sprinkles (optional toppings)
Instructions
- Prepare the Strawberries: Wash and thoroughly dry the strawberries. Using a small paring knife or melon baller, carefully hull the strawberries, removing the green top and white core to create a small cavity. Be careful not to cut through the bottom. Set aside on a paper towel-lined plate.
- Make the Cheesecake Filling: In a large mixing bowl, beat the softened cream cheese with an electric mixer on medium speed until smooth and creamy, about 1-2 minutes. Add the granulated sugar and vanilla extract, and beat until well combined and fluffy. Scrape down the sides of the bowl.
- Whip the Cream: In a separate small bowl, whip the heavy cream until stiff peaks form. Gently fold the whipped cream into the cream cheese mixture using a rubber spatula until just combined.
- Fill the Strawberries: Transfer the cheesecake filling into a small piping bag or sturdy zip-top bag. Snip off a small corner. Pipe the filling into the cavity of each strawberry, mounding it slightly on top. Place filled strawberries on a parchment-lined baking sheet. Freeze for at least 30 minutes, or up to 1 hour.
- Melt the Chocolate: Place chocolate chips and coconut oil (if using) in a small microwave-safe bowl. Microwave in 30-second intervals, stirring well after each, until completely smooth and melted.
- Dip the Strawberries: Remove baking sheet from freezer. Working one at a time, stick a toothpick into the top of the cheesecake filling. Holding the toothpick, dip the strawberry into the melted chocolate, turning to coat completely. Let excess drip off.
- Set the Bites: Place dipped strawberry back onto the parchment-lined baking sheet. Gently remove the toothpick. Add any optional toppings while chocolate is still wet. Repeat with remaining strawberries.
- Final Chill: Return the baking sheet to the refrigerator. Chill for at least 30 minutes, or until the chocolate is completely set and firm.
Notes
Ensure strawberries are completely dry before dipping to prevent chocolate from seizing. The 30-minute freeze is crucial to firm up the filling. Work in batches if making a double batch. For a shiny shell, temper the chocolate or use coconut oil. Store in an airtight container in the refrigerator for up to 3 days. Can be frozen for up to 2 months.
Nutrition
- Serving Size: 1 cheesecake bite
- Calories: 200
- Sugar: 15.5
- Sodium: 95
- Fat: 13.5
- Saturated Fat: 8
- Carbohydrates: 20
- Fiber: 1.5
- Protein: 3.5
Keywords: chocolate covered strawberries, cheesecake bites, no-bake dessert, strawberry dessert, chocolate dessert, easy dessert, party dessert



