Love this? Save it for later!
Share the inspiration with your friends
“The power went out halfway through our 4th of July cookout,” I remember telling my friend Jen last summer. There we were, ready to fire up the grill and bake a dessert, when the neighborhood suddenly plunged into darkness. Honestly, I panicked for a second—no oven meant no traditional cake. But then, as I rummaged through my pantry by flashlight, I spotted a stash of Oreo cookies and cream cheese. An idea sparked.
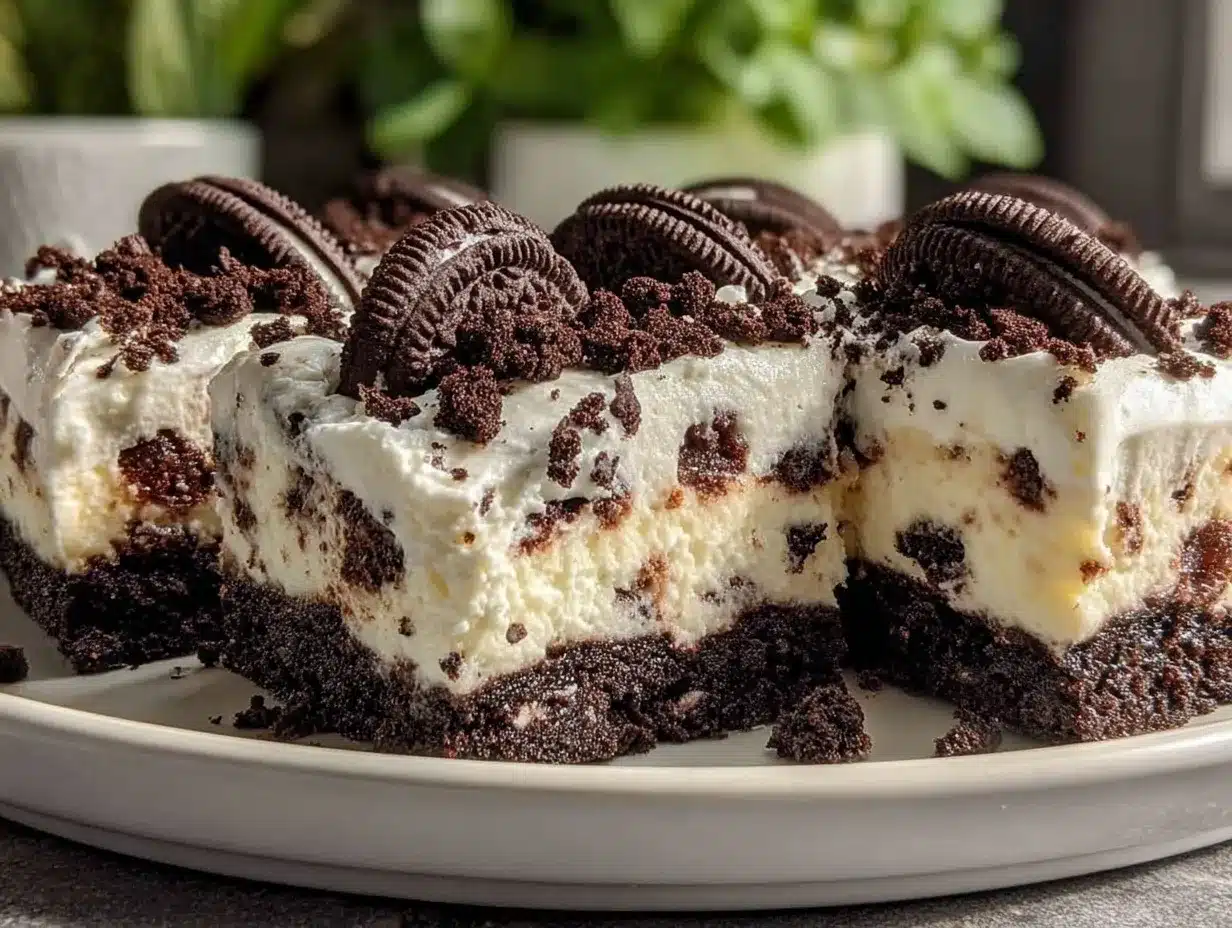
I started assembling what would become my easy no-bake Oreo flag cake with creamy layers. It was partly out of necessity, partly inspired by the festive spirit that just wouldn’t quit despite the blackout. The cake came together with layers of crushed Oreos, fluffy cream cheese filling, and whipped cream, all arranged to mimic the stars and stripes of the American flag. It was simple, quick, and (to my surprise) absolutely irresistible.
Maybe you’ve been there—caught off guard by an unexpected change in plans, needing a dessert that’s fuss-free but still impressive. This cake’s creamy layers and Oreo crunch deliver that perfect balance of texture and flavor. Plus, it’s a no-bake recipe that anyone can pull off, even if you’re juggling kids, pet distractions, or a blackout like I was. I keep making it every summer now, not just for the taste but because it brings back that funny, chaotic night when dessert saved the holiday.
Why You’ll Love This Easy No-Bake Oreo Flag Cake Recipe
I’ve tested this easy no-bake Oreo flag cake recipe multiple times (including that blackout night!), and it never disappoints. Here’s why I think you’ll fall for it too:
- Quick & Easy: Comes together in under 30 minutes — no oven needed, which is perfect for busy summer days or last-minute celebrations.
- Simple Ingredients: Uses pantry staples like Oreos, cream cheese, and whipped topping, so no need for fancy shopping trips.
- Perfect for 4th of July celebrations: The star-spangled design adds a festive touch that’s sure to wow guests at any patriotic gathering.
- Crowd-Pleaser: Kids and adults alike adore the creamy, crunchy combo — it’s a guaranteed hit at picnics and potlucks.
- Unbelievably Delicious: The creamy layers balance the chocolatey Oreos perfectly, making each bite a comforting delight that feels special but effortless.
This recipe isn’t just a quick fix; it’s my trusted go-to when I want a dessert that looks like I spent hours but tastes like I’m indulging in something homemade and heartfelt. The secret? The balance of crunchy Oreo layers with smooth, tangy cream cheese filling and fluffy whipped cream. I even experimented with swapping in low-fat cream cheese to keep it lighter without losing that creamy magic.
What Ingredients You Will Need
This easy no-bake Oreo flag cake recipe uses straightforward ingredients to build those luscious layers and festive design. Most of these are pantry staples, and you might already have them at home!
- For the Oreo Layers:
- 36 Oreo cookies (about 3 sleeves) — crushed into coarse crumbs; I recommend the original Oreos for the best classic flavor
- 1 tablespoon unsalted butter, melted (optional, helps the crumbs stick together)
- For the Creamy Filling:
- 8 oz (225 g) cream cheese, softened — room temperature for easy mixing
- 1 cup (240 ml) heavy whipping cream, cold — to whip into fluffy peaks
- ½ cup (60 g) powdered sugar — for just the right amount of sweetness
- 1 teaspoon vanilla extract — adds warm aroma
- For Decoration:
- Fresh strawberries, sliced — for the red stripes and stars
- Blueberries — for the blue field of the flag
- Extra whole Oreo cookies — to create the ‘stars’ section or border
If you want a dairy-free or lighter version, you can swap cream cheese with dairy-free cream cheese alternatives and use coconut whipped cream instead of heavy cream. I tried it once with almond milk whipped topping, and while the texture changed a bit, it was still delicious!
Equipment Needed
- 9×13-inch (23×33 cm) rectangular baking dish or pan — perfect for layering and displaying the flag design
- Mixing bowls — one large for whipping cream, one medium for cream cheese mixture
- Electric mixer or hand whisk — to whip the cream and beat cream cheese smooth
- Food processor or plastic bag + rolling pin — to crush Oreos into crumbs (I sometimes use a sturdy glass and a kitchen towel when in a hurry)
- Spatula — for folding whipped cream gently into the cream cheese mixture
- Measuring cups and spoons — for accuracy (especially with sugar and vanilla)
If you don’t have an electric mixer, a sturdy whisk works fine, just takes more elbow grease. Also, a glass baking dish works just as well if you don’t have a metal pan. I find that clear dishes make the layers easier to admire while assembling!
Preparation Method
- Prepare the Oreo crumbs: Place the Oreo cookies (about 36) in a food processor and pulse until you get coarse crumbs. Alternatively, put them in a sealed plastic bag and crush with a rolling pin. Mix the crumbs with 1 tablespoon of melted butter to help bind the layer. Set aside. (5 minutes)
- Make the creamy filling: In a medium bowl, beat 8 oz (225 g) of softened cream cheese until smooth and creamy using an electric mixer on medium speed. Add ½ cup (60 g) powdered sugar and 1 teaspoon vanilla extract; beat until combined. (3-4 minutes)
- Whip the cream: In a large bowl, pour 1 cup (240 ml) cold heavy whipping cream. Whip on high speed until stiff peaks form. (4-5 minutes) Be careful not to overbeat or it will turn grainy.
- Fold whipped cream into cream cheese mixture: Gently fold the whipped cream into the cream cheese mixture using a spatula, combining everything without deflating the airiness. (2 minutes)
- Assemble the cake layers: In your 9×13-inch pan, spread a thin layer of the creamy filling evenly on the bottom. Then sprinkle a generous layer of Oreo crumbs over it. Repeat layering with cream filling and Oreo crumbs until you reach the top of the pan (usually 3-4 layers). Finish with a layer of cream filling on top. (10 minutes)
- Create the flag design: Arrange sliced strawberries in stripes across the cake surface. Cluster blueberries in the top left corner to form the blue field. Use whole Oreos or broken pieces to mimic stars on the blueberry section. (10 minutes)
- Chill the cake: Cover the dish with plastic wrap and refrigerate for at least 4 hours or overnight. This helps the layers set and flavors meld. (4+ hours)
- Serve & enjoy: Slice into squares and serve chilled. The creamy layers will be firm but soft, while the Oreo crumbs add a satisfying crunch. (Serve immediately after removing from fridge)
If your cream cheese seems too stiff, let it soften longer to avoid lumps. Also, when folding whipped cream, use gentle motions to keep the mixture fluffy. You don’t want to lose that light texture!
Cooking Tips & Techniques
When making this easy no-bake Oreo flag cake, a few tricks make all the difference:
- Softening cream cheese: Be sure your cream cheese is fully softened to room temperature before mixing. I once forgot this and ended up with little lumps that took extra whisking to smooth out.
- Whipping cream perfectly: Chill your bowl and beaters before whipping cream for better results. Watch closely as it whips to stiff peaks but avoid overwhipping, which causes graininess and separation.
- Folding technique: Use a spatula to fold the whipped cream into the cream cheese mixture gently. Cut through the center, scoop around the sides, and rotate the bowl. This keeps the air in, making your filling light and fluffy.
- Layer thickness: Keep the Oreo crumb layers evenly thick for balanced texture. Too thick a layer can overwhelm the creamy filling.
- Chilling time: Don’t rush chilling! The cake firms up best after several hours, so plan ahead to get clean slices and cohesive layers.
I learned these lessons the hard way during my first few tries — like the time I skipped chilling and ended up with a messy, melty dessert. Now, I always set a timer to remind myself not to rush the process.
Variations & Adaptations
This recipe is flexible and easy to tweak according to your taste or dietary needs. Here are some ideas I’ve tried or considered:
- Gluten-Free Version: Use gluten-free Oreo-style cookies; brands like Enjoy Life make great options. The creamy filling stays the same.
- Berry Swap: For a summer twist, substitute strawberries and blueberries with raspberries and blackberries. It changes the flavor profile but keeps the patriotic look.
- Chocolate Lovers: Add a drizzle of melted dark chocolate between layers or sprinkle mini chocolate chips into the cream for extra indulgence.
- Dairy-Free Adaptation: Replace cream cheese with vegan cream cheese and use coconut cream whipped topping instead of heavy cream. It’s different, but still delicious.
- Mini Flag Cakes: Make individual servings using small square containers or jars — perfect for picnics or parties.
Personally, I tried adding a thin layer of peanut butter between Oreo crumbs and cream filling once — surprisingly tasty! Just be mindful if you’re serving to guests with allergies.
Serving & Storage Suggestions
Serve this easy no-bake Oreo flag cake chilled, straight from the fridge. The creamy layers hold their shape best when cold, and the crunchy Oreos stay delightfully crisp. I like to garnish slices with extra fresh berries for a bright, fresh contrast.
This cake pairs wonderfully with iced coffee, lemonade, or a light sparkling wine if you’re celebrating. For casual family dinners, a simple glass of milk works beautifully.
Store leftovers in an airtight container in the refrigerator for up to 3 days. The flavors continue to meld, making it even tastier the next day. Avoid freezing, as the texture of the whipped cream layers can change and become watery upon thawing.
When reheating or serving later, just pull it out of the fridge about 10 minutes before to take the chill off slightly — it softens the cream without melting the structure.
Nutritional Information & Benefits
This easy no-bake Oreo flag cake is a treat that balances indulgence with simple wholesome ingredients:
- Each serving (about 1/12th of the cake) contains approximately 320 calories, 20g fat, 35g carbohydrates, and 4g protein.
- Cream cheese provides calcium and protein, while the fresh berries add antioxidants and vitamins.
- Using real Oreos means this dessert isn’t low sugar, but swapping in gluten-free or reduced-fat cream cheese can lighten it up a bit.
- It’s naturally gluten-free if you choose gluten-free cookies, which is great for sensitive eaters.
From my perspective, this cake is a wonderful occasional treat that brings people together and satisfies sweet cravings without complicated ingredients or techniques.
Conclusion
The easy no-bake Oreo flag cake with creamy layers is a recipe I keep close, especially for summer gatherings and patriotic celebrations. Its simplicity, combined with that wow factor of a layered Oreo and cream cheese dessert, makes it a winner no matter the occasion.
Feel free to customize it with your favorite berries or add-ins — this cake is forgiving and fun to make. Honestly, it’s one of those recipes where you can’t go wrong, and each bite is a little celebration on its own.
If you make this cake, let me know how it turns out! I love hearing your twists or any fun stories that come with it. Here’s to sweet, creamy layers and stress-free celebrations — enjoy!
Frequently Asked Questions About Easy No-Bake Oreo Flag Cake
Can I use a different cookie instead of Oreos?
Yes! Chocolate sandwich cookies work well, or for a twist, try vanilla sandwich cookies. Just make sure they hold up when crushed and layered.
How long should I chill the cake before serving?
At least 4 hours in the refrigerator, but overnight chilling is best for firm layers and easy slicing.
Can I prepare this cake ahead of time?
Absolutely. It stores well in the fridge for up to 3 days. Just keep it covered to prevent drying out.
Is it possible to make this cake dairy-free?
Yes, swap the cream cheese for a vegan alternative and use coconut or almond milk-based whipped toppings. The texture will be slightly different but still delicious.
How do I make the whipped cream if I don’t have an electric mixer?
You can hand whip the cream using a whisk, though it takes longer and requires more effort. Make sure the cream and bowl are very cold for best results.
Pin This Recipe!
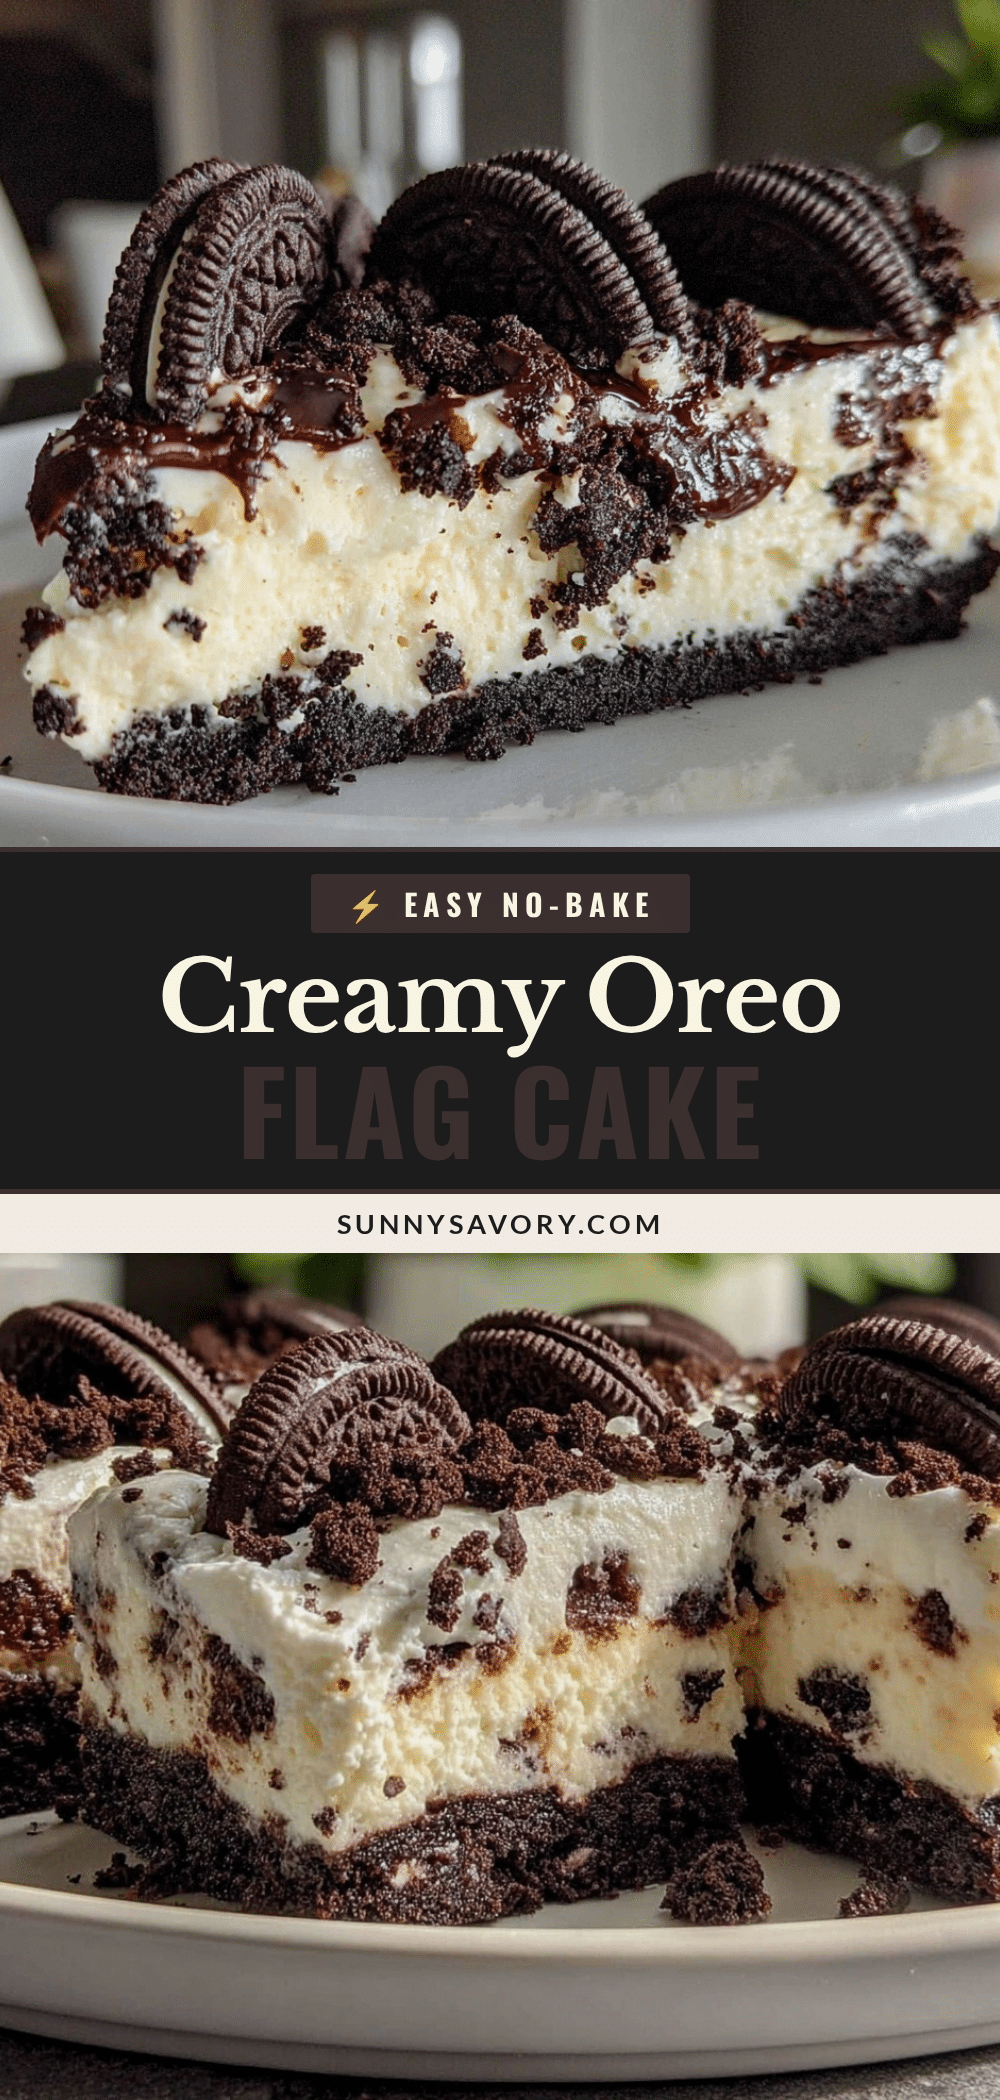
Easy No-Bake Oreo Flag Cake Recipe with Creamy Layers for 4th of July Celebration

A quick and easy no-bake Oreo flag cake with creamy layers of cream cheese filling and whipped cream, decorated with fresh berries to celebrate the 4th of July. Perfect for last-minute celebrations and crowd-pleasing dessert.
- Prep Time: 15 minutes
- Cook Time: 0 minutes
- Total Time: 4 hours 15 minutes
- Yield: 12 servings 1x
- Category: Dessert
- Cuisine: American
Ingredients
- 36 Oreo cookies (about 3 sleeves) – crushed into coarse crumbs
- 1 tablespoon unsalted butter, melted (optional)
- 8 oz (225 g) cream cheese, softened
- 1 cup (240 ml) heavy whipping cream, cold
- ½ cup (60 g) powdered sugar
- 1 teaspoon vanilla extract
- Fresh strawberries, sliced
- Blueberries
- Extra whole Oreo cookies for decoration
Instructions
- Place the Oreo cookies in a food processor and pulse until coarse crumbs form, or crush in a sealed plastic bag with a rolling pin. Mix crumbs with melted butter and set aside.
- Beat softened cream cheese in a medium bowl until smooth. Add powdered sugar and vanilla extract and beat until combined.
- Whip cold heavy cream in a large bowl until stiff peaks form, being careful not to overbeat.
- Gently fold whipped cream into the cream cheese mixture using a spatula to keep it airy.
- In a 9×13-inch pan, spread a thin layer of the creamy filling, then sprinkle a layer of Oreo crumbs. Repeat layering 3-4 times, finishing with a cream filling layer.
- Decorate the top with sliced strawberries arranged in stripes, blueberries clustered in the top left corner, and whole or broken Oreos to mimic stars.
- Cover with plastic wrap and refrigerate for at least 4 hours or overnight to set.
- Slice into squares and serve chilled.
Notes
Ensure cream cheese is fully softened to avoid lumps. Chill bowl and beaters before whipping cream for best results. Fold whipped cream gently to keep mixture airy. Chill cake for at least 4 hours for firm layers and easy slicing. Can be made dairy-free by substituting vegan cream cheese and coconut whipped cream.
Nutrition
- Serving Size: 1 slice (1/12th of c
- Calories: 320
- Fat: 20
- Carbohydrates: 35
- Protein: 4
Keywords: no-bake, Oreo cake, 4th of July dessert, patriotic cake, easy dessert, cream cheese filling, whipped cream, Oreo layers