Love this? Save it for later!
Share the inspiration with your friends
This was supposed to be a simple stir-fry. A Tuesday night stir-fry, the kind you throw together without thinking because everyone is hungry and the school week has already won. I had the chicken sliced, the veggies prepped, and my go-to sauce simmering on the stove. Then my phone rang—a work thing I couldn’t ignore—and by the time I got back to the pan, the sauce had reduced to a sticky, syrupy mess that was less “glossy dinner” and more “caramelized science experiment.” The chicken was dry on the edges, and the whole thing had this weird, clumpy texture. I almost tossed it. Honestly, I was that close.
But my six-year-old was already at the table, fork in hand, looking at me with those big, hopeful eyes. So I plated it anyway, muttering apologies under my breath. And you know what? He ate every single bite. No complaints. No pushing it around the plate. He even asked for more. The next day, I packed the leftovers in his bento box, and he came home with an empty container and a note from his teacher asking if I could share the recipe. That’s when it hit me—the “mistake” was actually the secret. That overly reduced, sticky sauce? It clung to the chicken perfectly. No dripping, no soggy rice, no sad, wet bento box at lunchtime.
I spent the next few weeks trying to recreate that happy accident on purpose. I tweaked the ratios, tested different cooking times, and eventually landed on this method. It’s not fancy. It’s not complicated. But it is, without a doubt, the best no-sog chicken teriyaki I have ever made for a bento box. And maybe you’ve been there—standing over a pan wondering why your chicken always turns into a watery mess by lunch. Well, this one’s for you. Let me show you how it’s done.
Why You’ll Love This Recipe
Look, I’ve tested a lot of chicken teriyaki recipes over the years. Some were too watery, others too sweet, and most turned into a sad, soggy situation by the time lunch rolled around. This one is different. It’s the result of multiple kitchen failures, a stubborn kid who only wants “the good chicken,” and a deep desire to stop wasting paper napkins on greasy lunchboxes.
- No Soggy Rice: The sauce is thick enough to coat the chicken but thin enough that it doesn’t soak into your rice. Your bento box stays picture-perfect until lunchtime.
- Kid-Approved Flavor: It’s sweet, savory, and not too salty. My son calls it “candy chicken,” and honestly, that’s the highest compliment.
- 30 Minutes Start to Finish: This comes together faster than you can argue with a picky eater. Perfect for busy mornings or last-minute dinner chaos.
- Simple Pantry Ingredients: You probably already have soy sauce, honey, and garlic in your kitchen. No trips to a specialty store required.
- Bento Box Perfection: The chicken stays tender, the sauce stays put, and your kid comes home with an empty container. That’s the dream, right?
What makes this recipe different from the dozens of others out there is the technique. Most recipes tell you to simmer the sauce until it thickens, but that’s where the sogginess starts. I use a two-step method that locks the flavor into the chicken first, then adds just enough sauce to coat. It’s not just another version—it’s the best version for bento boxes, hands down.
This recipe isn’t just good—it’s the kind that makes you close your eyes after the first bite. It’s comfort food reimagined for real life: faster, cleaner, and with the same soul-soothing satisfaction. Perfect for impressing other parents at the lunch table or turning a hectic weekday dinner into something memorable.
What Ingredients You Will Need
This recipe uses simple, honest ingredients that work together to create that sticky-sweet, savory magic without any fuss. Most of these are pantry staples, which makes this dish perfect for those “I forgot to meal prep” kind of weeks.
- Chicken Thighs (1 lb or 450g): Boneless, skinless thighs are my go-to here. They stay juicier than breasts and don’t dry out when reheated. I prefer organic when I can find them, but regular works just fine. Cut them into bite-sized pieces—about 1-inch cubes—so they cook quickly and fit neatly into bento compartments.
- Soy Sauce (¼ cup or 60ml): Use low-sodium soy sauce if you’re watching salt intake. I’ve tested this with tamari for a gluten-free option, and it works beautifully. The soy sauce is the backbone of that savory umami flavor, so don’t skip it.
- Honey (3 tablespoons or 45ml): This is what gives the chicken that glossy, candy-like finish. I use raw honey because I like the floral notes, but any honey will do. If your honey is crystallized, just warm it up for a few seconds in the microwave.
- Mirin (2 tablespoons or 30ml): Mirin is a sweet rice wine that adds depth and a subtle shine. You can find it in the Asian section of most grocery stores. If you don’t have it, mix 1 tablespoon of sugar with 1 tablespoon of water as a quick substitute.
- Rice Vinegar (1 tablespoon or 15ml): A tiny splash of acidity to balance the sweetness. Don’t skip this—it’s what keeps the sauce from tasting cloying.
- Fresh Garlic (3 cloves, minced): Please use fresh garlic here. The jarred stuff has a different flavor, and it just doesn’t pop the same way. Trust me on this one.
- Fresh Ginger (1 teaspoon, grated): Ginger adds warmth and a little zing. I keep a knob of fresh ginger in the freezer so I always have some on hand. A microplane makes grating it effortless.
- Cornstarch (1 tablespoon): This is the secret to the no-sog coating. It helps the sauce cling to the chicken without turning into a watery mess.
- Neutral Oil (2 tablespoons): Avocado oil or vegetable oil works best. Olive oil has too strong a flavor for this dish.
- Sesame Seeds (for garnish): Totally optional, but they make the bento box look extra fancy. My kid loves picking them off and eating them one by one.
Equipment Needed
You don’t need a professional kitchen to pull this off. Here’s what I use, and what you can substitute if you’re in a pinch.
- Large Non-Stick Skillet or Wok: A 12-inch skillet is perfect. Non-stick makes cleanup a breeze, but a well-seasoned cast iron works too. Just be careful with the honey—it can stick if your pan isn’t seasoned properly.
- Sharp Knife and Cutting Board: A good chef’s knife makes cutting the chicken into uniform pieces so much easier. I use a wooden cutting board because it’s gentler on my knives.
- Small Bowl for Sauce: Mix your sauce ingredients before you start cooking. It saves you from scrambling while the chicken is in the pan.
- Microplane or Fine Grater: For grating that fresh ginger. A regular box grater works too, but a microplane gives you a finer texture that melts right into the sauce.
- Tongs or a Spatula: Tongs make flipping the chicken pieces a lot easier. If you only have a spatula, go for a silicone one to avoid scratching your pan.
- Bento Box or Airtight Container: Obviously, you need something to pack this in. I love the stainless steel bento boxes with dividers—they keep the chicken separate from the rice and veggies.
Preparation Method
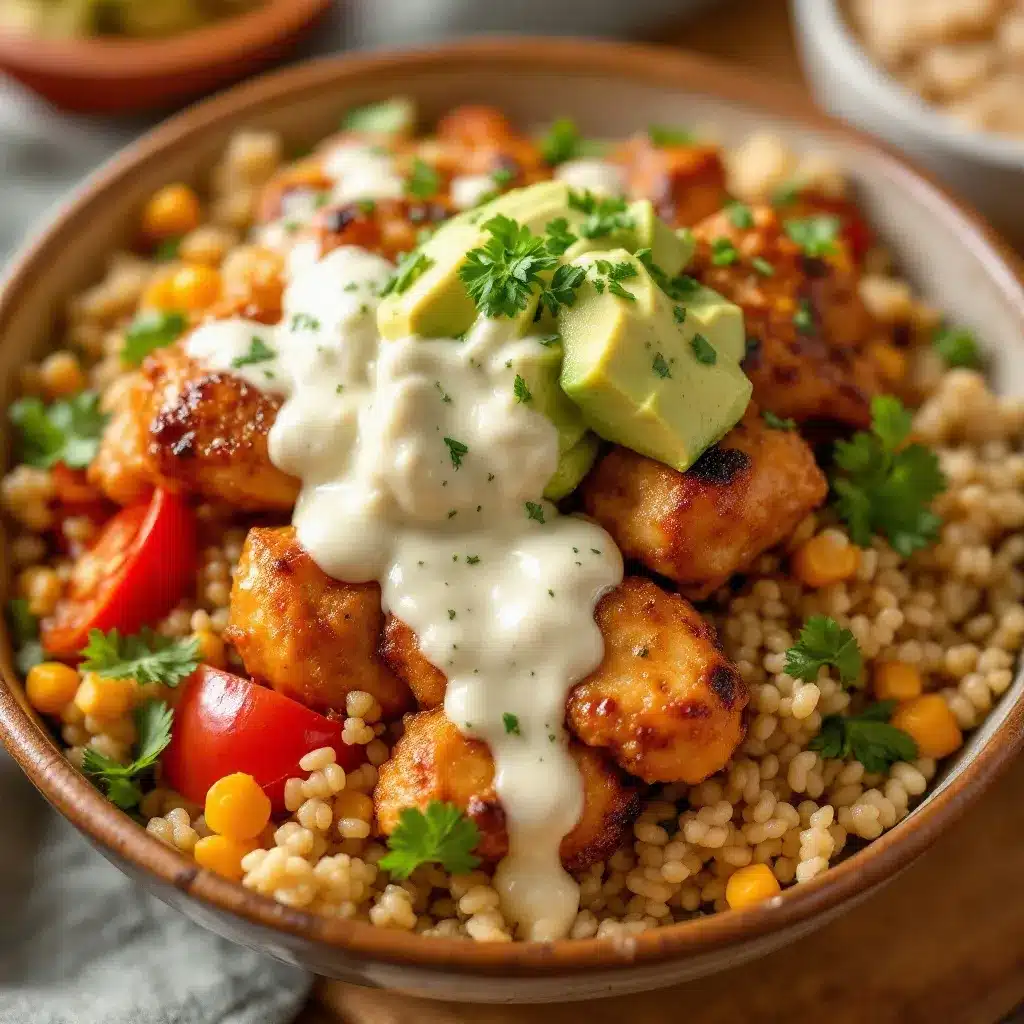
Let’s get cooking. This whole process takes about 30 minutes, and most of that is hands-off. Here’s how I do it.
- Prep the Chicken (5 minutes): Pat the chicken thighs dry with paper towels. This is crucial—wet chicken won’t brown properly. Cut them into 1-inch cubes and season lightly with a pinch of salt and pepper. Set aside.
- Make the Sauce (2 minutes): In a small bowl, whisk together the soy sauce, honey, mirin, rice vinegar, minced garlic, and grated ginger. In a separate tiny bowl, mix the cornstarch with 2 tablespoons of cold water to make a slurry. Set both aside.
- Sear the Chicken (8-10 minutes): Heat your skillet over medium-high heat and add the neutral oil. Once it’s shimmering, add the chicken pieces in a single layer. Don’t overcrowd the pan—work in batches if you need to. Let the chicken cook undisturbed for 3-4 minutes until the bottom is golden brown and crispy. Flip and cook for another 3-4 minutes. The chicken should be cooked through and have a nice crust.
- Add the Sauce (2 minutes): Reduce the heat to medium-low. Pour the sauce mixture over the chicken and toss to coat. Let it simmer for about 1 minute, stirring occasionally. You’ll see the sauce start to bubble and thicken slightly.
- Thicken with Cornstarch (1 minute): Give the cornstarch slurry a quick stir (it settles fast), then pour it into the pan. Stir continuously for about 30-45 seconds. You’ll see the sauce go from watery to glossy and thick. It should coat the back of a spoon. If it looks too thick, add a tablespoon of water. Too thin? Let it simmer another 30 seconds.
- Cool and Pack (5 minutes): Remove the pan from the heat. Let the chicken cool in the sauce for about 5 minutes. This allows the sauce to set and cling to every piece. Then, using tongs, transfer the chicken to your bento box. Leave behind any excess sauce in the pan—you want just enough to coat the chicken, not pool at the bottom of the container.
Pro Tip: If you’re packing this for a school lunch, let the chicken cool completely before closing the lid. Trapped steam is the enemy of a no-sog bento box. I usually let it sit on the counter for 10-15 minutes while I pack the rest of the lunch.
Cooking Tips & Techniques
I learned these the hard way, so you don’t have to. Here are my best tips for nailing this recipe every single time.
- Dry the Chicken Thoroughly: This is non-negotiable. Wet chicken steams instead of sears, and steamed chicken has a sad, rubbery texture. Pat it dry with paper towels and let it sit on a plate for a few minutes before cooking.
- Don’t Skip the Cornstarch Slurry: I know it seems like an extra step, but this is what makes the sauce thick enough to stick without being gloppy. Without it, your sauce will slide right off the chicken and pool in the bottom of the bento box. Trust me, I’ve made that mistake.
- Use Medium-High Heat for Searing: You want that golden crust. If your heat is too low, the chicken will release its juices and start boiling instead of browning. If your pan starts smoking, you’ve gone too far. Medium-high is the sweet spot.
- Let the Sauce Rest: After you add the slurry, keep stirring for a full 45 seconds. The sauce will look thin at first, then suddenly it’ll tighten up. That’s your cue to pull it off the heat.
- Cool Before Packing: I cannot stress this enough. Hot chicken + closed container = condensation. Condensation = soggy chicken. Give it time to cool, and your lunch will thank you.
Variations & Adaptations
This recipe is flexible, and I love playing around with it depending on what I have in the fridge. Here are some variations I’ve tried and loved.
- Gluten-Free Version: Swap the soy sauce for tamari or coconut aminos. Make sure your mirin is gluten-free too (some brands add wheat). Everything else is naturally gluten-free. My friend’s son has celiac disease, and this version passed the lunchbox test with flying colors.
- Spicy Kick: Add ½ teaspoon of red pepper flakes or a squirt of sriracha to the sauce. My husband loves this version, but I keep it separate for the kids. A little heat goes a long way in a bento box.
- Vegetable Add-Ins: Toss in some broccoli florets or snap peas during the last 2 minutes of cooking. They soak up the extra sauce and add a nice crunch. Just make sure you cut them small enough to fit in the bento compartments.
- Air Fryer Method: Cook the chicken pieces in the air fryer at 375°F for 10-12 minutes, shaking halfway through. Then toss them in the sauce in a bowl before packing. This gives you an even crispier texture, though you lose a bit of the saucy coating.
- Teriyaki Meatballs: Shape the ground chicken into small meatballs and bake at 400°F for 15 minutes. Then toss them in the sauce. My kid calls these “lunch meatballs,” and they’re a huge hit at school.
Serving & Storage Suggestions
This chicken teriyaki is designed for bento boxes, but it works beautifully in other settings too. Here’s how I serve and store it.
- Serving Temperature: I prefer this chicken at room temperature in a bento box. It tastes just as good as hot, and it’s safer for school lunches. If you’re serving it for dinner, serve it hot over a bowl of steamed jasmine rice with a side of steamed edamame.
- Bento Box Pairings: I usually pack this with steamed rice (short-grain is my favorite), some cucumber slices, and a handful of grapes. The cool, fresh veggies balance the rich, saucy chicken perfectly. For a fun touch, I add a small silicone cup of extra sauce for dipping.
- Storage: Store leftover chicken in an airtight container in the refrigerator for up to 4 days. The sauce will thicken as it sits, which actually makes it even better for bento boxes. I don’t recommend freezing this one—the texture of the sauce changes when thawed, and it can get watery.
- Reheating: For a quick lunch, microwave the chicken for 30-45 seconds. For dinner, reheat it in a skillet over medium heat with a splash of water to loosen the sauce. Avoid overheating, or the chicken will dry out.
- Flavor Development: Honestly, this chicken tastes even better the next day. The flavors meld together overnight, and the sauce sets into a perfect coating. I often make a double batch on Sunday just for weekday lunches.
Nutritional Information & Benefits
This recipe is surprisingly balanced for something that tastes this indulgent. Here’s the breakdown per serving (about 4 ounces of chicken, without rice).
- Calories: Approximately 280-320 calories per serving
- Protein: 26-30 grams (thanks to the chicken thighs)
- Fat: 12-15 grams (mostly from the chicken and oil)
- Carbohydrates: 18-22 grams (from the honey and mirin)
- Sugar: 14-16 grams (natural sugars from honey)
Chicken thighs are a great source of iron and B vitamins, which help with energy levels—perfect for growing kids. The ginger in the sauce is known for its anti-inflammatory properties, and garlic supports immune health. Plus, since this recipe uses minimal oil and no heavy cream or butter, it’s a lighter take on a classic comfort food.
From a wellness perspective, I love that this recipe gives me control over the sugar content. You can easily reduce the honey to 2 tablespoons if you’re watching sugar intake, and it’ll still taste great. It’s also naturally dairy-free and can be made gluten-free with simple swaps. Just be mindful of the sodium if you’re using regular soy sauce—opting for low-sodium cuts it down significantly.
Conclusion
This no-sog chicken teriyaki has become a staple in our house, and I have a feeling it’ll become one in yours too. It’s quick, it’s forgiving, and it solves the age-old problem of soggy school lunches. Whether you’re packing bento boxes for picky eaters or just want a reliable weeknight dinner that doesn’t disappoint, this recipe delivers.
I love that this dish started as a mistake and turned into something I’m genuinely proud of. It reminds me that not everything in the kitchen has to be perfect to be good. Sometimes the best recipes come from the moments when we least expect them. So go ahead—give it a try. Adjust the sweetness, add some veggies, or keep it simple. Make it your own. And when your kid comes home with an empty lunchbox, you’ll know you’ve nailed it.
I’d love to hear how it turns out for you! Drop a comment below and let me know if your family loved it as much as mine does. And if you’ve got your own bento box tips, share those too—I’m always looking for new ideas. Happy cooking!
Frequently Asked Questions
Can I use chicken breast instead of thighs?
Absolutely, but be careful not to overcook it. Chicken breast cooks faster and can dry out easily. I recommend cutting it into slightly larger pieces and checking for doneness a minute or two earlier than the recipe suggests. The sauce will still be delicious, but the texture will be leaner.
How do I prevent the sauce from burning in the pan?
This is a common issue with honey-based sauces. The key is to keep the heat at medium-low once you add the sauce, and stir constantly. If you notice the sauce starting to darken too quickly, remove the pan from the heat for a few seconds and stir. The residual heat will continue cooking the sauce without burning it.
Can I make this recipe ahead of time?
Yes! This is actually one of those recipes that tastes better the next day. Cook the chicken and sauce completely, let it cool, and store it in an airtight container in the fridge for up to 4 days. When you’re ready to pack lunch, just spoon it directly into the bento box cold or give it a quick 30-second zap in the microwave.
What if I don’t have mirin?
No problem. Mix 1 tablespoon of sugar with 1 tablespoon of water, and use that as a substitute. You can also use a splash of sake or dry sherry if you have it on hand. The flavor will be slightly different, but still delicious. The key is that sweet-savory balance.
How do I keep the rice from getting soggy in the bento box?
This is the million-dollar question! First, make sure your rice is completely cool before packing it. Hot rice releases steam that creates condensation. Second, use bento box dividers to keep the chicken separate from the rice. If your bento box doesn’t have dividers, use silicone muffin cups or small pieces of parchment paper to create barriers. Finally, don’t over-sauce the chicken—just enough to coat it is perfect.
Pin This Recipe!
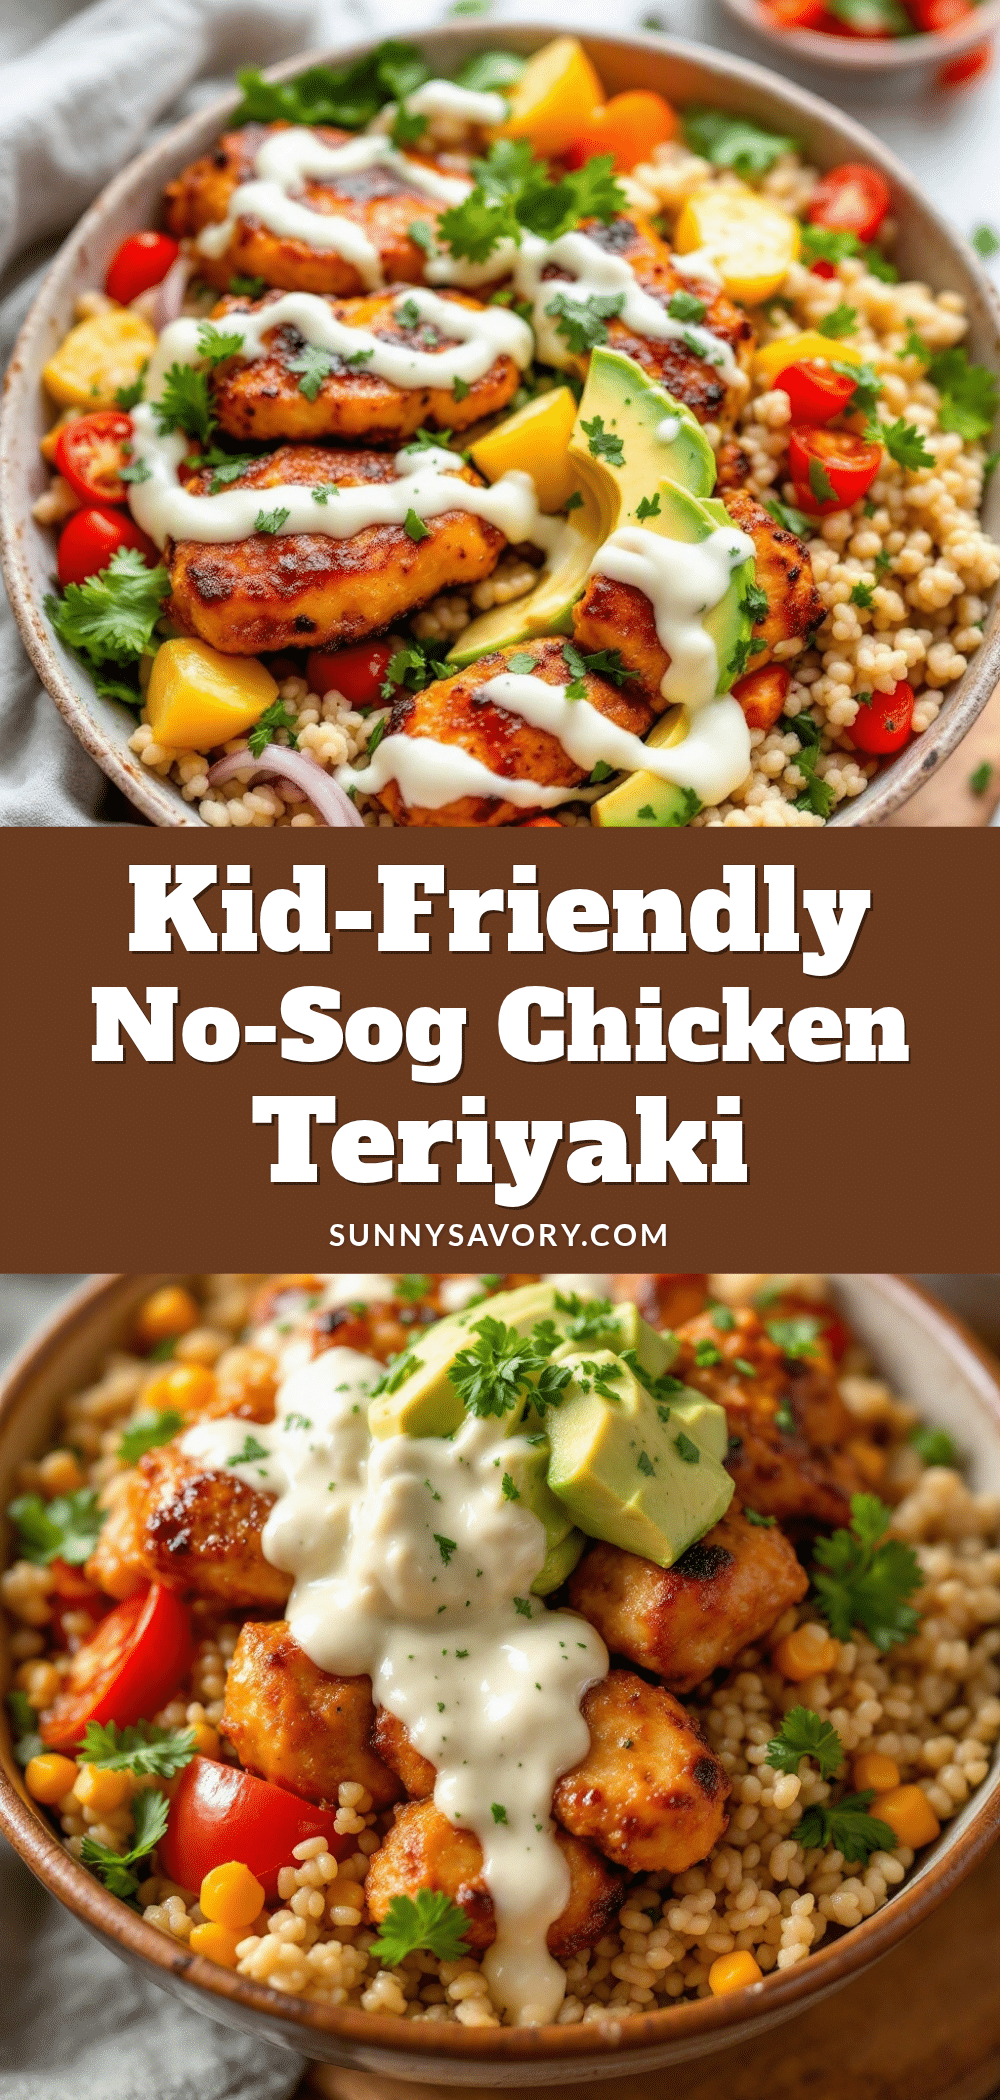
Easy No-Sog Chicken Teriyaki: Best Bento Box for Kids

This no-sog chicken teriyaki is the perfect bento box solution—thick, glossy sauce clings to tender chicken without making rice soggy. Ready in 30 minutes with simple pantry ingredients, it’s kid-approved and ideal for school lunches or quick weeknight dinners.
- Prep Time: 10 minutes
- Cook Time: 15 minutes
- Total Time: 25 minutes
- Yield: 4 servings 1x
- Category: Main Course
- Cuisine: Japanese
Ingredients
- 1 lb (450g) boneless, skinless chicken thighs, cut into 1-inch cubes
- ¼ cup (60ml) low-sodium soy sauce
- 3 tablespoons (45ml) honey
- 2 tablespoons (30ml) mirin
- 1 tablespoon (15ml) rice vinegar
- 3 cloves fresh garlic, minced
- 1 teaspoon fresh ginger, grated
- 1 tablespoon cornstarch
- 2 tablespoons neutral oil (avocado or vegetable)
- Sesame seeds for garnish (optional)
Instructions
- Pat the chicken thighs dry with paper towels. Cut into 1-inch cubes and season lightly with salt and pepper.
- In a small bowl, whisk together soy sauce, honey, mirin, rice vinegar, minced garlic, and grated ginger. In a separate tiny bowl, mix cornstarch with 2 tablespoons cold water to make a slurry.
- Heat a large non-stick skillet over medium-high heat and add neutral oil. Once shimmering, add chicken pieces in a single layer (work in batches if needed). Cook undisturbed for 3-4 minutes until golden brown, then flip and cook another 3-4 minutes until cooked through.
- Reduce heat to medium-low. Pour the sauce mixture over the chicken and toss to coat. Let simmer for about 1 minute, stirring occasionally.
- Stir the cornstarch slurry, then pour into the pan. Stir continuously for 30-45 seconds until the sauce thickens and becomes glossy. If too thick, add a tablespoon of water; if too thin, simmer another 30 seconds.
- Remove from heat and let chicken cool in the sauce for 5 minutes. Transfer chicken to a bento box, leaving excess sauce behind. Cool completely before closing the lid.
Notes
Pat chicken dry thoroughly for best sear. Let chicken cool completely before packing to avoid condensation. For gluten-free, use tamari and gluten-free mirin. For a spicy kick, add ½ teaspoon red pepper flakes or sriracha. Leftovers keep in the fridge for up to 4 days; flavor improves overnight.
Nutrition
- Serving Size: 4 ounces chicken (wi
- Calories: 300
- Sugar: 15
- Sodium: 600
- Fat: 13.5
- Saturated Fat: 3
- Carbohydrates: 20
- Protein: 28
Keywords: chicken teriyaki, bento box, kid-friendly, no-sog, easy dinner, school lunch, 30-minute meal



