Love this? Save it for later!
Share the inspiration with your friends
My aunt swore she hated pickles. For forty-three years, she said it at every family barbecue, every summer picnic, every time someone passed a jar her way. “Can’t stand the things,” she’d announce, waving a dismissive hand. Then last July, I brought a jar of these overnight refrigerator dill pickle spears to her annual cookout, set them on the snack table next to the potato salad, and watched from across the yard as she absentmindedly grabbed one while talking to my cousin. She took a bite. Then another. By the time I walked over, she was on her third spear, trying to look casual about it.
“These are pretty good,” she muttered, not quite meeting my eyes. I didn’t say a word. I just smiled and went back to my burger.
Honestly, that moment captured exactly why this recipe works. It’s not trying to convert anyone. It’s just that good on its own terms. These Easy Overnight Refrigerator Dill Pickle Spears have that perfect balance—crisp enough to satisfy that crunch craving, tangy without being harsh, and packed with dill flavor that tastes like you spent all summer perfecting the brine. But here’s the thing: you don’t need any canning experience, special equipment, or hours of your life. You just need a jar, some cucumbers, and the patience to let them sit overnight. That’s it.
I stumbled onto this method after a failed attempt at traditional canning left me with limp, sad pickles and a kitchen that looked like a brine bomb went off. I wanted something simpler, something that delivered that same crisp, garlicky satisfaction without the water bath drama. So I started playing around with refrigerator pickle recipes, tweaking the vinegar-to-water ratio, testing different salt levels, and annoying my neighbors by showing up at their doors with jars of experimental spears. This version? It’s the one that got my aunt to finally admit she was wrong. And if that’s not a recipe worth keeping, I don’t know what is.
You know that feeling when you open a jar and hear that perfect snap as you pull out a spear? That’s what we’re after here. Let me show you how to get it, no canning pot required.
Why You’ll Love These Overnight Dill Pickle Spears
Let me tell you why this recipe has become my most-requested summer staple. I’ve tested dozens of pickle recipes over the years, and this one consistently wins—not because it’s fancy, but because it just works. Here’s what makes it special:
- Ready in 24 Hours : Most pickle recipes make you wait weeks. These are ready to eat by tomorrow’s lunch. Seriously—start them tonight, and they’re perfect for tomorrow’s sandwich or snack plate.
- No Canning Required : No boiling water baths, no sterilizing jars until your hands cramp, no worrying about seals popping. Just mix, pour, and refrigerate. That’s it.
- Crunch That Lasts : The secret is in the salt-to-vinegar ratio and using cold water. These spears stay crisp for weeks, not days. I’ve had jars last over a month and still snap when you bite into them.
- Perfect for Beginners : If you’ve never made a pickle in your life, this is where you start. The process is forgiving, the ingredients are simple, and even mistakes usually taste good.
- Endlessly Customizable : Want them spicier? Add more red pepper flakes. Prefer extra garlic? Throw in another clove. This recipe is a starting point, not a rulebook.
What makes these different from store-bought pickles is the texture. Those shelf-stable jars have to be heat-processed, which softens the cucumbers. Refrigerator pickles skip that step entirely, so you get that fresh-from-the-garden crunch every single time. Plus, you control exactly what goes in—no preservatives, no artificial colors, no high-fructose corn syrup. Just real ingredients doing what they do best.
I’ll be honest: I make these every week during cucumber season. They’re the first thing to disappear at parties, they elevate even the saddest deli sandwich, and they make me look way more put-together than I actually am. There’s something deeply satisfying about pulling a jar of homemade pickles out of your fridge when guests come over. They think you’re some kind of kitchen wizard. I just smile and let them believe it.
What Ingredients You Will Need
This recipe uses simple, everyday ingredients to create something genuinely special. Most of these are probably in your kitchen right now, which is exactly the point. Let me walk you through each one and explain what it does for the final pickle.
For the Pickles
- 1 ½ pounds Kirby cucumbers (about 4-5 medium) — These are the short, bumpy cucumbers specifically meant for pickling. They have thinner skins and firmer flesh than salad cucumbers, which means they stay crunchier. Look for them at farmers markets or in the produce section labeled “pickling cucumbers.” If you can’t find Kirbys, use Persian cucumbers—they’re a close second. Avoid standard English or garden cucumbers; they’re too watery and turn mushy.
- 3 cups cold water (filtered if possible) — The cold water is non-negotiable here. Warm water starts breaking down the cucumber texture before the brine even gets in the fridge. I fill a pitcher and let it sit in the fridge while I prep everything else.
- 1 cup white vinegar (5% acidity) — This is the workhorse of pickle-making. White vinegar gives you that classic clean, tangy flavor without overpowering the dill and garlic. Don’t use apple cider vinegar here—it’s too sweet and will change the color. And definitely don’t use cleaning vinegar, which has higher acidity and isn’t food-safe.
- 1 tablespoon kosher salt (not table salt) — Kosher salt dissolves cleanly and doesn’t have the anti-caking agents that can make brine cloudy. I use Diamond Crystal brand because it’s less salty by volume, which gives me more control. If you only have table salt, use 2 teaspoons instead of a full tablespoon—it’s much more concentrated.
- 1 tablespoon granulated sugar — Just enough to balance the acidity without making the pickles sweet. You won’t taste sugar; you’ll just notice the pickles taste more rounded and less harsh. If you’re avoiding sugar, you can leave it out, but the pickles will be noticeably sharper.
For the Flavor Base
- 4 cloves garlic, peeled and smashed — Smashing releases more flavor than slicing. I use a chef’s knife to crush each clove flat, then drop the pieces in whole. This gives you garlic flavor without garlic chunks floating in your brine.
- 2 tablespoons fresh dill (or 1 tablespoon dried dill weed) — Fresh dill is ideal—it’s more aromatic and gives that unmistakable pickle flavor. I buy a bunch and use the fronds, stems and all. In winter, dried dill works fine; just use half the amount since dried herbs are more concentrated.
- 1 teaspoon black peppercorns — Whole peppercorns infuse slowly and add subtle warmth without making the pickles spicy. Don’t use ground pepper—it turns the brine murky and settles at the bottom.
- ½ teaspoon red pepper flakes (optional) — This gives a gentle heat that builds as the pickles sit. I add them to about half my jars, depending on my mood. Leave them out if you prefer mild pickles.
- 1 teaspoon mustard seeds (optional) — These add a tiny pop of texture and a mild, almost earthy warmth. They’re traditional in many pickle recipes and I love the way they look floating in the jar.
- 2 bay leaves (optional) — Bay leaves add an subtle herbal note that deepens over time. I usually add them because they make the pickles taste more complex, but you won’t miss them if you skip them.
Ingredient Selection Tips
I buy my cucumbers from a local farm stand during summer, but grocery store Kirby cucumbers work perfectly year-round. When selecting cucumbers, look for ones that are firm all over with no soft spots or wrinkles. They should feel heavy for their size, which means they’re full of water and will stay crisp. I’ve found that cucumbers from the refrigerated section of the store actually work better than room-temperature ones from farmers markets—the cold helps maintain crunch during the brining process.
For the vinegar, I prefer Heinz or store-brand white vinegar. They all have the same 5% acidity, so brand doesn’t matter much. Just check the label to make sure it’s not diluted. For the dill, fresh is always better, but I keep dried dill in my pantry for emergencies. McCormick and Simply Organic both make good dried dill that retains decent flavor.
Equipment Needed
The beauty of this recipe is how little equipment it requires. You probably own everything already.
- 1-quart glass jar with a tight-fitting lid — A wide-mouth Mason jar works best because it’s easier to pack in the cucumber spears. I use Ball or Kerr brand quart jars. A repurposed pickle jar works fine too, as long as the lid seals well. Just make sure it’s glass, not plastic—plastic can retain odors and might not create a good seal.
- Small saucepan — For heating the brine. Any 1- to 2-quart pot works. I use my stainless steel saucepan because it heats evenly and doesn’t react with the vinegar.
- Cutting board and sharp knife — For slicing the cucumbers and smashing the garlic. A serrated knife actually works well for cutting cucumbers—it grips the skin better than a straight blade.
- Measuring cups and spoons — For accurate brine measurements. Liquid measuring cups are better for the water and vinegar; dry measuring spoons work fine for salt and sugar.
- Wooden spoon or spatula — For stirring the brine. Metal can react with the vinegar, so wood or silicone is safer.
- Funnel (optional but helpful) — Makes pouring the brine into the jar much less messy. I bought a set of canning funnels years ago and use them constantly.
If you don’t have a funnel, no worries. Just pour carefully. I’ve done it a hundred times without one, and the worst that happens is a little brine on the counter. Not the end of the world.
Preparation Method
Here’s where the magic happens. Follow these steps, and you’ll have perfect pickles by tomorrow. I’ve included all the little details I wish someone had told me when I first started making these.
Step 1: Prepare the Cucumbers (5 minutes)
Wash your cucumbers thoroughly under cold running water. Kirby cucumbers often have a bit of grit on their bumpy skin, so give them a good scrub with your hands or a clean vegetable brush. Pat them dry with a clean towel.
Trim off the blossom end—that’s the end opposite the stem. I learned this the hard way after a batch turned out slightly bitter. The blossom end contains enzymes that can soften pickles over time. Just slice off about ⅛ inch from that end and you’re good.
Cut each cucumber lengthwise into quarters to make spears. If your cucumbers are particularly fat, cut them into sixths instead. You want spears that are about ½ inch thick at the widest point—thick enough to have a satisfying crunch, but thin enough to absorb the brine quickly. I aim for spears that are roughly the size of my index finger.
Step 2: Prepare the Flavorings (3 minutes)
Peel 4 cloves of garlic. Place each clove on your cutting board, lay the flat side of your chef’s knife on top, and give it a firm smack with your palm. The clove should flatten and split slightly. Drop the smashed pieces into your clean quart jar.
If using fresh dill, rinse it and pat dry. Stuff the fronds into the jar along with the garlic. I use the whole sprig—stems and all. The stems have plenty of flavor. If using dried dill, just sprinkle it in.
Add the black peppercorns, red pepper flakes (if using), mustard seeds (if using), and bay leaves (if using) directly into the jar. Distribute them evenly so they’re not all clumped at the bottom.
Step 3: Pack the Jar (5 minutes)
Stand the cucumber spears upright in the jar, packing them as tightly as you can without crushing them. I start by placing a layer vertically, then fill any gaps with smaller pieces. The tighter they’re packed, the less they’ll float when you add the brine.
If you have any leftover cucumber pieces, you can tuck them into the gaps or slice them into rounds and add them too. I never waste a single piece of cucumber—even the odd-shaped ends make great snacks after they’ve brined.
Step 4: Make the Brine (5 minutes)
In your small saucepan, combine the cold water, white vinegar, kosher salt, and granulated sugar. Place the pan over medium-high heat and stir occasionally with your wooden spoon.
You’re not trying to boil the brine—just heat it enough to dissolve the salt and sugar completely. This usually takes about 3-4 minutes. As soon as you see small bubbles forming around the edges of the pan (that’s called “shimmering”), remove it from the heat. The brine should be hot but not boiling. Boiling can cook the cucumbers slightly, which ruins their crunch.
Let the brine cool for about 2-3 minutes. It should still be warm but not hot enough to burn your finger. If it’s too hot when you pour it over the cucumbers, it will start cooking them. Warm brine is perfect—it helps the flavors meld without damaging the texture.
Step 5: Pour and Seal (2 minutes)
Carefully pour the warm brine over the cucumber spears in the jar, using a funnel if you have one. Fill the jar all the way to the top, completely covering the cucumbers. Any spears sticking out above the brine will discolor and soften, so make sure they’re fully submerged.
If some spears float up, you can weigh them down with a small clean glass or ceramic object. I’ve used a clean shot glass in a pinch. Or you can just push them down with a spoon and hope for the best—honestly, it usually works out fine.
Tap the jar gently on the counter a few times to release any air bubbles trapped between the spears. You’ll see tiny bubbles rise to the surface. Screw the lid on tightly.
Step 6: Refrigerate and Wait (24 hours)
Place the jar in your refrigerator, preferably toward the back where the temperature is most stable. Don’t put it in the door—the temperature fluctuates too much there.
Here’s the hard part: wait at least 24 hours before opening. I know, I know. But trust me on this. The brine needs time to penetrate the cucumbers fully. If you open them too early, they’ll taste like cucumbers dipped in vinegar—not pickles. After 24 hours, they’ll be good. After 48 hours, they’ll be excellent. After a week, they’ll be transcendent.
I usually make a batch on Sunday and start eating them on Tuesday. By the weekend, they’re at their peak. The longer they sit, the more the flavors develop and meld together.
Cooking Tips & Techniques
After dozens of batches, here’s what I’ve learned about making perfect refrigerator pickles every time. These tips come from actual mistakes I’ve made so you don’t have to repeat them.
The Salt Matters More Than You Think. I once ran out of kosher salt and used table salt instead. Big mistake. The pickles turned out way too salty because table salt is much denser. Stick with kosher salt for the most forgiving results. If you’re using sea salt or Himalayan pink salt, grind it fine first so it dissolves properly.
Don’t Skip the Cold Water. I know it seems fussy, but starting with cold water makes a real difference. Warm water begins breaking down the cucumber’s cell structure immediately, which leads to softer pickles. I keep a pitcher of water in my fridge specifically for pickle-making. It’s a small habit that pays off in crunch.
Temperature Matters. Your fridge should be at 40°F or below. If your fridge runs warm, your pickles will soften faster. I keep a thermometer in my fridge and check it occasionally. It’s not just for pickles—it’s food safety in general.
One Common Mistake: Overpacking. I used to cram as many spears as possible into the jar, thinking more pickles = better. But overpacking prevents the brine from circulating evenly, which means some spears end up under-brined. Leave just a tiny bit of space between the spears. They should be snug but not squeezed.
Label Your Jar. I cannot tell you how many times I’ve made a batch, forgotten when I made it, and had to guess whether it was safe to eat. Now I use a piece of masking tape and a permanent marker to write the date on every jar. It takes two seconds and saves so much guesswork.
Multitasking Strategy: While the brine is heating, prep your cucumbers and pack the jar. That way everything is ready to go when the brine comes off the stove. The whole process takes about 20 minutes, most of which is waiting for the brine to warm up.
Variations & Adaptations
This recipe is incredibly flexible. Here are some of my favorite variations, each tested and approved by my very opinionated taste testers.
Spicy Garlic Pickles: Add 2-3 whole dried red chilies or 1 teaspoon of red pepper flakes to the jar along with the other spices. I also add an extra clove of garlic because, well, garlic. These are fantastic on tacos or alongside a spicy sandwich.
Sweet Bread-and-Butter Style: Increase the sugar to ¼ cup and add ½ teaspoon turmeric and ½ teaspoon celery seeds to the brine. The turmeric gives them that classic golden color, and the celery seeds add that unmistakable bread-and-butter flavor. These are perfect for burgers or just snacking straight from the jar.
Kosher-Style Dills: Double the dill (use 4 tablespoons fresh or 2 tablespoons dried) and add 1 teaspoon of dill seed along with the dill weed. This gives you that authentic deli pickle flavor. I also add an extra teaspoon of salt to mimic the brininess of traditional kosher pickles.
Low-Sodium Version: Reduce the salt to 1½ teaspoons. The pickles won’t be as crisp, and they won’t last as long (eat within 2 weeks), but they’ll still taste great. I make these for my dad, who has to watch his sodium intake, and he loves them.
Quick Pickle Chips: Instead of spears, slice the cucumbers into ¼-inch rounds. They’ll be ready in about 12 hours instead of 24. These are perfect for topping sandwiches or adding to salads. I often make a jar of spears and a jar of chips at the same time.
Herb-Infused Pickles: Add a few sprigs of fresh tarragon, thyme, or oregano along with the dill. I made a batch with tarragon last summer and it was surprisingly good—herbaceous and slightly anise-like. Not traditional, but delicious.
Serving & Storage Suggestions
These pickles are incredibly versatile. Here’s how I serve and store them for the best results.
How to Serve: Pull the jar from the fridge about 10 minutes before serving to take the chill off slightly—the flavors open up more at cool room temperature. Arrange spears on a small plate or serve straight from the jar. They’re perfect alongside sandwiches, burgers, hot dogs, grilled meats, or cheese boards. I also love chopping them up and adding them to potato salad, tuna salad, or deviled eggs for extra crunch and tang.
What Pairs Well: These pickles are natural companions to rich, fatty foods. Try them with a classic Reuben sandwich, a juicy burger, or grilled bratwurst. They also cut through the richness of creamy dips and cheeses. For drinks, an ice-cold beer or a crisp gin and tonic is perfect. The acidity of the pickles complements the bitterness of the tonic beautifully.
Storage Instructions: Keep the jar tightly sealed in the refrigerator at all times. These are not shelf-stable—they must stay cold. Properly stored, they’ll last 4-6 weeks, though they rarely last that long in my house. The brine will become slightly cloudy over time as the salt and spices continue to infuse; that’s normal and safe.
How to Reuse the Brine: After you finish the pickles, don’t throw out the brine! You can reuse it for a second batch. Just add fresh cucumber spears and let them sit for 48 hours. The second batch won’t be as flavorful, so you might want to add a pinch of salt and a splash of fresh vinegar. I’ve reused brine up to three times before it gets too weak.
Freezing: I don’t recommend freezing these pickles. The texture will become mushy and unpleasant when thawed. If you need to preserve them longer, you’re better off learning traditional water-bath canning. But honestly, these are so easy to make that freezing isn’t necessary.
Flavor Development Over Time: Day 1 pickles taste like cucumbers with a hint of vinegar. Day 2-3 pickles start tasting like actual pickles. Day 5-7 pickles are at their peak—fully flavored but still crisp. After 2 weeks, the flavors deepen and the crunch starts to fade slightly. After 4 weeks, they’re still good but noticeably softer. Plan your eating schedule accordingly.
Nutritional Information & Benefits
These pickles are surprisingly healthy, especially compared to store-bought versions loaded with preservatives and artificial colors.
Estimated Nutrition per Serving (2 spears):
- Calories: 8
- Total Fat: 0g
- Sodium: 280mg (varies by salt used)
- Total Carbohydrates: 2g
- Dietary Fiber: 0g
- Sugars: 1g
- Protein: 0g
Health Benefits: Cucumbers are hydrating (they’re 96% water) and contain antioxidants like flavonoids and tannins that help reduce inflammation. The vinegar in the brine may help with blood sugar regulation—some studies suggest it can improve insulin sensitivity after meals. The garlic and dill both have antimicrobial properties, and the fermentation-like process (even though these aren’t fermented) creates beneficial compounds.
Dietary Considerations: These pickles are naturally gluten-free, dairy-free, vegan, and low-carb. If you’re watching your sodium, use the low-sodium variation above. They contain no added fats and are virtually calorie-free, making them an excellent snack for weight management.
Potential Allergens: None of the standard ingredients are common allergens. However, if you have a mustard allergy, skip the mustard seeds. If you’re sensitive to nightshades, red pepper flakes are optional. Always check your spice blends for hidden additives if you have specific allergies.
I personally love having a jar of these in the fridge because they satisfy my craving for something crunchy and tangy without any guilt. They’re my go-to afternoon snack when I want to avoid the vending machine at work.
Conclusion
These Easy Overnight Refrigerator Dill Pickle Spears have become a staple in my kitchen for good reason. They’re simple enough for a beginner to nail on the first try, but satisfying enough to impress even the most devoted pickle fan. There’s something deeply rewarding about opening your fridge and seeing a jar of homemade pickles you made with your own two hands. It makes you feel capable, resourceful, and just a little bit smug—in the best possible way.
I hope you make these your own. Add more garlic if you love garlic. Throw in some chili flakes for heat. Experiment with different herbs and spices. That’s the beauty of this recipe—it’s a starting point, not a final destination. The first time you pull a spear from the jar and hear that perfect crunch, you’ll understand why I keep a constant supply in my fridge.
When you make these (and I really hope you do), I’d love to hear how they turn out. Drop a comment below and let me know what variations you tried, who you served them to, and whether anyone in your life had an aunt-style pickle conversion moment. Share this recipe with someone who thinks they can’t make pickles from scratch—they’ll be shocked at how easy it is. And if you post a photo on social media, tag me so I can see your beautiful jars of homemade goodness.
Now go grab some cucumbers and get pickling. Your future self—and everyone you share these with—will thank you.
Frequently Asked Questions
Can I use regular cucumbers instead of Kirby cucumbers?
You can, but the texture won’t be as crisp. English cucumbers and garden cucumbers have higher water content and thinner skins, which means they soften faster. If that’s all you have, use them within a week and expect a softer pickle. Persian cucumbers are the best substitute if you can’t find Kirbys.
Why are my pickles mushy?
Mushy pickles usually come from one of three problems: using the wrong type of cucumber, pouring the brine while it’s too hot, or not using enough salt. Make sure you’re using Kirby or Persian cucumbers, let the brine cool slightly before pouring, and don’t skimp on the salt—it helps maintain crunch. Also, make sure you trimmed the blossom end, as that contains enzymes that soften pickles.
How long do these pickles last in the fridge?
Properly stored in a sealed jar at 40°F or below, these pickles will last 4-6 weeks. The texture will gradually soften over time, but they’ll remain safe to eat as long as the brine looks clear and there’s no mold. If you see any cloudiness that’s not from the spices, or if the pickles develop an off smell, toss them.
Can I double or triple this recipe?
Absolutely. Just multiply all the ingredients by the number of jars you want to make. Use a larger pot for the brine so everything heats evenly. I often make 4-5 jars at once during cucumber season. Just make sure each jar has its own set of flavorings—don’t try to divide one batch of spices between multiple jars, as the distribution won’t be even.
Do I need to sterilize the jar before using it?
For refrigerator pickles, a thorough wash with hot soapy water is sufficient. Unlike canned pickles, these stay refrigerated, so the risk of bacterial growth is much lower. I wash my jars in the dishwasher on the sanitize cycle, but hand-washing with hot water and dish soap works fine. Just make sure the jar is completely dry before you start packing it.
Pin This Recipe!
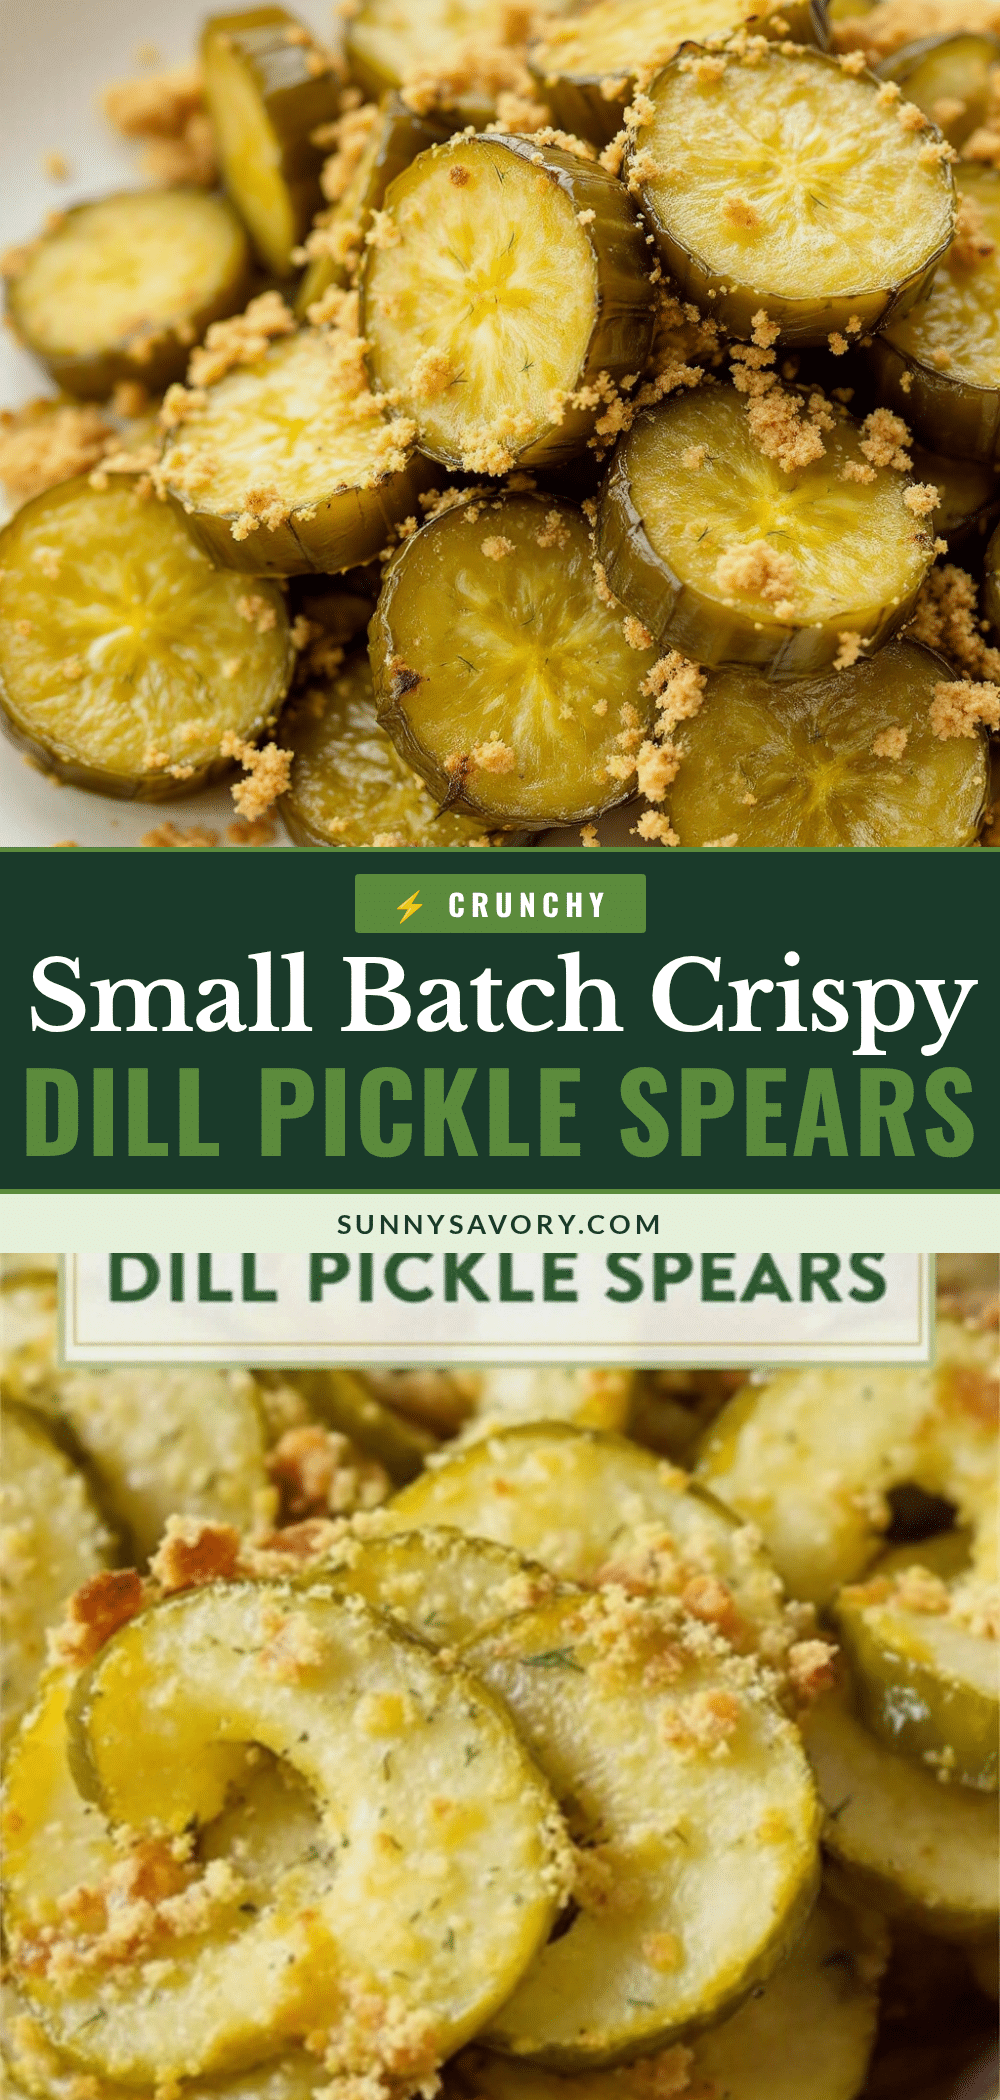
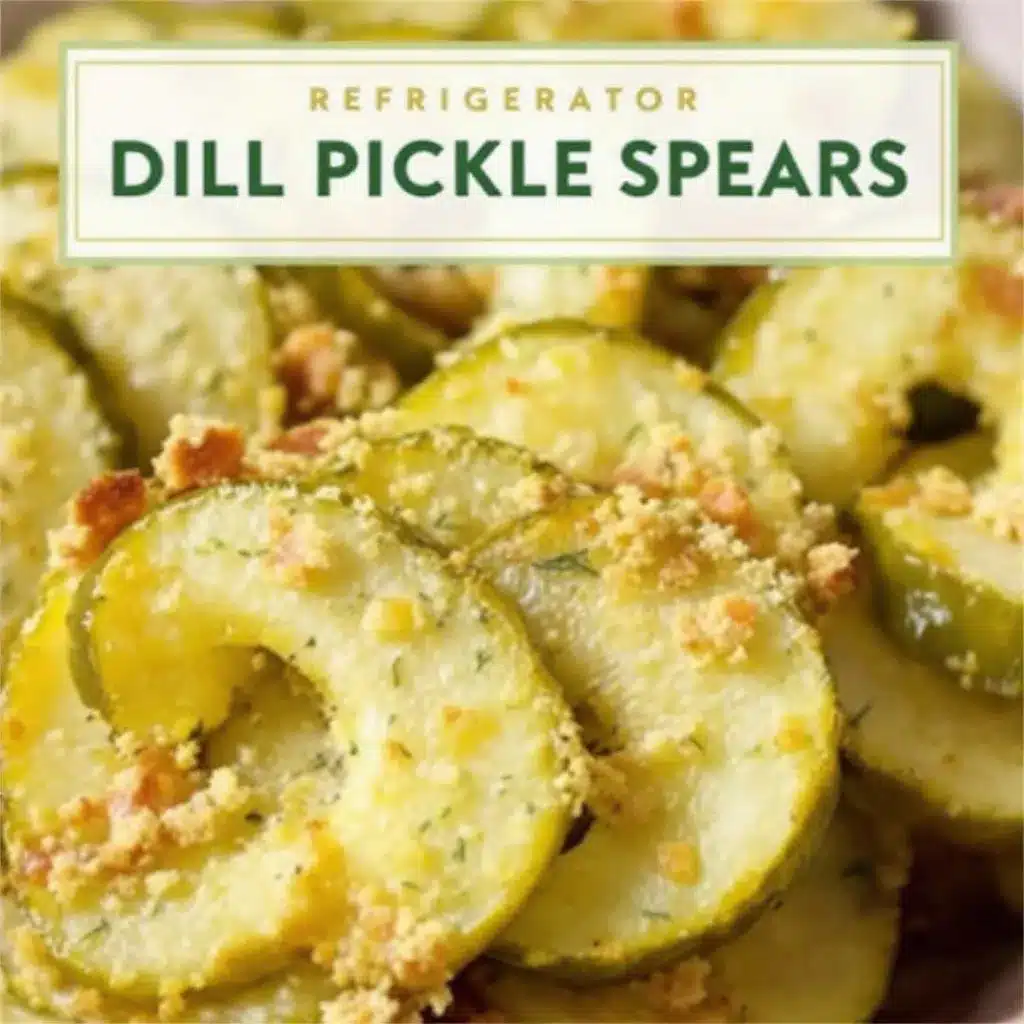
Easy Overnight Refrigerator Dill Pickle Spears (Best Crisp Recipe)
These Easy Overnight Refrigerator Dill Pickle Spears have that perfect balance—crisp enough to satisfy that crunch craving, tangy without being harsh, and packed with dill flavor. No canning required, just a jar, some cucumbers, and patience to let them sit overnight.
- Prep Time: 20 minutes
- Cook Time: 5 minutes
- Total Time: 25 minutes (plus 24 hours refrigeration)
- Yield: 4 servings 1x
- Category: Appetizer, Snack, Side Dish
- Cuisine: American
Ingredients
- 1 ½ pounds Kirby cucumbers (about 4–5 medium)
- 3 cups cold water (filtered if possible)
- 1 cup white vinegar (5% acidity)
- 1 tablespoon kosher salt (not table salt)
- 1 tablespoon granulated sugar
- 4 cloves garlic, peeled and smashed
- 2 tablespoons fresh dill (or 1 tablespoon dried dill weed)
- 1 teaspoon black peppercorns
- ½ teaspoon red pepper flakes (optional)
- 1 teaspoon mustard seeds (optional)
- 2 bay leaves (optional)
Instructions
- Wash cucumbers thoroughly under cold running water. Trim off the blossom end (opposite the stem). Cut each cucumber lengthwise into quarters to make spears about ½ inch thick.
- Peel and smash 4 cloves of garlic. Place smashed garlic into a clean 1-quart glass jar. Add fresh dill (or dried dill), black peppercorns, red pepper flakes (if using), mustard seeds (if using), and bay leaves (if using).
- Pack the cucumber spears upright into the jar as tightly as possible without crushing them.
- In a small saucepan, combine cold water, white vinegar, kosher salt, and granulated sugar. Heat over medium-high heat, stirring occasionally, until salt and sugar are fully dissolved (about 3-4 minutes). Remove from heat just as small bubbles form around the edges—do not boil. Let cool for 2-3 minutes until warm but not hot.
- Pour the warm brine over the cucumber spears, filling the jar to the top to completely submerge them. Tap the jar gently on the counter to release air bubbles. Screw the lid on tightly.
- Refrigerate the jar toward the back of the fridge (not in the door) for at least 24 hours before opening. For best flavor, wait 48 hours to a week.
Notes
Use Kirby or Persian cucumbers for best crunch. Trim the blossom end to prevent bitterness and softening. Start with cold water to maintain crispness. Do not boil the brine—just heat until salt and sugar dissolve. Store in the back of the fridge at 40°F or below. Pickles last 4-6 weeks. Brine can be reused for a second batch. For spicier pickles, add more red pepper flakes or dried chilies. For bread-and-butter style, increase sugar to ¼ cup and add ½ teaspoon turmeric and ½ teaspoon celery seeds.
Nutrition
- Serving Size: 2 spears
- Calories: 8
- Sugar: 1
- Sodium: 280
- Carbohydrates: 2
Keywords: refrigerator pickles, dill pickles, easy pickles, no canning pickles, overnight pickles, homemade pickles, crisp pickles, pickle spears