Love this? Save it for later!
Share the inspiration with your friends
My neighbor, a retired schoolteacher named Carol, asked me last Tuesday why I couldn’t just dump everything into one bowl and roll it into a ball. She was watching me meticulously layer cream cheese, dried beef, and seasonings in a complicated stacking pattern for a party appetizer. I started to explain why that wouldn’t work — then stopped. Honestly, I had no good reason. I was just doing it the way I’d always seen it done.
I handed her the bowl and stood there, arms crossed, ready to be proven right. She dumped in the dried beef, the cream cheese, and a handful of everything bagel seasoning I had sitting on the counter. She mixed it with her hands — no fancy technique, no chilling between steps. She rolled it into a lopsided ball, wrapped it in plastic, and stuck it in the fridge. I was sure it would be a salty, greasy mess.
Three hours later, I was eating my words — literally. That cheese ball was the best I’d ever made. The texture was perfect, the flavor was balanced, and my kids, who usually pick at party food, devoured half of it before the guests even arrived. I mean, I’ve been making cheese balls for years, and this 4-ingredient version was better than anything I’d carefully constructed. Carol just smiled and said, “Sometimes simple is smarter.”
Maybe you’ve been there — overcomplicating a recipe when the easiest version is hiding in plain sight. This dried beef cheese ball with everything seasoning has become my go-to for every family gathering, soccer practice snack, and last-minute potluck. It’s the kind of recipe that makes you wonder why you ever did it the hard way.
Why You’ll Love This Recipe
Let me tell you why this cheese ball has earned a permanent spot in my refrigerator rotation. I’ve tested this recipe at least a dozen times — for picky kids, for holiday parties, for my book club that isn’t afraid to tell me when something’s bland. Every single time, it gets the same reaction: people asking for the recipe before they’ve finished their first cracker.
- Quick & Easy: This comes together in under 10 minutes of active prep. No cooking, no complicated steps, no waiting for ingredients to come to room temperature. It’s the kind of recipe you can throw together while your kid is asking for a snack for the third time.
- Simple Ingredients: You only need four things — cream cheese, dried beef, everything bagel seasoning, and a little Worcestershire sauce if you want to get fancy. Chances are, you already have most of these in your kitchen right now.
- Perfect for Family Meals: This isn’t just for parties. I’ve served it alongside soup for a quick dinner, packed it in lunchboxes with crackers, and even spread it on toast for a fast breakfast. It’s versatile enough for any occasion.
- Crowd-Pleaser: My kids call it “the pink ball” and ask for it by name. Adults love the savory, salty flavor. Even my mother-in-law, who is notoriously hard to impress, asked for the recipe. That’s saying something.
- Unbelievably Delicious: The combination of creamy cream cheese, salty dried beef, and crunchy everything seasoning is next-level. It’s savory, satisfying, and somehow addictive without being heavy.
What makes this recipe different from the rest? It’s the everything bagel seasoning. Most dried beef cheese balls rely on garlic powder and onion powder alone, but the sesame seeds, poppy seeds, and dried garlic in everything seasoning add texture and depth you just can’t get otherwise. Plus, this version skips the complicated layering technique — you mix everything together in one bowl, and it works perfectly every time.
This recipe isn’t just good — it’s the kind that makes you close your eyes after the first bite. It’s comfort food reimagined: faster, simpler, but with the same soul-soothing satisfaction. Perfect for impressing guests without stress, or turning a simple snack into something memorable.
What Ingredients You Will Need
This recipe uses simple, everyday ingredients to deliver big flavor without any fuss. You probably have most of these in your kitchen right now, which is exactly why I love it for busy families.
- Cream cheese, softened: 16 ounces (two 8-ounce blocks). Use full-fat cream cheese for the best texture and flavor. I recommend Philadelphia brand — it’s consistently creamy and holds its shape well. Let it sit on the counter for about 30 minutes before starting so it mixes easily. (For a lighter version, you can use reduced-fat cream cheese, but the texture will be slightly less rich.)
- Dried beef, finely chopped: 4 ounces (one small jar). Look for dried beef in the canned meat aisle or near the bacon. I prefer Armour brand for its consistent saltiness and tender texture. Chop it into small pieces — about the size of a pea — so it distributes evenly throughout the cheese ball. (If you can’t find dried beef, you can substitute 4 ounces of prosciutto or thinly sliced ham, finely chopped. Just reduce the added salt.)
- Everything bagel seasoning: 3 tablespoons, divided. This is the secret weapon. Use store-bought or make your own with equal parts sesame seeds, poppy seeds, dried garlic flakes, dried onion flakes, and a pinch of salt. I love Trader Joe’s Everything But the Bagel seasoning for convenience. (You’ll use 2 tablespoons mixed into the cheese and 1 tablespoon for coating the outside.)
- Worcestershire sauce: 1 teaspoon. This adds a subtle umami depth that balances the saltiness of the dried beef. It’s optional but highly recommended. (If you’re avoiding anchovies, use soy sauce or coconut aminos instead.)
A few more notes: You’ll also need a pinch of black pepper, but hold the salt — the dried beef and everything seasoning are plenty salty on their own. If you want to add a little freshness, you can mix in 2 tablespoons of finely chopped fresh chives or green onions, but that’s totally optional.
For the coating, you’ll need about 1/4 cup of finely chopped pecans or walnuts if you want extra crunch. I sometimes skip the nuts and just use extra everything seasoning for a nut-free version that’s perfect for school events.
Equipment Needed
You don’t need fancy equipment for this recipe, which is part of why I love it. Here’s what you’ll need:
- Large mixing bowl: Any medium-to-large bowl works. I use a glass mixing bowl because it doesn’t retain odors, but ceramic or stainless steel is fine too.
- Rubber spatula or wooden spoon: For mixing everything together. A rubber spatula is my favorite because it scrapes the sides clean and makes less mess.
- Plastic wrap: Essential for shaping and chilling the cheese ball. I use the press-and-seal kind because it clings better without leaving gaps.
- Cutting board and knife: For chopping the dried beef into small pieces. A sharp chef’s knife makes quick work of this.
- Serving platter or board: For presenting the finished cheese ball. A small wooden board or ceramic plate works perfectly.
If you don’t have a rubber spatula, a wooden spoon works fine — just be patient scraping the sides. For shaping, you can use your hands (lightly oiled with a little cooking spray to prevent sticking) if you don’t want to use plastic wrap. I’ve done it both ways, and honestly, the plastic wrap method is less messy.
Preparation Method
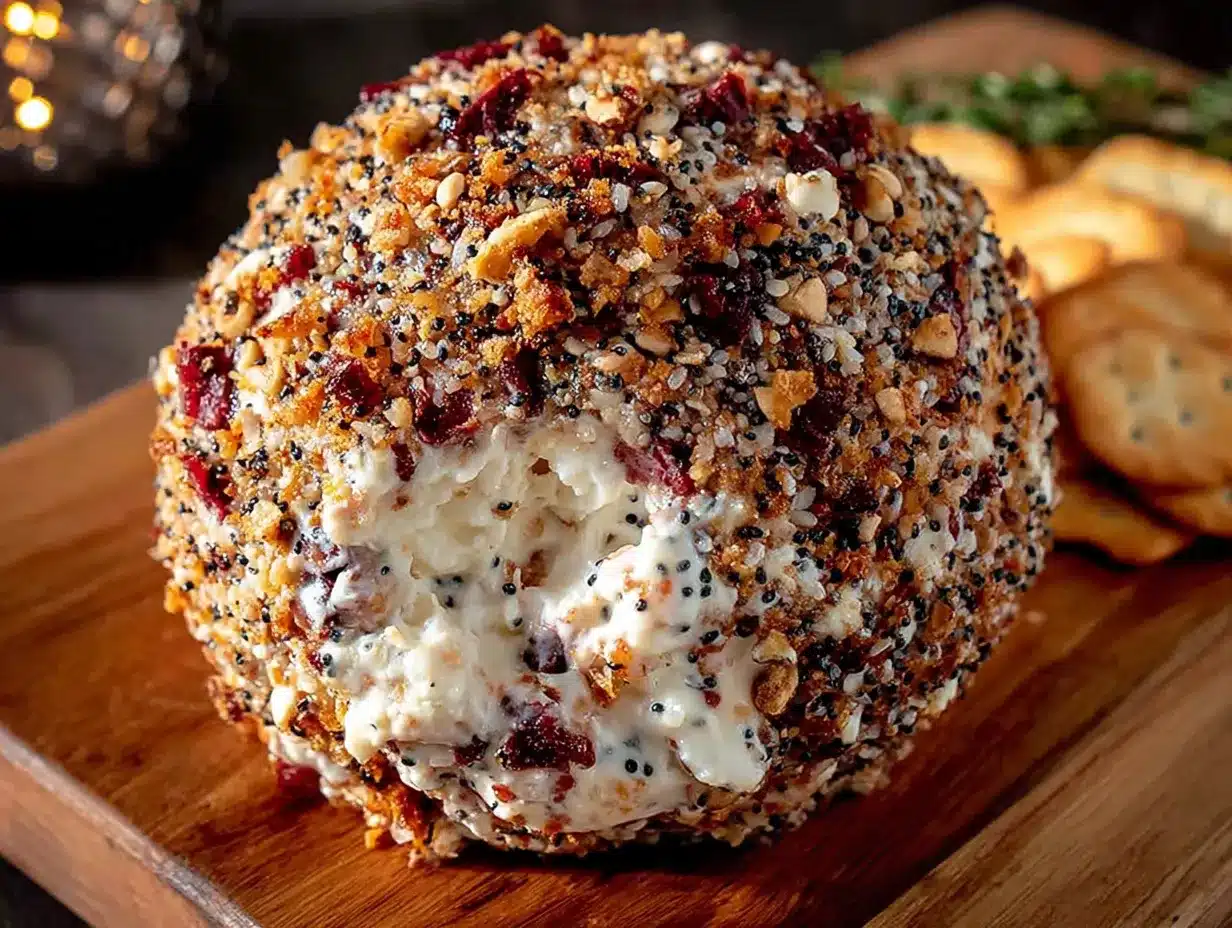
Here’s how to make this cheese ball in five simple steps. Trust me, it’s almost too easy — but that’s the beauty of it.
- Soften the cream cheese: Take the cream cheese out of the refrigerator about 30 minutes before you start. You want it to be soft enough that you can easily press your finger into it. If you’re short on time, you can microwave it for 10-15 seconds on low power, but watch it carefully — you don’t want it to melt. (I once microwaved it for 30 seconds and ended up with cream cheese soup. Not ideal.)
- Chop the dried beef: While the cream cheese softens, finely chop the dried beef. Stack a few slices at a time and cut them into small pieces — about 1/4-inch squares. You want them small enough that you don’t get a huge bite of salt in one mouthful. (Pro tip: If the dried beef is sticking to your knife, try spraying the blade with a little cooking spray. It helps.)
- Mix everything together: In a large mixing bowl, combine the softened cream cheese, chopped dried beef, 2 tablespoons of everything bagel seasoning, Worcestershire sauce, and a pinch of black pepper. Mix with your rubber spatula until everything is evenly distributed. The mixture should look speckled with pink and brown bits. (If it looks streaky, keep mixing — you want it uniform.)
- Shape the cheese ball: Lay out a large piece of plastic wrap on your counter. Scoop the cream cheese mixture onto the center of the plastic wrap. Gather the edges of the plastic wrap and twist them together, using the plastic to shape the mixture into a ball. Don’t worry if it’s not perfectly round — rustic cheese balls have charm. (I always make mine slightly lopsided, and nobody has ever complained.)
- Chill and coat: Refrigerate the cheese ball for at least 2 hours, or overnight if you have time. This step is non-negotiable — it needs to firm up so you can coat it without it falling apart. Once it’s chilled, unwrap it and roll it in the remaining 1 tablespoon of everything bagel seasoning (plus chopped nuts if you’re using them). Press the coating gently into the surface so it sticks. Serve immediately or return to the fridge until ready.
A few sensory cues: The mixture should feel smooth and pliable when you shape it, not sticky or crumbly. When you roll it in the coating, you’ll hear a satisfying crunch as the seeds press into the soft cheese. The finished cheese ball should hold its shape when you slice into it — if it’s too soft, it needs more chilling time.
Cooking Tips & Techniques
I’ve made this cheese ball more times than I can count, and I’ve learned a few things along the way. Here are my best tips for getting it right every time.
Don’t skip the softening step. I know it’s tempting to just throw cold cream cheese into the bowl and hope for the best, but trust me — it won’t mix evenly. You’ll end up with lumps of cream cheese and pockets of seasoning. Let it sit out for at least 30 minutes, or microwave it in 10-second bursts until it’s soft but not warm. I learned this the hard way when I made a cheese ball for a party and it came out lumpy. Nobody said anything, but I knew.
Chop the dried beef finely enough. Big chunks of dried beef can be overwhelming — you’ll get one bite that’s pure salt and another that’s just cream cheese. Aim for pieces about the size of a small pea. If you’re in a hurry, you can pulse it in a food processor, but be careful not to turn it into a paste. (I did that once, and it turned the whole cheese ball pink. It still tasted good, but it looked weird.)
Let it chill overnight if you can. The flavors meld together beautifully after a few hours in the fridge. The dried beef softens slightly, the everything seasoning infuses the cream cheese, and the texture becomes perfectly spreadable. I’ve made it the night before a party countless times, and it’s always better the next day.
Don’t overwork the mixture. Once everything is combined, stop mixing. Overmixing can make the cream cheese warm and greasy, which makes shaping harder. Mix just until you don’t see any white streaks, then stop.
Use your hands for the final shaping. After you’ve used the plastic wrap to get a rough ball shape, unwrap it and use your hands to smooth out any bumps. Lightly oil your hands with cooking spray to prevent sticking. This gives you a much smoother, more professional-looking cheese ball.
Variations & Adaptations
One of the best things about this recipe is how easy it is to customize. Here are some of my favorite variations:
Spicy version: Add 1/2 teaspoon of cayenne pepper or a minced jalapeño (seeds removed) to the cream cheese mixture. The heat cuts through the richness beautifully. I made this for a Super Bowl party and it disappeared faster than the regular version.
Herb garden version: Mix in 2 tablespoons of fresh chopped chives, parsley, or dill. This adds a fresh, bright flavor that’s perfect for spring and summer gatherings. I love this version with sliced cucumber instead of crackers for a lighter option.
Nut-crusted version: Instead of (or in addition to) the everything seasoning, roll the chilled cheese ball in 1/4 cup of finely chopped pecans, walnuts, or almonds. The nuts add a wonderful crunch and a slightly sweet, buttery flavor that complements the salty dried beef. (Be sure to toast the nuts first for maximum flavor — 5 minutes in a 350°F oven does the trick.)
Bacon lover’s version: Swap the dried beef for 4 ounces of cooked, crumbled bacon. This is a huge hit with kids, who seem to prefer the smoky flavor over the saltier dried beef. Just make sure the bacon is cooled completely before mixing it in, or it will melt the cream cheese.
Dairy-free adaptation: Use dairy-free cream cheese (I like Kite Hill or Miyoko’s brands) and follow the same instructions. The texture will be slightly softer, so chill it for an extra hour before shaping. This version works well for potlucks where you don’t know everyone’s dietary needs.
Serving & Storage Suggestions
This cheese ball is incredibly versatile when it comes to serving. Here’s how I like to do it:
Serving temperature: Take the cheese ball out of the refrigerator about 15-20 minutes before serving. This softens it slightly so it’s easier to spread. If you serve it straight from the fridge, it will be too firm to scoop easily. (I’ve made this mistake at parties — guests end up chipping at it like it’s a block of ice.)
What to serve with it: Classic buttery crackers are my go-to, but this cheese ball is also amazing with pretzel chips, celery sticks, carrot sticks, or sliced bell peppers. For a fun twist, try serving it with mini bagel chips or toasted pita wedges. My kids love it with apple slices — the sweet and salty combination is surprisingly good.
Presentation ideas: Place the cheese ball on a small wooden board or ceramic plate. Surround it with crackers and veggies in a fan pattern. Sprinkle a few extra everything seasoning flakes around the board for visual appeal. If you’re feeling fancy, garnish with a few fresh herb sprigs or edible flowers.
Storage: Store the cheese ball tightly wrapped in plastic wrap in the refrigerator for up to 5 days. The flavor actually improves after a day or two as the ingredients meld together. (Just don’t add the coating until you’re ready to serve — the everything seasoning can get soggy if it sits too long.)
Freezer instructions: You can freeze the uncoated cheese ball for up to 3 months. Wrap it tightly in plastic wrap, then in aluminum foil. Thaw it in the refrigerator overnight, then add the coating before serving. The texture will be slightly softer after freezing, but it still tastes great.
Reheating: This is a no-cook recipe, so reheating isn’t necessary. Just let it sit at room temperature for 15 minutes before serving.
Nutritional Information & Benefits
While this cheese ball is definitely a treat, it does have some redeeming qualities. Here’s a rough estimate per serving (based on 12 servings):
- Calories: Approximately 180 per serving
- Protein: 8 grams — thanks to the cream cheese and dried beef, this is more satisfying than a typical snack
- Fat: 15 grams — mostly from the cream cheese, which provides calcium and vitamin A
- Carbohydrates: 3 grams — very low-carb, making it suitable for keto and low-carb diets
- Sodium: 450 mg — the dried beef and everything seasoning add salt, so be mindful if you’re watching your sodium intake
Key health benefits: Cream cheese provides calcium for bone health and probiotics for gut health (in live-culture varieties). Dried beef is a good source of iron and B vitamins. Everything bagel seasoning contains sesame seeds, which are rich in healthy fats and antioxidants.
Dietary considerations: This recipe is naturally low-carb and keto-friendly. For a gluten-free version, make sure your everything bagel seasoning is certified gluten-free (some brands add wheat-based ingredients). For a dairy-free version, use dairy-free cream cheese. This recipe contains dairy and potential allergens from sesame seeds and nuts (if you add them).
Conclusion
This dried beef cheese ball with everything seasoning has become my secret weapon for every family gathering, last-minute potluck, and Tuesday night snack attack. It’s proof that sometimes the simplest recipes are the ones that become family favorites. I mean, who knew that just four ingredients could create something so delicious?
I love this recipe because it reminds me to stop overcomplicating things — in the kitchen and in life. Carol was right: sometimes dumping everything in one bowl and rolling it into a ball is exactly the right approach. This cheese ball has saved me more times than I can count, from unexpected guests to hungry kids who need a snack right now.
I’d love to hear how this recipe works for you! Try it with your favorite variations — bacon, herbs, spicy peppers — and make it your own. Leave a comment below and let me know what your family thought. Did your kids love it? Did your guests ask for the recipe? Share your stories — I read every single one.
Until next time, happy snacking. And remember: sometimes the best recipes are the ones that come from letting someone else take the lead.
Frequently Asked Questions
Can I make this cheese ball ahead of time?
Absolutely! In fact, I recommend it. You can prepare the cheese ball up to 3 days in advance. Just keep it wrapped tightly in plastic wrap in the refrigerator. Add the everything seasoning coating right before serving to keep it crunchy.
Can I use light cream cheese instead of full-fat?
Yes, you can, but the texture will be slightly softer and less rich. Light cream cheese has more water content, which can make the mixture a bit looser. If you use light cream cheese, chill the cheese ball for an extra hour before shaping.
My cheese ball is too soft to shape. What did I do wrong?
This usually happens if the cream cheese was too warm when you mixed it, or if you didn’t chill it long enough. Pop it back in the refrigerator for another 30-60 minutes. If it’s still too soft after that, try adding a tablespoon of finely grated Parmesan cheese to help firm it up.
Can I leave out the everything bagel seasoning?
You can, but you’ll lose a lot of flavor and texture. If you don’t have everything seasoning, try a mix of sesame seeds, poppy seeds, dried garlic flakes, and dried onion flakes. Or you can simply use a combination of garlic powder and onion powder — about 1 teaspoon each.
How do I keep the coating from falling off?
Make sure the cheese ball is thoroughly chilled before you add the coating. Press the coating gently into the surface with your hands. If it’s still falling off, try rolling the cheese ball in the coating twice — the first layer will stick better after a few minutes in the fridge.
Pin This Recipe!
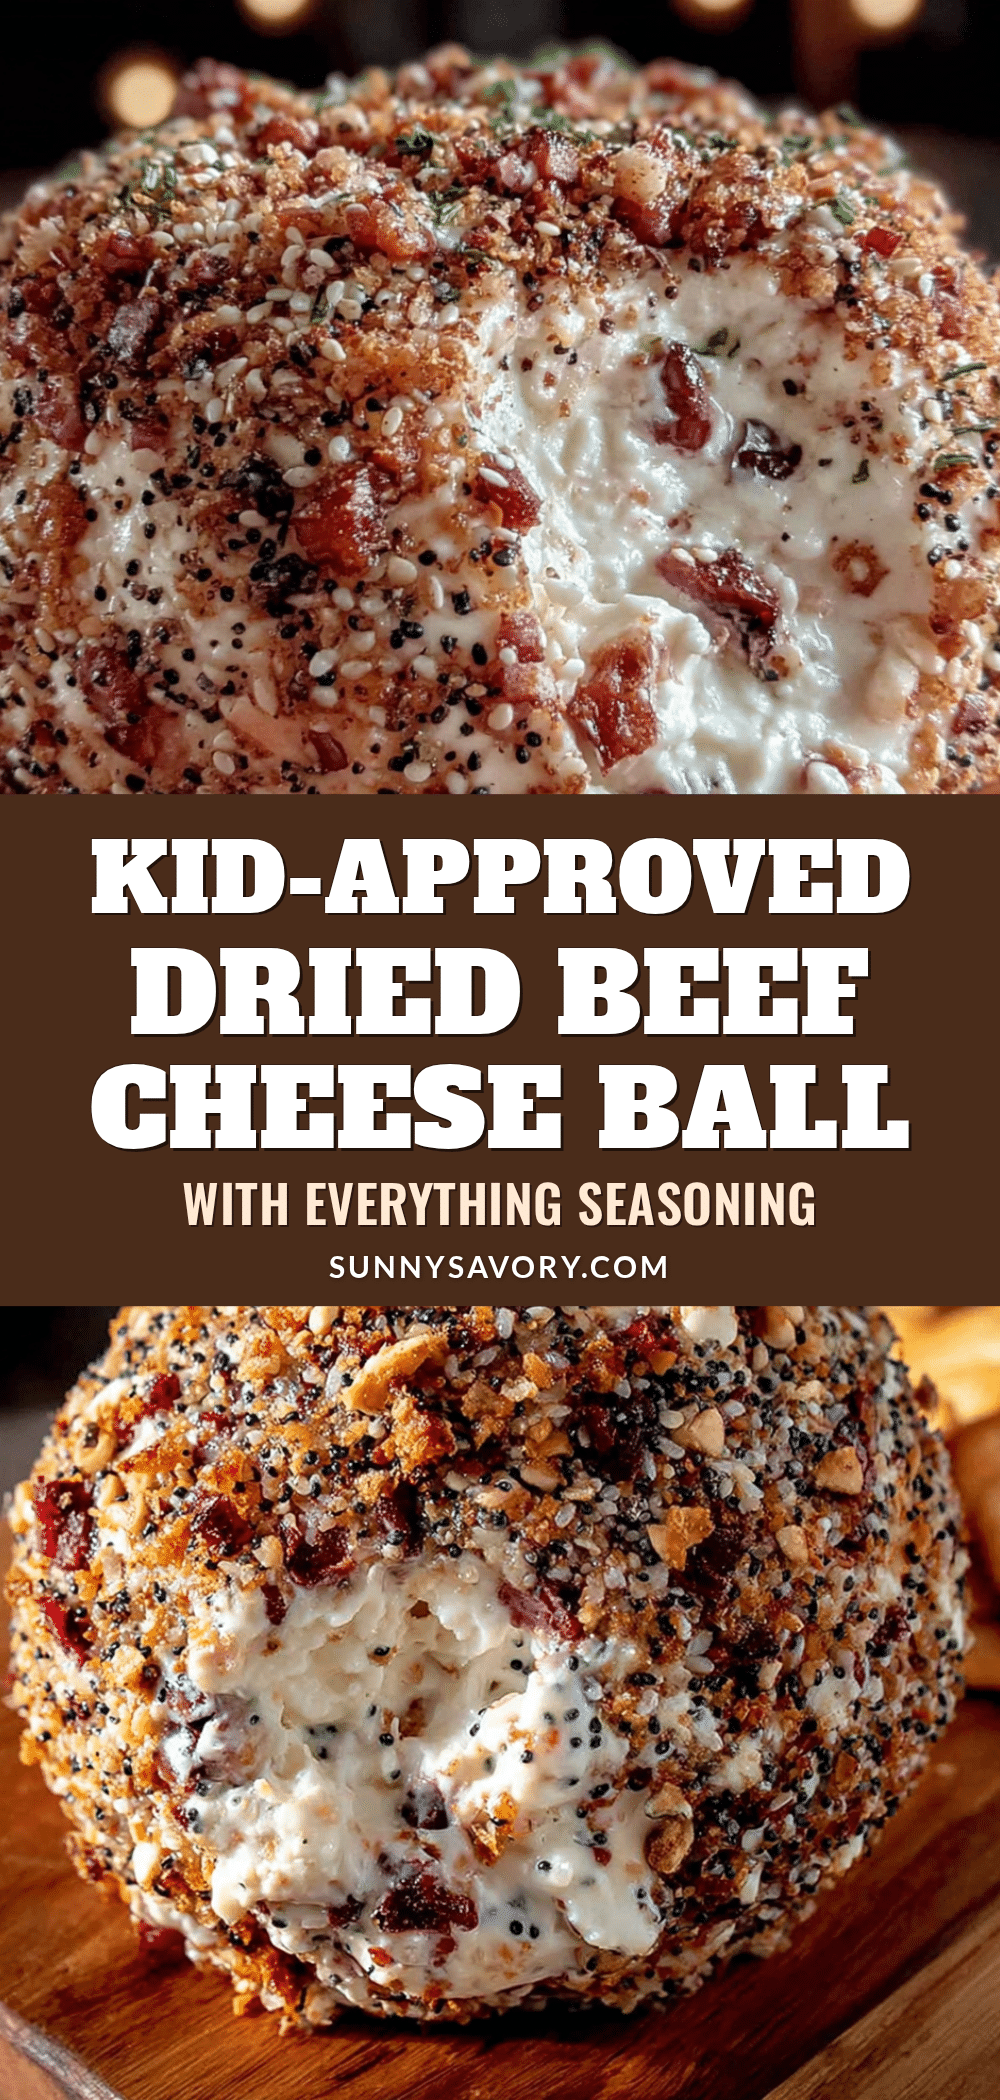
4-Ingredient Dried Beef Cheese Ball (Kid-Approved!)

This easy dried beef cheese ball with everything bagel seasoning is a crowd-pleasing appetizer that comes together in under 10 minutes. Perfect for parties, potlucks, or a quick snack, it’s creamy, savory, and addictive.
- Prep Time: 10 minutes
- Cook Time: 0 minutes
- Total Time: 2 hours 10 minutes (includes chilling)
- Yield: 12 servings 1x
- Category: Appetizer
- Cuisine: American
Ingredients
- 16 ounces cream cheese, softened (two 8-ounce blocks)
- 4 ounces dried beef, finely chopped
- 3 tablespoons everything bagel seasoning, divided
- 1 teaspoon Worcestershire sauce
- Pinch of black pepper
- Optional: 2 tablespoons fresh chives or green onions, finely chopped
- Optional: 1/4 cup finely chopped pecans or walnuts for coating
Instructions
- Soften the cream cheese: Remove cream cheese from refrigerator about 30 minutes before starting. It should be soft enough to easily press your finger into it. Alternatively, microwave on low power for 10-15 seconds, but do not let it melt.
- Chop the dried beef: While cream cheese softens, finely chop dried beef into small pieces, about 1/4-inch squares. If sticking to knife, spray blade with cooking spray.
- Mix everything together: In a large mixing bowl, combine softened cream cheese, chopped dried beef, 2 tablespoons everything bagel seasoning, Worcestershire sauce, and a pinch of black pepper. Mix with a rubber spatula until evenly distributed and no white streaks remain.
- Shape the cheese ball: Lay out a large piece of plastic wrap on the counter. Scoop the mixture onto the center of the plastic wrap. Gather edges and twist together, using the plastic to shape into a ball. Don’t worry if it’s not perfectly round.
- Chill and coat: Refrigerate for at least 2 hours, or overnight. Once chilled, unwrap and roll in remaining 1 tablespoon everything bagel seasoning (plus optional chopped nuts). Press coating gently into surface. Serve immediately or return to fridge until ready.
Notes
For best flavor, chill overnight. Add coating just before serving to keep it crunchy. For a nut-free version, skip nuts and use extra everything seasoning. For a dairy-free version, use dairy-free cream cheese and chill extra hour before shaping.
Nutrition
- Serving Size: 1 serving (based on
- Calories: 180
- Sugar: 1
- Sodium: 450
- Fat: 15
- Saturated Fat: 9
- Carbohydrates: 3
- Protein: 8
Keywords: cheese ball, dried beef, everything bagel seasoning, easy appetizer, party food, no-cook, low-carb, keto



