Love this? Save it for later!
Share the inspiration with your friends
My brother-in-law Mark looked up from the cutting board and asked why I couldn’t just roast the squash with the skin on. I started to explain why that wouldn’t work—something about texture and caramelization—then stopped. He had a point, honestly. I’d been meticulously peeling honeynut squash for years, cursing the way my fingers would ache afterward. But Mark, who rarely cooks anything beyond scrambled eggs, was holding up a halved squash like he’d just discovered fire. “It’s thin-skinned, right? Like a sweet potato?” I grabbed a second squash, halved it, and tossed it in the oven alongside my carefully peeled version. Twenty-five minutes later, I was eating my words—literally. The skin-on squash had this gorgeous, slightly chewy edge that the peeled version just didn’t have. The skin caramelized differently, almost like it was candied. I mean, I’ve been cooking professionally for over a decade, and here was a guy who burns toast teaching me something about squash.
That moment changed how I approach this perfect brown butter honeynut squash recipe. The skin stays on, and honestly, that’s the secret nobody talks about. The honeynut squash, which is basically a butternut squash that got shrunk in the wash, has this incredibly thin, edible skin that crisps up beautifully in the oven. When you pair that with nutty brown butter and a touch of maple syrup, you get this side dish that looks like you spent an hour on it when really, it’s about ten minutes of active work. Maybe you’ve been there—standing over a squash with a peeler, wondering if it’s worth the effort. Let me tell you, it’s not. The skin is where the magic happens.
I’ve been making this recipe for every dinner party and holiday gathering since that night. It’s become my secret weapon, the thing people ask for by name. There was that one time I forgot to buy maple syrup and used honey instead—still worked, but the color wasn’t quite as deep. And the time I burned the butter because I got distracted by a phone call? Let’s just say there’s a fine line between brown butter and burnt butter. But every batch, whether perfect or slightly imperfect, has been devoured. That’s the thing about this dish—it’s forgiving, it’s stunning, and it makes you look like a hero in the kitchen. That’s why I keep coming back to it.
Why You’ll Love This Recipe
This perfect brown butter honeynut squash is the side dish that steals the show. I’ve served it alongside roasted chicken, seared steak, and even as part of a vegetarian holiday spread, and every time, people reach for seconds before they’ve finished their first helping. Here’s why this recipe works so well:
- Minimal Effort, Maximum Impact : With just 10 minutes of prep and 25 minutes in the oven, you get a side dish that looks and tastes like it came from a fancy restaurant. No peeling, no complicated techniques—just simple roasting that does the work for you.
- Simple Ingredients : You probably already have butter, maple syrup, salt, and pepper in your kitchen. The only special item is the honeynut squash, which is showing up at more grocery stores and farmers’ markets every year. No fancy shopping trips needed.
- Perfect for Entertaining : When you’re hosting a dinner party or holiday gathering, this dish is a lifesaver. You can prep the squash halves ahead of time, store them in the fridge, and pop them in the oven right when guests arrive. The aroma of brown butter and maple will have everyone asking what’s for dinner.
- Crowd-Pleaser : I’ve served this to kids who swear they hate squash, picky eaters, and even my uncle who only eats meat and potatoes. Every single person cleaned their plate. The sweetness of the maple and the nuttiness of the brown butter make it universally appealing.
- Unbelievably Delicious : The combination of crispy edges, creamy centers, and that rich, nutty brown butter sauce is pure comfort food. It’s the kind of dish that makes you close your eyes after the first bite—I’ve seen it happen more times than I can count.
What makes this recipe different from other roasted squash recipes is the technique. Most recipes tell you to peel the squash, but keeping the skin on changes everything. The thin skin gets crispy and almost caramelized, adding a texture that contrasts beautifully with the soft interior. Plus, the brown butter adds a depth of flavor that regular melted butter just can’t match. It’s not just another roasted squash recipe—it’s the one you’ll make again and again.
What Ingredients You Will Need
This recipe uses simple, wholesome ingredients that come together to create something truly special. The beauty of this dish is that each ingredient plays a specific role, and together they create a perfect balance of sweet, savory, and nutty flavors.
For the Squash
- 4-6 honeynut squash (about 2 pounds total) – Look for squash that feels heavy for its size and has a deep orange color. The skin should be smooth without any soft spots. I prefer getting mine from farmers’ markets when they’re in season, but most grocery stores carry them from September through December. (Pro tip: If you can’t find honeynut squash, you can substitute with small butternut squash, but the cooking time will increase by about 10 minutes.)
- 1/4 cup unsalted butter – Use good quality butter here since it’s the star of the show. I recommend Kerrygold or Plugrà for their higher fat content, which creates a richer brown butter. (For a dairy-free version, use vegan butter or coconut oil.)
- 2 tablespoons pure maple syrup – Real maple syrup makes a difference here. The fake stuff has a different consistency and won’t caramelize as nicely. Grade A dark amber is my go-to for its robust flavor. (You can substitute with honey or agave nectar if needed.)
- 1 teaspoon kosher salt – Diamond Crystal is my preferred brand because it’s less salty and easier to control. If you’re using table salt, reduce to 1/2 teaspoon.
- 1/2 teaspoon black pepper – Freshly ground is always better, but pre-ground works in a pinch.
- 1/4 teaspoon cayenne pepper (optional) – This adds a subtle warmth that balances the sweetness. I add it about half the time, depending on my mood and who I’m serving.
For Garnish (Optional but Recommended)
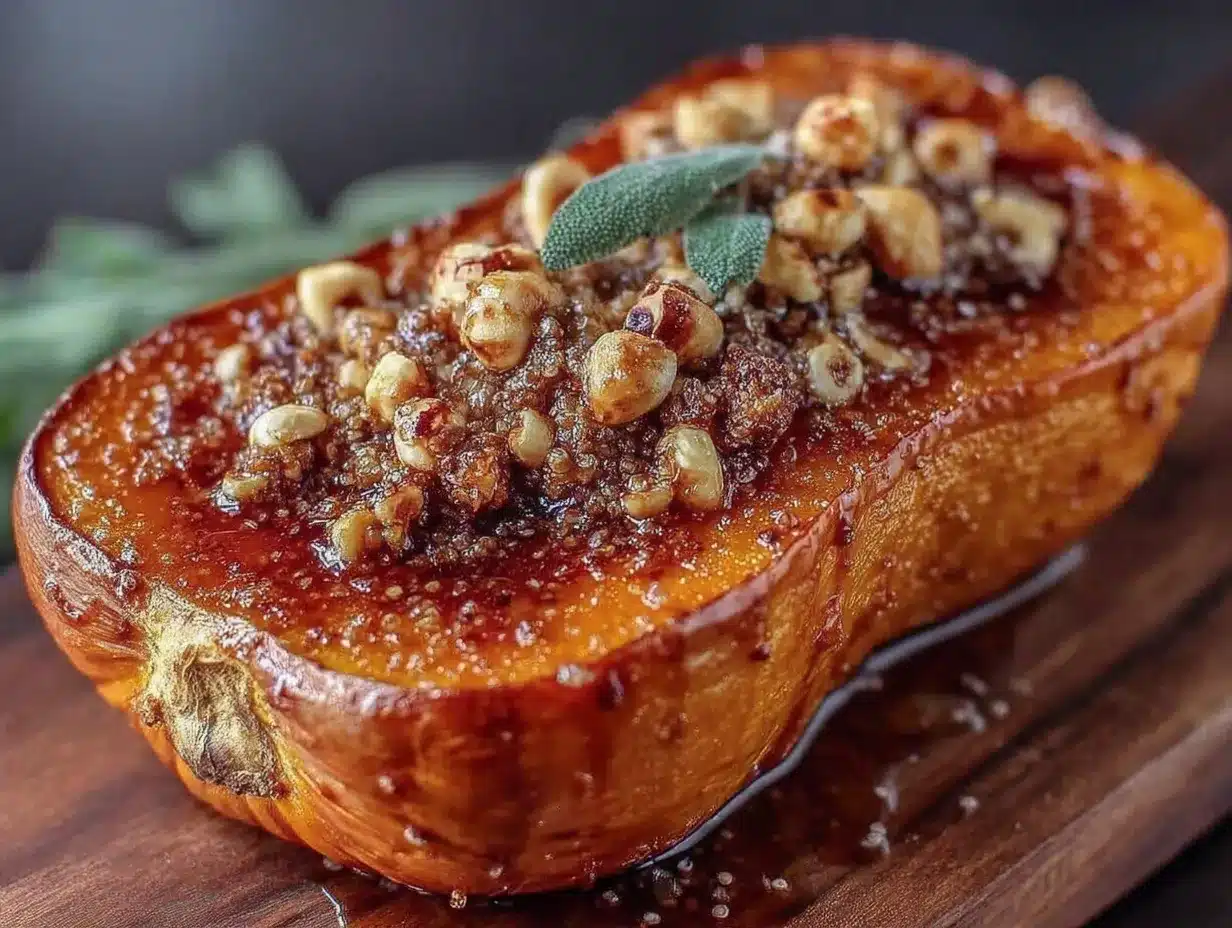
- Fresh sage leaves – About 6-8 leaves, fried in the brown butter until crispy. This adds an earthy, aromatic element that pairs beautifully with the squash.
- Flaky sea salt – A sprinkle of Maldon or Jacobsen salt right before serving adds a lovely crunch and burst of salinity.
- Toasted pecans or walnuts – About 1/4 cup, roughly chopped. Adds texture and a nutty flavor that complements the brown butter.
- Pomegranate seeds – For holiday gatherings, these add a pop of color and a burst of tartness that cuts through the richness.
Ingredient Selection Tips
When choosing honeynut squash, look for ones that are about 4-6 inches long with a deep orange color. They should feel heavy for their size, which indicates they’re full of moisture and will roast up creamy. Avoid any squash with green patches, as those aren’t fully ripe and won’t be as sweet. I learned this the hard way after buying a batch that looked perfect but tasted bland. Now I always give them a gentle squeeze—they should be firm but have a slight give, like a ripe avocado.
The butter is another crucial element. Since we’re browning it, you want butter with a higher fat content. European-style butters work best because they have less water, which means they brown more evenly and develop a deeper nutty flavor. I’ve tested this with regular American butter, and while it works, the results aren’t quite as rich.
Equipment Needed
You don’t need a lot of fancy equipment for this recipe, which is part of what makes it so approachable. Here’s what you’ll need:
- Large rimmed baking sheet – A half-sheet pan (18×13 inches) works perfectly. The rim is important because it catches any butter that might bubble over. I use my Nordic Ware sheet pan for this—it’s sturdy, doesn’t warp, and distributes heat evenly.
- Parchment paper or aluminum foil – Lining the pan makes cleanup a breeze. Parchment is my preference because nothing sticks to it, but foil works in a pinch.
- Small saucepan – For browning the butter. A light-colored pan is ideal because you can see the butter change color more easily. My go-to is a stainless steel saucepan, but any small pot will work.
- Chef’s knife – A sharp 8-inch knife makes halving the squash safe and easy. Dull knives are dangerous here because squash can be tough to cut through.
- Cutting board – Any sturdy cutting board will do. I prefer wood because it’s gentler on my knives.
- Mixing bowl – For tossing the squash with the brown butter mixture. A medium-sized bowl is perfect.
- Measuring spoons – For measuring the maple syrup, salt, and spices.
- Spatula or tongs – For flipping the squash halfway through roasting. Silicone-tipped tongs are great because they won’t scratch your pan.
If you don’t have a rimmed baking sheet, you can use a 9×13 baking dish, but the squash won’t get as crispy since the sides are higher. I’ve also used a cast iron skillet in a pinch—it works beautifully and gives the squash extra crispy edges where it touches the hot pan. Just make sure whatever you use is large enough to hold the squash in a single layer without overcrowding.
Preparation Method
Let me walk you through this step by step. I’ve made this recipe dozens of times, and I’ve learned a few tricks along the way that make the process smoother and the results more consistent.
Step 1: Preheat and Prepare
Preheat your oven to 400°F (200°C). While the oven is heating, line your baking sheet with parchment paper or aluminum foil. This isn’t just for easy cleanup—it also helps prevent the maple syrup from burning onto the pan. Trust me, scrubbing burnt sugar off a baking sheet is not how you want to spend your evening.
Step 2: Halve the Squash
Carefully cut each honeynut squash in half lengthwise. The easiest way to do this is to place the squash on its side on your cutting board, hold it steady with your non-dominant hand, and rock your chef’s knife through it. If the squash is particularly tough, you can microwave it for 30 seconds to soften it slightly—just poke a few holes first so it doesn’t explode. Once halved, use a spoon to scoop out the seeds and stringy bits. Don’t throw those seeds away! You can rinse them, toss them with a little salt and oil, and roast them alongside the squash for a crunchy snack.
Step 3: Brown the Butter
Place the butter in a small saucepan over medium heat. Let it melt completely, then continue cooking, swirling the pan occasionally. You’ll see the butter foam up, then subside, then foam again. Watch carefully—this is where things happen fast. When the butter turns a golden brown color and smells nutty (like toasted hazelnuts), remove it from the heat immediately. This usually takes about 4-6 minutes from start to finish. Pour the brown butter into a small bowl to stop the cooking process. If you want to add sage leaves, now’s the time—drop them into the hot butter and they’ll crisp up in about 30 seconds.
Step 4: Mix the Glaze
To the brown butter, add the maple syrup, kosher salt, black pepper, and cayenne pepper (if using). Whisk everything together until well combined. The mixture should be smooth and slightly thick. Give it a taste—you want a balance of sweet, salty, and nutty. Adjust the seasoning if needed. I’ve found that different brands of maple syrup have different levels of sweetness, so trust your palate here.
Step 5: Coat the Squash
Place the squash halves in a large mixing bowl. Pour the brown butter mixture over them and toss gently with your hands or a spatula until every half is well coated. Make sure to get the mixture inside the cavities and all over the cut sides. This is where the flavor happens, so don’t be shy. If you’re short on time, you can brush the mixture onto the squash directly on the baking sheet, but tossing in a bowl ensures even coverage.
Step 6: Arrange and Roast
Place the squash halves cut-side down on the prepared baking sheet. This is crucial—roasting them cut-side down allows the cut surface to caramelize directly against the hot pan, creating those beautiful golden-brown edges. Make sure the squash are in a single layer with a little space between them. If they’re crowded, they’ll steam instead of roast, and you won’t get that caramelization we’re after. Roast for 20 minutes.
Step 7: Flip and Finish
After 20 minutes, remove the baking sheet from the oven. Use tongs to carefully flip each squash half over so the cut side is facing up. Brush or spoon any accumulated pan juices over the tops. Return to the oven and roast for another 5-10 minutes, until the squash is tender when pierced with a fork and the edges are caramelized and slightly crispy. The total roasting time is usually 25-30 minutes, depending on the size of your squash.
Step 8: Garnish and Serve
Transfer the roasted squash to a serving platter. If you made crispy sage leaves, arrange them on top. Sprinkle with flaky sea salt and any other garnishes you’re using. Serve immediately while hot. The squash will be creamy on the inside with slightly crispy, caramelized edges—exactly what you want.
Cooking Tips & Techniques
Over the years, I’ve made every mistake you can imagine with this recipe. Here’s what I’ve learned so you don’t have to make the same mistakes.
Don’t skip the browning step. I know it’s tempting to just melt the butter and move on, but browning is what gives this dish its signature nutty flavor. The milk solids in the butter toast as they cook, creating compounds that taste like toasted nuts and caramel. It’s a flavor you simply can’t get any other way. That said, watch it carefully—brown butter can go from perfect to burnt in about 15 seconds. If you see black specks forming, you’ve gone too far. Start over; it’s worth it.
Cut the squash evenly. This is one of those things that seems minor but makes a big difference. If some halves are thicker than others, they’ll cook at different rates. Try to cut each squash right down the center so both halves are roughly the same size. If you have a mix of large and small squash, put the larger ones on the outer edges of the pan where the heat is more intense.
Use room temperature ingredients. Cold maple syrup doesn’t mix well with brown butter—it can seize up and become grainy. Let your maple syrup come to room temperature before mixing, or warm it slightly in the microwave for 10 seconds. Same goes for the squash; if they’ve been in the fridge, let them sit on the counter for 15 minutes before roasting.
Don’t overcrowd the pan. This is the number one mistake I see people make. If the squash halves are touching each other, they’ll steam instead of roast. You want that direct contact with the hot pan to create caramelization. If necessary, use two baking sheets or roast in batches. The extra few minutes are worth the crispy edges.
Let the squash rest. I know you’re excited to serve this, but letting the squash rest for 2-3 minutes after roasting allows the caramelized sugars to set. If you try to move them immediately, they might stick to the pan or fall apart. Patience pays off here.
Make extra brown butter. I always make a little more than I need. The extra can be drizzled over the squash right before serving, or saved for another use. Brown butter is amazing on roasted vegetables, pasta, or even stirred into oatmeal. It keeps in the fridge for up to a week.
Variations & Adaptations
One of the things I love about this recipe is how versatile it is. Here are some ways to change it up depending on your mood, dietary needs, or what you have on hand.
Sweet and Spicy Version
Add 1 tablespoon of honey along with the maple syrup, and increase the cayenne pepper to 1/2 teaspoon. The honey adds an extra layer of sweetness that plays beautifully against the heat. I made this version for a Super Bowl party and it was gone in minutes. You can also add a pinch of cinnamon or smoked paprika for a different kind of warmth.
Herb-Infused Version
Before roasting, tuck a few sprigs of fresh rosemary or thyme around the squash on the baking sheet. The herbs will infuse the butter as it roasts, adding an earthy, aromatic quality. I love this version with roasted chicken or pork. Just remove the herb sprigs before serving—they look pretty but nobody wants to bite into a woody stem.
Vegan Adaptation
Replace the butter with coconut oil or a high-quality vegan butter. Coconut oil works surprisingly well here—it adds its own subtle flavor that complements the squash. Use maple syrup as the sweetener (it’s already vegan) and skip the honey. I’ve tested this with Miyoko’s vegan butter and it browns beautifully, though not quite as deeply as dairy butter.
Balsamic Glaze Version
After roasting, drizzle the squash with a balsamic reduction or glaze. The acidity cuts through the richness of the brown butter and adds a beautiful dark color. I like to make a quick reduction by simmering 1/2 cup of balsamic vinegar with 1 tablespoon of brown sugar until it’s syrupy. This version is especially good for holiday dinners where you want something a little more sophisticated.
Make-Ahead Version
You can prep the squash up to 24 hours in advance. Halve them, scoop out the seeds, and store them in an airtight container in the fridge. When you’re ready to cook, toss them with the brown butter mixture and roast as directed. The squash might need an extra 5 minutes in the oven since they’re starting from cold. This is a lifesaver for Thanksgiving or Christmas dinner when oven space is at a premium.
Serving & Storage Suggestions
This perfect brown butter honeynut squash is incredibly versatile when it comes to serving. Here’s how to make the most of it.
Serving Temperature and Presentation
Serve the squash hot out of the oven for the best texture—those crispy edges are at their prime within the first 10 minutes. Arrange the halves on a large platter with the cut sides facing up so the caramelized surfaces are visible. If you’re serving a crowd, you can cut each half into 2-3 pieces for easier serving. I like to garnish with fresh herbs, flaky salt, and maybe a drizzle of extra brown butter right before bringing it to the table. The presentation is stunning—the deep orange of the squash against the green herbs and white platter is practically art.
What to Serve Alongside
This squash pairs beautifully with a wide range of main dishes. For a dinner party, serve it alongside roasted chicken, seared duck breast, or a pork tenderloin. The sweetness of the squash balances the richness of the meat. For vegetarian meals, it’s wonderful with a grain bowl, lentil loaf, or stuffed portobello mushrooms. I’ve also served it as part of a holiday spread alongside turkey, mashed potatoes, and green bean casserole—it holds its own against all the heavy hitters.
Storage Instructions
Leftover squash can be stored in an airtight container in the refrigerator for up to 4 days. The texture will soften as it sits, but the flavor actually gets better as the brown butter and maple continue to penetrate the squash. To reheat, place the squash on a baking sheet in a 350°F oven for 5-7 minutes, or until heated through. You can also microwave it, but the edges won’t be as crispy. I don’t recommend freezing this dish—the texture of the squash becomes watery and mushy when thawed.
How Flavors Develop
Here’s something interesting—this squash actually tastes better the next day. The brown butter and maple syrup continue to soak into the squash as it sits, creating an even deeper, more complex flavor. I’ve been known to make a double batch just so I have leftovers for lunch the next day. Cold, it’s delicious tossed into a salad with arugula, goat cheese, and candied pecans. Warm, it’s pure comfort food.
Nutritional Information & Benefits
While this dish feels indulgent, it actually has some surprising nutritional benefits. Honeynut squash is packed with vitamins and antioxidants, and the brown butter adds healthy fats that help your body absorb them.
| Per Serving (2 squash halves) | Amount |
|---|---|
| Calories | 185 |
| Total Fat | 12g |
| Saturated Fat | 7g |
| Carbohydrates | 21g |
| Fiber | 4g |
| Sugar | 10g |
| Protein | 2g |
| Vitamin A | 250% DV |
| Vitamin C | 30% DV |
| Potassium | 15% DV |
Honeynut squash is an excellent source of beta-carotene, which your body converts to vitamin A. This is crucial for eye health, immune function, and healthy skin. The squash also provides a good amount of vitamin C and fiber, which supports digestive health. The brown butter, while high in saturated fat, contains butyrate, a fatty acid that supports gut health and has anti-inflammatory properties. Of course, this is a treat—it’s not something you’d eat every day—but it’s certainly not something you need to feel guilty about.
For those with dietary restrictions, this recipe is naturally gluten-free and can be made vegan with simple substitutions. It’s also relatively low in carbs compared to other side dishes like mashed potatoes or rice. If you’re watching your sugar intake, you can reduce the maple syrup to 1 tablespoon without significantly affecting the flavor—the natural sweetness of the squash will still shine through.
Conclusion
This perfect brown butter honeynut squash has become my go-to side dish for every gathering, and I think it deserves a spot in your recipe collection too. It’s one of those rare recipes that looks impressive enough for a holiday table but is simple enough for a Tuesday night dinner. The combination of creamy, caramelized squash with nutty brown butter and sweet maple syrup is just irresistible.
What I love most about this recipe is how it lets the squash shine. You’re not covering it up with heavy sauces or complicated preparations—you’re just enhancing what’s already there. The brown butter adds depth, the maple adds sweetness, and the salt brings everything into balance. It’s simple, honest cooking that tastes like so much more than the sum of its parts.
I’d love to hear how this turns out for you. Did you try any of the variations? Did you discover a new favorite way to serve it? Drop a comment below and let me know—I read every single one. And if you share a photo on social media, tag me so I can see your beautiful creation. Happy cooking, and remember: sometimes the best lessons come from the people who least expect to teach them.
Frequently Asked Questions
Can I use butternut squash instead of honeynut squash?
Yes, you can, but the cooking time will be different. Butternut squash is larger and denser, so you’ll need to cut it into smaller pieces (about 2-inch cubes) and roast for 30-35 minutes. The skin of butternut squash is thicker and tougher, so I recommend peeling it first. The flavor will be similar, but the texture won’t be quite as creamy as honeynut squash.
How do I know when the squash is fully cooked?
The squash is done when you can easily pierce it with a fork or the tip of a knife. The flesh should be tender and creamy, not hard or crunchy. The edges should be caramelized and slightly crispy, with a deep golden-brown color. If the squash still feels firm, give it another 5 minutes and check again.
Can I make this recipe ahead of time for a party?
Absolutely! You can prep the squash up to 24 hours in advance by halving them and removing the seeds. Store them in an airtight container in the fridge. When you’re ready to cook, toss them with the brown butter mixture and roast as directed. You can also fully cook the squash a day ahead and reheat it in a 350°F oven for 10 minutes before serving.
What can I do with the squash seeds?
Don’t throw them away! Rinse the seeds to remove any stringy bits, pat them dry, and toss them with a little olive oil, salt, and your favorite spices. Spread them on a baking sheet and roast at 350°F for 10-12 minutes, stirring halfway through. They make a delicious, crunchy snack or salad topper. I like to add a pinch of cayenne and smoked paprika for a spicy kick.
Why did my brown butter burn?
Brown butter burns when it’s cooked at too high a heat or left unattended. Always use medium heat and watch it carefully. The butter will foam, then subside, then foam again—that second foam is your cue that it’s almost done. Remove it from the heat as soon as it turns a golden-brown color and smells nutty. If you see black specks forming, you’ve gone too far. It’s better to pull it off a little early than a little late.
Pin This Recipe!
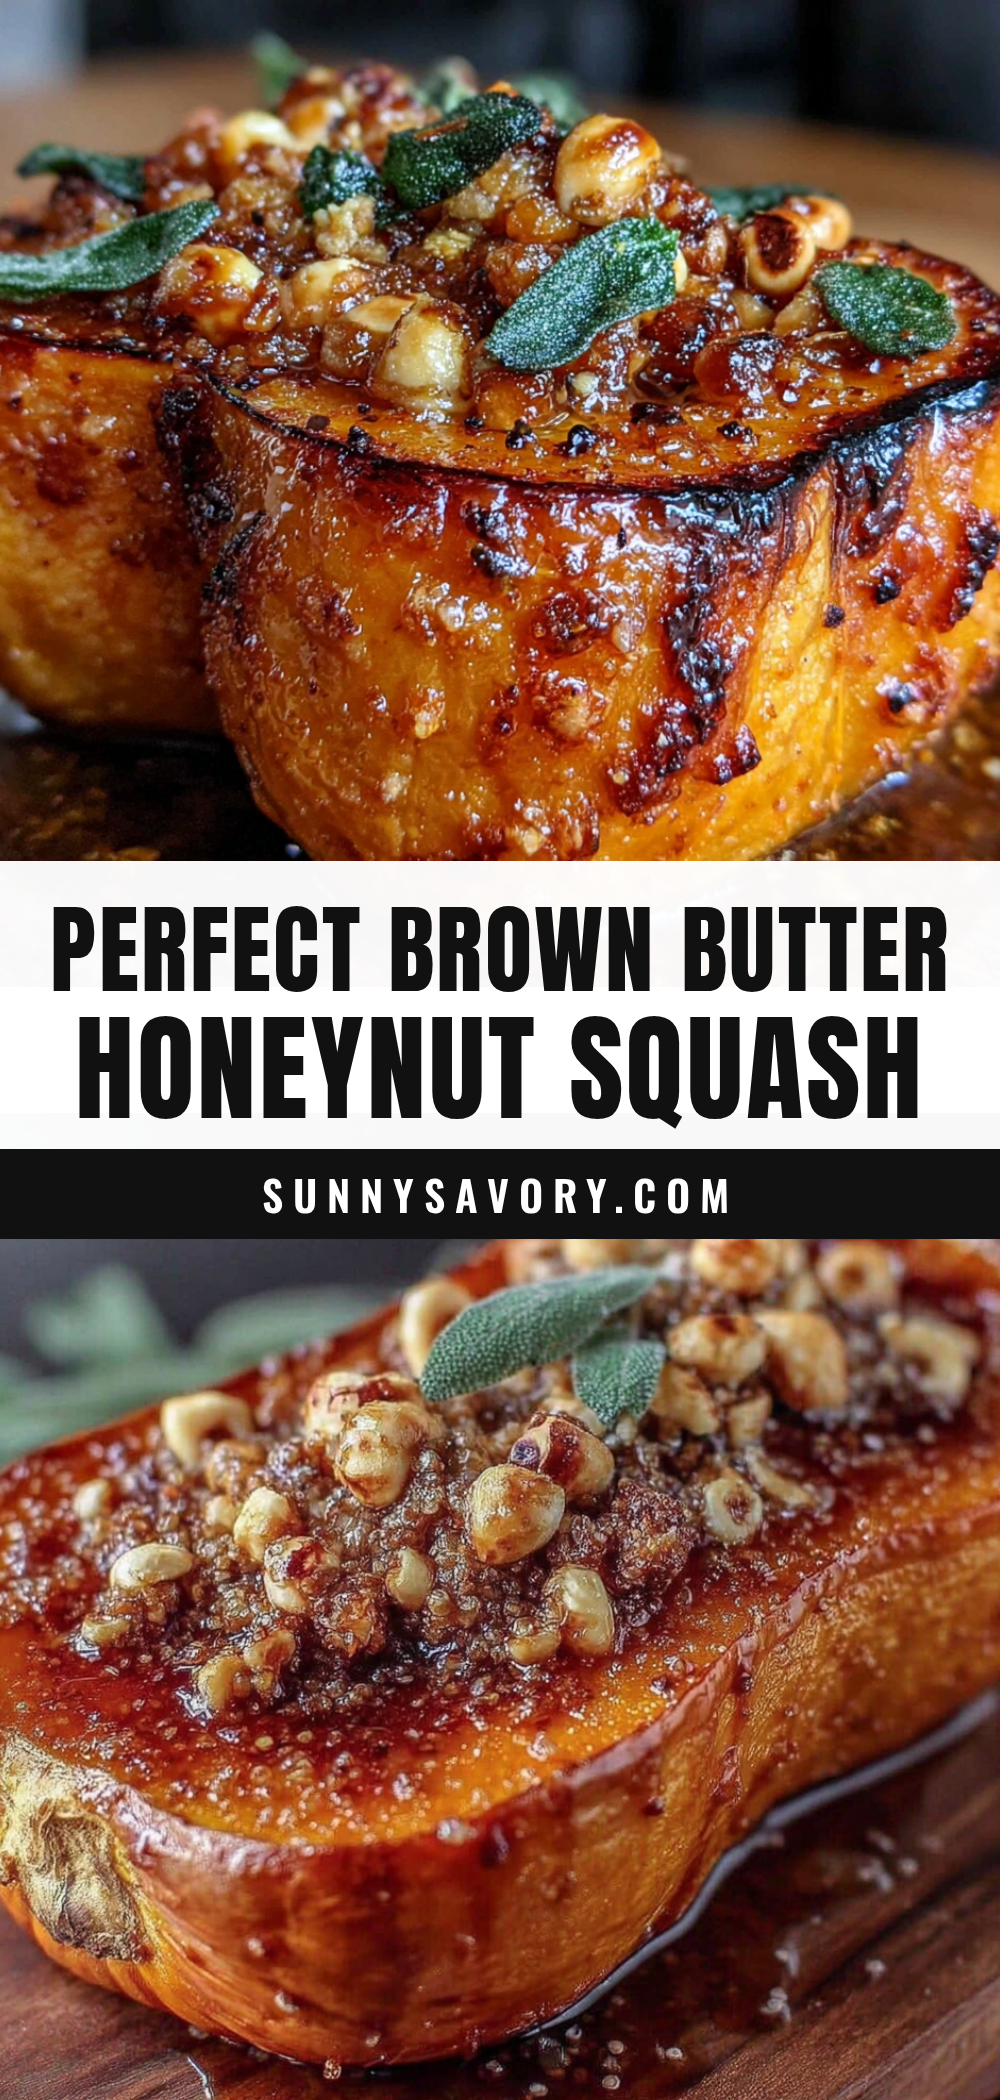
Perfect Brown Butter Honeynut Squash – Easy Roasted Side Dish
This perfect brown butter honeynut squash is a simple yet stunning side dish that requires minimal effort. With just 10 minutes of prep and 25 minutes in the oven, you get creamy, caramelized squash with nutty brown butter and sweet maple syrup—a crowd-pleaser for any occasion.
- Prep Time: 10 minutes
- Cook Time: 25 minutes
- Total Time: 35 minutes
- Yield: 4 servings 1x
- Category: Side Dish
- Cuisine: American
Ingredients
- 4–6 honeynut squash (about 2 pounds total)
- 1/4 cup unsalted butter
- 2 tablespoons pure maple syrup
- 1 teaspoon kosher salt
- 1/2 teaspoon black pepper
- 1/4 teaspoon cayenne pepper (optional)
- Fresh sage leaves (optional, for garnish)
- Flaky sea salt (optional, for garnish)
- Toasted pecans or walnuts (optional, for garnish)
- Pomegranate seeds (optional, for garnish)
Instructions
- Preheat your oven to 400°F (200°C). Line a large rimmed baking sheet with parchment paper or aluminum foil.
- Carefully cut each honeynut squash in half lengthwise. Use a spoon to scoop out the seeds and stringy bits.
- Place the butter in a small saucepan over medium heat. Melt and cook, swirling occasionally, until the butter turns golden brown and smells nutty (about 4-6 minutes). Remove from heat immediately and pour into a small bowl. If using sage leaves, drop them into the hot butter to crisp for about 30 seconds.
- To the brown butter, add the maple syrup, kosher salt, black pepper, and cayenne pepper (if using). Whisk until well combined.
- Place the squash halves in a large mixing bowl. Pour the brown butter mixture over them and toss gently until every half is well coated.
- Arrange the squash halves cut-side down on the prepared baking sheet in a single layer with space between them. Roast for 20 minutes.
- After 20 minutes, remove the baking sheet from the oven. Flip each squash half over so the cut side is facing up. Brush or spoon any accumulated pan juices over the tops. Return to the oven and roast for another 5-10 minutes, until tender when pierced with a fork and edges are caramelized.
- Transfer to a serving platter. Garnish with crispy sage leaves, flaky sea salt, and any other desired garnishes. Serve immediately.
Notes
Don’t skip browning the butter—it adds a nutty depth. Keep the skin on for crispy edges. For even cooking, cut squash halves uniformly. Avoid overcrowding the pan to ensure caramelization. Let squash rest 2-3 minutes after roasting for set caramelized sugars. Make extra brown butter for drizzling.
Nutrition
- Serving Size: 2 squash halves
- Calories: 185
- Sugar: 10
- Sodium: 480
- Fat: 12
- Saturated Fat: 7
- Carbohydrates: 21
- Fiber: 4
- Protein: 2
Keywords: honeynut squash, brown butter, roasted squash, maple syrup, easy side dish, holiday side dish, vegetarian, gluten-free



