Love this? Save it for later!
Share the inspiration with your friends
There used to be a tiny, hole-in-the-wall taqueria on the corner of 7th and Oak that made the most incredible burritos. When they closed—literally overnight, with a hand-painted “Gracias” sign taped to the door—I felt a real pang of loss. For weeks, I dreamt about those warm tortillas and that perfectly seasoned filling. After twelve tries—some were dry, some were a mushy mess, one I accidentally dropped on the floor—I finally cracked the code. This recipe is that exact memory, made for your freezer.
These Cozy Freezer-Friendly Turkey and Black Bean Burritos are my little victory over that closed taqueria. They’re the make-ahead meal I turn to when the week gets heavy or the weather turns cold. Honestly, there’s nothing better than knowing a warm, satisfying dinner is just a microwave or oven away. Let me tell you, getting the texture right for freezing took some trial and error—rice that wasn’t too sticky, beans that held their shape—but this version? It’s perfect.
The magic happens when you take that first bite on a chilly Tuesday night. The smoky turkey, the creamy beans, the melty cheese—it all comes together in a way that feels like a hug. Maybe you’ve been there, staring into your freezer, wishing for something that tastes like real food, not a sad, soggy mess. That’s why I kept testing this recipe. I wanted a freezer burrito that tasted as good as the one from that little taqueria, and I finally got it. You’re going to love this.
Why You’ll Love This Recipe
Let’s be real—not all freezer meals are created equal. Some turn into a watery disaster, others lose all their flavor. These burritos are different. They’re the result of serious testing and a few happy accidents in my own kitchen. I’ve tweaked the moisture levels and the spice blend so they come out perfect every single time.
- Quick & Easy: From start to finish, you’re looking at about 45 minutes of active work. That’s it. For a whole batch of freezer meals that will last you for weeks.
- Simple Ingredients: No weird, hard-to-find stuff. You probably have most of these in your pantry right now. Ground turkey, canned black beans, rice, cheese, and some spices.
- Perfect for Busy Nights: These are my go-to for those days when cooking is the last thing I want to do. Just pull one out, heat it up, and dinner is served.
- Crowd-Pleaser: I’ve made these for friends and family, and they always disappear. Kids love them, adults love them—they’re just plain good.
- Unbelievably Delicious: The secret is in the seasoning and the technique. The filling is smoky, savory, and perfectly moist without being soggy. It’s next-level comfort food.
What makes this recipe different from the rest? It’s the method. I don’t just dump everything in a bowl. I cook the turkey with onions and garlic until it’s deeply browned, then build the flavor with a custom spice blend. The trick is to slightly undercook the rice so it doesn’t turn to mush when you reheat the burrito. It’s a little detail, but it makes all the difference.
This isn’t just another burrito recipe. It’s the kind that makes you close your eyes after the first bite. It’s comfort food reimagined—healthier, faster, but with the same soul-soothing satisfaction. Perfect for impressing unexpected guests or just treating yourself on a rough day.
What Ingredients You Will Need
This recipe uses simple, wholesome ingredients to deliver bold flavor and satisfying texture without the fuss. Most of these are pantry staples, which is exactly what you want for a go-to freezer meal.
- For the Filling:
- 1 tablespoon olive oil
- 1 lb lean ground turkey (93/7 works great)
- 1 medium yellow onion, diced
- 3 cloves garlic, minced
- 1 can (15 oz) black beans, drained and rinsed
- 1 cup cooked rice (white or brown, slightly undercooked)
- 1 can (4 oz) diced green chiles, drained
- 1 cup corn kernels (frozen or canned, drained)
- 1 ½ cups shredded cheddar or Monterey Jack cheese
- ¼ cup chopped fresh cilantro (optional, but recommended)
- For the Seasoning:
- 1 tablespoon chili powder
- 1 teaspoon ground cumin
- 1 teaspoon smoked paprika
- ½ teaspoon garlic powder
- ½ teaspoon onion powder
- ½ teaspoon dried oregano
- ½ teaspoon salt
- ¼ teaspoon black pepper
- Pinch of cayenne pepper (optional, for heat)
- For Assembly:
- 6-8 large flour tortillas (burrito size, 10-inch)
- ¼ cup sour cream or Greek yogurt (optional, for moisture)
I like to use Jennie-O ground turkey because it’s lean and cooks up nicely without being dry. For the beans, Bush’s black beans are my go-to—they hold their shape well. When it comes to tortillas, I recommend Mission or Ole Xtreme Wellness for a healthier option. Look for tortillas that are pliable and not too thin, or they might tear when you’re rolling.
If fresh cilantro isn’t your thing, just leave it out. You can also swap the cheddar for pepper jack cheese if you want a little kick. For a dairy-free version, use a plant-based cheese shreds that melts well.
Equipment Needed
You don’t need any fancy gadgets for this recipe, which is part of the beauty. Here’s what I use:
- Large skillet or frying pan: For cooking the turkey and vegetables. A 12-inch non-stick skillet is ideal.
- Cutting board and sharp knife: For dicing the onion and mincing the garlic.
- Measuring cups and spoons: For accuracy with the spices and rice.
- Large mixing bowl: To combine all the filling ingredients.
- Baking sheet: Lined with parchment paper, for freezing the burritos before wrapping.
- Aluminum foil or freezer wrap: For wrapping the burritos individually.
- Freezer-safe zip-top bags: For storing the wrapped burritos.
If you don’t have a large skillet, a Dutch oven works just as well. I’ve used a cheap non-stick pan from the grocery store for years, and it does the job perfectly. No need to spend a lot. A good tip is to let the burritos freeze on the baking sheet for about an hour before wrapping them—this prevents them from sticking together in the bag.
Preparation Method
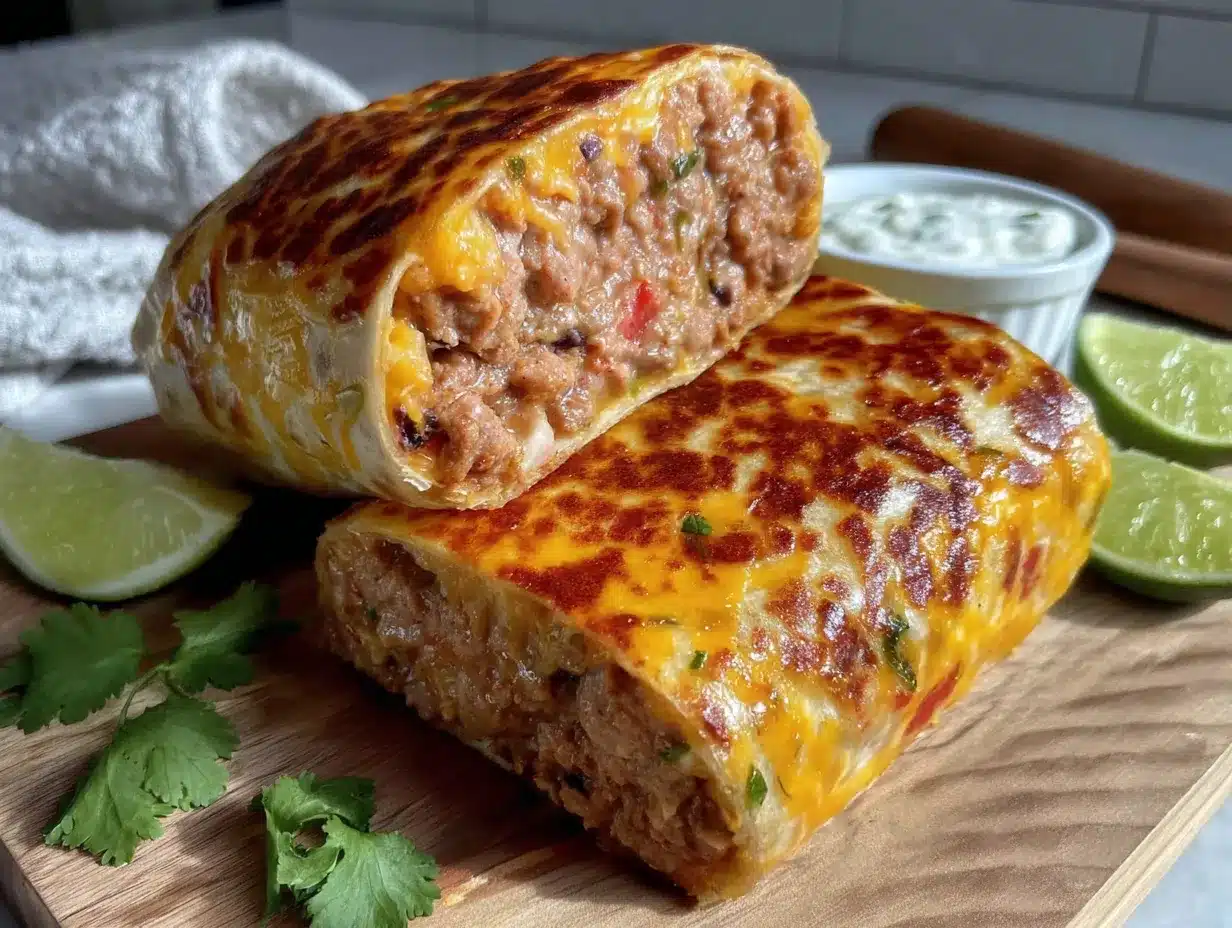
Let’s get cooking. This is the fun part. Follow these steps, and you’ll have a batch of delicious freezer burritos in no time.
- Cook the rice first. You’ll need about 1 cup of cooked rice. I like to use leftover rice from the night before, or you can cook a fresh batch. If cooking fresh, use ⅓ cup dry rice and ⅔ cup water. Bring to a boil, then simmer for 15 minutes. Remove from heat and let it sit, covered, for 5 minutes. Fluff with a fork and set aside to cool slightly. Pro tip: Slightly undercook the rice by a minute or two—it will finish cooking when you reheat the burrito.
- Cook the turkey. Heat the olive oil in your large skillet over medium-high heat. Add the ground turkey and cook, breaking it up with a wooden spoon, until it’s browned and no longer pink. This takes about 6-8 minutes. Don’t rush this step—good browning means more flavor.
- Add the aromatics. Reduce the heat to medium. Add the diced onion and cook for 3-4 minutes, until it’s soft and translucent. Stir in the minced garlic and cook for another 30 seconds, until fragrant. Your kitchen should smell amazing at this point.
- Season the meat. Sprinkle the chili powder, cumin, smoked paprika, garlic powder, onion powder, oregano, salt, pepper, and cayenne (if using) over the turkey mixture. Stir well to coat everything evenly. Cook for 1 minute to toast the spices. This step wakes up the flavors.
- Combine the filling. Remove the skillet from the heat. Transfer the turkey mixture to a large mixing bowl. Add the drained black beans, cooked rice, diced green chiles, corn, and shredded cheese. Stir everything together until it’s well combined. If the mixture seems a little dry, stir in the sour cream or Greek yogurt. Taste and adjust seasoning if needed. Fold in the fresh cilantro.
- Let the filling cool. This is a crucial step. Spread the filling out on a baking sheet or in a shallow dish and let it cool completely. Warm filling will make the tortillas soggy and create condensation in the freezer. I usually let it sit for about 20-30 minutes.
- Assemble the burritos. Lay a tortilla on a clean work surface. Spoon about ¾ cup of the filling into the center of the tortilla. Don’t overfill, or it will be hard to roll. Fold the sides of the tortilla inward over the filling. Then, fold the bottom flap up and over the filling, tucking it tightly. Roll the burrito away from you, keeping it snug, until it’s completely closed. Repeat with the remaining tortillas.
- Freeze the burritos. Place the rolled burritos on a parchment-lined baking sheet, seam-side down. Make sure they aren’t touching. Pop the baking sheet in the freezer for 1-2 hours, or until the burritos are firm to the touch. This is called a “flash freeze” and it prevents them from sticking together.
- Wrap and store. Once the burritos are frozen solid, wrap each one tightly in aluminum foil or freezer wrap. Place the wrapped burritos in a freezer-safe zip-top bag. Squeeze out as much air as possible before sealing. Label the bag with the date and contents. They’ll keep for up to 3 months.
Cooking Tips & Techniques
I’ve made a lot of mistakes with freezer burritos so you don’t have to. Here are my hard-earned lessons.
The biggest mistake is a watery filling. If your filling is too wet, the tortilla will get soggy during reheating. Make sure to drain and rinse your black beans thoroughly. Also, let the cooked filling cool completely before assembling. This stops steam from building up inside the burrito.
Don’t skip the flash freeze. I know it’s tempting to just wrap them all up and throw them in a bag. But if you do that, they’ll freeze into one giant burrito blob. The hour you spend flash freezing saves you so much hassle later. You can grab one burrito at a time without a fight.
Roll them tight, but not too tight. You want a snug roll so the filling stays inside, but if you roll too tightly, the tortilla can tear. Find that sweet spot. I use my thumbs to tuck the sides in as I roll, keeping gentle, even pressure.
Label your bag. I can’t tell you how many times I’ve found a mystery bag in the back of my freezer. Write the date and a brief description on the bag with a permanent marker. Trust me, future you will be grateful.
For reheating, the oven is king. If you have time, reheat the burrito in a 350°F oven for 20-25 minutes. The tortilla gets slightly crispy, and the filling heats through evenly. The microwave works in a pinch (2-3 minutes, flipping halfway), but the texture isn’t as good.
Variations & Adaptations
This recipe is a great base, but feel free to make it your own. Here are some of my favorite twists.
- Vegetarian Version: Swap the ground turkey for an extra can of black beans or a can of pinto beans. You can also use crumbled tofu or a plant-based ground meat substitute. The seasoning will work just as well.
- Spicy Kick: Add a diced jalapeño along with the onion. Or, use pepper jack cheese instead of cheddar. A few dashes of your favorite hot sauce in the filling works wonders, too.
- Breakfast Burritos: Omit the rice and add 4-6 scrambled eggs to the filling. Swap the black beans for refried beans for a creamier texture. These are amazing for a quick breakfast on the go.
- Different Protein: Ground chicken or lean ground beef works perfectly in place of the turkey. You can even use shredded chicken or pork if you have leftovers. Just make sure the meat is well-seasoned.
- Add Veggies: Diced bell peppers, zucchini, or spinach are great additions. Sauté them with the onion before adding the garlic. This is a great way to sneak in extra vegetables.
I once made a version with roasted sweet potatoes and black beans, leaving out the turkey entirely. It was incredible. The sweetness of the potatoes balanced the smoky spices beautifully. Don’t be afraid to experiment.
Serving & Storage Suggestions
These burritos are designed for convenience, but how you serve them can make all the difference.
Serving: Serve the burritos hot, straight from the oven or microwave. I love to top them with a dollop of sour cream, some fresh salsa, and a sprinkle of chopped cilantro. A side of guacamole or a simple green salad rounds out the meal. For a cozy night, I’ll serve mine with a bowl of tortilla soup.
Storage: As mentioned, the wrapped and bagged burritos will keep in the freezer for up to 3 months. For best quality, try to eat them within 2 months. The flavor is still good after that, but the texture of the tortilla can start to degrade.
Reheating: The best method is the oven. Preheat to 350°F. Unwrap the burrito from the foil and place it on a baking sheet. Bake for 20-25 minutes, until the filling is hot and the tortilla is lightly crisp. For the microwave, unwrap and place on a microwave-safe plate. Cook on high for 2-3 minutes, flipping halfway through. Let it rest for a minute before eating—the filling gets very hot.
Flavor Development: Honestly, these burritos taste even better after a week or two in the freezer. The flavors have time to meld and deepen. It’s a beautiful thing. I always make a double batch just for this reason.
Nutritional Information & Benefits
These burritos are a balanced meal in a portable package. Here’s a rough estimate per burrito (using lean turkey, cheddar cheese, and white rice):
- Calories: Approximately 450-550
- Protein: 30-35 grams
- Carbohydrates: 45-55 grams
- Fat: 15-20 grams
- Fiber: 8-10 grams
The ground turkey is a fantastic source of lean protein, which keeps you full and satisfied. Black beans are packed with fiber and plant-based protein, which is great for digestive health. The corn and rice provide complex carbohydrates for steady energy. This is a meal that actually fuels your body, not just fills your stomach.
If you’re watching your sodium, use low-sodium black beans and reduce the added salt. You can also use whole wheat tortillas for extra fiber. These burritos are naturally gluten-free if you use corn tortillas (though they can be trickier to roll). Always check your spice blends for hidden gluten.
Conclusion
These Cozy Freezer-Friendly Turkey and Black Bean Burritos are more than just a meal prep staple—they’re a little piece of comfort you can keep in your freezer for when you need it most. They remind me of that lost taqueria, but in a way, they’ve become something even better. They’re mine now, and they’re yours, too.
I hope you give this recipe a try. Don’t be afraid to adjust the spices or add your favorite toppings. Cooking is about making things your own, and this recipe is a perfect canvas. I’d love to hear how they turn out for you. Leave a comment below and let me know what variations you tried. Did you add extra heat? Swap the cheese? I’m always looking for new ideas.
Go ahead, make a batch this weekend. Your future self—tired, hungry, and craving something real—will thank you. Happy cooking, friend.
Frequently Asked Questions
Can I use ground beef instead of turkey?
Absolutely. Ground beef, chicken, or pork all work great. Just make sure to drain any excess fat after browning the meat, especially if you’re using a higher-fat blend.
Do I have to use rice?
No, the rice helps with texture and makes the burritos more filling, but you can leave it out. If you omit the rice, you might want to add a little extra black beans or some sautéed vegetables to make up the volume.
Can I freeze these without cheese?
Yes, you can leave out the cheese or use a dairy-free alternative. The burritos will still freeze and reheat well. The cheese just adds a nice creaminess and flavor.
How do I reheat a frozen burrito without an oven?
The microwave is the next best option. Unwrap the burrito and place it on a microwave-safe plate. Cook on high for 2-3 minutes, flipping it over halfway through. Let it sit for a minute before eating—the filling gets extremely hot.
Can I make these burritos in advance and refrigerate them instead of freezing?
Yes, you can refrigerate them for up to 3 days. Assemble them as directed, but skip the flash freezing step. Wrap them tightly in foil and store them in the fridge. Reheat in the oven or microwave as usual.
Pin This Recipe!
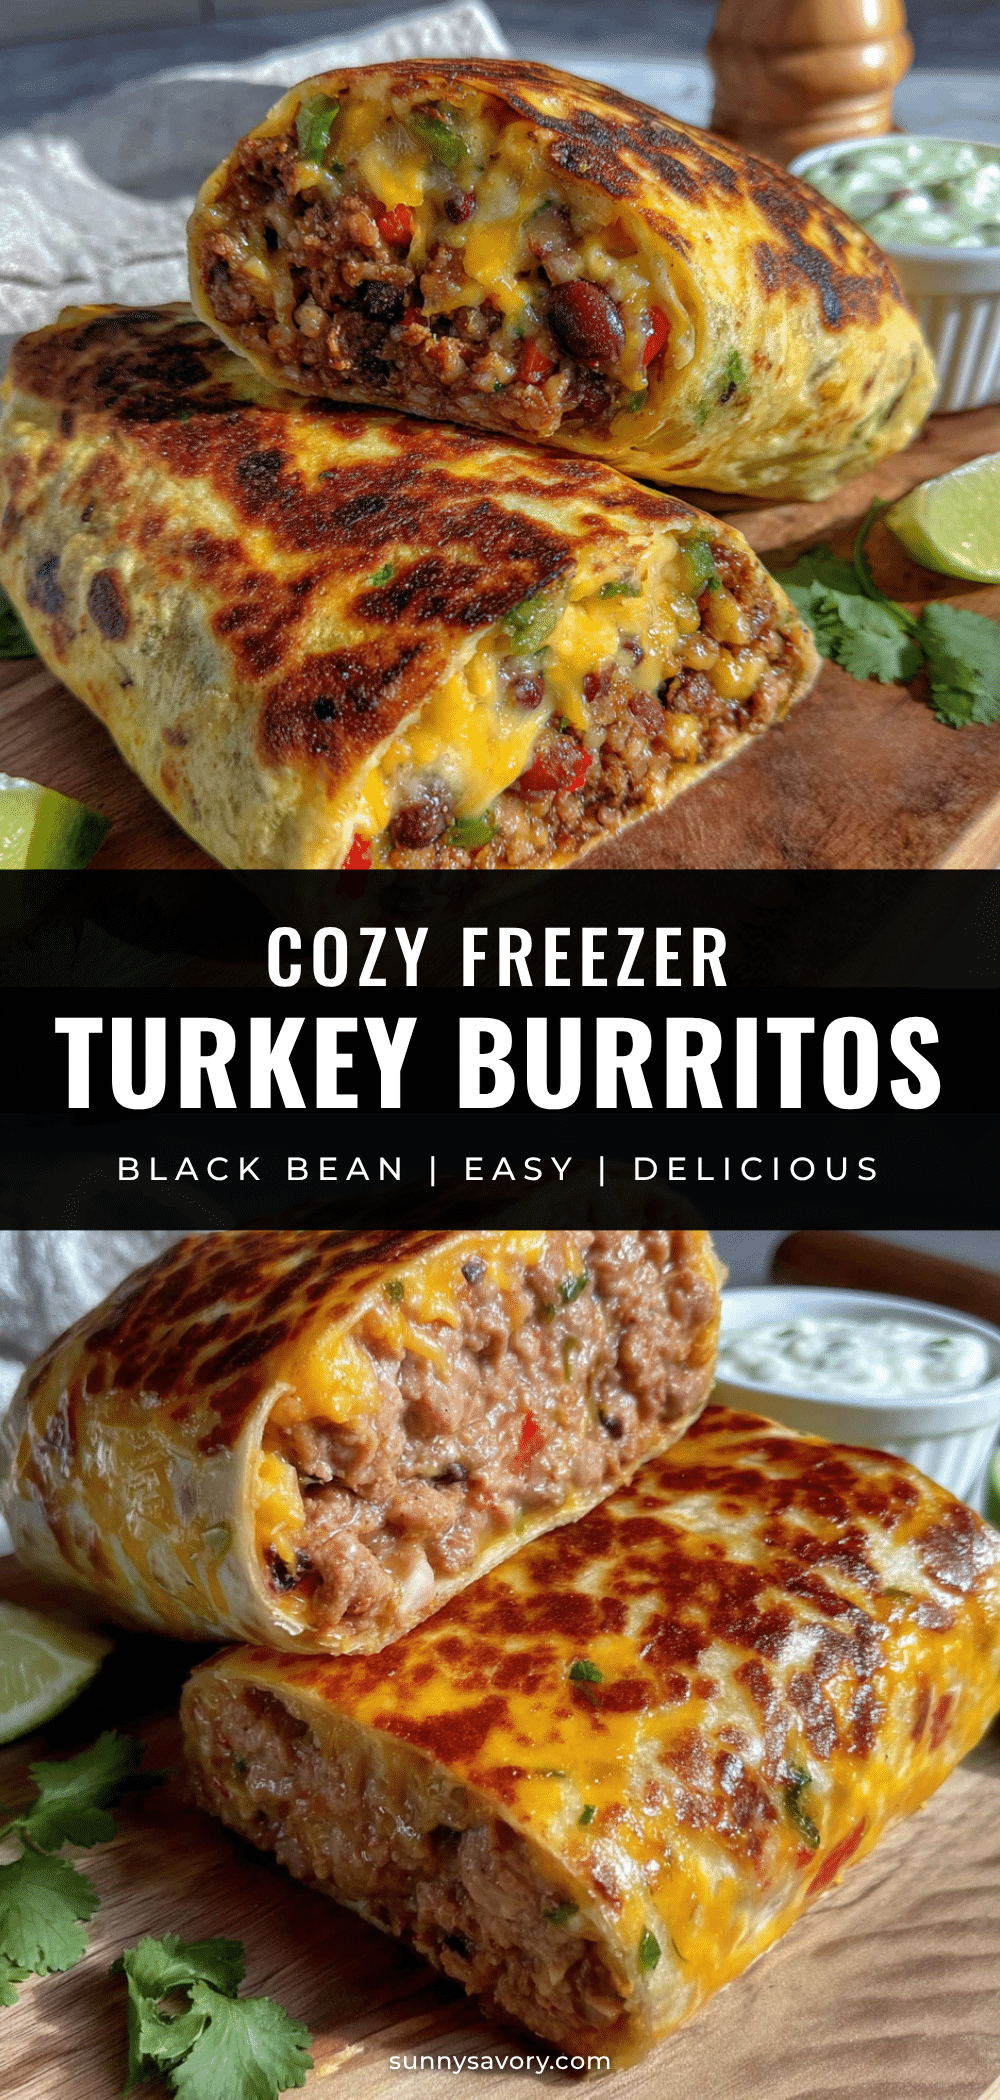
Cozy Freezer-Friendly Turkey and Black Bean Burritos

These freezer-friendly turkey and black bean burritos are a make-ahead meal that tastes just like the ones from a beloved taqueria. They’re perfect for busy nights, offering a warm, satisfying dinner in minutes.
- Prep Time: 15 minutes
- Cook Time: 30 minutes
- Total Time: 45 minutes
- Yield: 6-8 servings 1x
- Category: Main Course
- Cuisine: Mexican
Ingredients
- 1 tablespoon olive oil
- 1 lb lean ground turkey (93/7 works great)
- 1 medium yellow onion, diced
- 3 cloves garlic, minced
- 1 can (15 oz) black beans, drained and rinsed
- 1 cup cooked rice (white or brown, slightly undercooked)
- 1 can (4 oz) diced green chiles, drained
- 1 cup corn kernels (frozen or canned, drained)
- 1 ½ cups shredded cheddar or Monterey Jack cheese
- ¼ cup chopped fresh cilantro (optional, but recommended)
- 1 tablespoon chili powder
- 1 teaspoon ground cumin
- 1 teaspoon smoked paprika
- ½ teaspoon garlic powder
- ½ teaspoon onion powder
- ½ teaspoon dried oregano
- ½ teaspoon salt
- ¼ teaspoon black pepper
- Pinch of cayenne pepper (optional, for heat)
- 6–8 large flour tortillas (burrito size, 10-inch)
- ¼ cup sour cream or Greek yogurt (optional, for moisture)
Instructions
- Cook the rice first. You’ll need about 1 cup of cooked rice. I like to use leftover rice from the night before, or you can cook a fresh batch. If cooking fresh, use ⅓ cup dry rice and ⅔ cup water. Bring to a boil, then simmer for 15 minutes. Remove from heat and let it sit, covered, for 5 minutes. Fluff with a fork and set aside to cool slightly. Pro tip: Slightly undercook the rice by a minute or two—it will finish cooking when you reheat the burrito.
- Cook the turkey. Heat the olive oil in your large skillet over medium-high heat. Add the ground turkey and cook, breaking it up with a wooden spoon, until it’s browned and no longer pink. This takes about 6-8 minutes. Don’t rush this step—good browning means more flavor.
- Add the aromatics. Reduce the heat to medium. Add the diced onion and cook for 3-4 minutes, until it’s soft and translucent. Stir in the minced garlic and cook for another 30 seconds, until fragrant. Your kitchen should smell amazing at this point.
- Season the meat. Sprinkle the chili powder, cumin, smoked paprika, garlic powder, onion powder, oregano, salt, pepper, and cayenne (if using) over the turkey mixture. Stir well to coat everything evenly. Cook for 1 minute to toast the spices. This step wakes up the flavors.
- Combine the filling. Remove the skillet from the heat. Transfer the turkey mixture to a large mixing bowl. Add the drained black beans, cooked rice, diced green chiles, corn, and shredded cheese. Stir everything together until it’s well combined. If the mixture seems a little dry, stir in the sour cream or Greek yogurt. Taste and adjust seasoning if needed. Fold in the fresh cilantro.
- Let the filling cool. This is a crucial step. Spread the filling out on a baking sheet or in a shallow dish and let it cool completely. Warm filling will make the tortillas soggy and create condensation in the freezer. I usually let it sit for about 20-30 minutes.
- Assemble the burritos. Lay a tortilla on a clean work surface. Spoon about ¾ cup of the filling into the center of the tortilla. Don’t overfill, or it will be hard to roll. Fold the sides of the tortilla inward over the filling. Then, fold the bottom flap up and over the filling, tucking it tightly. Roll the burrito away from you, keeping it snug, until it’s completely closed. Repeat with the remaining tortillas.
- Freeze the burritos. Place the rolled burritos on a parchment-lined baking sheet, seam-side down. Make sure they aren’t touching. Pop the baking sheet in the freezer for 1-2 hours, or until the burritos are firm to the touch. This is called a “flash freeze” and it prevents them from sticking together.
- Wrap and store. Once the burritos are frozen solid, wrap each one tightly in aluminum foil or freezer wrap. Place the wrapped burritos in a freezer-safe zip-top bag. Squeeze out as much air as possible before sealing. Label the bag with the date and contents. They’ll keep for up to 3 months.
Notes
The biggest mistake is a watery filling. Make sure to drain and rinse your black beans thoroughly. Also, let the cooked filling cool completely before assembling. Don’t skip the flash freeze—it prevents the burritos from sticking together. Roll them tight, but not too tight, to avoid tearing the tortilla. Label your bag with the date and contents. For reheating, the oven is king: 350°F for 20-25 minutes. The microwave works in a pinch (2-3 minutes, flipping halfway). These burritos taste even better after a week or two in the freezer as the flavors meld.
Nutrition
- Serving Size: 1 burrito
- Calories: 450550
- Sugar: 35
- Sodium: 600800
- Fat: 1520
- Saturated Fat: 57
- Carbohydrates: 4555
- Fiber: 810
- Protein: 3035
Keywords: freezer burritos, turkey burritos, black bean burritos, make-ahead meals, freezer meals, healthy burritos, meal prep



