Love this? Save it for later!
Share the inspiration with your friends
I wasn’t expecting baking advice from the man installing my new washing machine, but there I was, standing in a puddle of sudsy water, listening to him describe exactly how to make the most hauntingly beautiful black cocoa spiderweb cupcakes. His name was Dave, and he had been a pastry chef before taking up appliance repair—a career change he blamed on “the soul-crushing precision of French macarons.” As he tightened a hose with a wrench, he told me about the Halloween party he used to cater for, where these cupcakes were the star. He scribbled the ratios on a scrap of cardboard from the machine’s box. I honestly thought he was kidding. But that night, staring at a smudged piece of cardboard with “black cocoa = 3/4 cup” written in Sharpie, I figured I had nothing to lose. The power went out halfway through baking—a classic October storm—and I finished the buttercream by candlelight. Let me tell you, frosting in the dark adds a certain… atmospheric authenticity. The results were so good, I called Dave the next day to thank him. He just laughed and said, “Told you. Pastry is just plumbing with sugar.” These cupcakes have been my go-to for Halloween ever since. They look like they belong in a haunted bakery, but they’re surprisingly simple to pull off. Maybe you’ve been looking for that one showstopper dessert that doesn’t require a pastry degree—something that makes people gasp when you walk into the room. This is it. The deep, dark color of the black cocoa is dramatic on its own, but when you add that creamy white spiderweb on top? It’s pure magic. And honestly, it tastes like an Oreo milkshake in cake form. I keep making them because they’re the perfect blend of spooky and delicious—and because every time I bake them, I think about Dave and his wrench.
Why You’ll Love This Recipe
I’ve tested this recipe more times than I care to admit. The first batch was too dry. The second was too dense. But by the third try—using Dave’s exact ratios and a few tweaks of my own—I nailed it. These black cocoa spiderweb cupcakes are the result of real kitchen trial and error, not guesswork. Here’s why they’re worth your time:
- Quick & Easy: From start to finish, you’re looking at about 45 minutes. The batter comes together in one bowl, and the frosting is a simple buttercream. Perfect for a weeknight Halloween treat or a last-minute party.
- Simple Ingredients: No weird stuff. You probably have most of this in your pantry already. The star ingredient is black cocoa powder, which you can find at most grocery stores or online.
- Perfect for Halloween: These are the ultimate spooky season dessert. They look incredible on a dessert table, and they’re a guaranteed hit at any costume party or pumpkin carving night.
- Crowd-Pleaser: Kids and adults go crazy for them. The chocolate flavor is deep and rich, not overly sweet. I’ve never brought a batch home with leftovers.
- Unbelievably Delicious: The texture is incredibly moist and tender, thanks to the buttermilk and oil. The black cocoa gives it that distinctive Oreo taste that’s just addictive.
What makes these different from every other chocolate cupcake recipe? It’s the combination of black cocoa and a tiny splash of espresso powder. The espresso doesn’t make it taste like coffee—it just deepens the chocolate flavor and makes it more complex. Plus, the spiderweb technique is dead simple. You don’t need a piping bag with a fancy tip. A simple toothpick or skewer is all it takes to create that web effect. It looks so professional, but it’s almost impossible to mess up. This recipe isn’t just good—it’s the kind that makes people ask for the recipe before they’ve even finished their first bite. It’s Halloween comfort food reimagined: dramatic, delicious, and totally doable.
What Ingredients You Will Need
This recipe uses simple, wholesome ingredients to deliver a bold, dark chocolate flavor and an incredibly tender crumb. Most of these are pantry staples, and the few specialty items are easy to find. Let’s break it down.
For the Cupcakes
- All-purpose flour: 1 ½ cups (180g). Provides the structure. Spoon and level it into your measuring cup—don’t scoop directly from the bag, or you’ll pack in too much flour.
- Black cocoa powder: ¾ cup (75g). This is the star. It’s Dutch-processed cocoa that’s been heavily alkalized, giving it that jet-black color and mild, Oreo-like flavor. I recommend the brand Rodelle for a truly dark color.
- Granulated sugar: 1 cup (200g). For sweetness and moisture.
- Light brown sugar: ½ cup (100g), packed. Adds moisture and a hint of molasses flavor that complements the black cocoa.
- Baking soda: 1 ½ teaspoons. The only leavening agent here. It reacts with the buttermilk for a good rise.
- Salt: ½ teaspoon. Balances the sweetness and enhances the chocolate flavor.
- Espresso powder: 1 teaspoon. Optional, but highly recommended. It doesn’t make the cupcakes taste like coffee; it just deepens the chocolate notes. I use King Arthur Flour brand.
- Buttermilk: 1 cup (240ml), room temperature. The acid in buttermilk tenderizes the gluten and reacts with the baking soda. If you don’t have buttermilk, add 1 tablespoon of lemon juice or white vinegar to regular milk and let it sit for 5 minutes.
- Vegetable oil: ½ cup (120ml). Keeps the cupcakes moist for days. Use a neutral oil like canola or grapeseed.
- Large eggs: 2, room temperature. For structure and richness.
- Vanilla extract: 2 teaspoons. Pure vanilla is best, but imitation works fine here.
- Hot water: ½ cup (120ml). This helps bloom the cocoa powder and creates a thinner, more liquid batter that bakes up tender.
For the Vanilla Buttercream Frosting
- Unsalted butter: 1 cup (226g), softened to room temperature. I like Kerrygold for its rich flavor and creamy texture.
- Powdered sugar: 3 ½ cups (420g), sifted. Sifting removes lumps and ensures a silky smooth frosting.
- Heavy cream: 3-4 tablespoons (45-60ml), room temperature. For thinning the frosting to the perfect piping consistency.
- Vanilla extract: 2 teaspoons.
- Salt: ¼ teaspoon. To cut the sweetness.
For the Spiderweb Decoration
- Black cocoa buttercream: Reserve about ½ cup of the white buttercream and mix in 2-3 tablespoons of black cocoa powder until it’s a dark gray or black color. You’ll use this for the spiderweb lines.
- Toothpick or skewer: For dragging the web pattern.
- Candy spiders (optional): For a fun, creepy-crawly garnish.
Equipment Needed
You don’t need a professional bakery setup for these cupcakes. I’ve made them in a tiny apartment kitchen without a stand mixer, and they turned out perfect. Here’s what you’ll need:
- Muffin tin: A standard 12-cup muffin tin. I prefer a non-stick one, but any will work with paper liners.
- Paper cupcake liners: Use black or orange liners for a festive touch. The dark liners also hide any potential staining from the black cocoa.
- Mixing bowls: One large bowl for the dry ingredients and one medium bowl for the wet ingredients.
- Whisk: For combining dry ingredients. A hand whisk is fine.
- Electric hand mixer or stand mixer: A hand mixer works perfectly for the buttercream. A stand mixer with a paddle attachment makes it even easier, but it’s not necessary.
- Rubber spatula: For scraping down the sides of the bowl and folding in the hot water.
- Cooling rack: To cool the cupcakes completely before frosting. If you don’t have one, you can use a wire oven rack.
- Piping bag: A 16-inch piping bag is ideal. If you don’t have one, a sturdy zip-top bag with the corner snipped off works just fine.
- Large round piping tip: A Wilton 1A or similar size. If you don’t have a tip, just cut a ½-inch opening in your piping bag.
- Toothpicks: For creating the spiderweb design. I keep a bunch handy because they break sometimes.
Preparation Method
Let’s get baking. This method is broken down into clear steps, with time estimates and sensory cues to guide you. I’ve learned a few tricks the hard way, so pay attention to the notes—they’ll save you from my mistakes.
Step 1: Preheat and Prep (5 minutes)
Preheat your oven to 350°F (175°C). Line your muffin tin with 12 paper liners. If you’re worried about the cupcakes sticking to dark liners, give them a quick spritz of non-stick spray. I learned this after losing half a cupcake to a liner once.
Step 2: Mix Dry Ingredients (5 minutes)
In a large mixing bowl, whisk together 1 ½ cups (180g) all-purpose flour, ¾ cup (75g) black cocoa powder, 1 cup (200g) granulated sugar, ½ cup (100g) packed light brown sugar, 1 ½ teaspoons baking soda, ½ teaspoon salt, and 1 teaspoon espresso powder. Whisk thoroughly until everything is evenly distributed. The black cocoa can be clumpy, so break up any lumps with your fingers or the back of a spoon. The mixture should look like dark, sandy soil.
Step 3: Combine Wet Ingredients (5 minutes)
In a separate medium bowl, whisk together 1 cup (240ml) buttermilk, ½ cup (120ml) vegetable oil, 2 large eggs, and 2 teaspoons vanilla extract. Whisk until the eggs are fully incorporated and the mixture is smooth. It will look like a pale, slightly thick liquid.
Step 4: Combine Wet and Dry (5 minutes)
Pour the wet ingredients into the bowl of dry ingredients. Use a rubber spatula to gently fold them together. Don’t overmix—just stir until you no longer see streaks of flour. A few small lumps are totally fine. Overmixing will make the cupcakes tough.
Step 5: Add Hot Water (2 minutes)
Pour in ½ cup (120ml) of hot water (not boiling, just hot from the tap). Fold it in gently with your spatula. The batter will become very thin and liquidy—that’s exactly what you want. It should look like a dark, glossy milkshake. Don’t panic if it seems too runny; this is the secret to a moist cupcake.
Step 6: Fill and Bake (18-22 minutes)
Divide the batter evenly among the 12 cupcake liners. I use a ¼-cup measuring cup or a cookie scoop to get consistent portions. Fill each liner about ⅔ full. Bake for 18-22 minutes, or until a toothpick inserted into the center of a cupcake comes out clean or with a few moist crumbs. The tops should spring back when lightly touched. Let them cool in the pan for 5 minutes, then transfer them to a wire rack to cool completely. Don’t even think about frosting them while they’re warm—the buttercream will melt into a puddle. I’ve made that mistake. It’s not pretty.
Step 7: Make the Buttercream (10 minutes)
While the cupcakes cool, make the frosting. In a large bowl, beat 1 cup (226g) of softened unsalted butter with an electric mixer on medium speed until creamy and smooth, about 2 minutes. Gradually add 3 ½ cups (420g) of sifted powdered sugar, beating on low speed to prevent a sugar cloud. Add 3 tablespoons of heavy cream, 2 teaspoons of vanilla extract, and ¼ teaspoon of salt. Beat on medium-high speed for 3-4 minutes, until the frosting is light, fluffy, and spreadable. If it’s too thick, add the remaining tablespoon of heavy cream. If it’s too thin, add a little more powdered sugar.
Step 8: Frost the Cupcakes (15 minutes)
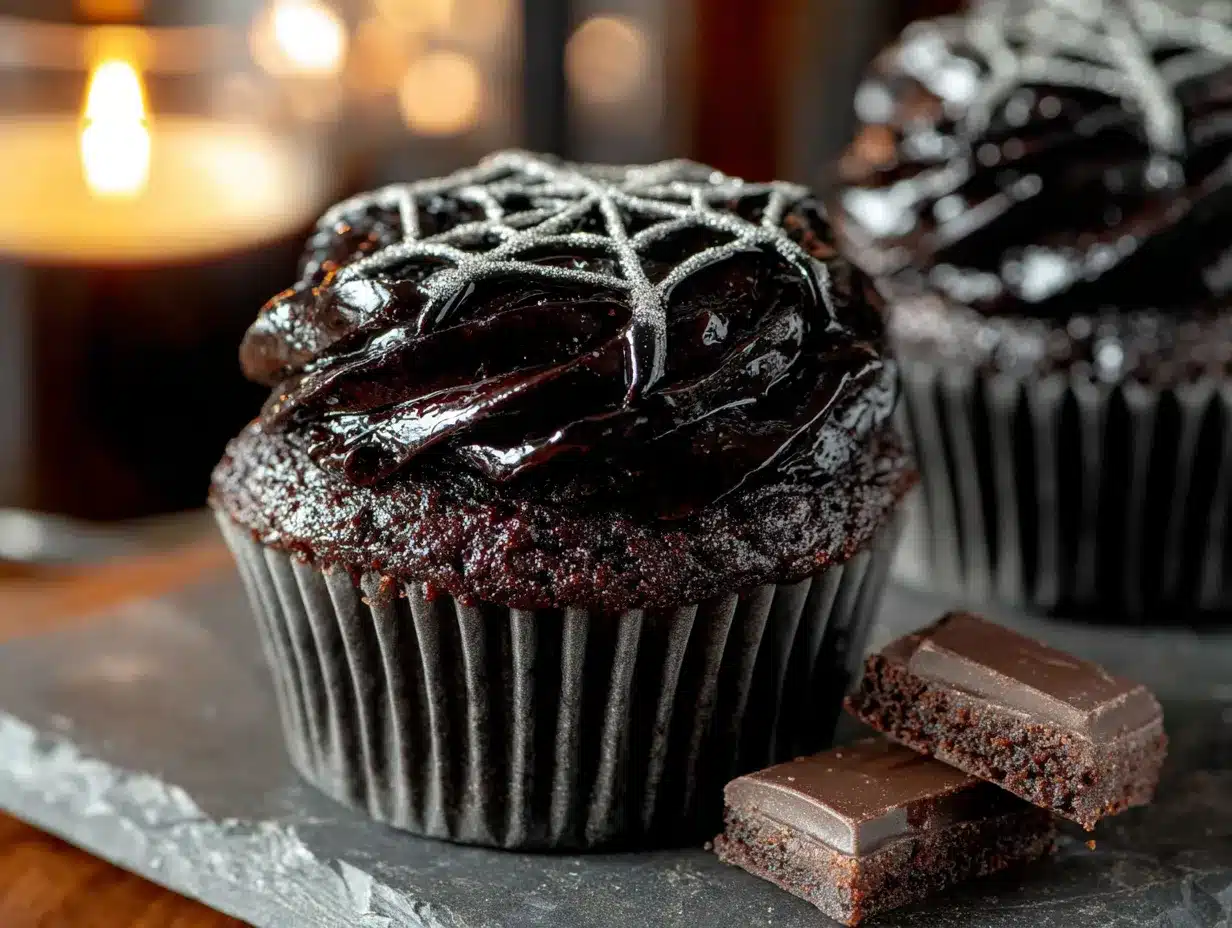
Fit your piping bag with a large round tip and fill it with the white buttercream. Pipe a generous swirl on each completely cooled cupcake. You can also use a spatula to spread the frosting, but the swirl gives a better canvas for the web. Once all cupcakes are frosted, set them aside.
Step 9: Create the Spiderweb (10 minutes)
Take the reserved black cocoa buttercream and spoon it into a small piping bag or a zip-top bag with a tiny corner snipped off. Starting from the center of each frosted cupcake, pipe a small dot of black frosting. Then, pipe concentric circles around that dot, spacing them about ¼ inch apart. You should have 3-4 circles. Immediately take a toothpick and drag it from the center dot outward through all the circles to the edge of the cupcake. Repeat this 6-8 times around the cupcake, spacing the drags evenly. The black lines will pull through the white frosting, creating a web pattern. Wipe the toothpick clean between each drag for the cleanest lines.
Cooking Tips & Techniques
I’ve made these cupcakes more times than I can count, and I’ve learned a few things along the way. Here are my best tips to make yours perfect.
Don’t skip the hot water. I know it feels weird to add water to a cake batter, but it’s crucial. The hot water helps “bloom” the black cocoa powder, which deepens the color and flavor. Without it, the cupcakes can taste a bit flat and look more gray than black. Trust the process.
Room temperature ingredients matter. Cold eggs and cold buttermilk won’t emulsify properly with the oil, which can lead to a denser, less tender crumb. Take them out of the fridge 30 minutes before you start baking. If you forget, place the eggs in a bowl of warm water for 5 minutes and microwave the buttermilk for 15 seconds.
Watch your oven like a hawk. Ovens run hot or cold. My old oven would burn these in 17 minutes, while my current one takes a full 22. Start checking at 18 minutes. The cupcakes are done when a toothpick comes out clean, and the tops spring back when you press them lightly. Overbaking is the number one reason for dry cupcakes.
The toothpick trick for the web. I ruined my first few webs by dragging the toothpick too slowly or too quickly. The key is a steady, confident motion. Start from the center and drag outward in one fluid movement. Don’t stop halfway. Also, wipe the toothpick clean after each drag. If you don’t, the black frosting will smudge and make a mess. I learned this the hard way and ended up with gray, muddy webs.
Make the frosting ahead of time. The buttercream can be made up to 3 days in advance and stored in the fridge. Just let it come to room temperature and re-whip it for a minute before piping. This is a huge time-saver if you’re making these for a party.
Variations & Adaptations
One of the best things about this recipe is how adaptable it is. I’ve tried several variations over the years, and they’ve all been winners.
Gluten-Free Version: Swap the all-purpose flour for a 1:1 gluten-free baking flour blend. I’ve used King Arthur Measure for Measure with great results. The texture is slightly more tender, but the flavor is identical. Add ¼ teaspoon of xanthan gum if your blend doesn’t already contain it.
Vegan Adaptation: Use a flax egg (1 tablespoon ground flaxseed mixed with 3 tablespoons water, left to thicken for 5 minutes) instead of the eggs. Replace the buttermilk with 1 cup of almond milk mixed with 1 tablespoon of lemon juice. Use vegan butter for the frosting. The cupcakes will be a little less fluffy, but they’ll still be delicious and dark.
Spooky Spider Variation: Instead of a spiderweb, pipe the black frosting into small spider shapes on top of the white frosting. Use candy eyes to give them a face. I did this for a kids’ Halloween party, and they were a huge hit. It’s a bit more time-consuming, but the result is adorable and creepy at the same time.
Peppermint Twist: Add ½ teaspoon of peppermint extract to the cupcake batter and another ½ teaspoon to the frosting. The cool mint flavor pairs surprisingly well with the deep, dark chocolate. It’s like a Thin Mint in cupcake form. I tried this one Christmas, and it’s become a holiday staple.
Black Cocoa Drip Cake: If you don’t want to pipe individual webs, you can turn these into a mini drip cake. Frost the cupcakes with the white buttercream, then warm up some black cocoa ganache (1:1 ratio of chocolate to cream) and drizzle it over the edges. It’s a different look, but just as dramatic.
Serving & Storage Suggestions
These cupcakes are best served at room temperature. The buttercream is soft and creamy, and the cake is perfectly moist. If you’ve refrigerated them, let them sit on the counter for 30 minutes before serving.
Presentation Tips: Arrange the cupcakes on a black or orange platter to make the white webs pop. Sprinkle some edible glitter or black sanding sugar around the edges of the platter for a spooky, magical effect. I like to add a few candy spiders on top of each web for an extra creepy touch. They’re available at most candy stores or online.
What to Serve With Them: These cupcakes are rich, so they pair well with a cold glass of milk, a hot cup of coffee, or a scoop of vanilla ice cream. For a Halloween party, serve them alongside a batch of apple cider or a pumpkin spice latte.
Storage Instructions: Store unfrosted cupcakes in an airtight container at room temperature for up to 3 days. Frosted cupcakes should be stored in the refrigerator, but they’re best eaten within 2 days. The black cocoa can sometimes cause the frosting to dry out slightly, so keep them covered.
Freezing Instructions: You can freeze the unfrosted cupcakes for up to 3 months. Wrap each one tightly in plastic wrap, then place them in a freezer-safe bag. Thaw at room temperature before frosting. The buttercream can also be frozen for up to 3 months. Thaw it in the fridge overnight, then re-whip it before using.
How Flavors Develop: Honestly, these cupcakes taste even better the next day. The black cocoa flavor deepens and mellows overnight, and the crumb becomes even more moist. If you can resist eating them all on day one, you’re in for a treat on day two.
Nutritional Information & Benefits
Let’s be real—these are a treat, not a health food. But I believe in enjoying dessert without guilt, especially on Halloween. Here’s a rough estimate of what’s in one cupcake (with frosting):
- Calories: 420
- Fat: 22g
- Saturated Fat: 12g
- Carbohydrates: 55g
- Sugar: 42g
- Protein: 4g
- Fiber: 2g
Health Benefits of Black Cocoa: Black cocoa is rich in flavonoids, which are antioxidants that can help reduce inflammation and improve heart health. It also contains less fat than regular cocoa powder, which is a small silver lining. Plus, it’s a source of magnesium and iron.
Dietary Considerations: This recipe contains gluten, dairy, and eggs. For a gluten-free or vegan option, check the variations section above. The black cocoa itself is naturally vegan and gluten-free.
My Perspective: I’m not a nutritionist, but I believe in balance. These cupcakes are a special occasion treat. They’re meant to be enjoyed with friends and family, not eaten for breakfast every day. One cupcake is perfectly satisfying, and the deep chocolate flavor means you won’t need a second one to feel satisfied.
Conclusion
These black cocoa spiderweb cupcakes are more than just a Halloween dessert—they’re a conversation starter. They look like they belong in a haunted bakery window, but they’re simple enough for a weeknight baking project. The deep, dark color of the black cocoa, the tender crumb, and the creamy vanilla buttercream all come together in a perfect bite. And that spiderweb design? It’s so easy to do, but it looks like magic.
I love these cupcakes because they remind me that the best recipes often come from the most unexpected places. A washing machine repairman, a scrap of cardboard, and a power outage. It’s proof that you don’t need a fancy kitchen or a culinary degree to create something truly special. All you need is a little curiosity and a willingness to try.
I’d love to see your versions. Tag me in your photos, leave a comment below with your favorite Halloween baking memory, or tell me if you tried any of the variations. Did you add the peppermint? Did you make a spider instead of a web? I want to hear about it. And if you’re looking for more spooky season inspiration, check out my Halloween Pumpkin Bread or these Ghost Meringue Cookies for the full Halloween baking spread.
Happy Halloween, and happy baking. May your cupcakes be dark, your webs be clean, and your candy bowl be full.
Frequently Asked Questions
Can I use regular cocoa powder instead of black cocoa?
You can, but the color will be much lighter—more brown than black. The flavor will also be more like traditional chocolate cake rather than the mild, Oreo-like taste of black cocoa. If you can’t find black cocoa, I’d recommend using a mix of ½ cup regular Dutch-process cocoa and ¼ cup black cocoa for the best compromise.
Why are my cupcakes dry?
Dry cupcakes are usually a sign of overbaking or overmixing. Check your oven temperature with an oven thermometer, and start checking for doneness at 18 minutes. Also, make sure you’re measuring your flour correctly by spooning it into the measuring cup and leveling it off, rather than scooping directly from the bag.
Can I make the spiderweb design without a piping bag?
Absolutely. For the white frosting, you can simply spread it with a spatula. For the black web lines, use a small spoon to drizzle the black frosting in concentric circles, then drag with a toothpick. It won’t be as precise, but it will still look great. I’ve done this when I was out of piping bags, and the rustic look is actually kind of charming.
How do I get the black cocoa color to be really dark?
The key is using a high-quality black cocoa powder, like Rodelle or King Arthur. Also, don’t skimp on the espresso powder—it deepens the color as well as the flavor. Finally, make sure you’re using hot water to bloom the cocoa. This step is non-negotiable for that jet-black color.
Can I make these cupcakes ahead of time?
Yes. You can bake the cupcakes up to 2 days in advance and store them unfrosted in an airtight container. The buttercream can be made up to 3 days ahead and stored in the fridge. I recommend frosting and decorating them on the day you plan to serve them, as the spiderweb design can smudge if it sits too long in the fridge.
Pin This Recipe!
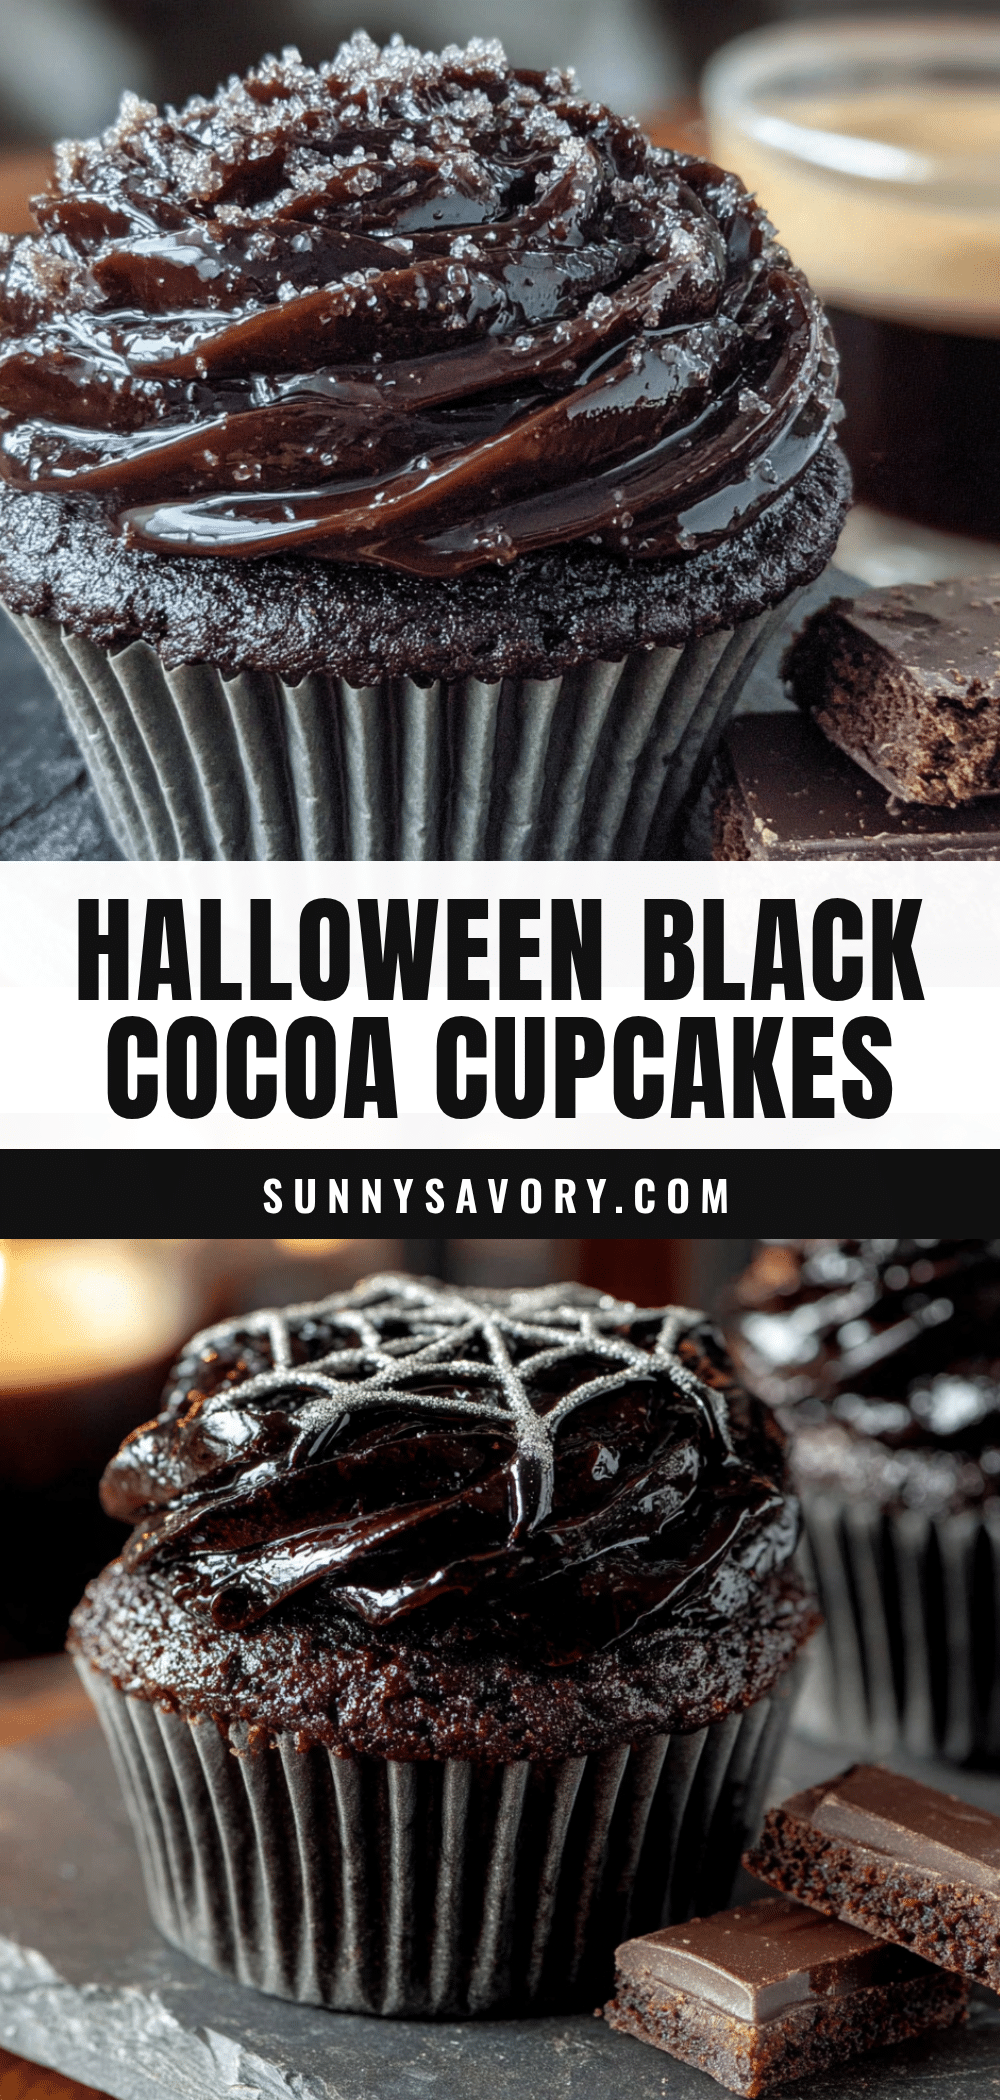
Best Easy Black Cocoa Spiderweb Cupcakes for Halloween
These hauntingly beautiful black cocoa spiderweb cupcakes are surprisingly simple to pull off. They look like they belong in a haunted bakery, but taste like an Oreo milkshake in cake form.
- Prep Time: 15 minutes
- Cook Time: 20 minutes
- Total Time: 45 minutes
- Yield: 12 cupcakes 1x
- Category: Dessert
- Cuisine: American
Ingredients
- 1 ½ cups (180g) all-purpose flour
- ¾ cup (75g) black cocoa powder
- 1 cup (200g) granulated sugar
- ½ cup (100g) packed light brown sugar
- 1 ½ teaspoons baking soda
- ½ teaspoon salt
- 1 teaspoon espresso powder
- 1 cup (240ml) buttermilk, room temperature
- ½ cup (120ml) vegetable oil
- 2 large eggs, room temperature
- 2 teaspoons vanilla extract
- ½ cup (120ml) hot water
- 1 cup (226g) unsalted butter, softened
- 3 ½ cups (420g) powdered sugar, sifted
- 3–4 tablespoons (45-60ml) heavy cream, room temperature
- 2 teaspoons vanilla extract
- ¼ teaspoon salt
- 2–3 tablespoons black cocoa powder (for spiderweb decoration)
- Candy spiders (optional)
Instructions
- Preheat oven to 350°F (175°C). Line a 12-cup muffin tin with paper liners.
- In a large bowl, whisk together flour, black cocoa powder, granulated sugar, brown sugar, baking soda, salt, and espresso powder.
- In a separate bowl, whisk together buttermilk, vegetable oil, eggs, and vanilla extract.
- Pour wet ingredients into dry ingredients and fold with a rubber spatula until just combined. Do not overmix.
- Add hot water and fold gently until batter is thin and glossy.
- Divide batter evenly among the 12 liners, filling each about ⅔ full.
- Bake for 18-22 minutes, until a toothpick inserted in the center comes out clean. Cool in pan for 5 minutes, then transfer to a wire rack to cool completely.
- For the buttercream: Beat softened butter on medium speed until creamy. Gradually add sifted powdered sugar, then add 3 tablespoons heavy cream, vanilla extract, and salt. Beat on medium-high for 3-4 minutes until light and fluffy. Add more cream if needed.
- Reserve ½ cup of buttercream and mix with 2-3 tablespoons black cocoa powder to make the spiderweb frosting.
- Pipe or spread white buttercream onto cooled cupcakes.
- Pipe a small dot of black cocoa buttercream in the center of each cupcake, then pipe concentric circles around it. Use a toothpick to drag from the center outward through the circles to create a web pattern. Wipe toothpick clean between each drag.
- Optionally, top with candy spiders.
Notes
Don’t skip the hot water—it blooms the black cocoa for a deeper color and flavor. Room temperature ingredients ensure proper emulsification. Overbaking leads to dry cupcakes; start checking at 18 minutes. For the spiderweb, use a steady, confident motion and wipe the toothpick clean after each drag.
Nutrition
- Serving Size: 1 cupcake
- Calories: 420
- Sugar: 42
- Fat: 22
- Saturated Fat: 12
- Carbohydrates: 55
- Fiber: 2
- Protein: 4
Keywords: Halloween cupcakes, black cocoa, spiderweb, chocolate cupcakes, easy Halloween dessert



