Love this? Save it for later!
Share the inspiration with your friends
My brother swore he hated red velvet cake. For years. He claimed it was just chocolate cake with red food coloring, and he wasn’t about to be fooled by something so gimmicky. Every birthday, every celebration, he’d pass the slice along without a second glance. Then, last Valentine’s Day, I was testing a batch of these homemade red velvet heart-shaped cupcakes for a blog post I had planned. I left them cooling on the counter while I ran to pick up my daughter from school. When I got back, I found him standing at the kitchen island, elbow-deep in a paper liner, with a smear of cream cheese frosting on his chin. He didn’t even try to deny it. He just looked at me, crumbs all over his shirt, and said, “Okay, fine. These are different.” Honestly, I didn’t even say “I told you so.” I just handed him a napkin.
That’s the thing about this recipe. It’s not just the color, though that deep, velvety red is undeniably pretty. It’s the texture—softer and more tender than a standard chocolate cupcake—and that subtle tang from the buttermilk and vinegar that plays so perfectly with the rich cream cheese frosting. I’d been tweaking this version for months, trying to get that balance just right. I wanted a crumb that was light but sturdy enough to hold its shape when you cut it into a heart, and a flavor that would make even the biggest skeptic stop and take notice. I mean, let’s be honest, I was a little smug about it. But in a gentle, earned way.
These homemade red velvet heart-shaped cupcakes have become my go-to for Valentine’s Day, anniversaries, or any day I want to show someone I care without spending a fortune on fancy bakery treats. They look impressive, but the process is actually pretty straightforward. Maybe you’ve been there—staring at a box of mix and wishing you had something a little more special. This is that something. It’s the recipe that proved my brother wrong, and it’s the one I keep coming back to, year after year.
Why You’ll Love This Recipe
I’ve tested this recipe more times than I can count, and I can tell you with complete confidence that these are the best homemade red velvet heart-shaped cupcakes you’ll make. They hit that sweet spot between looking like you spent hours on them and being totally doable on a Tuesday night.
- Simple Ingredients: You probably have most of these in your pantry right now. No weird extracts or hard-to-find flours. Just good, honest baking staples.
- Perfect for Valentine’s Day: The heart shape makes them instantly festive for February 14th, but honestly, they work for birthdays, anniversaries, or a random “I love you” Tuesday.
- Crowd-Pleaser: The kids go wild for the color, and adults appreciate the sophisticated flavor. I’ve never brought a batch to a party that didn’t disappear.
- Unbelievably Delicious: This isn’t just chocolate cake with red dye. The combination of cocoa, buttermilk, and a touch of vinegar creates a uniquely tender crumb with a subtle tang that’s pure magic.
- Family-Approved: My own picky eaters have given these two thumbs up. Even my brother, the self-proclaimed red velvet hater, now asks when I’m making them again.
What makes this recipe different from the rest is the technique. I use a reverse-creaming method that mixes the dry ingredients with the butter first, which coats the flour particles in fat and prevents too much gluten from forming. The result is a cupcake that’s incredibly soft and tender, not tough or dry. Plus, the heart shape is a fun little twist that makes everyone smile without requiring a special pan. You just use a standard muffin tin and a sharp knife, and I’ll show you exactly how to do it.
This is the kind of recipe that makes you close your eyes after the first bite. It’s comfort food reimagined—a little bit fancy, a little bit nostalgic, and totally doable on a sensible budget. Perfect for impressing your sweetheart without the stress, or turning a simple family dessert into something memorable.
What Ingredients You Will Need
This recipe uses simple, wholesome ingredients to deliver that signature red velvet flavor and velvety texture. Most of these are pantry staples, so you might not even need a trip to the store.
For the Cupcakes
- 1 ½ cups (190g) all-purpose flour: Spoon and level it for accuracy. Too much flour makes dry cupcakes.
- 1 cup (200g) granulated sugar: Adds sweetness and helps with browning.
- 1 tablespoon unsweetened cocoa powder: Use a natural, not Dutch-processed, cocoa for the classic red velvet color and flavor. I prefer Hershey’s for this.
- 1 teaspoon baking soda: Helps the cupcakes rise.
- ½ teaspoon salt: Balances the sweetness and enhances flavor.
- ½ cup (120ml) buttermilk, room temperature: This is key for tenderness and that subtle tang. If you don’t have buttermilk, you can make a quick substitute by adding 1 ½ teaspoons of lemon juice or white vinegar to ½ cup of milk and letting it sit for 5 minutes.
- ½ cup (120ml) vegetable oil: Keeps the cupcakes incredibly moist. Canola or avocado oil also work.
- 1 large egg, room temperature: Binds everything together. A cold egg can seize the batter.
- 1 teaspoon white vinegar: Reacts with the baking soda to help the cupcakes rise and enhances the tender crumb.
- 1 teaspoon vanilla extract: Pure vanilla adds warmth and depth.
- 1 tablespoon red food coloring: Liquid is fine, but gel food coloring gives a more vibrant red without thinning the batter. I use about 1 ½ tablespoons of gel for a deeper color.
For the Cream Cheese Frosting
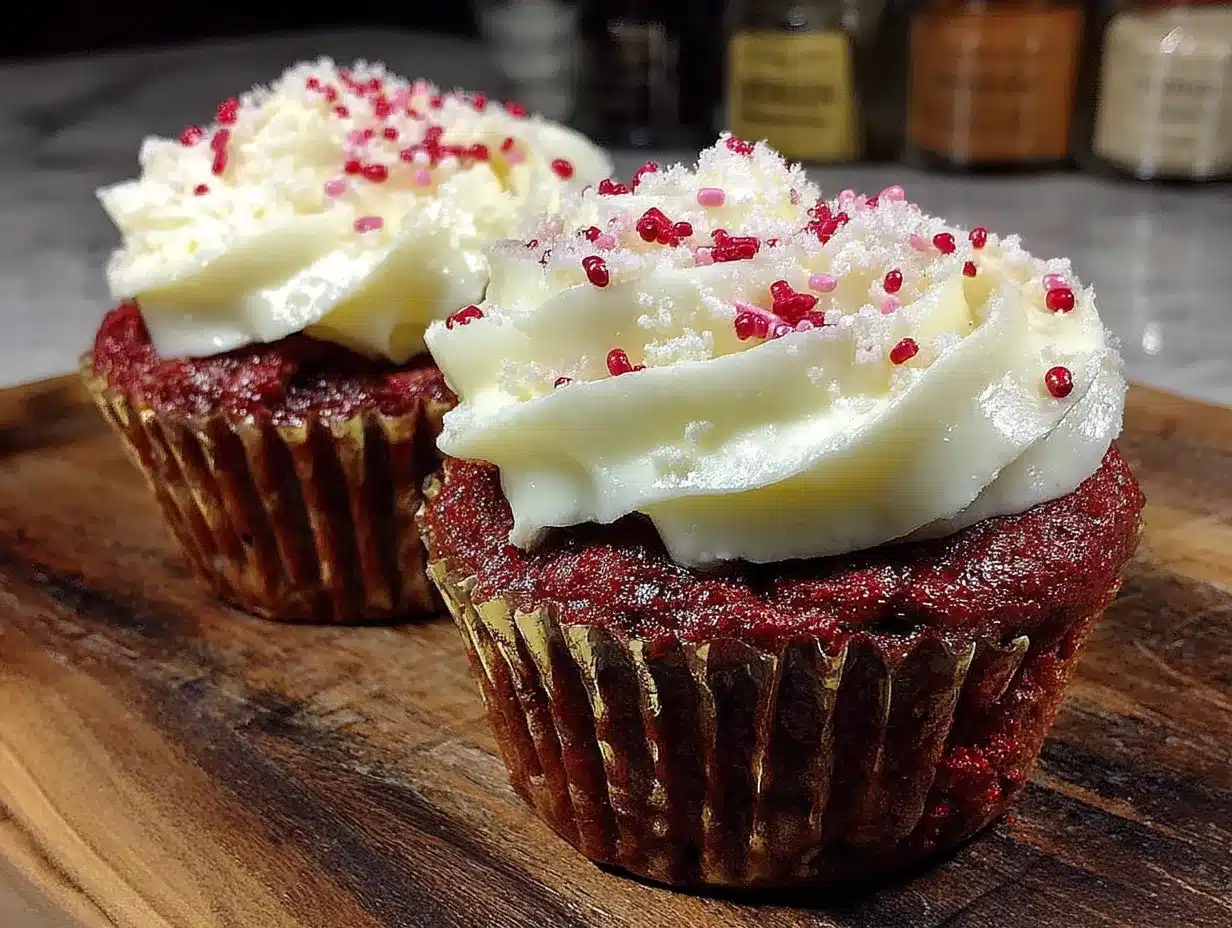
- 8 ounces (226g) cream cheese, softened: Full-fat is best for a rich, stable frosting. Let it sit out for at least 30 minutes.
- ½ cup (113g) unsalted butter, softened: Adds richness and structure.
- 3 cups (360g) powdered sugar: Sift it if it’s lumpy to avoid a gritty frosting.
- 1 teaspoon vanilla extract: For flavor.
- Pinch of salt: Balances the sweetness.
For Decoration (Optional)
- Red sprinkles or sanding sugar: Adds a festive touch.
- Fresh raspberries or strawberries: A beautiful, fresh garnish.
Equipment Needed
You don’t need a lot of fancy gear for these homemade red velvet heart-shaped cupcakes. Here’s what you’ll need:
- Standard 12-cup muffin tin: The foundation of your cupcakes. A non-stick pan is helpful but not required—just use paper liners.
- Paper cupcake liners: I like using red or pink liners for Valentine’s Day, but white works too. They make cleanup a breeze.
- Two mixing bowls: One medium for dry ingredients, one large for wet.
- Whisk: For mixing the dry ingredients and the batter.
- Electric hand mixer or stand mixer: For the frosting. You can do it by hand with a whisk and some elbow grease, but a mixer makes it much easier to get that light, fluffy texture.
- Rubber spatula: For scraping down the bowl and folding in ingredients.
- Cooling rack: Essential for letting the cupcakes cool completely before frosting. If you frost them while they’re warm, the frosting will melt into a sad puddle.
- Piping bag and star tip (like Wilton 1M): For a pretty, bakery-style swirl. If you don’t have a piping bag, a zip-top bag with the corner snipped off works perfectly fine.
- Sharp knife: For cutting the heart shapes. A small paring knife is ideal.
Preparation Method
Alright, let’s get to the fun part. Follow these steps, and you’ll have a batch of gorgeous, delicious homemade red velvet heart-shaped cupcakes in no time.
- Preheat and Prep: Preheat your oven to 350°F (175°C). Line your muffin tin with 12 paper liners. This is a small step that makes a big difference—no stuck cupcakes!
- Mix Dry Ingredients: In a medium bowl, whisk together the flour, sugar, cocoa powder, baking soda, and salt. Make sure everything is evenly distributed. This takes about 30 seconds.
- Combine Wet Ingredients: In a large bowl, whisk together the buttermilk, vegetable oil, egg, white vinegar, and vanilla extract until smooth. The mixture will look a little separated at first, but keep whisking until it comes together.
- Add the Color: Stir in the red food coloring until the wet mixture is a uniform, vibrant red. Don’t be shy with it—the color will mellow out a bit during baking.
- Combine Wet and Dry: Pour the dry ingredients into the wet ingredients. Use a rubber spatula to fold them together gently. Mix just until you no longer see streaks of flour. A few small lumps are okay. Overmixing will make the cupcakes tough.
- Fill the Liners: Divide the batter evenly among the 12 liners. I use a cookie scoop or a ¼-cup measure for this. Each liner should be about ⅔ full. Don’t overfill, or they’ll spill over the edges.
- Bake: Place the muffin tin in the preheated oven and bake for 18-20 minutes. The cupcakes are done when a toothpick inserted into the center comes out clean or with a few moist crumbs. The tops should spring back lightly when touched.
- Cool Completely: Let the cupcakes cool in the pan for 5 minutes, then transfer them to a wire rack to cool completely. This is crucial. If you try to cut them or frost them while they’re warm, everything will fall apart. I mean it. Let them cool for at least 30 minutes.
- Make the Frosting: While the cupcakes cool, make the cream cheese frosting. In a large bowl, beat the softened cream cheese and butter together with an electric mixer until smooth and creamy, about 2 minutes. Add the vanilla and salt, then gradually beat in the powdered sugar, one cup at a time, until the frosting is light, fluffy, and spreadable. If it’s too thick, add a teaspoon of milk. If it’s too thin, add a bit more powdered sugar.
- Cut the Hearts: Once the cupcakes are completely cool, it’s time for the heart shape. Take each cupcake and use a sharp knife to cut a “V” shape out of the top edge. You’re essentially cutting two angled lines that meet at a point in the center of the cupcake. Discard the small triangle of cake you cut out. Now, take the two cut edges and gently press them together at the top to form the top of the heart. The bottom of the cupcake forms the bottom point. It’s a little tricky the first time, but you’ll get the hang of it. Don’t worry if they’re not perfect—the frosting covers a multitude of sins!
- Frost and Decorate: Fit a piping bag with a star tip and fill it with the cream cheese frosting. Pipe a generous swirl onto each heart-shaped cupcake, starting from the outside and working your way in. Finish with a sprinkle of red sanding sugar or a fresh raspberry on top.
Cooking Tips & Techniques
I’ve made these homemade red velvet heart-shaped cupcakes more times than I can count, and I’ve learned a few things along the way. Here are my best tips for success.
Don’t Overmix the Batter. This is the number one mistake I see. Red velvet cake is delicate, and overworking the gluten will give you tough, dense cupcakes. Mix just until the flour disappears. A few lumps are totally fine.
Room Temperature Ingredients Matter. I know it’s tempting to use cold eggs and buttermilk straight from the fridge, but taking the time to let them come to room temperature (about 30 minutes) makes a huge difference. Room temperature ingredients emulsify better, creating a smoother batter and a more tender crumb.
Use Gel Food Coloring for a Deeper Red. Liquid food coloring works, but it can thin out your batter. Gel coloring is more concentrated, so you get a richer, more vibrant red without altering the consistency. I learned this the hard way after a batch of sad, pinkish cupcakes.
Patience with the Cooling. I cannot stress this enough. Let those cupcakes cool completely before you even think about cutting them or frosting them. I once rushed it, and the frosting melted into a greasy mess, and the heart shapes crumbled in my hands. Learn from my mistakes.
Chill the Frosting if Needed. Cream cheese frosting can be a little soft, especially in warm weather. If your frosting seems too runny to pipe, pop it in the fridge for 15-20 minutes to firm up. It will hold its shape much better.
Variations & Adaptations
One of the best things about this recipe is how easy it is to adapt. Here are a few ways to make it your own.
Dairy-Free Version: Use a dairy-free butter substitute and a dairy-free cream cheese alternative (like Kite Hill or Tofutti). For the buttermilk, add 1 ½ teaspoons of lemon juice to ½ cup of unsweetened almond or oat milk and let it sit for 5 minutes. The texture will be slightly different, but it still works beautifully.
Gluten-Free Option: Swap the all-purpose flour for a 1:1 gluten-free baking blend that contains xanthan gum. I’ve had good luck with King Arthur Measure for Measure. Don’t overmix the batter, and let the cupcakes cool completely before handling, as gluten-free baked goods can be a bit more fragile.
Different Frosting: If you’re not a cream cheese fan (are there people like that?), a classic vanilla buttercream or a rich chocolate ganache frosting would be amazing on these. The tangy cream cheese is the classic pairing, but don’t let that stop you.
Mini Cupcakes: For a party, make these as mini cupcakes! Use a mini muffin tin and bake for 10-12 minutes instead. You’ll get about 24-30 mini hearts. They’re perfect for snacking.
Chocolate Red Velvet: For a more intense chocolate flavor, increase the cocoa powder to 2 tablespoons. The color will be a darker red, almost a burgundy, but the chocolate flavor will be more pronounced.
Serving & Storage Suggestions
These homemade red velvet heart-shaped cupcakes are best served at room temperature. The cream cheese frosting softens up nicely, and the cake is at its most tender. They’re perfect for a Valentine’s Day dessert table, a birthday party, or just a special weekend treat.
For a beautiful presentation, arrange them on a cake stand or a large platter. I like to scatter a few fresh raspberries or strawberries around the base for a pop of color. They pair wonderfully with a glass of cold milk, a hot cup of coffee, or a tall glass of iced tea.
Storage: Store any leftover cupcakes in an airtight container in the refrigerator for up to 4 days. Because of the cream cheese frosting, they need to be kept cold. Let them sit at room temperature for about 15 minutes before serving to take the chill off.
Freezing: You can freeze the unfrosted cupcakes for up to 3 months. Wrap them individually in plastic wrap, then place them in a freezer-safe bag. Thaw them at room temperature, then frost and decorate as usual. The frosting itself doesn’t freeze well, so always make that fresh.
One thing I love about this recipe is that the flavors actually get better after a day in the fridge. The cake becomes even more moist and the tang from the buttermilk and cream cheese melds together beautifully. They’re almost better on day two.
Nutritional Information & Benefits
Let’s be real—these are a treat, not a health food. But if you’re going to indulge, you might as well know what you’re getting into. Here’s an approximate nutritional breakdown for one frosted cupcake.
| Nutrient | Amount per Cupcake |
|---|---|
| Calories | 385 |
| Fat | 22g |
| Saturated Fat | 10g |
| Carbohydrates | 45g |
| Sugar | 34g |
| Protein | 4g |
| Sodium | 280mg |
On the bright side, the cocoa powder contains antioxidants called flavonoids, which are good for heart health. The cream cheese provides a small amount of calcium and protein. But honestly, the biggest benefit here is the joy of sharing something homemade and delicious with the people you love. That’s good for the soul.
Dietary Considerations: This recipe contains gluten, dairy, and eggs. For a gluten-free or dairy-free version, see the variations section above.
Conclusion
These homemade red velvet heart-shaped cupcakes are more than just a pretty dessert. They’re a little bit of magic you can create in your own kitchen, using simple ingredients and a little bit of love. They’ve won over skeptics, made celebrations feel special, and become a tradition in my house. I hope they become one in yours, too.
I’d love to hear how they turn out for you! Did you try a different frosting? Did your kids help cut the hearts? Drop a comment below and let me know. And if you share a photo on Pinterest or Instagram, tag me so I can see your beautiful creations. Happy baking, friend!
Frequently Asked Questions
Can I make these cupcakes without a heart shape?
Absolutely! If you don’t want to bother with cutting the hearts, you can just bake the batter in standard cupcake liners and frost them as usual. They’ll still taste amazing. The heart shape is just a fun, festive bonus.
Why did my cupcakes come out dry?
Dry cupcakes are usually the result of overbaking or overmixing. Make sure you pull them out of the oven as soon as a toothpick comes out clean. Also, be gentle when mixing the batter—stop as soon as the flour is incorporated.
Can I use a different type of food coloring?
Yes, you can use natural food coloring made from beets or pomegranate powder. Keep in mind that natural colors are less vibrant and may result in a pinker, less intense red. Gel food coloring gives the most reliable, vivid color.
How do I get my cream cheese frosting to be stiff enough to pipe?
Make sure your cream cheese and butter are properly softened but not melted. If the frosting is too soft, pop it in the refrigerator for 15-20 minutes to firm up. You can also add a little more powdered sugar to thicken it.
Can I make the batter ahead of time?
I don’t recommend making the batter ahead of time, as the leavening agents (baking soda and vinegar) will start reacting immediately. For best results, bake the cupcakes right after making the batter. You can, however, bake the cupcakes a day ahead and store them unfrosted in an airtight container.
Pin This Recipe!
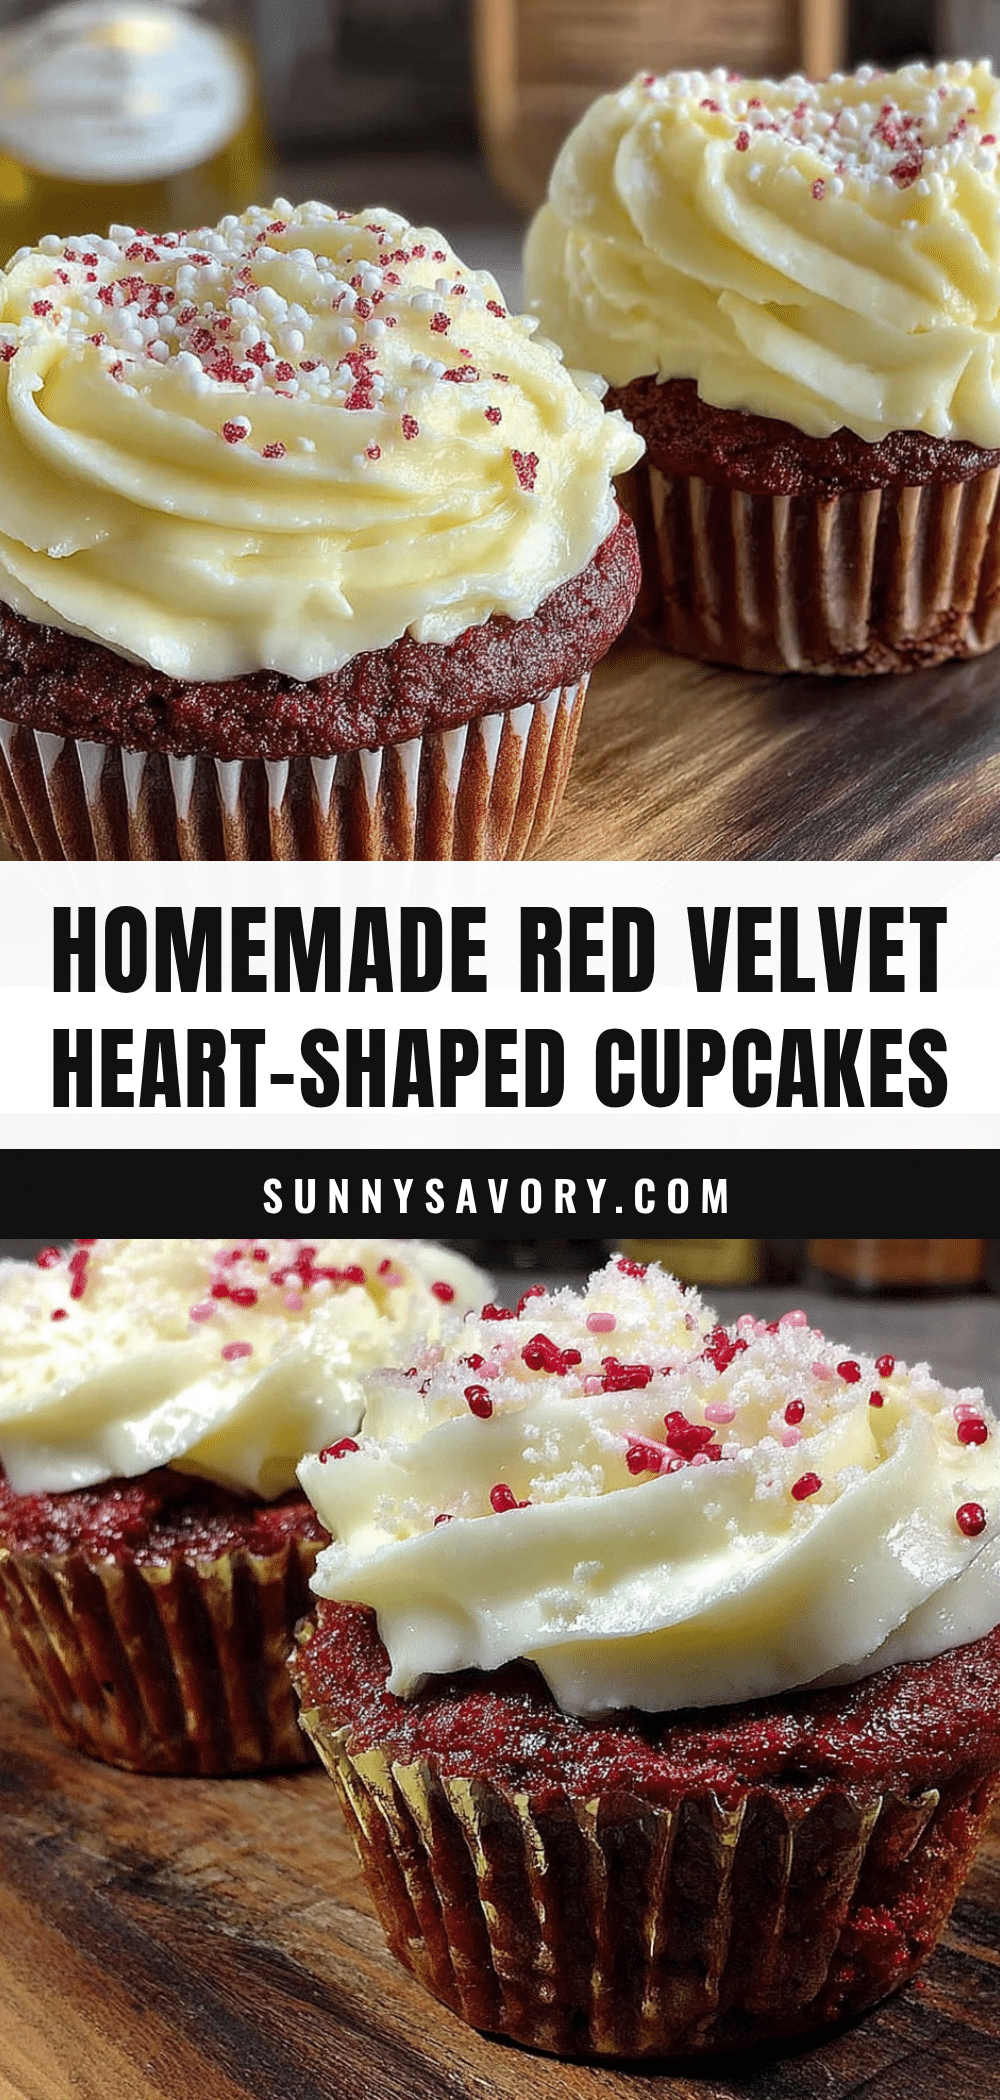
Best Homemade Red Velvet Heart-Shaped Cupcakes
These homemade red velvet heart-shaped cupcakes are incredibly soft and tender with a subtle tang from buttermilk and vinegar, topped with rich cream cheese frosting. They’re the perfect Valentine’s Day treat that even skeptics will love.
- Prep Time: 20 minutes
- Cook Time: 18-20 minutes
- Total Time: 1 hour 10 minutes
- Yield: 12 cupcakes 1x
- Category: Dessert
- Cuisine: American
Ingredients
- 1 ½ cups (190g) all-purpose flour
- 1 cup (200g) granulated sugar
- 1 tablespoon unsweetened cocoa powder
- 1 teaspoon baking soda
- ½ teaspoon salt
- ½ cup (120ml) buttermilk, room temperature
- ½ cup (120ml) vegetable oil
- 1 large egg, room temperature
- 1 teaspoon white vinegar
- 1 teaspoon vanilla extract
- 1 tablespoon red food coloring (or 1 ½ tablespoons gel)
- 8 ounces (226g) cream cheese, softened
- ½ cup (113g) unsalted butter, softened
- 3 cups (360g) powdered sugar
- 1 teaspoon vanilla extract
- Pinch of salt
- Red sprinkles or sanding sugar (optional)
- Fresh raspberries or strawberries (optional)
Instructions
- Preheat your oven to 350°F (175°C). Line your muffin tin with 12 paper liners.
- In a medium bowl, whisk together the flour, sugar, cocoa powder, baking soda, and salt.
- In a large bowl, whisk together the buttermilk, vegetable oil, egg, white vinegar, and vanilla extract until smooth.
- Stir in the red food coloring until the wet mixture is a uniform, vibrant red.
- Pour the dry ingredients into the wet ingredients. Use a rubber spatula to fold them together gently. Mix just until you no longer see streaks of flour. A few small lumps are okay.
- Divide the batter evenly among the 12 liners, filling each about ⅔ full.
- Bake for 18-20 minutes, until a toothpick inserted into the center comes out clean or with a few moist crumbs.
- Let the cupcakes cool in the pan for 5 minutes, then transfer them to a wire rack to cool completely (at least 30 minutes).
- While the cupcakes cool, make the cream cheese frosting: In a large bowl, beat the softened cream cheese and butter together with an electric mixer until smooth and creamy, about 2 minutes. Add the vanilla and salt, then gradually beat in the powdered sugar, one cup at a time, until the frosting is light, fluffy, and spreadable.
- Once the cupcakes are completely cool, use a sharp knife to cut a ‘V’ shape out of the top edge of each cupcake. Discard the small triangle of cake. Gently press the two cut edges together at the top to form the top of the heart.
- Fit a piping bag with a star tip and fill it with the cream cheese frosting. Pipe a generous swirl onto each heart-shaped cupcake. Finish with a sprinkle of red sanding sugar or a fresh raspberry on top.
Notes
Don’t overmix the batter to avoid tough cupcakes. Use room temperature ingredients for best results. Gel food coloring gives a more vibrant red. Let cupcakes cool completely before cutting and frosting. If frosting is too soft, chill for 15-20 minutes before piping.
Nutrition
- Serving Size: 1 cupcake
- Calories: 385
- Sugar: 34
- Sodium: 280
- Fat: 22
- Saturated Fat: 10
- Carbohydrates: 45
- Protein: 4
Keywords: red velvet cupcakes, heart-shaped cupcakes, Valentine's Day cupcakes, cream cheese frosting, homemade cupcakes



