Love this? Save it for later!
Share the inspiration with your friends
I was standing in the baking aisle of our local grocery store last December, squinting at a display of candy canes, when the sharp, cool smell of peppermint hit me — and suddenly I was seven years old, wedged between my Aunt Carol and her Formica kitchen counter. She was crushing candy canes with a wooden rolling pin, the plastic bag crackling with each thwack, and I was supposed to be handing her the cream cheese. Instead, I was just staring at the pink and white dust settling on the counter, mesmerized. She passed me a finger dipped in it, and that first cold-sweet shock on my tongue is still the taste of Christmas to me.
Honestly, I forgot about that moment for years. But last Christmas, I was hosting our family dinner for the first time — twelve people, a tiny apartment, and a kitchen that felt like a phone booth. I needed a dessert that wouldn’t require oven space (the roast had that locked down), that I could make ahead, and that would make everyone stop talking mid-bite. I started scrolling for no-bake cheesecake recipes, and there it was: that memory, that peppermint smell, Aunt Carol’s cracked rolling pin.
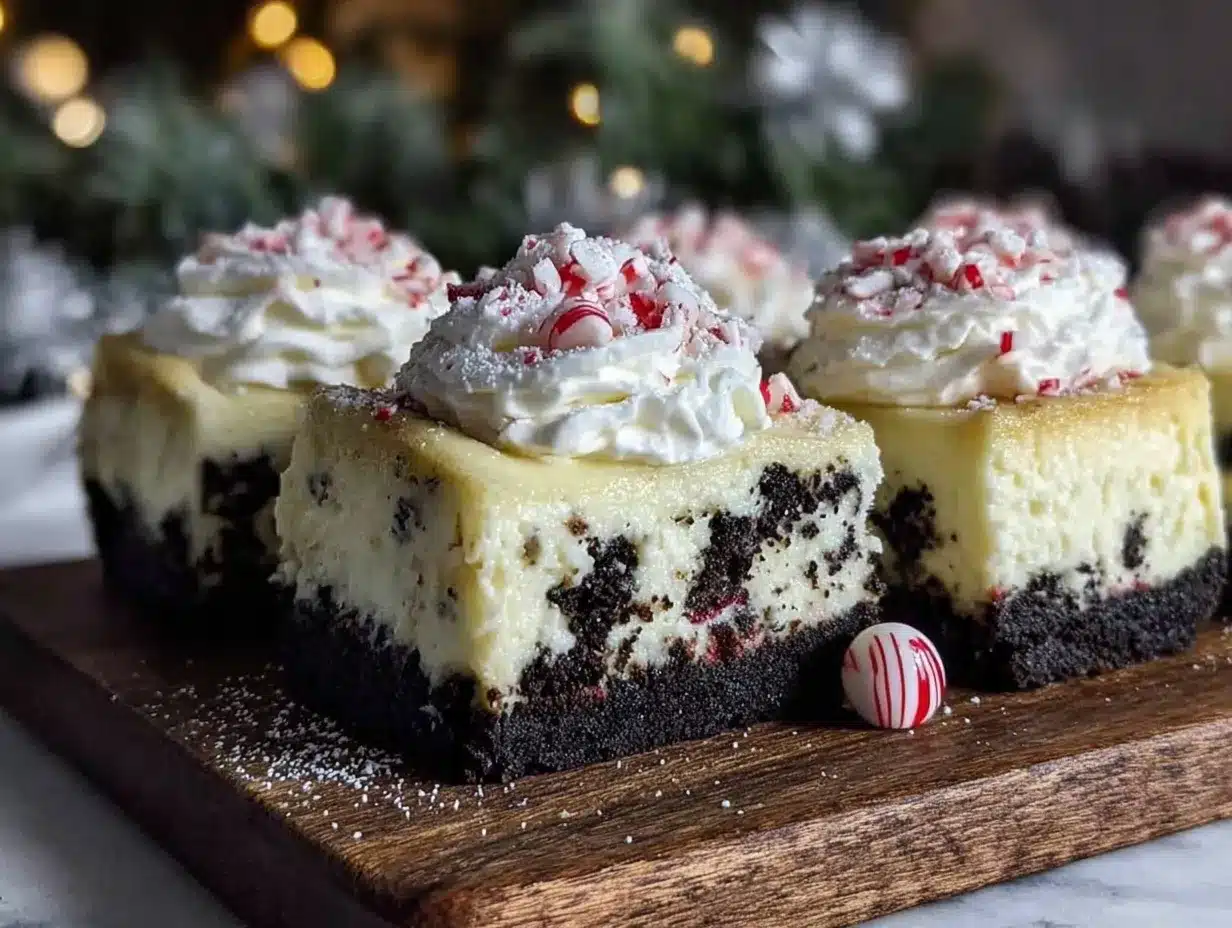
These no-bake peppermint cheesecake bars are my attempt to bottle that feeling. They’re creamy, they’s cold, they’ve got that perfect crunch of crushed candy cane on top, and they don’t require turning on the oven. Maybe you’ve been there — juggling a holiday menu, trying to impress everyone, and running out of both time and stove space. These bars are your answer. They’re the dessert you make the night before, pull out of the fridge when everyone’s already full, and watch disappear anyway. That first bite? It’s the one that makes you close your eyes.
Why You’ll Love This Recipe
Let me tell you why these bars have become my holiday secret weapon. I’ve tested this recipe six times — yes, six — to get the texture just right. Not too dense, not too airy, with a crust that holds together without being a brick. Here’s what makes them special:
- No-Bake & Stress-Free: No oven needed. No water baths, no cracking, no timing drama. Just a fridge and a little patience.
- Make-Ahead Magic: These bars need at least 6 hours to set, which means you make them the day before. One less thing to panic about on party day.
- Crowd-Pleaser Guaranteed: I’ve served these at three different holiday gatherings now, and every single time, someone asks for the recipe. They look fancy but taste like childhood.
- Simple Ingredients: Cream cheese, heavy cream, peppermint extract, and a few pantry staples. No weird stuff you’ll never use again.
- Perfect for Hosting: You can scale this for a crowd easily. Double the recipe and use a 9×13 pan. Your guests will think you spent hours on it.
What makes these bars different from every other no-bake cheesecake out there? It’s the texture. I use a trick I learned from a pastry chef friend — folding in stabilized whipped cream so the filling stays light and mousse-like, not heavy or gelatinous. The crust is a buttery cookie base that actually stays crunchy, not soggy. And the peppermint? It’s not that fake, toothpaste flavor. It’s cool and bright, balanced by the richness of the cream cheese. This isn’t just another holiday dessert. It’s the one that makes you close your eyes after the first bite.
What Ingredients You Will Need
This recipe uses simple, honest ingredients that come together to create something that tastes like you spent all day in the kitchen. Here’s what you’ll need to grab:
For the Crust
- 2 cups (200g) chocolate sandwich cookie crumbs — I use Oreos, cream filling included. About 20 cookies. (You can crush them in a bag with a rolling pin or use a food processor.)
- 5 tablespoons (70g) unsalted butter, melted — Salted butter works too, just skip the added salt. I prefer Kerrygold for the richness.
- 1 tablespoon (12g) granulated sugar — Just a touch to help the crust hold together.
For the Peppermint Cheesecake Filling
- 16 oz (450g) full-fat cream cheese, softened — Philadelphia is my go-to. Don’t use low-fat; the texture won’t be as creamy and it may not set properly.
- 1/2 cup (100g) granulated sugar — Regular white sugar dissolves best here.
- 1 teaspoon (5ml) peppermint extract — Look for pure peppermint extract, not peppermint oil. The oil is too concentrated and can taste medicinal. I like Nielsen-Massey.
- 1/2 teaspoon vanilla extract — Just to round out the flavor.
- 1 1/4 cups (300ml) heavy whipping cream, cold — This is what gives the filling that light, mousse-like texture. Make sure it’s very cold.
- 1/4 cup (30g) powdered sugar — For stabilizing the whipped cream.
For the Topping
- 1/2 cup (about 6-8) crushed candy canes or peppermint candies — Crush them yourself for the best texture. The pre-crushed ones can be too fine.
- Optional: 1/4 cup (60ml) melted white chocolate or dark chocolate for drizzling — Adds a fancy touch and extra sweetness.
Substitution Tips: For a gluten-free version, use gluten-free chocolate sandwich cookies for the crust. For a dairy-free option, use dairy-free cream cheese (like Kite Hill) and coconut cream instead of heavy cream — just note the texture will be slightly different. You can also swap the peppermint extract for mint extract if that’s what you have, but peppermint has that classic holiday punch.
Equipment Needed
You don’t need a fancy kitchen to pull these off. Here’s what you’ll actually use:
- 8×8-inch baking pan — Glass or metal works. If you’re doubling the recipe, use a 9×13-inch pan.
- Parchment paper — For lining the pan so the bars lift out cleanly. Don’t skip this.
- Mixing bowls — One large, one medium.
- Electric hand mixer or stand mixer — You can whip the cream by hand with a whisk, but your arm will hate you. A mixer makes it easy.
- Rolling pin or food processor — For crushing the cookies and candy canes. A ziplock bag and a rolling pin is the low-tech method that works perfectly.
- Spatula — For smoothing the filling.
- Measuring cups and spoons — Precision matters here, especially with the peppermint extract.
Budget Tip: Don’t have an electric mixer? You can whip the cream in a mason jar by shaking it vigorously for about 5 minutes. It works — I’ve done it in a pinch. Also, a sturdy drinking glass works as a rolling pin in a bind.
Preparation Method
Here’s the step-by-step. Take your time, and trust the process.
- Prep the pan. Line your 8×8-inch pan with parchment paper, leaving an overhang on two opposite sides. This creates handles so you can lift the bars out later. Set aside.
- Make the crust. In a medium bowl, combine the cookie crumbs and sugar. Pour in the melted butter and stir with a fork until every crumb is moistened. It should look like wet sand. Dump the mixture into the prepared pan and press it down firmly using the bottom of a glass or a measuring cup. Press hard — a loose crust will fall apart when you cut the bars. Place the pan in the refrigerator while you make the filling.
- Whip the cream. In a large chilled bowl (pop it in the freezer for 10 minutes if you remember), pour the cold heavy cream and powdered sugar. Using an electric mixer on medium-high speed, whip until stiff peaks form. This takes about 3-4 minutes. You’re looking for peaks that stand up straight when you lift the beaters. Be careful not to over-whip, or you’ll end up with butter. Set the bowl aside.
- Make the cheesecake base. In another large bowl, beat the softened cream cheese with the granulated sugar until smooth and creamy — about 2 minutes. Scrape down the sides of the bowl. Add the peppermint extract and vanilla extract, and beat until combined. Taste it here. The filling should taste slightly stronger than you want the final product to be, because the crust and topping will balance it out.
- Fold it together. Take a big spoonful of the whipped cream and stir it into the cream cheese mixture to lighten it up. Then, gently fold in the remaining whipped cream using a spatula. Use a slow, sweeping motion — cut through the center, scrape the bottom, and fold over. Stop as soon as you don’t see white streaks. Over-mixing will deflate the cream and make the bars dense.
- Assemble. Spoon the filling over the chilled crust and spread it evenly with your spatula. Give the pan a few gentle taps on the counter to release air bubbles. Smooth the top as best you can.
- Chill. Cover the pan with plastic wrap and refrigerate for at least 6 hours, but overnight is better. I know it’s hard to wait, but the bars need this time to set properly. If you cut them too soon, they’ll be a mess.
- Add the topping. Just before serving, sprinkle the crushed candy canes evenly over the top. If you’re using melted chocolate, drizzle it over the candy canes using a fork or a small piping bag. Let the chocolate set for about 10 minutes.
- Slice and serve. Use the parchment paper handles to lift the entire block out of the pan. Place it on a cutting board. Use a sharp knife, wiping it clean between each cut, to slice into 9 or 16 bars. For cleanest cuts, dip the knife in hot water and dry it before each slice.
Cooking Tips & Techniques
I learned most of these the hard way, so you don’t have to.
- Room temperature cream cheese is non-negotiable. I forgot to take mine out once and tried to microwave it. It got lumpy, and the filling never got smooth. Take the cream cheese out of the fridge at least an hour before you start. Cut it into cubes to speed things up.
- Don’t skip the powdered sugar in the whipped cream. It’s not just for sweetness — the cornstarch in powdered sugar stabilizes the cream so it doesn’t deflate while you’re folding. Granulated sugar will make the cream weep over time.
- Crush the candy canes fresh. I made the mistake of crushing them the night before, and by morning they’d absorbed moisture from the air and turned into a sticky, clumpy mess. Crush them right before you’re ready to top the bars.
- Use a hot knife for clean slices. Run your knife under hot water, dry it, then cut. Wipe and repeat between each slice. This gives you those gorgeous, Instagram-worthy edges.
- If your filling is too soft to spread, pop it in the fridge for 15 minutes. It’ll firm up enough to work with.
Variations & Adaptations
Once you’ve mastered the base recipe, here are some fun twists to try:
- Chocolate Mint Version: Swap the chocolate cookie crust for a vanilla wafer crust, and fold 1/2 cup of mini chocolate chips into the filling. Use mint extract instead of peppermint for a different vibe.
- Vegan & Dairy-Free: Use dairy-free cream cheese (I’ve had good luck with Violife), and replace the heavy cream with full-fat coconut cream. The coconut flavor is subtle and actually pairs nicely with peppermint. Use a vegan butter for the crust.
- Cookie Butter Swirl: Warm up 1/4 cup of cookie butter (like Biscoff) until it’s drizzle-able. After spreading the filling, dollop the cookie butter on top and swirl it with a knife. It adds a caramel-like depth that’s incredible.
- Peppermint Mocha Bars: Dissolve 1 teaspoon of instant espresso powder in the peppermint extract before adding it to the filling. The coffee flavor makes the chocolate crust sing.
- Gluten-Free Option: Use gluten-free chocolate sandwich cookies for the crust. Everything else in the recipe is naturally gluten-free, but always check your peppermint extract and candy canes.
I tried the cookie butter swirl variation last month for a friend’s birthday, and honestly, it might be my new favorite. Something about that warm, spiced sweetness against the cool peppermint is just perfect.
Serving & Storage Suggestions
These bars are best served cold, straight from the fridge. The texture is firm but creamy, and the cold temperature really makes the peppermint flavor pop. Here’s how to serve them like a pro:
- Presentation: Arrange the bars on a white platter for maximum contrast. Sprinkle a few extra crushed candy canes around the plate for a festive look. If you’re feeling extra, add a tiny sprig of rosemary or a few fresh cranberries on the side.
- What to Serve Alongside: These pair beautifully with a hot cup of coffee, a peppermint mocha, or even a glass of cold milk. For a dessert board, arrange them next to chocolate truffles, shortbread cookies, and fresh berries.
- Storage: Store leftover bars in an airtight container in the refrigerator for up to 5 days. The candy cane topping will start to soften after about 24 hours, so if you’re making them ahead, add the topping just before serving.
- Freezing: These freeze beautifully. Freeze the entire block (without the candy cane topping) on a baking sheet until firm, then wrap tightly in plastic wrap and foil. Freeze for up to 3 months. Thaw in the refrigerator overnight, then add the topping before serving.
- Flavor Development: Honestly, these bars taste even better on day two. The flavors meld together, and the texture becomes even creamier. If you can wait, make them two days ahead.
Nutritional Information & Benefits
Let’s be real — these are a treat, not a health food. But here’s what you should know:
- Estimated per bar (based on 9 servings): Approximately 420 calories, 28g fat, 38g carbohydrates, 6g protein, 24g sugar.
- Peppermint Benefits: Peppermint is known for its digestive properties. A little peppermint after a heavy holiday meal can actually help settle your stomach. So there’s that.
- Dairy Considerations: This recipe is high in dairy. If you’re lactose intolerant, use lactose-free cream cheese and cream — they work just as well.
- Portion Control: These are rich. I usually cut them into 16 smaller bars for a party, which brings the calories down to about 210 each. People can always come back for seconds.
- Mindful Indulgence: I believe in enjoying the holidays without guilt. One of these bars with a cup of coffee is a moment of pure joy. That matters.
Conclusion
These no-bake peppermint cheesecake bars are the dessert I reach for every single holiday season. They’re the ones that let me actually enjoy my own party — because I made them the night before, they don’t need last-minute fussing, and they make people smile in a way that feels genuine. That first cold, creamy bite with the crunch of candy cane? It takes me right back to Aunt Carol’s kitchen, and I hope it creates a little moment of magic for you too.
I’d love to hear how yours turn out. Did you try a variation? Did your guests fight over the last piece? Drop a comment below and let me know — and don’t forget to pin this recipe for later. Here’s to stress-free hosting and desserts that steal the show.
Frequently Asked Questions
Can I use low-fat cream cheese?
I don’t recommend it. Low-fat cream cheese has a higher water content, which can make the filling runny and prevent it from setting properly. Full-fat is the way to go for that rich, creamy texture.
How long do these bars need to set?
At least 6 hours in the refrigerator, but overnight is best. The longer they set, the cleaner your slices will be. Don’t rush this step — I know it’s tempting, but patience pays off.
Can I use peppermint oil instead of extract?
Be very careful here. Peppermint oil is much more concentrated than extract. If you use it, you only need 1-2 drops, not a full teaspoon. Too much will taste like toothpaste. Stick with extract for the most reliable results.
Why did my crust fall apart when I cut the bars?
This usually happens if you didn’t press the crust firmly enough into the pan. Use the bottom of a flat glass or measuring cup and really lean into it. Also, make sure the crust is thoroughly chilled before adding the filling.
Can I make these without an electric mixer?
Absolutely. You can whip the cream by hand with a whisk — it’ll take about 5-8 minutes of vigorous arm work. Or use the mason jar shaking method I mentioned earlier. For the cream cheese, just make sure it’s very soft and beat it with a wooden spoon until smooth.
Pin This Recipe!
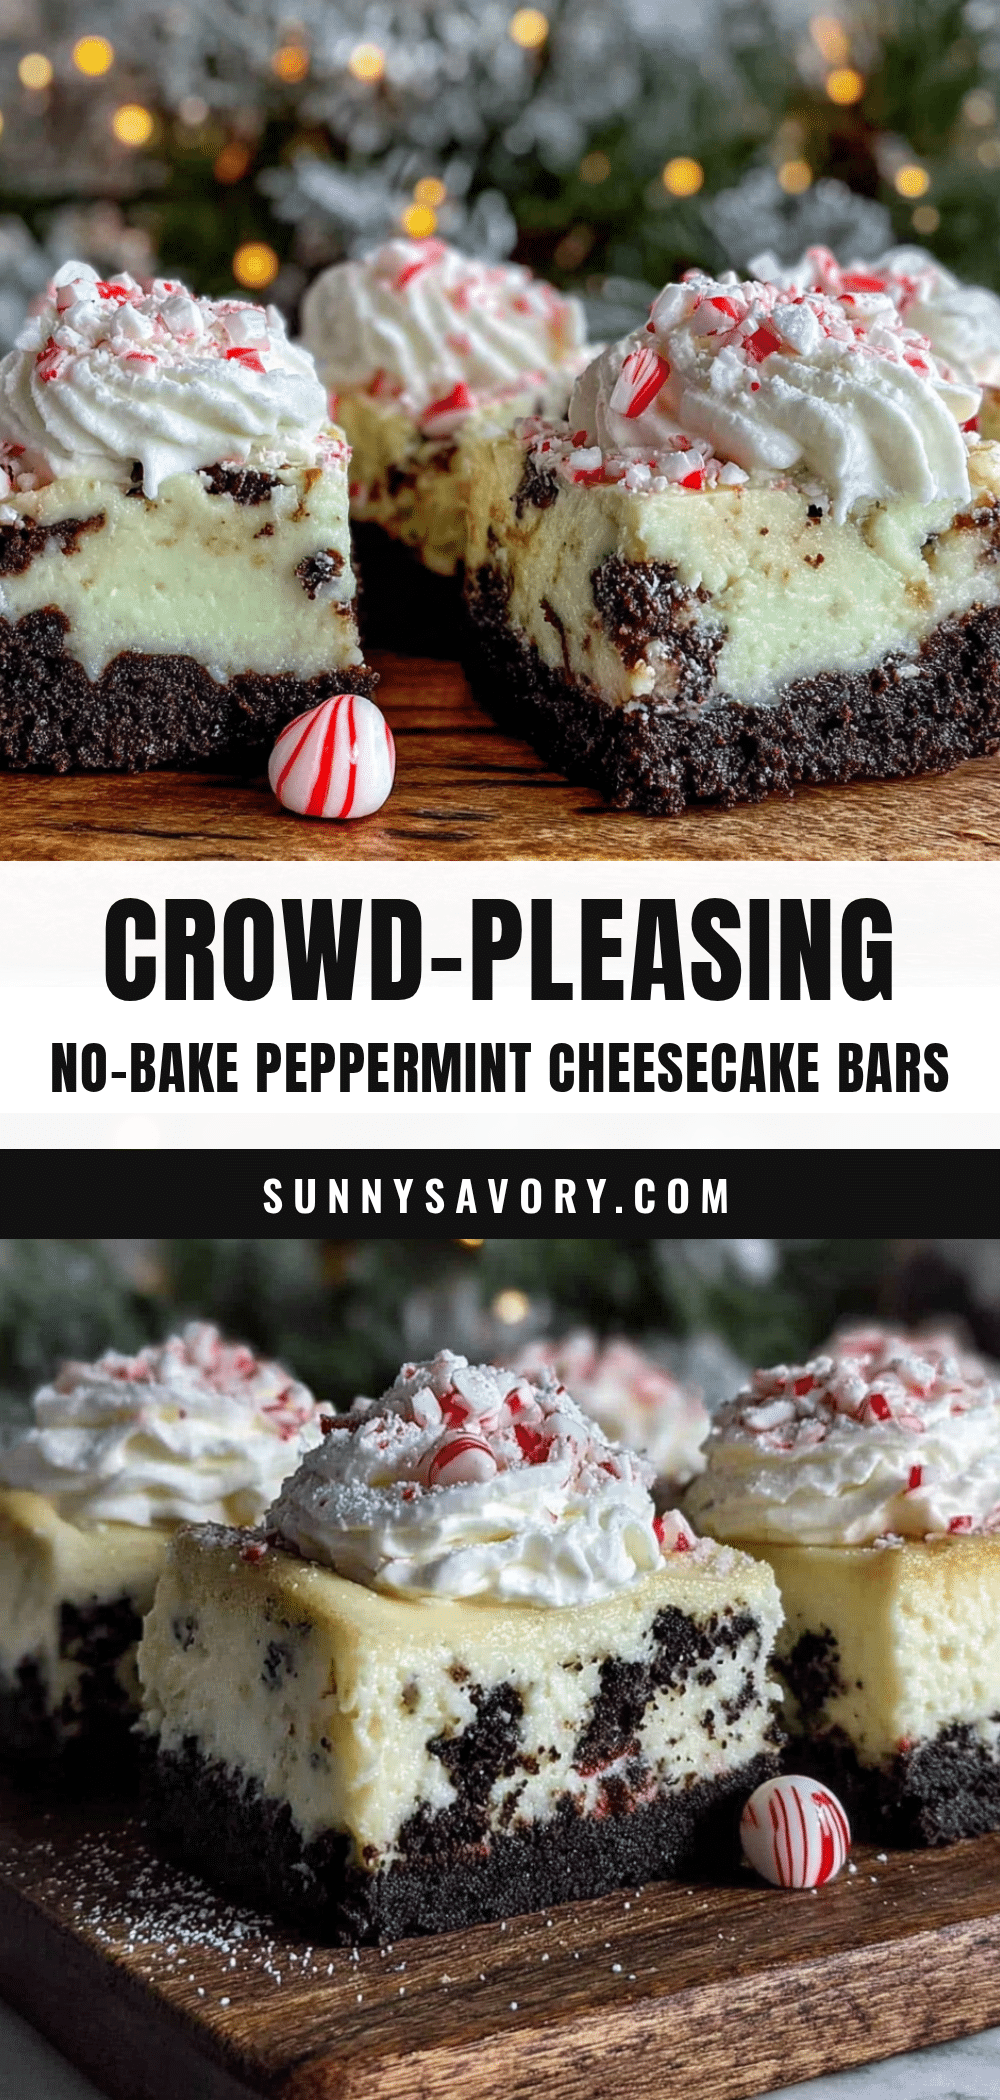
Best No-Bake Peppermint Cheesecake Bars – Easy Holiday Dessert

These no-bake peppermint cheesecake bars are creamy, cold, and topped with crunchy candy cane pieces. They require no oven, can be made ahead, and are perfect for holiday gatherings.
- Prep Time: 20 minutes
- Cook Time: 0 minutes
- Total Time: 6 hours 20 minutes (includes chilling)
- Yield: 9 servings 1x
- Category: Dessert
- Cuisine: American
Ingredients
- 2 cups (200g) chocolate sandwich cookie crumbs (about 20 Oreos)
- 5 tablespoons (70g) unsalted butter, melted
- 1 tablespoon (12g) granulated sugar
- 16 oz (450g) full-fat cream cheese, softened
- 1/2 cup (100g) granulated sugar
- 1 teaspoon (5ml) peppermint extract
- 1/2 teaspoon vanilla extract
- 1 1/4 cups (300ml) heavy whipping cream, cold
- 1/4 cup (30g) powdered sugar
- 1/2 cup (about 6-8) crushed candy canes or peppermint candies
- Optional: 1/4 cup (60ml) melted white chocolate or dark chocolate for drizzling
Instructions
- Line an 8×8-inch pan with parchment paper, leaving overhang on two opposite sides.
- In a medium bowl, combine cookie crumbs and 1 tablespoon sugar. Pour in melted butter and stir until moistened. Press firmly into the prepared pan. Refrigerate while making filling.
- In a large chilled bowl, whip cold heavy cream and powdered sugar with an electric mixer on medium-high until stiff peaks form, about 3-4 minutes. Set aside.
- In another large bowl, beat softened cream cheese and 1/2 cup granulated sugar until smooth, about 2 minutes. Add peppermint extract and vanilla extract; beat until combined.
- Fold a spoonful of whipped cream into the cream cheese mixture to lighten, then gently fold in the remaining whipped cream until no white streaks remain.
- Spoon filling over chilled crust and spread evenly. Tap pan gently to release air bubbles.
- Cover with plastic wrap and refrigerate for at least 6 hours, preferably overnight.
- Just before serving, sprinkle crushed candy canes evenly over the top. Drizzle with melted chocolate if desired. Let chocolate set for 10 minutes.
- Use parchment handles to lift the block out of the pan. Slice into 9 or 16 bars using a sharp knife, wiping clean between cuts.
Notes
Use full-fat cream cheese for best texture. Crush candy canes fresh just before serving to avoid stickiness. For clean slices, dip knife in hot water and dry between cuts. Bars can be frozen without topping for up to 3 months.
Nutrition
- Serving Size: 1 bar (based on 9 se
- Calories: 420
- Sugar: 24
- Sodium: 280
- Fat: 28
- Saturated Fat: 16
- Carbohydrates: 38
- Fiber: 1
- Protein: 6
Keywords: no-bake cheesecake, peppermint cheesecake bars, holiday dessert, easy dessert, make-ahead dessert



