Love this? Save it for later!
Share the inspiration with your friends
The church potluck was in four hours and I’d completely forgotten. My husband reminded me while I was mid-argument with a stuck jar lid, and I felt that familiar cold panic wash over me. Everyone else would be bringing their famous baked ziti, their grandmother’s seven-layer dip, those little meatballs that take all day to simmer. I had a pound of ground beef thawing on the counter, a half-used bag of rice, and about thirty bucks left in the weekly grocery budget. Honestly, I almost just grabbed a bag of frozen meatballs from the back of the freezer and called it a day. But then I remembered this skillet dinner my mom used to throw together on Tuesday nights when money was tight and time was tighter. I grabbed that old cast iron skillet, and let me tell you, I was not expecting what happened next.
I browned the beef, tossed in whatever vegetables were lurking in the crisper drawer, and stirred in some rice with a can of diced tomatoes. I seasoned it by instinct, tasting as I went, because there was no time for a recipe. The whole thing came together in one pan, and I actually burned my tongue testing it because I was rushing so badly. I showed up to that potluck with my hair still damp from a rushed shower, carrying that skillet wrapped in a dish towel. And you know that feeling when you’re the underdog and you know it? That was me. But then people started going back for seconds. And then someone asked for the recipe. And then my friend Sarah, who always brings those fancy stuffed mushrooms, looked at me and said, “Okay, this is the best thing here.” I just laughed. I mean, it was ground beef and rice. But somehow, it was more than that. It was that one-pan wonder that saved my week, and honestly, it’s been a regular on our table ever since. Maybe you’ve been in that same spot — staring at a bare fridge and a hungry family, wondering what on earth to make.
Why You’ll Love This Budget-Friendly Ground Beef and Rice Skillet Dinner
This isn’t just another weeknight dinner. This is the recipe that gets you out of a bind, fills everyone up, and makes you look like you actually planned it. After years of cooking for my own family and testing hundreds of skillet meals, I can tell you this one stands out for a few very specific reasons.
- Quick & Easy: From start to finish, this meal is on the table in about 30 minutes. No complicated steps, no waiting around. Just browning, stirring, and simmering.
- Simple Ingredients: You probably have most of these things in your kitchen right now. Ground beef, rice, canned tomatoes, onions, garlic — these are pantry staples, not specialty items.
- Perfect for Busy Weeknights: This is the dinner you make on a Tuesday when everyone has homework and soccer practice and you just need something hot and satisfying.
- Crowd-Pleaser: My kids eat this without complaint. My husband asks for leftovers for lunch. Even picky eaters tend to go for it because it’s familiar and comforting.
- Unbelievably Delicious: The flavors meld together as it simmers, creating a savory, hearty dish that tastes like it took way more effort than it did. It’s comfort food at its most honest.
What makes this version different from the dozens of other ground beef and rice recipes out there? It’s the balance. The rice absorbs the tomato and beef juices perfectly, so it’s not mushy or dry. The seasoning is simple but punchy — garlic, onion, a little paprika, some dried herbs. And the one-pan method means every grain of rice gets infused with flavor. I’ve tried versions where you cook the rice separately, and honestly, it’s just not the same. This is the best version, and I’m not just saying that because it’s mine.
This recipe is the kind that makes you close your eyes after the first bite. It’s budget-friendly, family-approved, and it’s going to become a regular in your dinner rotation. I promise you that.
What Ingredients You Will Need
This recipe uses simple, wholesome ingredients to deliver big flavor without breaking the bank. Most of these are pantry staples, which is exactly what you want when you’re feeding a family on a budget. Here’s what you’ll need, along with a few notes from my own kitchen experience.
- 1 pound ground beef (80/20 is ideal): The 80/20 blend has enough fat to keep the meat juicy and flavorful without being greasy. If you use leaner beef, like 93/7, you might want to add a tablespoon of oil to the pan. I usually buy whatever is on sale and it works perfectly.
- 1 cup long-grain white rice, uncooked: I prefer long-grain rice because it stays fluffy and separate. Avoid instant rice here — it will turn to mush. Basmati or jasmine work great too, but adjust the liquid slightly if using jasmine. I’ve tested this with brown rice, and it needs about 15-20 extra minutes of simmering and an extra 1/4 cup of broth.
- 1 medium yellow onion, diced: Onion is the backbone of flavor here. Yellow onions are my go-to for savory dishes because they’re mellow and sweet when cooked. A white onion works too, but red onion can be a little sharp for this.
- 3 cloves garlic, minced: Fresh garlic makes a difference, but in a pinch, 1 teaspoon of garlic powder works. I keep a jar of pre-minced garlic in the fridge for busy nights.
- 1 can (14.5 oz) diced tomatoes, undrained: Fire-roasted diced tomatoes add a lovely smoky depth. Regular diced tomatoes are fine too. If you only have crushed tomatoes, that works, but reduce the broth by 1/4 cup to keep the right liquid ratio.
- 1 1/2 cups beef broth: Low-sodium broth gives you control over the salt level. Chicken broth works in a pinch, but beef broth adds a richer, meatier flavor. I use Better Than Bouillon paste — it’s economical and lasts forever.
- 1 teaspoon paprika: Smoked paprika adds a subtle warmth. Sweet paprika is fine too. I’ve used regular chili powder in a pinch and it was good, just different.
- 1 teaspoon dried oregano: Oregano pairs beautifully with the tomatoes and beef. Italian seasoning works as a substitute.
- 1/2 teaspoon salt, plus more to taste: I start with less and adjust at the end. Different broths have different sodium levels.
- 1/4 teaspoon black pepper: Freshly ground is best, but pre-ground works.
- 2 tablespoons olive oil or vegetable oil: For browning the beef and sautéing the aromatics. Use whatever neutral oil you have.
- Optional: 1 cup frozen peas or mixed vegetables: I add these at the end for color and nutrition. My kids actually like the peas, which feels like a small miracle.
- Optional: Fresh parsley or green onions for garnish: Makes it look pretty, but totally optional. I skip it half the time.
Equipment Needed
One of the best things about this recipe is that it doesn’t require fancy equipment. Here’s what you’ll need to get the job done.
- A large skillet or Dutch oven (12-inch with a lid): This is non-negotiable. You need a pan that’s wide enough to spread the rice in an even layer and deep enough to hold everything without spilling. A cast iron skillet works beautifully, but any heavy-bottomed pot with a tight-fitting lid will do. I’ve used my old non-stick skillet for years and it works fine.
- Wooden spoon or spatula: For breaking up the ground beef and stirring. A metal spatula can scratch non-stick pans, so wooden or silicone is safer.
- Measuring cups and spoons: For accuracy. I know some people eyeball it, but rice is finicky about liquid ratios, so measure carefully.
- Sharp knife and cutting board: For dicing the onion and mincing the garlic. A dull knife makes prep take twice as long.
- Can opener: For the diced tomatoes. A basic one works fine.
- Optional but helpful: Garlic press: If you hate mincing garlic, this saves time. I use mine on lazy nights.
If you don’t have a lid that fits your skillet, use a piece of aluminum foil crimped tightly around the edges. It’s not perfect, but it works in a pinch. I’ve done it more times than I’d like to admit.
Preparation Method
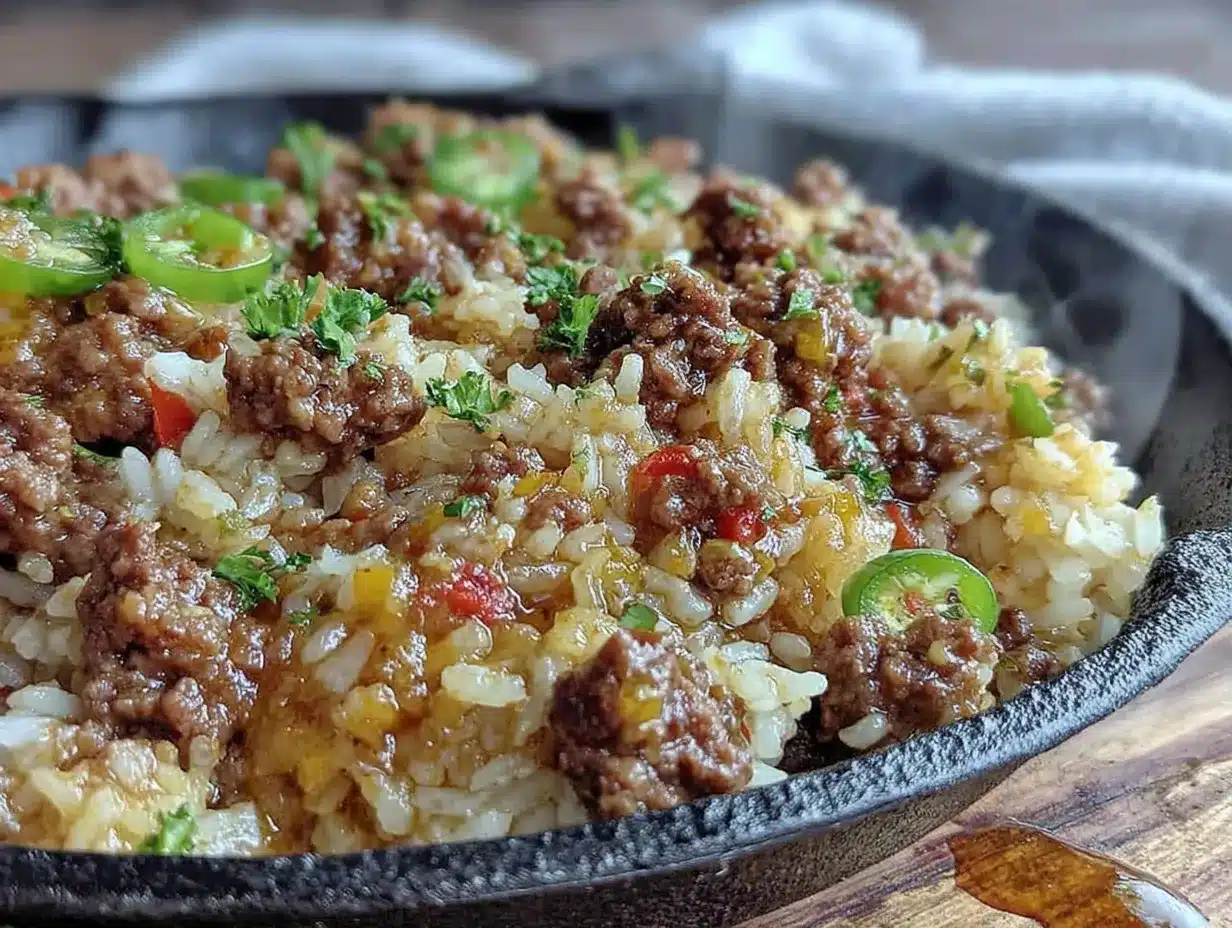
Let me walk you through this step by step. I’ve made this dozens of times, so I’ll share the little tricks I’ve picked up along the way.
- Prep your ingredients first. Dice the onion, mince the garlic, and measure out the rice, broth, and spices. Having everything ready makes the cooking process smooth and prevents that frantic “where’s the paprika?” moment. Trust me on this.
- Heat the oil in your large skillet over medium-high heat. You want the oil shimmering but not smoking. Add the ground beef and break it apart with your wooden spoon. Let it brown without stirring for about 3-4 minutes — this gives you those lovely caramelized bits that add so much flavor.
- Stir the beef and continue cooking until no longer pink. This usually takes another 3-4 minutes. If there’s a lot of excess fat, spoon most of it out, leaving about a tablespoon in the pan. Don’t drain it all — that fat carries flavor.
- Add the diced onion and cook for 3 minutes, stirring occasionally. The onion should soften and become translucent. If it starts to brown too fast, reduce the heat to medium. You want it tender, not crispy.
- Stir in the minced garlic, paprika, oregano, salt, and pepper. Cook for about 30 seconds until fragrant. Garlic burns quickly, so keep stirring. Your kitchen should smell amazing at this point.
- Pour in the undrained diced tomatoes and beef broth. Stir everything together, scraping up any browned bits from the bottom of the pan. That’s where the flavor lives.
- Add the uncooked rice and stir until evenly distributed. Make sure the rice is submerged in the liquid. Give it a good stir to prevent clumping.
- Bring the mixture to a boil. You’ll see bubbles breaking the surface. This is important — if it doesn’t come to a full boil, the rice won’t cook properly.
- Reduce the heat to low, cover the skillet with a tight-fitting lid, and simmer for 18-20 minutes. Do not lift the lid during this time. I know it’s tempting, but every time you lift that lid, steam escapes and the cooking time gets thrown off. Set a timer and walk away.
- After 18 minutes, check the rice. It should be tender and have absorbed most of the liquid. If it’s still a bit firm or there’s too much liquid, cover and cook for another 2-3 minutes. If it looks dry but the rice isn’t done, add 2 tablespoons of water and continue cooking.
- If using frozen peas or mixed vegetables, stir them in now. The residual heat will warm them through in about a minute. This adds color and a little nutrition boost.
- Remove the skillet from the heat and let it sit, covered, for 5 minutes. This resting time allows the rice to finish absorbing steam and the flavors to meld. I know you’re hungry, but this step matters.
- Fluff the rice gently with a fork. Taste and adjust seasoning if needed. Sometimes I add a pinch more salt or a crack of black pepper at this point.
- Garnish with fresh parsley or sliced green onions if you have them. Then serve it straight from the skillet — fewer dishes to wash!
A quick note: If your rice turns out a little sticky, it’s probably because you stirred it too much after it started simmering. Stirring releases starch, which makes rice gummy. Just fluff it gently and move on. It’ll still taste great.
Cooking Tips & Techniques
I’ve messed up this recipe more times than I’d like to admit, and I’ve learned something from every failure. Here are the tips I wish someone had told me sooner.
Don’t rush the browning. I used to stir the beef constantly because I was impatient. Let it sit in the pan for a few minutes before breaking it up. That browning, called the Maillard reaction, is where deep, savory flavor comes from. It’s not burnt — it’s delicious.
Measure your liquid carefully. Rice is particular about its liquid-to-rice ratio. Too much liquid and you get mushy rice. Too little and it’s crunchy. For long-grain white rice, 1 cup of rice needs about 1 3/4 to 2 cups of liquid. In this recipe, the tomatoes and broth together give you the right amount, but if you’re adding extra vegetables that release water (like zucchini), reduce the broth slightly.
Resist the urge to peek. I know, I know. But every time you lift that lid, steam escapes and the temperature drops. This can add 5-10 minutes to the cooking time and result in unevenly cooked rice. Trust the process and keep that lid on.
Use a timer, not your memory. I once got distracted folding laundry and let the rice cook for 30 minutes. It was not pretty. Set a timer on your phone or stove and actually listen to it.
If you’re doubling the recipe, use a larger pan. A crowded pan won’t cook evenly. Use a 14-inch skillet or a large Dutch oven. Also, the cooking time might increase by a few minutes since there’s more volume.
Leftovers are your friend. This dish actually tastes better the next day after the flavors have had time to meld. I always make extra on purpose. It reheats beautifully in the microwave or in a skillet with a splash of water.
Variations & Adaptations
One of the reasons I love this recipe is how adaptable it is. Here are some variations I’ve tried and loved.
Cheesy Ground Beef and Rice Skillet: About 2 minutes before the rice is done, sprinkle 1 cup of shredded cheddar or Monterey Jack cheese over the top. Cover and let it melt. Stir it in before serving for a creamy, cheesy version. My kids beg for this one.
Mexican-Style Skillet: Replace the oregano with 1 teaspoon of cumin and 1/2 teaspoon of chili powder. Use fire-roasted tomatoes and add a can of drained black beans along with the rice. Top with fresh cilantro and a squeeze of lime. This is my personal favorite variation.
Vegetable-Packed Version: Add diced bell peppers, zucchini, or mushrooms along with the onion. You can also stir in a handful of fresh spinach at the end and let it wilt. It’s a great way to use up whatever vegetables are in your fridge.
Low-Carb Adaptation: Replace the rice with cauliflower rice. Sauté the cauliflower rice separately to remove excess moisture, then stir it in at the end. Reduce the broth to 1/2 cup since cauliflower rice doesn’t absorb liquid the same way. It’s not exactly the same, but it’s surprisingly good.
Gluten-Free Version: This recipe is naturally gluten-free as written, as long as you use certified gluten-free broth. Some broths contain hidden gluten, so check the label if that’s a concern.
Spicy Kick: Add 1/4 teaspoon of red pepper flakes along with the paprika, or stir in a diced jalapeño with the onion. A dash of hot sauce at the table works too.
Serving & Storage Suggestions
This skillet dinner is satisfying on its own, but here are a few ways to round it out if you want to stretch it further or make it feel special.
Serving Suggestions: Serve this hot, straight from the skillet. It’s wonderful with a simple side salad dressed with lemon and olive oil. A side of crusty bread or warm tortillas is great for soaking up any remaining sauce. If you’re feeling fancy, top each serving with a dollop of sour cream or Greek yogurt and a sprinkle of fresh herbs.
Storing Leftovers: Let the skillet cool completely, then transfer leftovers to an airtight container. It will keep in the refrigerator for up to 4 days. The rice will absorb more liquid as it sits, so it might be a little drier the next day — that’s normal.
Freezing Instructions: This dish freezes surprisingly well. Portion it into freezer-safe containers or zip-top bags, removing as much air as possible. It will keep for up to 3 months. Thaw overnight in the refrigerator before reheating.
Reheating Tips: The best way to reheat this is in a skillet over medium-low heat with a splash of water or broth. Stir occasionally until heated through, about 5-7 minutes. In the microwave, cover the bowl with a damp paper towel and heat in 1-minute intervals, stirring between each. The damp paper towel adds moisture back into the rice.
Flavor Development: Honestly, this dish tastes even better on day two. The flavors have time to meld and deepen. I often make it the night before I plan to serve it, just for that reason. It’s like the leftovers are a gift to your future self.
Nutritional Information & Benefits
Here’s a rough estimate of the nutritional content per serving (based on 6 servings, without optional cheese or vegetables).
- Calories: Approximately 380-420 per serving
- Protein: 22-25 grams
- Carbohydrates: 35-40 grams
- Fat: 15-18 grams
- Fiber: 3-4 grams
- Iron: 15% of daily value
This meal provides a good balance of protein from the beef, carbohydrates from the rice for energy, and fiber from the tomatoes and optional vegetables. Ground beef is a great source of iron and B vitamins, which support energy metabolism. The tomatoes are rich in lycopene, an antioxidant linked to heart health.
If you’re watching your sodium, use low-sodium broth and no-salt-added diced tomatoes. You can also reduce the added salt and let people season their own portions at the table. For a lower-fat option, use lean ground beef (93/7) and drain the fat thoroughly after browning.
This recipe is naturally dairy-free and nut-free, making it suitable for many common dietary restrictions. Always check your specific ingredient labels if you have concerns about allergens.
Conclusion
This budget-friendly ground beef and rice skillet dinner is more than just a recipe — it’s a solution. It’s for those nights when you’re tired, the fridge looks bare, and the kids are hungry. It’s for the weeks when the grocery budget is stretched thin and you need something that fills everyone up without a lot of fuss.
I love this recipe because it’s honest. It doesn’t pretend to be fancy or complicated. It’s just good, solid food that tastes like home. The kind of meal that makes you feel like you’ve got this whole cooking thing figured out, even when you’re just making it up as you go along.
I’d love to hear how this turns out for you. Did you add your own twist? Did your picky eater actually ask for seconds? Share your experience in the comments below. And if you found this helpful, please share it with a friend who could use a reliable weeknight dinner in their back pocket. Happy cooking, friend — you’ve got this.
Frequently Asked Questions
Can I use brown rice instead of white rice?
Yes, but you’ll need to adjust the cooking time and liquid. Brown rice requires about 40-45 minutes of simmering and an extra 1/4 to 1/2 cup of broth. You may also need to add more liquid if it evaporates before the rice is tender. I recommend using quick-cooking brown rice for a faster option.
Can I make this in an Instant Pot or pressure cooker?
Absolutely. Use the sauté function to brown the beef and cook the onions and garlic. Then add the tomatoes, broth, rice, and seasonings. Cook on high pressure for 5 minutes, then let the pressure release naturally for 10 minutes before quick-releasing the rest. The rice comes out perfectly fluffy.
How do I prevent the rice from getting mushy?
Don’t stir the rice too much after it starts simmering, and make sure you’re using the right liquid-to-rice ratio. Also, avoid overcooking. Set a timer for 18 minutes and check it. If the rice is tender and the liquid is absorbed, it’s done. Letting it sit covered for 5 minutes off the heat helps too.
Can I add cheese to this recipe?
Definitely! Sprinkle shredded cheddar, Monterey Jack, or mozzarella over the top during the last 2 minutes of cooking, then cover to let it melt. You can also stir in a handful of grated Parmesan at the end for a savory boost. My family loves the cheesy version.
How do I make this recipe spicier?
Add 1/4 to 1/2 teaspoon of red pepper flakes along with the paprika, or stir in a diced jalapeño with the onion. You can also use hot Italian sausage instead of ground beef for a spicier base. A dash of your favorite hot sauce at the table works perfectly too.
Pin This Recipe!
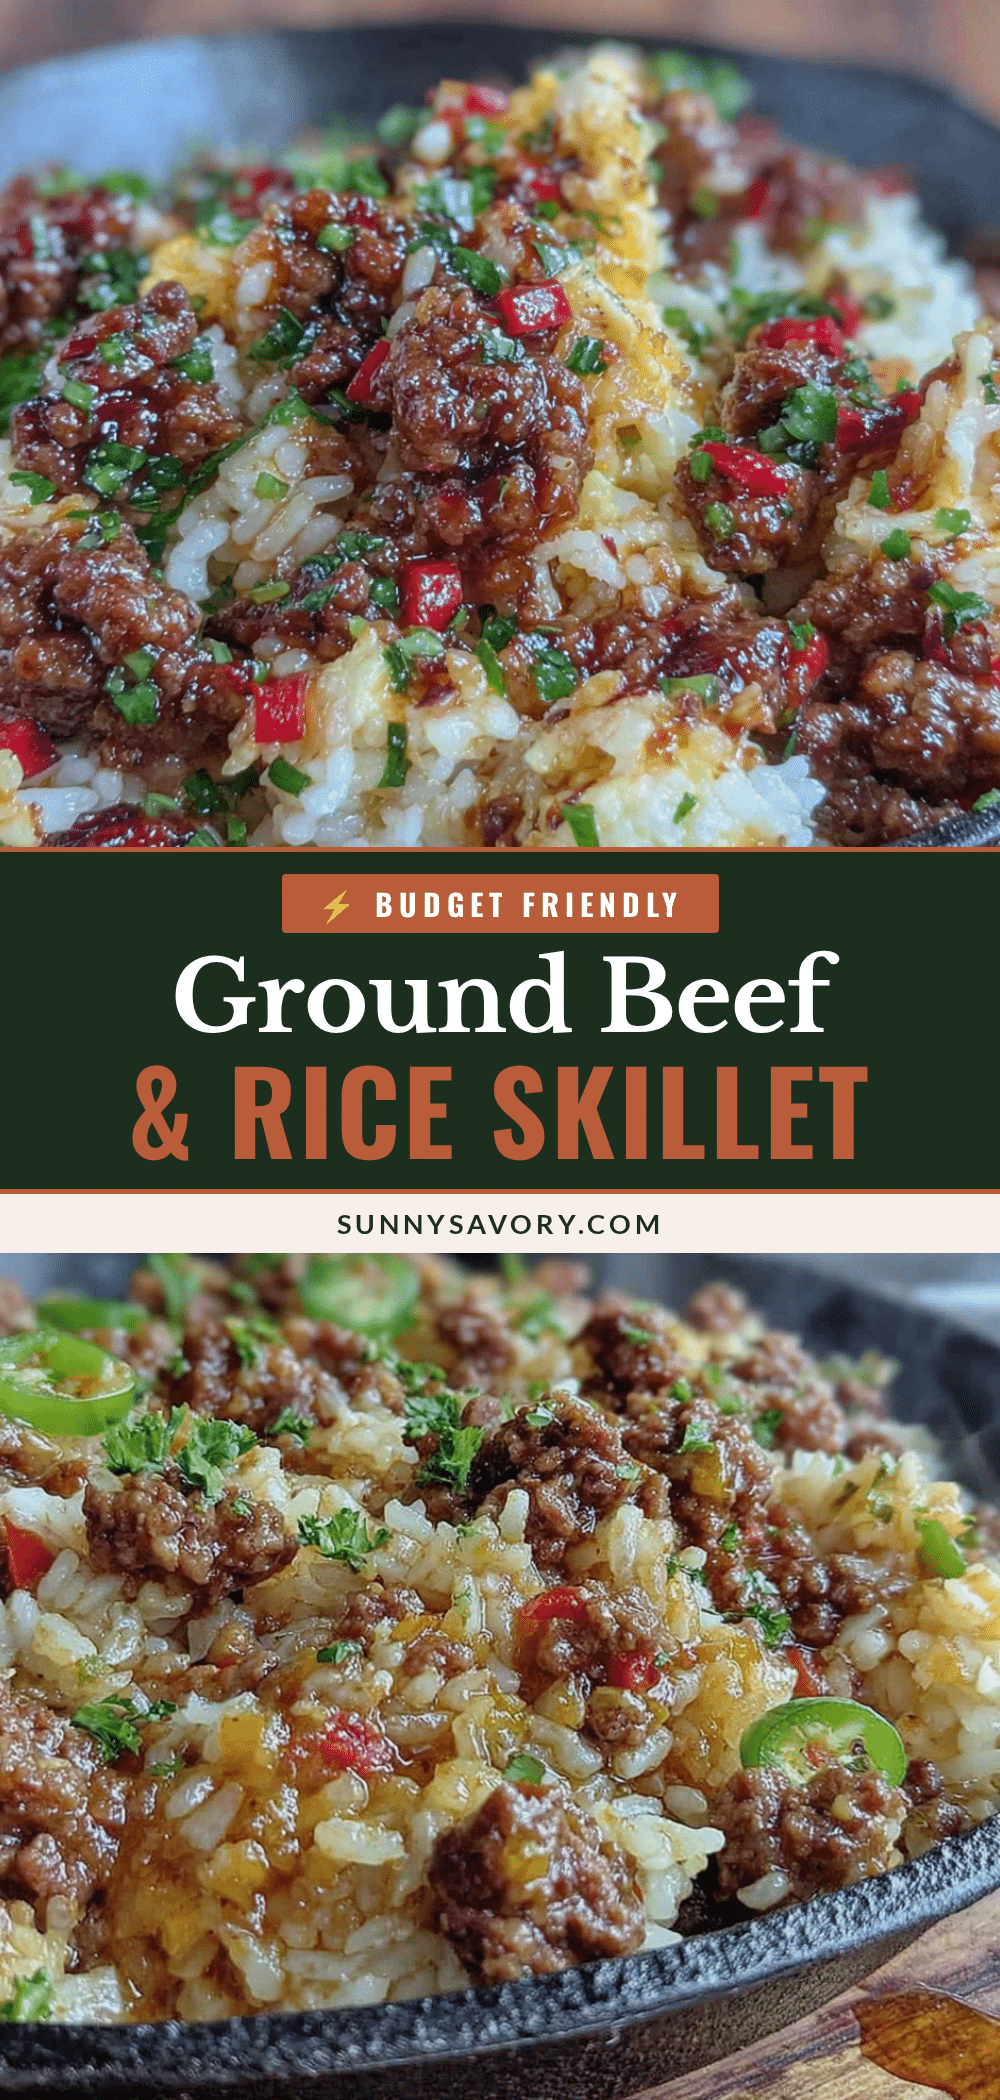
Budget-Friendly Ground Beef and Rice Skillet: Easy 30-Min Dinner

A quick, one-pan ground beef and rice skillet dinner that’s budget-friendly, family-approved, and ready in 30 minutes. Perfect for busy weeknights when you need a hearty, comforting meal without the fuss.
- Prep Time: 10 minutes
- Cook Time: 20 minutes
- Total Time: 30 minutes
- Yield: 6 servings 1x
- Category: Main Course
- Cuisine: American
Ingredients
- 1 pound ground beef (80/20 is ideal)
- 1 cup long-grain white rice, uncooked
- 1 medium yellow onion, diced
- 3 cloves garlic, minced
- 1 can (14.5 oz) diced tomatoes, undrained
- 1 1/2 cups beef broth
- 1 teaspoon paprika
- 1 teaspoon dried oregano
- 1/2 teaspoon salt, plus more to taste
- 1/4 teaspoon black pepper
- 2 tablespoons olive oil or vegetable oil
- Optional: 1 cup frozen peas or mixed vegetables
- Optional: Fresh parsley or green onions for garnish
Instructions
- Prep your ingredients first. Dice the onion, mince the garlic, and measure out the rice, broth, and spices.
- Heat the oil in your large skillet over medium-high heat. Add the ground beef and break it apart with your wooden spoon. Let it brown without stirring for about 3-4 minutes.
- Stir the beef and continue cooking until no longer pink, about 3-4 minutes. Spoon out excess fat, leaving about a tablespoon in the pan.
- Add the diced onion and cook for 3 minutes, stirring occasionally, until softened and translucent.
- Stir in the minced garlic, paprika, oregano, salt, and pepper. Cook for about 30 seconds until fragrant.
- Pour in the undrained diced tomatoes and beef broth. Stir everything together, scraping up any browned bits from the bottom of the pan.
- Add the uncooked rice and stir until evenly distributed. Make sure the rice is submerged in the liquid.
- Bring the mixture to a boil.
- Reduce the heat to low, cover the skillet with a tight-fitting lid, and simmer for 18-20 minutes. Do not lift the lid during this time.
- After 18 minutes, check the rice. It should be tender and have absorbed most of the liquid. If still firm, cover and cook for another 2-3 minutes.
- If using frozen peas or mixed vegetables, stir them in now. The residual heat will warm them through in about a minute.
- Remove the skillet from the heat and let it sit, covered, for 5 minutes.
- Fluff the rice gently with a fork. Taste and adjust seasoning if needed.
- Garnish with fresh parsley or sliced green onions if desired. Serve straight from the skillet.
Notes
Don’t rush the browning of the beef for maximum flavor. Resist the urge to lift the lid while the rice simmers. Leftovers taste even better the next day. For a cheesy version, sprinkle 1 cup of shredded cheddar over the top during the last 2 minutes of cooking.
Nutrition
- Serving Size: 1 serving (about 1.5
- Calories: 400
- Sugar: 4
- Sodium: 650
- Fat: 16
- Saturated Fat: 5
- Carbohydrates: 38
- Fiber: 3
- Protein: 23
Keywords: ground beef, rice, skillet dinner, one-pan meal, budget-friendly, quick dinner, weeknight dinner, comfort food



