Love this? Save it for later!
Share the inspiration with your friends
I wasn’t expecting cooking advice from my accountant, but there I was, sitting in his cramped office during tax season, watching him pull a crumpled, sauce-stained index card from his desk drawer. He saw me eyeing the grease spots and just laughed. “This is my wife’s recipe for honey garlic chicken thighs,” he said, sliding it across the desk like it was a classified document. “Been making it every Tuesday for fifteen years. Never comes out dry.” I was there to talk about deductions, not dinner. But honestly, I was more interested in that card than any spreadsheet he had in front of him.
The recipe looked almost too simple to be special. A few pantry staples, some basic instructions, and a note at the bottom in loopy handwriting that read, “Pat them dry. Trust me on this.” I mean, you know that feeling when something ordinary suddenly feels like a secret waiting to be uncovered? That was this moment. I thanked him, stuffed the card in my bag, and promptly forgot about it until a chilly Tuesday evening three weeks later when I had chicken thighs thawing and absolutely no plan.
Let me tell you, that first batch changed everything. The kitchen filled with this sticky-sweet aroma that made my neighbor text me asking what I was cooking. The chicken came out so tender it practically fell apart, with a glossy glaze that caught the light like amber. I stood there eating one straight from the pan, burning my fingers, not caring one bit. There was something about that combination—the warmth of the garlic, the sweetness of the honey, the savory depth from the soy—that felt like a hug on a plate. And it has been a staple in my kitchen ever since.
Why You’ll Love This Recipe
Let’s be honest—chicken thighs have a reputation for being forgiving, but they can still turn out dry if you don’t handle them right. This recipe takes all the guesswork out. After testing it more times than I can count (and burning a few pans in the process), I can confidently say this version delivers every single time. The technique is simple, but the results feel special.
- Never Dry, Always Juicy: The secret is in the method—searing then simmering in a honey garlic sauce that locks in moisture and infuses every bite with flavor. No dry chicken here, I promise.
- One Pan, Minimal Mess: Everything happens in a single skillet. Less cleanup means more time to actually enjoy your meal. My kind of cooking.
- Pantry-Friendly Ingredients: Honey, soy sauce, garlic, chicken thighs—you probably have most of this already. No special trips to the store required.
- Weeknight Magic: From start to finish, you’re looking at about 35 minutes. Perfect for those evenings when you need something cozy but don’t have hours to spend.
- Crowd-Pleasing Flavor: The balance of sweet and savory hits that spot that makes everyone reach for seconds. Kids love it, adults love it, picky eaters clean their plates.
What makes this recipe different from the dozens of honey garlic chicken recipes out there? It’s the double-glaze technique. Most recipes just pour sauce over chicken and call it done. Here, you reduce the sauce twice—once while cooking the chicken, and again at the end to create that thick, clingy glaze that makes every bite taste like the last one. It’s a small extra step that makes a huge difference. Trust me, you’ll notice.
This is the kind of recipe that makes you close your eyes after the first bite. It’s comfort food reimagined—faster, simpler, but with the same soul-soothing satisfaction that makes a rough day feel a little better. Perfect for impressing guests without stress, or turning a quiet Tuesday into something memorable.
What Ingredients You Will Need
This recipe uses simple, wholesome ingredients to deliver bold flavor and satisfying texture without the fuss. Most of these are pantry staples you probably already have on hand, which makes this dish perfect for those nights when you need dinner on the table fast.
- Chicken Thighs (boneless, skinless) — 6 pieces (about 1.5 lbs / 680g). I prefer boneless for quicker cooking, but bone-in works too—just add 10 minutes to the cooking time. Look for thighs that are similar in size so they cook evenly.
- Honey — 1/3 cup (110g). Use a good quality honey for the best flavor. I like using local honey when I can find it—it adds a floral note that really shines.
- Soy Sauce — 1/4 cup (60ml). Low-sodium is your friend here. Regular soy sauce can make the final dish too salty, especially since the sauce reduces. If you’re gluten-free, swap in tamari or coconut aminos.
- Garlic — 5 cloves, minced. Fresh garlic is non-negotiable here. The pre-minced stuff in a jar just doesn’t have the same punch. Take the extra minute to do it yourself—your taste buds will thank you.
- Chicken Broth — 1/4 cup (60ml). Adds depth and helps create the sauce. Use low-sodium so you can control the salt level.
- Rice Vinegar — 2 tablespoons (30ml). This brightens the sauce and balances the sweetness. You can substitute with apple cider vinegar or even white wine vinegar in a pinch.
- Cornstarch — 1 tablespoon (8g). Mixed with 2 tablespoons of water to create a slurry that thickens the glaze at the end.
- Olive Oil — 2 tablespoons (30ml). For searing the chicken. Avocado oil works great too, especially if you want a higher smoke point.
- Butter — 1 tablespoon (14g). Optional, but adds richness and helps the glaze get that beautiful glossy finish. I never skip it.
- Salt and Black Pepper — To taste. Go easy on the salt since the soy sauce adds plenty.
- Red Pepper Flakes (optional) — 1/2 teaspoon. Adds a gentle warmth without making it spicy. Perfect if you like a little heat with your sweet.
- Green Onions — 2-3, sliced. For garnish. Adds color and a fresh bite that cuts through the richness.
- Sesame Seeds — 1 teaspoon. Toasted if you have them. Another nice finishing touch for texture and visual appeal.
Ingredient Selection Tip: When buying chicken thighs, look for ones that are plump and have a nice even color. Avoid packages with excess liquid—that’s a sign they’ve been sitting around. I usually grab organic or free-range when I can, but honestly, even standard grocery store thighs work beautifully here.
Substitution Guidance: Need a dairy-free option? Skip the butter—the glaze will still be delicious. For a lower sugar version, you can reduce the honey to 1/4 cup and add an extra tablespoon of chicken broth. The flavor will be slightly less sweet but still balanced.
Equipment Needed
You don’t need a fancy kitchen to make this recipe. Here’s what you’ll need:
- Large Skillet or Cast Iron Pan — 12-inch works best. A heavy-bottomed pan gives you even heat and helps the chicken get that perfect golden sear. I use my trusty cast iron for this—it holds heat beautifully and gives the best crust.
- Sharp Knife — For mincing garlic and slicing green onions. A dull knife makes everything harder and more dangerous. Take 30 seconds to sharpen yours before you start.
- Cutting Board — Preferably one that won’t slide around. Throw a damp paper towel under it if yours is slippery.
- Tongs — For flipping the chicken without piercing it. Piercing releases juices, and we want to keep every drop inside.
- Small Bowl — For mixing the cornstarch slurry. A ramekin works perfectly.
- Measuring Cups and Spoons — For accuracy. I cannot stress this enough—eyeballing the honey can lead to a sauce that’s way too sweet.
- Whisk or Fork — For mixing the sauce ingredients together. A fork works fine if your whisk is MIA.
Budget-Friendly Tip: If you don’t have a cast iron pan, a non-stick skillet works great. Just be careful not to use metal utensils that could scratch the surface. And honestly, I’ve made this in a stainless steel pan too—it just takes a little more care to prevent sticking.
Preparation Method
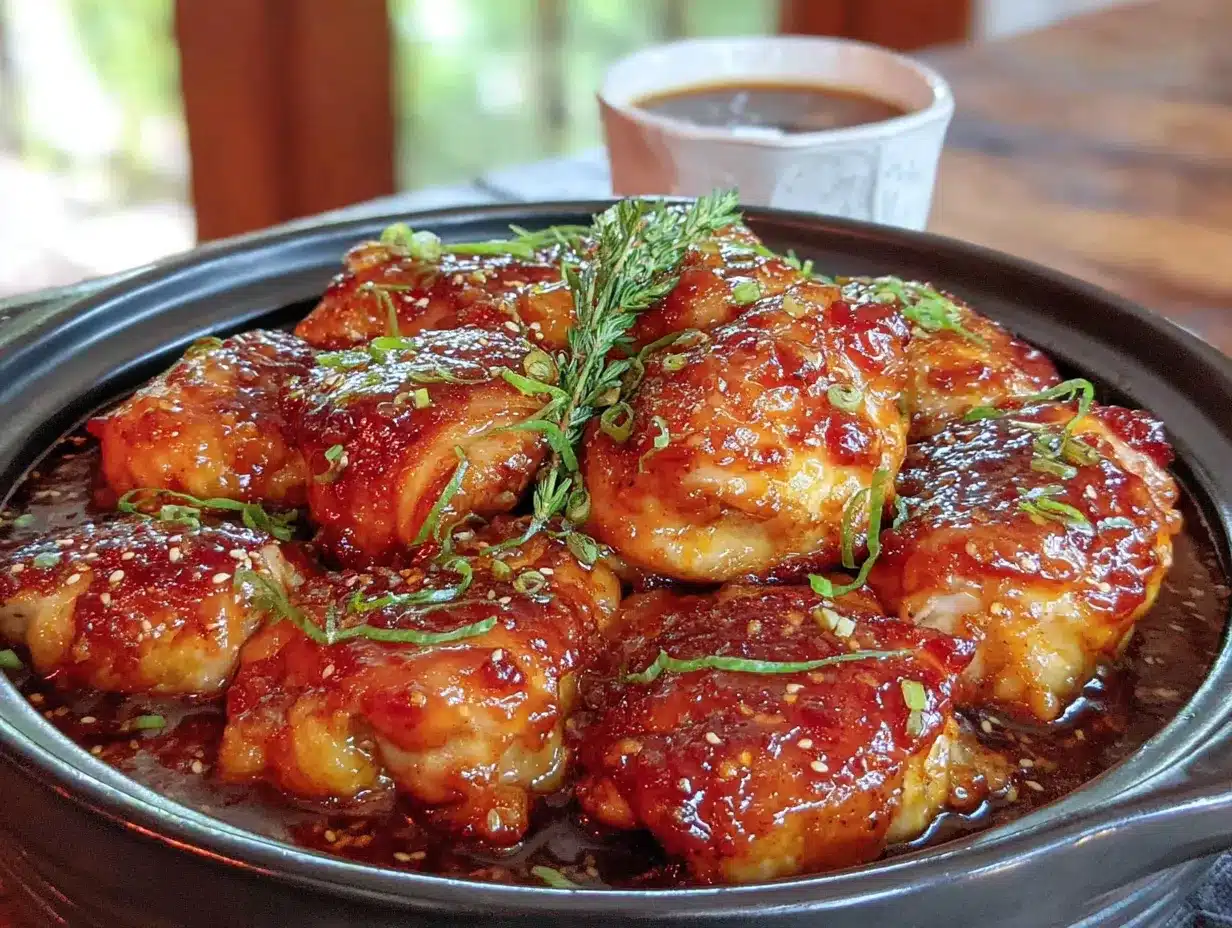
Let’s get cooking. This comes together faster than you think, so have everything prepped before you turn on the heat.
-
Pat the chicken thighs dry with paper towels. I mean really dry—this is the most important step. Excess moisture prevents browning and makes the chicken steam instead of sear. Season both sides generously with salt and pepper. Don’t be shy with the pepper here.
-
Make the sauce. In a small bowl or measuring cup, whisk together the honey, soy sauce, chicken broth, rice vinegar, and red pepper flakes if using. Set it aside. The mixture will look thin now, but trust the process—it will transform into a beautiful glaze.
-
Heat your skillet over medium-high heat. Add the olive oil and let it get hot—you want it shimmering but not smoking. A drop of water should sizzle when it hits the pan.
-
Sear the chicken. Place the thighs in the pan in a single layer. Don’t crowd them—work in batches if needed. Let them cook undisturbed for 4-5 minutes until the underside is deep golden brown. Flip with tongs and cook another 4 minutes. The chicken should have a beautiful crust. Transfer to a plate and set aside.
-
Cook the garlic. Reduce the heat to medium. Add the minced garlic to the pan and stir constantly for about 30 seconds until fragrant. Garlic burns fast, so don’t walk away. Your kitchen will smell incredible at this point.
-
Add the sauce. Pour the honey soy mixture into the pan, scraping up any browned bits from the bottom. Those bits are pure flavor—don’t leave them behind. Let the sauce come to a gentle simmer.
-
Return the chicken to the pan, nestling each piece into the sauce. Spoon some sauce over the tops. Reduce the heat to medium-low, cover, and let it simmer for 10 minutes. The chicken will cook through and absorb all that lovely flavor.
-
Remove the chicken again (yes, again) and set it aside. This step is key for the double-glaze. Turn the heat up to medium-high and let the sauce bubble and reduce for 2-3 minutes. It should thicken slightly.
-
Make the slurry. In your small bowl, mix the cornstarch with 2 tablespoons of water until smooth. Pour it into the simmering sauce while whisking constantly. The sauce will thicken almost immediately—it should coat the back of a spoon.
-
Add the butter. Drop in that tablespoon of butter and swirl the pan until it melts. This gives the glaze that gorgeous shine and silky texture.
-
Return the chicken to the pan one last time. Spoon the thickened glaze over each piece until they’re completely coated. Let them warm through for about 1 minute.
-
Finish and serve. Transfer the chicken to a serving platter. Spoon any remaining glaze from the pan over the top. Sprinkle with sliced green onions and sesame seeds. Serve immediately while that glaze is still glossy and warm.
Sensory Cue: When the chicken is done, the glaze should cling to the meat like a shiny coat. If you tilt the pan, the sauce should move slowly, not run like water. That’s how you know it’s perfect.
Cooking Tips & Techniques
I’ve made this recipe more times than I can count, and let me tell you—I’ve learned a few things the hard way. Here are the tips that make the difference between good chicken and unforgettable chicken.
Don’t skip the drying step. The first time I made this, I was in a hurry and just patted the chicken quickly. The result? Pale, sad-looking chicken that steamed instead of seared. Moisture is the enemy of browning. Take the extra 30 seconds to really dry those thighs.
Watch your heat. Honey burns fast. If your heat is too high, the sugars in the honey will scorch before the chicken is cooked through. Medium-low to medium is your sweet spot once the sauce goes in. I learned this after a particularly smoky kitchen incident that set off the smoke detector. My neighbor still brings it up.
Use a timer. It sounds obvious, but when you’re juggling multiple steps, it’s easy to lose track. Set a timer for each stage—4 minutes for the first sear, 10 minutes for the simmer, 2 minutes for the reduction. Your chicken will thank you.
Let the chicken rest. After you remove it from the pan the first time, let it sit for a couple minutes. This allows the juices to redistribute so they don’t all run out when you cut into it. Patience pays off here.
Taste as you go. Before you add the cornstarch slurry, dip a spoon into the sauce and taste it. Is it balanced? Too sweet? Add a splash more vinegar. Too salty? A little more honey. This is your chance to adjust before the glaze sets.
Double the sauce if you like extra. Some people (me included) love extra glaze to drizzle over rice or vegetables. If that’s you, multiply the sauce ingredients by 1.5. Just remember to increase the cornstarch slurry proportionally.
Variations & Adaptations
This recipe is wonderfully flexible. Here are some ways I’ve adapted it over the years:
Spicy Honey Garlic Chicken: Add 1-2 teaspoons of sriracha or gochujang to the sauce along with the honey. The heat cuts through the sweetness beautifully. I made this version for a friend who loves spicy food, and she demanded the recipe on the spot.
Garlic Lovers Version: Double the garlic. Yes, really. Add 10 cloves instead of 5. Roast half of them with the chicken and add the other half fresh at the end for a double garlic punch. Your breath might suffer, but your taste buds won’t.
Baked Version: Sear the chicken as directed, then transfer everything to a baking dish. Pour the sauce over, cover with foil, and bake at 375°F (190°C) for 25 minutes. Remove the foil, spoon sauce over the chicken, and bake another 10 minutes until the glaze is sticky. Perfect for when you’re cooking for a crowd.
Low-Carb Adaptation: Replace the honey with a sugar-free honey substitute or use 2 tablespoons of monk fruit sweetener mixed with 2 tablespoons of water. The texture will be slightly different, but the flavor is still fantastic. My keto friend swears by this version.
Vegetable Add-In: Throw in some broccoli florets or snap peas during the last 5 minutes of simmering. They’ll soak up the sauce and become a delicious side dish in their own right. I do this when I want a one-pan meal with minimal cleanup.
Serving & Storage Suggestions
This honey garlic chicken is incredibly versatile when it comes to serving. Here’s how I like to enjoy it:
Serving Temperature: Serve hot, straight from the pan. That warm, glossy glaze is at its best right after cooking. Let it sit too long and the sauce will start to set and lose its shine.
What to Serve With It: Steamed jasmine rice is my go-to—it soaks up every drop of that honey garlic sauce. For a lower-carb option, try cauliflower rice or a bed of sautéed spinach. Garlic butter noodles are another fantastic pairing. And honestly, a simple cucumber salad on the side adds a fresh crunch that balances the richness perfectly.
Presentation Tip: Arrange the chicken on a white platter to make the golden glaze pop. Drizzle extra sauce over the top, then shower with green onions and sesame seeds. It looks impressive with almost zero effort.
Storage Instructions: Leftovers keep beautifully in the fridge for up to 4 days. Store in an airtight container—the glaze will thicken as it cools, but that’s fine. To reheat, place the chicken in a skillet over medium-low heat with a splash of water or chicken broth. Cover and warm for 5-7 minutes, spooning sauce over the top occasionally. The microwave works in a pinch, but the stovetop does a better job of reviving that glaze.
Freezing: This recipe freezes well for up to 3 months. Let the chicken cool completely, then transfer to a freezer-safe container with all the sauce. Thaw overnight in the fridge before reheating. The texture stays remarkably good—I’ve pulled this out on busy nights and it tastes almost as good as fresh.
Flavor Development: Here’s a little secret—this chicken actually tastes even better the next day. The flavors have time to meld and deepen overnight. I sometimes make it a day ahead on purpose, just so I can have those incredible leftovers.
Nutritional Information & Benefits
Here’s a rough estimate per serving (based on 6 servings, without rice or sides):
| Nutrient | Amount per Serving |
|---|---|
| Calories | 385 |
| Protein | 32g |
| Fat | 18g |
| Saturated Fat | 5g |
| Carbohydrates | 22g |
| Fiber | 0g |
| Sugar | 20g |
| Sodium | 680mg |
Health Benefits: Chicken thighs are a great source of protein, which keeps you full and supports muscle health. They also contain selenium and B vitamins, which support immune function and energy levels. Honey provides natural antioxidants, and garlic is known for its anti-inflammatory properties. While this dish is higher in sugar than some recipes, it’s still a balanced meal when served with vegetables and whole grains.
Dietary Considerations: This recipe is naturally gluten-free if you use tamari instead of soy sauce. It’s also dairy-free if you skip the butter (the glaze still works beautifully without it). For a lower sugar option, reduce the honey to 1/4 cup—the flavor will be less sweet but still delicious.
Allergen Note: Contains soy (if using soy sauce). If you have a soy allergy, coconut aminos are a great substitute.
FAQs
Can I use chicken breasts instead of thighs?
Yes, but be careful. Chicken breasts cook faster and dry out more easily. Reduce the simmering time to 8 minutes and check the internal temperature—it should reach 165°F (74°C). You might also want to pound the breasts to an even thickness for consistent cooking.
Why did my sauce turn out too thin?
The sauce needs to reduce properly. If it’s still thin after simmering, let it cook a few more minutes uncovered. Also make sure your cornstarch slurry is well mixed—lumps won’t thicken properly. And remember, the sauce will thicken more as it cools.
Can I make this in a slow cooker?
Absolutely. Sear the chicken first, then transfer to the slow cooker with the sauce. Cook on low for 4-5 hours. Remove the chicken, thicken the sauce on the stovetop with the cornstarch slurry, then return the chicken to coat. The texture will be more fall-apart tender than the stovetop version, but just as delicious.
How do I prevent the honey from burning?
Keep your heat in check. Medium heat is plenty once the honey goes in. If you see the sauce starting to darken too quickly, reduce the heat immediately. Adding a little extra chicken broth can also help if things get too hot.
Can I double this recipe?
Yes, but use a larger pan or cook in batches. Crowding the pan will cause the chicken to steam instead of sear, and you’ll lose that beautiful golden crust. If doubling, I recommend using two skillets or cooking the chicken in two batches.
Conclusion
This honey garlic chicken thighs recipe is proof that the best dishes often come from the most unexpected places. A crumpled index card from an accountant, a chilly Tuesday evening, and a little bit of kitchen curiosity turned into something I now make on repeat. It’s simple enough for a busy weeknight, but special enough to serve when you want to impress.
The magic is in the balance—sweet honey, savory soy, punchy garlic, and that buttery glaze that makes every bite feel indulgent. And the best part? It never comes out dry. Not once. That’s a promise I can make because I’ve tested it more times than I can count.
I’d love to hear how yours turns out. Did you add your own twist? Serve it with something unexpected? Burn the garlic like I did the first time? Drop a comment below and let me know. And if you make this for someone you love, tell them where the recipe came from. Maybe they’ll be as surprised as I was.
Now go make some chicken. Your kitchen is about to smell incredible.
Pin This Recipe!
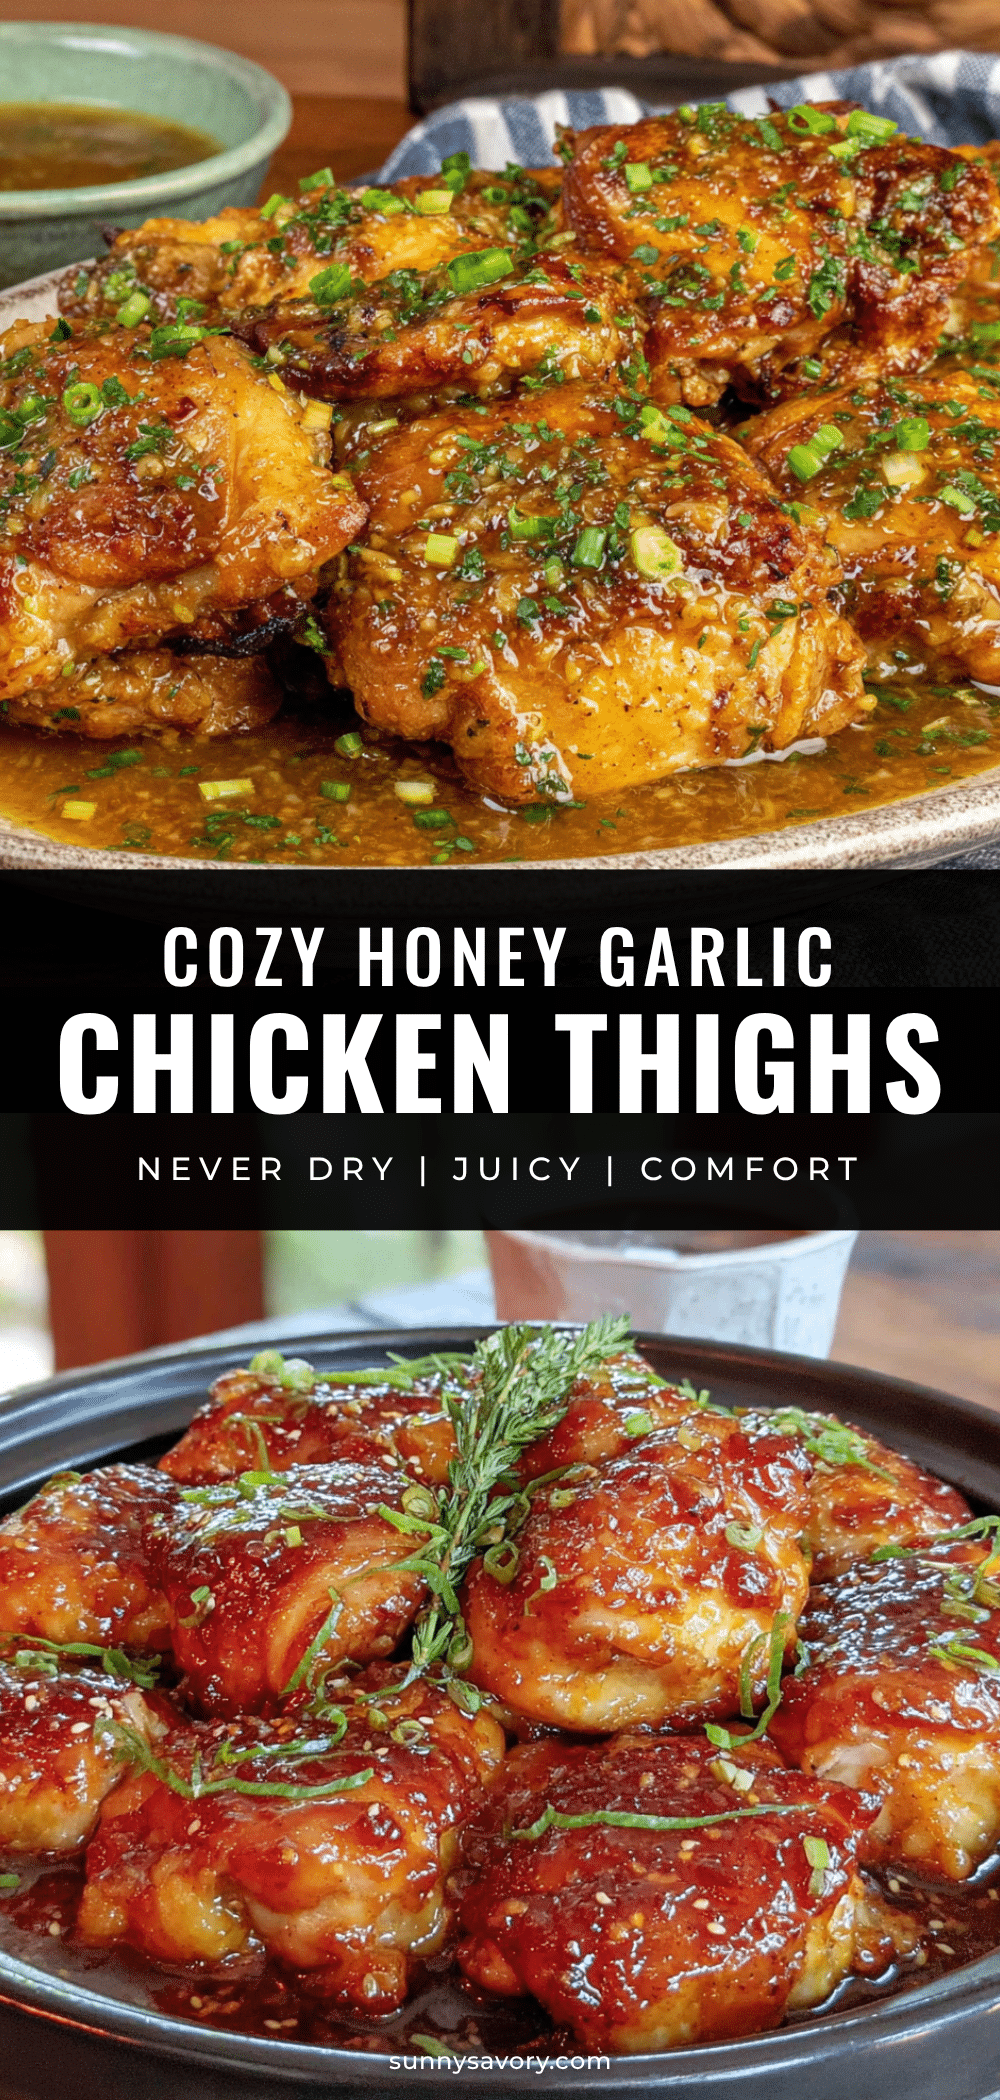
Cozy Honey Garlic Chicken Thighs: Best Juicy One-Pan Meal

Juicy, tender chicken thighs in a sticky-sweet honey garlic glaze, all made in one pan in about 35 minutes. This easy weeknight dinner is packed with flavor and never comes out dry.
- Prep Time: 10 minutes
- Cook Time: 25 minutes
- Total Time: 35 minutes
- Yield: 6 servings 1x
- Category: Main Course
- Cuisine: American
Ingredients
- 6 boneless, skinless chicken thighs (about 1.5 lbs / 680g)
- 1/3 cup honey (110g)
- 1/4 cup low-sodium soy sauce (60ml)
- 5 cloves garlic, minced
- 1/4 cup low-sodium chicken broth (60ml)
- 2 tablespoons rice vinegar (30ml)
- 1 tablespoon cornstarch (8g)
- 2 tablespoons water (for slurry)
- 2 tablespoons olive oil (30ml)
- 1 tablespoon butter (14g), optional
- Salt and black pepper to taste
- 1/2 teaspoon red pepper flakes (optional)
- 2–3 green onions, sliced (for garnish)
- 1 teaspoon sesame seeds (for garnish)
Instructions
- Pat the chicken thighs dry with paper towels. Season both sides generously with salt and pepper.
- In a small bowl, whisk together honey, soy sauce, chicken broth, rice vinegar, and red pepper flakes (if using). Set aside.
- Heat a large skillet over medium-high heat. Add olive oil and let it get hot until shimmering.
- Sear the chicken thighs in a single layer, undisturbed, for 4-5 minutes until deep golden brown. Flip and cook another 4 minutes. Transfer to a plate.
- Reduce heat to medium. Add minced garlic and stir constantly for about 30 seconds until fragrant.
- Pour the honey soy mixture into the pan, scraping up any browned bits. Bring to a gentle simmer.
- Return the chicken to the pan, spooning some sauce over the tops. Reduce heat to medium-low, cover, and simmer for 10 minutes.
- Remove the chicken again and set aside. Increase heat to medium-high and let the sauce bubble and reduce for 2-3 minutes.
- In a small bowl, mix cornstarch with 2 tablespoons water until smooth. Pour into the simmering sauce while whisking constantly until thickened.
- Add butter (if using) and swirl until melted and glossy.
- Return the chicken to the pan, spooning the thickened glaze over each piece. Warm through for about 1 minute.
- Transfer to a serving platter, drizzle with remaining glaze, and garnish with sliced green onions and sesame seeds. Serve immediately.
Notes
Pat the chicken very dry for the best sear. Use low-sodium soy sauce to control saltiness. The double-glaze technique (reducing the sauce twice) creates a thick, clingy glaze. For extra sauce, multiply sauce ingredients by 1.5 and increase cornstarch slurry proportionally. Leftovers keep in the fridge for up to 4 days or freeze for up to 3 months.
Nutrition
- Serving Size: 1 chicken thigh with
- Calories: 385
- Sugar: 20
- Sodium: 680
- Fat: 18
- Saturated Fat: 5
- Carbohydrates: 22
- Protein: 32
Keywords: honey garlic chicken, chicken thighs, one-pan meal, weeknight dinner, easy chicken recipe, sticky chicken, gluten-free option



