Love this? Save it for later!
Share the inspiration with your friends
My brother-in-law, a man who takes his banana bread very seriously, swore he hated brown butter. For years. “It’s too nutty,” he’d say, wrinkling his nose. “It overpowers everything.” Then last fall, I made this version on a whim, just for myself—a quiet Tuesday, the first real chill in the air. I pulled the loaf from the oven, let it cool just enough, and cut myself a thick slice. He walked into the kitchen, grabbed a piece without a word, and took a bite. I watched him stop mid-chew, look at the bread, then look at me. “Wait,” he said, reaching for another slice. “What did you do to this?”
That’s the thing about brown butter, honestly. It sounds fussy, like something you’d only bother with for a fancy dinner party. But the truth is, it takes maybe five extra minutes, and the payoff is ridiculous. The nuttiness doesn’t overpower anything—it wraps around the banana like a warm blanket, making the whole thing taste deeper, cozier, more like itself. I mean, I’ve made a lot of banana bread in my day. It’s practically a reflex when the counter starts collecting spotted bananas. But this one? This one made me pause.
I think what got me was the texture, too. Browning the butter and then letting it cool just slightly changes how it mixes into the batter. The crumb stays tender, almost velvety, with that signature crackly top that makes banana bread feel like a real accomplishment. And you do it all in one bowl—no hauling out the stand mixer, no dirtying a separate dish for the dry ingredients. It’s the kind of recipe that feels special without being complicated. Maybe you’ve been there, standing over a bowl of brown butter, wondering if it’s worth the extra step. Let me tell you: it is. It really, really is.
Why You’ll Love This Recipe
This isn’t just another banana bread recipe you’ll pin and forget. I’ve tested this version more times than I care to admit—through burnt butter mishaps, over-mixed batter disasters, and one memorable loaf that I forgot to grease the pan for (don’t ask). Every tweak was purposeful, and the result is a recipe that delivers every single time.
- One Bowl, No Fuss: Mix the wet ingredients, stir in the dry, fold in the nuts or chocolate—all in the same bowl. Less cleanup means more time to actually enjoy that warm slice.
- Brown Butter Magic: That extra step transforms the flavor completely. It adds a toasty, caramel-like depth that plain melted butter just can’t touch. Trust me, your kitchen will smell incredible.
- Perfectly Moist Crumb: The combination of brown butter and ripe bananas creates a texture that’s tender without being gummy. It stays moist for days—if it lasts that long.
- Pantry-Friendly Ingredients: You probably already have everything you need. No fancy flours, no obscure extracts. Just real, simple ingredients that work together beautifully.
- Crowd-Pleaser Guaranteed: I’ve brought this to brunches, book clubs, and casual get-togethers. It disappears fast. Even my brown-butter-skeptic brother-in-law now asks when I’m making it next.
- Cozy Comfort in Every Bite: This is the kind of bread you make on a rainy Sunday afternoon, when the house feels quiet and you need something warm to hold. It’s comfort food, plain and simple.
What makes this recipe different from the dozens of banana breads out there? It’s the way the brown butter interacts with the bananas—the nuttiness doesn’t fight the fruit; it deepens it. And the one-bowl method means there’s no barrier between you and that first warm slice. It’s the best version of a classic, and it’s honestly hard to mess up.
What Ingredients You Will Need
This recipe relies on simple, everyday ingredients, but each one plays a specific role in creating that perfect loaf. I’ve tested substitutions and tweaks, so I’ll share what works and what doesn’t.
- Unsalted butter (1/2 cup, or 1 stick): You’ll brown this first, which is where the magic happens. I prefer unsalted so I can control the salt level. If you only have salted, just reduce the added salt by a pinch.
- Ripe bananas (3 medium, about 1 1/2 cups mashed): The spottier, the better. Really black bananas are ideal—they’re sweeter and more flavorful. If yours aren’t quite there, you can roast them in a 300°F oven for 15 minutes to speed things up.
- Granulated sugar (3/4 cup): Standard white sugar works perfectly here. It helps create that crackly top crust we all love.
- Light brown sugar (1/4 cup, packed): Adds a touch of molasses depth that pairs beautifully with the brown butter. You can use all granulated if you’re out, but the brown sugar really does make a difference.
- Large egg (1, room temperature): Brings structure and richness. Let it sit out for 15 minutes if you forgot to plan ahead—it’ll incorporate more smoothly.
- Vanilla extract (1 teaspoon): Use pure if you have it, but imitation works fine in a pinch. I’ve even used vanilla bean paste when I’m feeling fancy.
- Plain yogurt or sour cream (1/4 cup): This is my secret ingredient for extra moisture. Greek yogurt works too—just thin it with a splash of milk first. Sour cream gives a slightly tangier flavor that I personally love.
- All-purpose flour (1 1/2 cups): Spoon and level it into your measuring cup—don’t scoop directly, or you’ll pack in too much flour and end up with a dry loaf.
- Baking soda (1 teaspoon): Make sure it’s fresh. Test it by dropping a pinch into vinegar—if it fizzes, you’re good.
- Salt (1/2 teaspoon): Fine sea salt or table salt. It balances the sweetness and enhances the banana flavor.
- Cinnamon (1 teaspoon): Optional, but I never skip it. It adds warmth that complements the brown butter beautifully.
- Mix-ins (optional, about 1/2 cup): Chopped walnuts, pecans, or chocolate chips are all excellent. I’m partial to dark chocolate chunks myself.
Equipment Needed
The beauty of this recipe is that it doesn’t require a lot of fancy gear. Here’s what you’ll need:
- A 9×5-inch loaf pan: The standard size for banana bread. If you use an 8×4-inch pan, you’ll need to bake it a bit longer—start checking at 55 minutes.
- A light-colored saucepan: This is important for browning the butter. Dark pans make it hard to see the color change, and you’ll end up with burnt butter. Trust me on this one—I’ve ruined a few batches.
- A large mixing bowl: You’ll do everything in this one bowl. I use a sturdy ceramic bowl, but glass or stainless steel work fine.
- A whisk and a rubber spatula: The whisk for the wet ingredients, the spatula for folding everything together. A wooden spoon works too, but the spatula helps you get every bit of batter.
- Parchment paper: Lining the pan makes removal a breeze. If you don’t have it, grease the pan thoroughly with butter or non-stick spray.
- A cooling rack: Essential for even cooling. If you don’t have one, you can balance the pan on two upside-down ramekins—a trick I learned from my grandmother.
Preparation Method
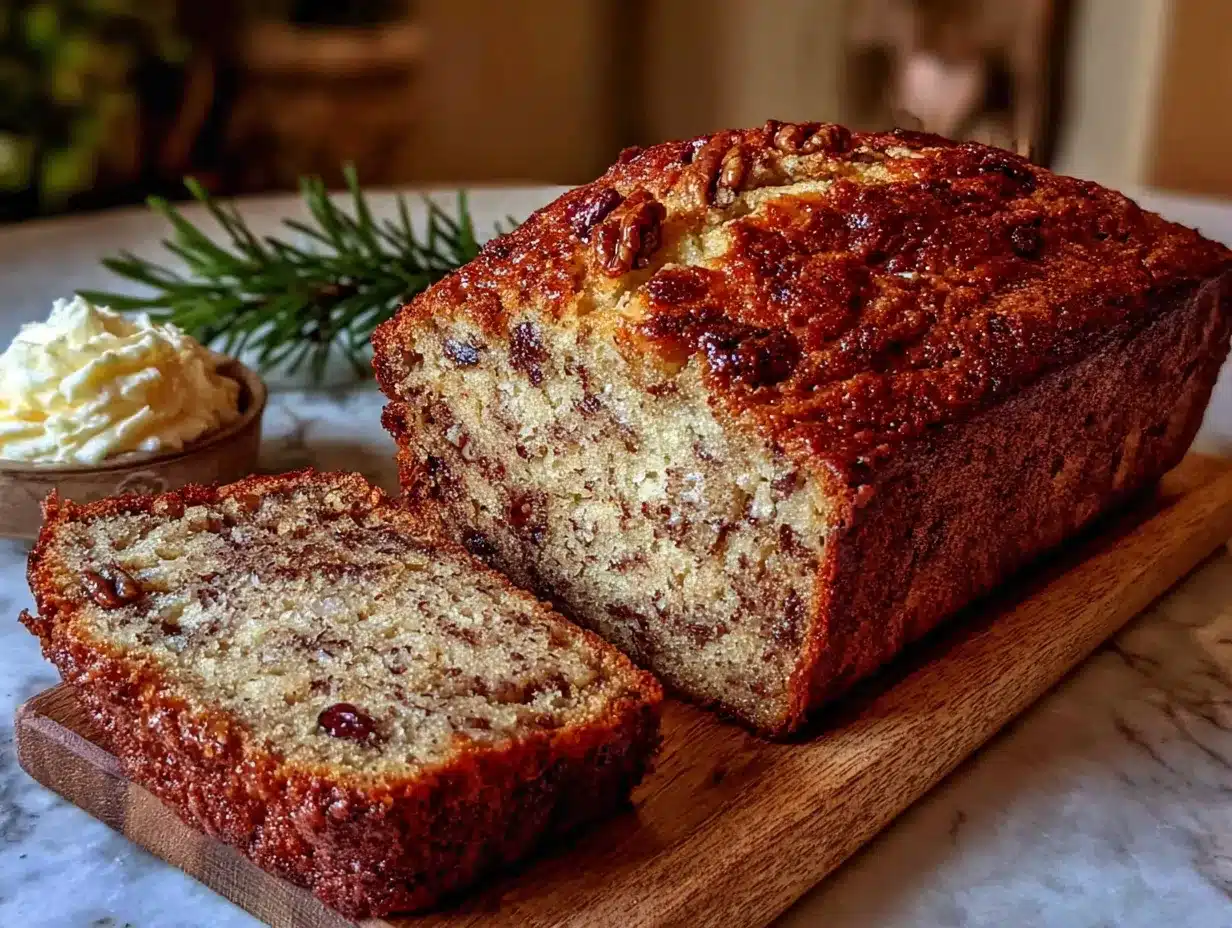
- Preheat your oven to 350°F (175°C). Position the rack in the center. While it’s heating, line your loaf pan with parchment paper, leaving some overhang on the long sides—this makes lifting the bread out so much easier.
- Brown the butter. Place the 1/2 cup of unsalted butter in your light-colored saucepan over medium heat. Stir occasionally with a rubber spatula or wooden spoon. The butter will melt, then foam, then start to crackle and pop. That’s the water evaporating. After a few minutes, the foam will subside, and you’ll see little brown specks forming at the bottom. Swirl the pan gently. When the butter smells nutty and toasty and the specks are a warm amber color—about 5 to 7 minutes total—remove it from the heat immediately. Pour it into a heatproof bowl to stop the cooking. Let it cool for about 10 minutes. It should be warm but not hot to the touch.
- Mash the bananas. In your large mixing bowl, mash the three ripe bananas with a fork or potato masher. Leave some small chunks—they add nice texture to the finished bread. You should have about 1 1/2 cups of mashed banana.
- Add the sugars and wet ingredients. To the mashed bananas, add 3/4 cup granulated sugar and 1/4 cup packed light brown sugar. Stir with a whisk until combined. Add the cooled brown butter, 1 large egg, 1 teaspoon vanilla extract, and 1/4 cup plain yogurt (or sour cream). Whisk until everything is smooth and well-blended. The mixture should look glossy and smell incredible already.
- Add the dry ingredients. Sprinkle 1 1/2 cups all-purpose flour, 1 teaspoon baking soda, 1/2 teaspoon salt, and 1 teaspoon cinnamon (if using) over the wet mixture. Use a rubber spatula to fold everything together gently. Stir just until no streaks of flour remain—a few lumps are fine. Over-mixing will make the bread tough, so resist the urge to keep stirring.
- Fold in the mix-ins. If you’re using nuts or chocolate chips, add them now. Fold them in with a few gentle strokes. The batter should be thick and scoopable.
- Transfer to the pan. Pour the batter into your prepared loaf pan. Use the spatula to spread it evenly. Tap the pan on the counter a couple of times to release any air bubbles.
- Bake. Place the pan in the preheated oven and bake for 50 to 60 minutes. Start checking at 50 minutes—insert a toothpick or skewer into the center. If it comes out clean or with just a few moist crumbs, it’s done. If it’s still gooey, give it another 5 minutes. The top should be deep golden brown and cracked beautifully.
- Cool. Let the bread cool in the pan on a wire rack for about 15 minutes. Then lift it out using the parchment paper overhang and let it cool completely on the rack. I know it’s tempting to slice into it right away, but letting it cool fully gives you cleaner slices and a better texture.
Cooking Tips & Techniques
I’ve made this recipe enough times to have a few hard-earned tips. Let me save you some trouble.
Watch the butter like a hawk. Brown butter can go from perfect to burnt in about 30 seconds. The moment you see those brown specks and smell that nutty aroma, pull it off the heat. Pour it into a cool bowl immediately to stop the cooking process. I’ve had to start over more than once because I got distracted scrolling on my phone.
Don’t skip the yogurt or sour cream. I know it seems like a small amount, but it makes a real difference in moisture. I once tried substituting with milk, and the bread came out noticeably drier. The acidity also helps activate the baking soda for better rise.
Room temperature ingredients matter. Cold egg and cold yogurt can seize the brown butter, giving you a lumpy batter. Let everything sit out for 20 minutes before you start. It’s a small step that makes a big difference in the final texture.
Use a kitchen scale if you have one. Measuring flour by weight (180 grams for 1 1/2 cups) is more accurate than scooping. If you’re using measuring cups, fluff the flour first, then spoon it into the cup and level it off. Scooping directly can pack in up to 25% more flour, leading to a dry, dense loaf.
Check for doneness with a thermometer. This is my favorite trick. The internal temperature of a perfectly baked banana bread should be around 200°F to 205°F (93°C to 96°C). It’s more reliable than the toothpick test, especially if you have chocolate chips that can give a false reading.
Variations & Adaptations
This recipe is wonderfully adaptable. Here are some of my favorite twists:
- Gluten-Free Version: Substitute the all-purpose flour with a good 1-to-1 gluten-free baking flour blend. I’ve had great results with the Bob’s Red Mill brand. Add an extra tablespoon of yogurt to compensate for the drier texture of gluten-free flours.
- Vegan Adaptation: Use a flax egg (1 tablespoon ground flaxseed mixed with 3 tablespoons water, let sit for 5 minutes) and replace the yogurt with a dairy-free alternative like coconut yogurt. Use vegan butter or coconut oil instead of dairy butter—though you won’t get the same browning effect with coconut oil.
- Chocolate Lover’s Twist: Fold in 1/2 cup dark chocolate chunks and swirl 2 tablespoons of cocoa powder into the dry ingredients. It’s indulgent but still lets the banana flavor shine through.
- Spiced Variation: Add 1/4 teaspoon nutmeg and 1/4 teaspoon ground ginger along with the cinnamon. It gives the bread a warm, almost chai-like flavor that’s perfect for fall.
- Nut-Free Option: Skip the walnuts or pecans and use sunflower seeds or pumpkin seeds instead. Or just leave them out entirely—the bread is still delicious without any mix-ins.
- Mini Loaves or Muffins: Divide the batter among 3 mini loaf pans (bake for 30-35 minutes) or a standard 12-cup muffin tin (bake for 18-22 minutes). Great for gift-giving or portion control.
Serving & Storage Suggestions
This banana bread is best served warm, with a generous smear of salted butter that melts into the crumb. A drizzle of honey or a sprinkle of flaky sea salt takes it over the top. I also love it with a hot cup of coffee or a cold glass of milk—it’s the perfect afternoon snack.
For a more decadent treat, toast a thick slice in a skillet with a little butter until the edges are crispy and golden. The contrast between the crunchy exterior and the soft, moist interior is absolutely divine.
Storage: Once completely cool, wrap the loaf tightly in plastic wrap or aluminum foil. It will keep at room temperature for up to 4 days. I actually think it tastes even better on day two—the flavors have time to meld and deepen.
Freezing: This bread freezes beautifully. Wrap the cooled loaf (or individual slices) tightly in plastic wrap, then in a layer of foil. Freeze for up to 3 months. To thaw, leave it on the counter for a few hours or pop a frozen slice in the toaster. I always keep a loaf in the freezer for unexpected guests or lazy Sunday mornings.
Reheating: The microwave works in a pinch (about 20 seconds per slice), but the oven or toaster oven gives you a better texture. Warm slices at 300°F for 5-7 minutes.
Nutritional Information & Benefits
Here’s the approximate nutritional breakdown for one slice (based on 10 slices per loaf, without mix-ins):
| Nutrient | Amount per Slice |
|---|---|
| Calories | 285 |
| Total Fat | 12g |
| Saturated Fat | 7g |
| Carbohydrates | 42g |
| Sugar | 24g |
| Fiber | 2g |
| Protein | 4g |
Bananas are a great source of potassium, vitamin B6, and vitamin C. They also provide natural sweetness, which allows us to use a bit less refined sugar than many traditional recipes. The brown butter adds healthy fats that help keep you satisfied. If you’re watching your sugar intake, you can reduce the granulated sugar to 1/2 cup—the bananas provide plenty of sweetness on their own.
This recipe is naturally vegetarian. For a lower-fat version, you can replace half the butter with unsweetened applesauce, though the texture will be slightly less tender.
Conclusion
This cozy one-bowl brown butter banana bread is the kind of recipe that becomes a staple. It’s simple enough for a weekday bake but special enough to bring to a holiday brunch. The brown butter adds a depth of flavor that will make you wonder why you ever made banana bread any other way.
I love that this recipe feels both familiar and new. It’s comfort food, yes, but with a little extra warmth that makes it memorable. Whether you’re baking for yourself, your family, or a neighbor who could use a pick-me-up, this bread delivers. It’s forgiving, adaptable, and honestly, pretty hard to mess up.
I’d love to hear how yours turns out! Did you add chocolate chips? Try the vegan version? Let me know in the comments below—and don’t forget to share a photo if you make it. Happy baking, friends!
Frequently Asked Questions
Can I use frozen bananas for this recipe?
Absolutely! Frozen bananas actually work great. Thaw them completely, then drain off any excess liquid before mashing. The texture will be softer, but the flavor is even more concentrated.
Why did my banana bread sink in the middle?
This usually happens when the bread is underbaked or the oven temperature is too low. Make sure your oven is fully preheated to 350°F, and use the toothpick or thermometer test to confirm doneness. Also, avoid opening the oven door during the first 30 minutes of baking.
Can I make this recipe dairy-free?
Yes! Use a plant-based butter alternative for browning (though note that not all vegan butters brown the same way) and replace the yogurt with a dairy-free yogurt or applesauce. The texture will be slightly different but still delicious.
How do I get that perfect crackly top?
The crackly top comes from the sugar crystallizing on the surface. Make sure your oven is hot enough, and don’t open the door too early. Some bakers swear by letting the batter rest for 10 minutes before baking—it helps the top form that signature crack.
Can I double this recipe?
Definitely! Double all the ingredients and bake in two loaf pans. You can also bake one loaf and use the remaining batter for muffins. Just adjust the baking time accordingly.
Pin This Recipe!
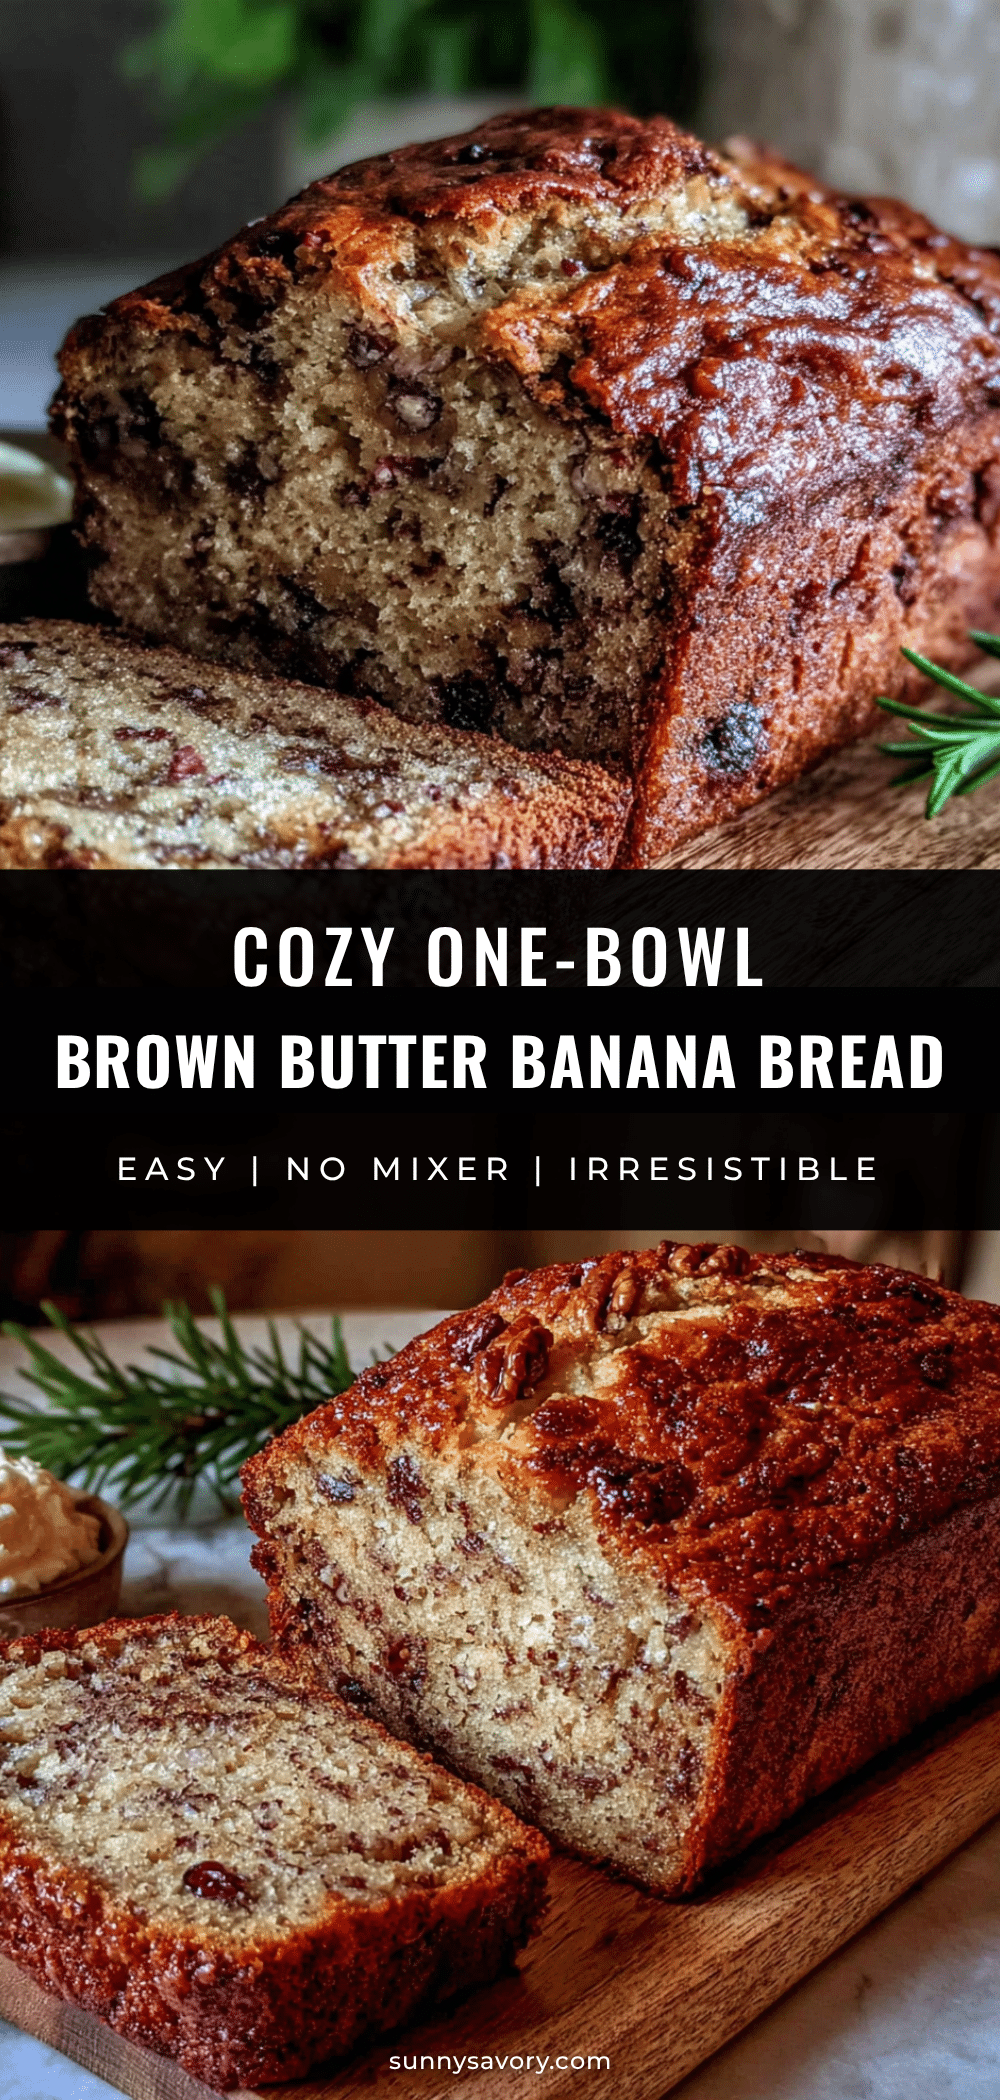
Cozy One-Bowl Brown Butter Banana Bread
This one-bowl banana bread features nutty brown butter for a deeper, cozier flavor. It’s tender, moist, and topped with a signature crackly crust—simple enough for a weekday bake but special enough for company.
- Prep Time: 15 minutes
- Cook Time: 55 minutes
- Total Time: 1 hour 10 minutes
- Yield: 10 servings 1x
- Category: Dessert
- Cuisine: American
Ingredients
- 1/2 cup (1 stick) unsalted butter
- 3 medium ripe bananas (about 1 1/2 cups mashed)
- 3/4 cup granulated sugar
- 1/4 cup packed light brown sugar
- 1 large egg, room temperature
- 1 teaspoon vanilla extract
- 1/4 cup plain yogurt or sour cream
- 1 1/2 cups all-purpose flour
- 1 teaspoon baking soda
- 1/2 teaspoon salt
- 1 teaspoon cinnamon (optional)
- 1/2 cup chopped walnuts, pecans, or chocolate chips (optional)
Instructions
- Preheat oven to 350°F (175°C). Line a 9×5-inch loaf pan with parchment paper, leaving overhang on the long sides.
- Brown the butter: In a light-colored saucepan over medium heat, melt the butter, stirring occasionally. After the butter foams and crackles, watch for brown specks forming at the bottom. When it smells nutty and turns amber (5-7 minutes), remove from heat and pour into a heatproof bowl. Let cool for 10 minutes.
- In a large mixing bowl, mash the bananas with a fork or potato masher until mostly smooth with some small chunks.
- Add granulated sugar and brown sugar to the bananas; whisk to combine. Add cooled brown butter, egg, vanilla, and yogurt (or sour cream); whisk until smooth and glossy.
- Sprinkle flour, baking soda, salt, and cinnamon (if using) over the wet mixture. Fold gently with a rubber spatula until just combined—do not overmix. A few lumps are fine.
- If using mix-ins, fold them in with a few gentle strokes.
- Pour batter into prepared loaf pan and spread evenly. Tap pan on counter to release air bubbles.
- Bake for 50-60 minutes, until a toothpick inserted in the center comes out clean or with a few moist crumbs. Internal temperature should reach 200-205°F (93-96°C).
- Cool in pan on a wire rack for 15 minutes, then lift out using parchment and cool completely on rack.
Notes
Watch the butter carefully—it can go from perfect to burnt in 30 seconds. Use room temperature ingredients for best texture. For gluten-free, substitute 1-to-1 gluten-free flour blend and add an extra tablespoon of yogurt. For vegan, use a flax egg and dairy-free yogurt/butter. Store at room temperature for up to 4 days or freeze for up to 3 months.
Nutrition
- Serving Size: 1 slice (1/10 of loa
- Calories: 285
- Sugar: 24
- Sodium: 220
- Fat: 12
- Saturated Fat: 7
- Carbohydrates: 42
- Fiber: 2
- Protein: 4
Keywords: banana bread, brown butter, one bowl, easy banana bread, moist banana bread, comfort food, fall baking



