Love this? Save it for later!
Share the inspiration with your friends
This was supposed to be a pumpkin loaf. I had the whole thing planned out in my head – a nice, simple, reliable pumpkin bread that I could slice up and share with my book club on Wednesday night. But somewhere between grabbing the wrong measuring cup (the one for liquids, not dry ingredients, rookie move) and realizing my oven was running about 25 degrees cooler than it said it was, the plan fell apart. I was already running late from a phone call that went way too long, and honestly, I was just tired. I looked at the bowl of pumpkin batter, looked at the clock, and thought, well, this isn’t going to work the way I wanted.
So, I did something a little desperate. I scooped the batter into small balls, rolled them in a mix of cinnamon and sugar I had sitting out, and threw them on a baking sheet. I figured I’d have some sad, flat little cookies that maybe tasted okay. What came out of the oven was nothing like the plan – and so much better. They were puffy, soft, and covered in that sparkly cinnamon sugar. The kitchen smelled like a hug. I grabbed one while it was still warm, and it just sort of melted in my mouth. My book club didn’t get pumpkin bread that night. They got these, and honestly, nobody complained.
Maybe you’ve been there, standing in your kitchen, staring at a half-failed project, wondering if you should just order pizza. I think that’s why I keep making these cookies. They remind me that sometimes the best things happen when you stop trying so hard. They’re cozy, forgiving, and they taste like a happy accident you get to enjoy over and over again.
Why You’ll Love This Recipe
Let me tell you, I have tested a lot of pumpkin cookies in my time. Some are too cakey, some are too flat, and some just taste like spiced air. These ones? They are the real deal. I’ve made them for Thanksgiving potlucks, for lazy Sunday afternoons, and even for a stressed-out friend who just needed a pick-me-up. Every single time, they get that little “wow” reaction. Here is why I think they work so well:
- Quick & Easy: From start to finish, you are looking at about 25 minutes. No chilling the dough, no complicated steps. Just mix, scoop, roll, and bake. Perfect for when that pumpkin craving hits out of nowhere.
- Simple Ingredients: You probably have most of this stuff in your pantry right now. Canned pumpkin, butter, sugar, flour, eggs – nothing fancy. I promise you don’t need to make a special trip to some specialty grocery store.
- Perfect for Cozy Evenings: These cookies are basically made for a cold, rainy night. Pair them with a cup of hot cider or a chai latte, and you have instant comfort.
- Crowd-Pleaser: I have watched kids and adults alike go back for thirds. They have that classic snickerdoodle tang from the cream of tartar, plus the warm, earthy sweetness of pumpkin. It is a combination that just works.
- Unbelievably Delicious: The texture is what gets everyone. They are soft – almost like a little pumpkin cloud – with a slightly crisp, sugary exterior. It’s next-level comfort food, no question.
What makes this recipe different from all the others? It’s the texture. I spent a lot of time figuring out the right ratio of pumpkin to flour so the cookies stay puffy and soft without getting gummy. The secret is not over-mixing the dough and using a little cornstarch to keep them tender. This isn’t just another pumpkin cookie recipe – it’s the one I keep coming back to, year after year.
What Ingredients You Will Need
This recipe relies on a handful of pantry staples that come together to create something truly special. Each ingredient plays a specific role, from giving the cookies their signature softness to that classic snickerdoodle flavor. Here is what you will need to gather:
- Unsalted Butter: 1/2 cup (1 stick), softened to room temperature. I use unsalted so I can control the salt level. Let it sit out for about 30 minutes before you start.
- Granulated Sugar: 1 cup. This gives the cookies sweetness and helps them spread just the right amount.
- Pumpkin Purée: 1/2 cup. Make sure you grab 100% pure pumpkin purée, not pumpkin pie filling. The pie filling has added sugar and spices that will throw off the whole recipe. Libby’s is my go-to brand.
- Large Egg: 1, at room temperature. This helps bind everything together. If you forget to take it out of the fridge, just put it in a bowl of warm water for 5 minutes.
- Vanilla Extract: 1 teaspoon. Pure vanilla is best, but imitation will work in a pinch.
- All-Purpose Flour: 1 and 3/4 cups. Spoon and level your flour – don’t scoop directly from the bag or you might end up with dry cookies.
- Cornstarch: 1 tablespoon. This is my secret weapon for extra soft cookies. It helps create that tender, melt-in-your-mouth texture.
- Cream of Tartar: 1 teaspoon. This is what gives snickerdoodles their signature tangy flavor. Don’t skip it! If you don’t have it, see the substitution note below.
- Baking Soda: 1/2 teaspoon. Helps the cookies rise and spread.
- Salt: 1/4 teaspoon. Just a pinch to balance the sweetness.
- Pumpkin Pie Spice: 1 teaspoon. You can use store-bought or make your own by mixing cinnamon, nutmeg, ginger, and cloves.
- Cinnamon: 1/2 teaspoon. Adds extra warmth to the dough.
For the Cinnamon Sugar Coating:
- Granulated Sugar: 1/4 cup.
- Cinnamon: 1 tablespoon.
Ingredient Substitution Notes:
- No cream of tartar? You can substitute with 2 teaspoons of lemon juice or white vinegar added to the wet ingredients. It won’t be quite the same, but it will work in a bind.
- Gluten-free option: Swap the all-purpose flour for a 1:1 gluten-free baking blend. I recommend King Arthur’s Measure for Measure. The texture will be slightly different, but still delicious.
- Dairy-free option: Use a high-quality vegan butter stick, like Miyoko’s or Country Crock Plant Butter. Make sure it’s the stick form, not the spreadable tub.
Equipment Needed
You don’t need a fancy kitchen to make these cookies. Here is what I use and a few tips I’ve picked up along the way:
- Mixing Bowls: You will need one large bowl for the wet ingredients and one medium bowl for the dry ingredients. I love my set of glass nesting bowls – they don’t hold onto smells.
- Electric Hand Mixer or Stand Mixer: A hand mixer works perfectly for creaming the butter and sugar. If you are using a stand mixer, use the paddle attachment. You can do it by hand with a wooden spoon, but it will take some elbow grease.
- Baking Sheets: Two standard half-sheet pans are ideal. I’ve used cheaper, dark-colored pans before, and they tend to brown the bottoms of the cookies faster. If that’s all you have, just keep an eye on the baking time.
- Parchment Paper or Silicone Baking Mat: This is a must. It prevents sticking and makes cleanup a breeze. I prefer parchment paper because it gives the cookies a slightly softer bottom.
- Cookie Scoop: A 1.5-tablespoon cookie scoop (about the size of a walnut) is perfect for uniform cookies. If you don’t have one, just use a regular spoon – the cookies might be slightly different sizes, but they will still taste the same.
- Cooling Rack: Important for letting the cookies cool properly so they don’t get soggy on the bottom.
- Small Bowl: For mixing the cinnamon sugar coating.
Preparation Method
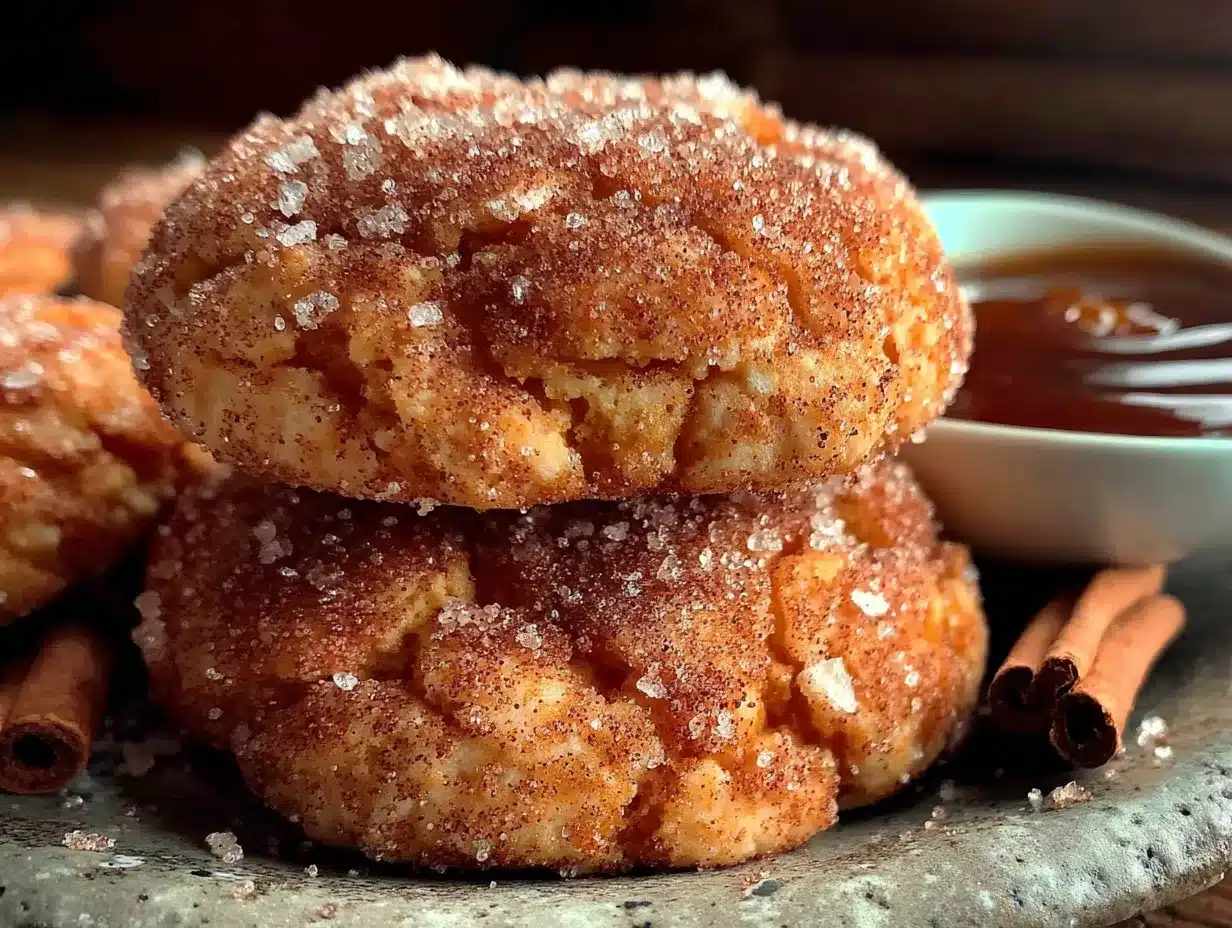
Alright, let’s get to the fun part. Follow these steps, and you will have a tray of cozy pumpkin snickerdoodles in no time. I have added some little notes from my own trial-and-error sessions to help you out.
- Preheat and Prep: Preheat your oven to 350°F (175°C). Line two baking sheets with parchment paper or silicone mats. This is a good time to make sure your butter and egg are at room temperature – cold ingredients don’t mix well and can make the dough lumpy.
- Make the Cinnamon Sugar Coating: In a small bowl, whisk together the 1/4 cup of granulated sugar and 1 tablespoon of cinnamon. Set it aside for later. I like to use a fork for this – it breaks up any clumps in the cinnamon.
- Cream the Butter and Sugar: In a large mixing bowl, beat the softened butter and 1 cup of granulated sugar together until it looks light and fluffy. This takes about 2-3 minutes with a hand mixer on medium speed. You want it to look pale and a little bit like whipped frosting. Scrape down the sides of the bowl with a spatula halfway through. Personal tip: Don’t rush this step. The fluffier your butter and sugar are, the softer your cookies will be.
- Add the Wet Ingredients: Beat in the pumpkin purée, the room-temperature egg, and the vanilla extract. Mix on low speed until everything is just combined. The mixture might look a little curdled or separated at this point – that’s totally normal! The pumpkin and butter don’t always want to be friends right away, but the flour will bring them together.
- Whisk the Dry Ingredients: In a separate medium bowl, whisk together the all-purpose flour, cornstarch, cream of tartar, baking soda, salt, pumpkin pie spice, and cinnamon. Whisking ensures everything is evenly distributed. I learned the hard way that just dumping the baking soda in can leave you with a bitter pocket in one cookie.
- Combine Wet and Dry: Gradually add the dry ingredients to the wet ingredients, mixing on low speed. Stop as soon as the flour disappears. Do not over-mix! Over-mixing develops the gluten in the flour and will make your cookies tough instead of tender. If you see a few tiny streaks of flour, that’s okay. You can fold them in gently with a spatula.
- Scoop and Roll: Use your cookie scoop to portion out the dough. It will be a little sticky – that’s normal. Roll each portion into a ball between your palms. Then, drop the dough ball into the bowl of cinnamon sugar and roll it around until it’s completely coated. Place the coated balls on the prepared baking sheets, leaving about 2 inches of space between each one. They will spread a little, but not a ton.
- Bake: Bake for 10-12 minutes. The cookies will look puffy and the edges will look set. The centers might look slightly underdone and a little crackly – that is exactly what you want. Warning: Do not overbake them! They will continue to cook on the hot baking sheet after you pull them out. If you wait until they look fully done in the oven, they will be dry.
- Cool: Let the cookies cool on the baking sheet for about 5 minutes. This is crucial. They are very fragile when they are hot. After 5 minutes, use a thin spatula to transfer them to a wire cooling rack to cool completely. The tops will get that lovely, crinkly snickerdoodle look as they cool.
Cooking Tips & Techniques
Over the years, I have made a lot of mistakes with cookies. I have baked flat ones, burnt ones, and ones that tasted like baking soda. Here are the lessons I learned so you don’t have to repeat them.
- The Room Temperature Rule: This is not just a suggestion. Cold butter won’t cream properly with the sugar, and you will end up with dense, greasy cookies. A cold egg can also shock the batter. Set your ingredients out 30-45 minutes before you start.
- Don’t Skip the Cornstarch: I know it seems like an extra step, but it makes a huge difference. Cornstarch inhibits gluten formation, which is what keeps these cookies soft and tender instead of chewy or tough.
- The Cream of Tartar is Non-Negotiable: This is the ingredient that gives snickerdoodles their identity. It reacts with the baking soda to create a slightly tangy, complex flavor that plain sugar cookies just don’t have. If you don’t have it, you are essentially making a pumpkin sugar cookie – which is fine, but it’s not a snickerdoodle.
- Chill if You Must, But You Don’t Have To: This dough does not need to be chilled. However, if your kitchen is very warm or your butter got too soft, the dough might be too sticky to roll. Just pop the bowl in the fridge for 15-20 minutes, and it will firm right up.
- Baking Sheet Temperature: Always start with a cool baking sheet. If you put dough on a hot sheet, the butter will melt too fast and your cookies will spread into thin, flat puddles. I like to rotate my pans halfway through baking for even color.
Variations & Adaptations
One of the best things about this recipe is how flexible it is. I have messed around with it quite a bit, and here are some of my favorite variations:
- Maple Pumpkin Snickerdoodles: Replace the granulated sugar in the dough with 3/4 cup of maple sugar, or add 2 tablespoons of pure maple syrup along with the wet ingredients. The maple flavor pairs beautifully with the pumpkin and cinnamon. Just note that the cookies might spread a tiny bit more.
- Gluten-Free Version: Like I mentioned earlier, a 1:1 gluten-free baking blend works great. I also add an extra tablespoon of cornstarch to help with the texture. They will be a little more delicate, so handle them gently when moving them to the cooling rack.
- Pumpkin Chocolate Chip Snickerdoodles: Fold in 1/2 cup of semi-sweet chocolate chips or white chocolate chips after you mix the dough. The little pockets of melted chocolate take these over the top. I did this on a whim one rainy Tuesday, and it was a game-changer.
- Spiced-Up Coating: Add a pinch of nutmeg, ginger, or even a tiny pinch of cardamom to the cinnamon sugar coating. It gives the cookies a more complex, chai-like flavor profile.
- Vegan Adaptation: Use a flax egg (1 tablespoon ground flaxseed mixed with 3 tablespoons water, let sit for 5 minutes) and a vegan butter stick. The texture will be slightly less tender, but the flavor is still spot on.
Serving & Storage Suggestions
These cookies are best served warm, when the centers are still soft and the cinnamon sugar is practically shimmering. I like to set them out on a pretty plate with a steaming mug of chai tea or a hot apple cider. They are also fantastic with a scoop of vanilla bean ice cream for a quick dessert.
If you have leftovers (which, honestly, is rare in my house), here is how to store them:
- At Room Temperature: Store the cookies in an airtight container at room temperature for up to 4 days. I put a slice of plain bread in the container – the cookies will absorb the moisture from the bread and stay soft. Swap the bread out every day.
- In the Freezer: These cookies freeze beautifully. Let them cool completely, then place them in a single layer in a freezer-safe bag or container. They will keep for up to 3 months. To thaw, just leave them on the counter for about 30 minutes, or pop them in a 300°F oven for 5 minutes to warm them up.
- Flavor Development: Honestly, these cookies taste even better the next day. The pumpkin and spice flavors have time to meld together, and the texture stays perfectly soft. If you can resist eating them all right away, you are in for a treat.
Nutritional Information & Benefits
Let’s be real – these are cookies, not health food. But they do have a few redeeming qualities! Here is a rough estimate of the nutritional info per cookie (based on making about 22 cookies):
- Calories: ~145
- Fat: 5g
- Carbohydrates: 23g
- Sugar: 14g
- Protein: 2g
- Fiber: 1g
The pumpkin purée is a nice bonus – it’s packed with Vitamin A (great for your eyes and immune system) and fiber. The cinnamon also has anti-inflammatory properties. So, while I wouldn’t call these a superfood, they are certainly a more wholesome choice than a lot of store-bought cookies. They are a perfect fall treat that feels a little bit indulgent and a little bit nourishing at the same time.
Dietary Considerations: This recipe contains gluten, dairy, and eggs. For gluten-free and vegan options, please see the variations section above.
Conclusion
I think that’s why this recipe has become such a staple in my kitchen. It started as a mistake, a moment of frustration, and turned into something I genuinely look forward to making every fall. These cookies are forgiving, flexible, and they make your whole house smell like the best kind of comfort. Whether you are baking for a crowd, for a quiet night in, or just because you need a little pick-me-up, I really hope you give them a try.
Don’t be afraid to make them your own. Add some chocolate chips, throw in a little extra cinnamon, or double the batch because, trust me, one batch is never enough. If you make them, I would love to hear about it. Leave a comment below and tell me how they turned out, or share a photo with me on social media. Happy baking, friends!
Frequently Asked Questions
Can I use pumpkin pie filling instead of pumpkin purée?
No, please don’t! Pumpkin pie filling has added sugar, spices, and thickeners that will completely change the texture and sweetness of the cookies. You need 100% pure pumpkin purée for this recipe to work correctly.
Why did my cookies turn out flat?
Flat cookies usually happen for a few reasons. Your butter might have been too soft or melted, or your baking soda might be old and inactive. Also, make sure you are not over-mixing the dough after adding the flour, as that can weaken the structure.
Can I make the dough ahead of time?
Absolutely! You can prepare the dough and keep it covered in the refrigerator for up to 2 days. Just let it sit at room temperature for about 10-15 minutes before scooping and rolling, as it will be quite firm when cold.
Do I have to use cream of tartar?
For the classic snickerdoodle flavor, yes. It provides that signature tangy taste and helps with the texture. If you absolutely don’t have it, see the substitution note in the ingredients section above.
How do I know when the cookies are done baking?
Look for puffy cookies with set edges and slightly crackly tops. The centers will look a little soft and underdone – that is perfect. Remember, they will continue to bake on the hot sheet for a few minutes after you pull them out of the oven.
Pin This Recipe!
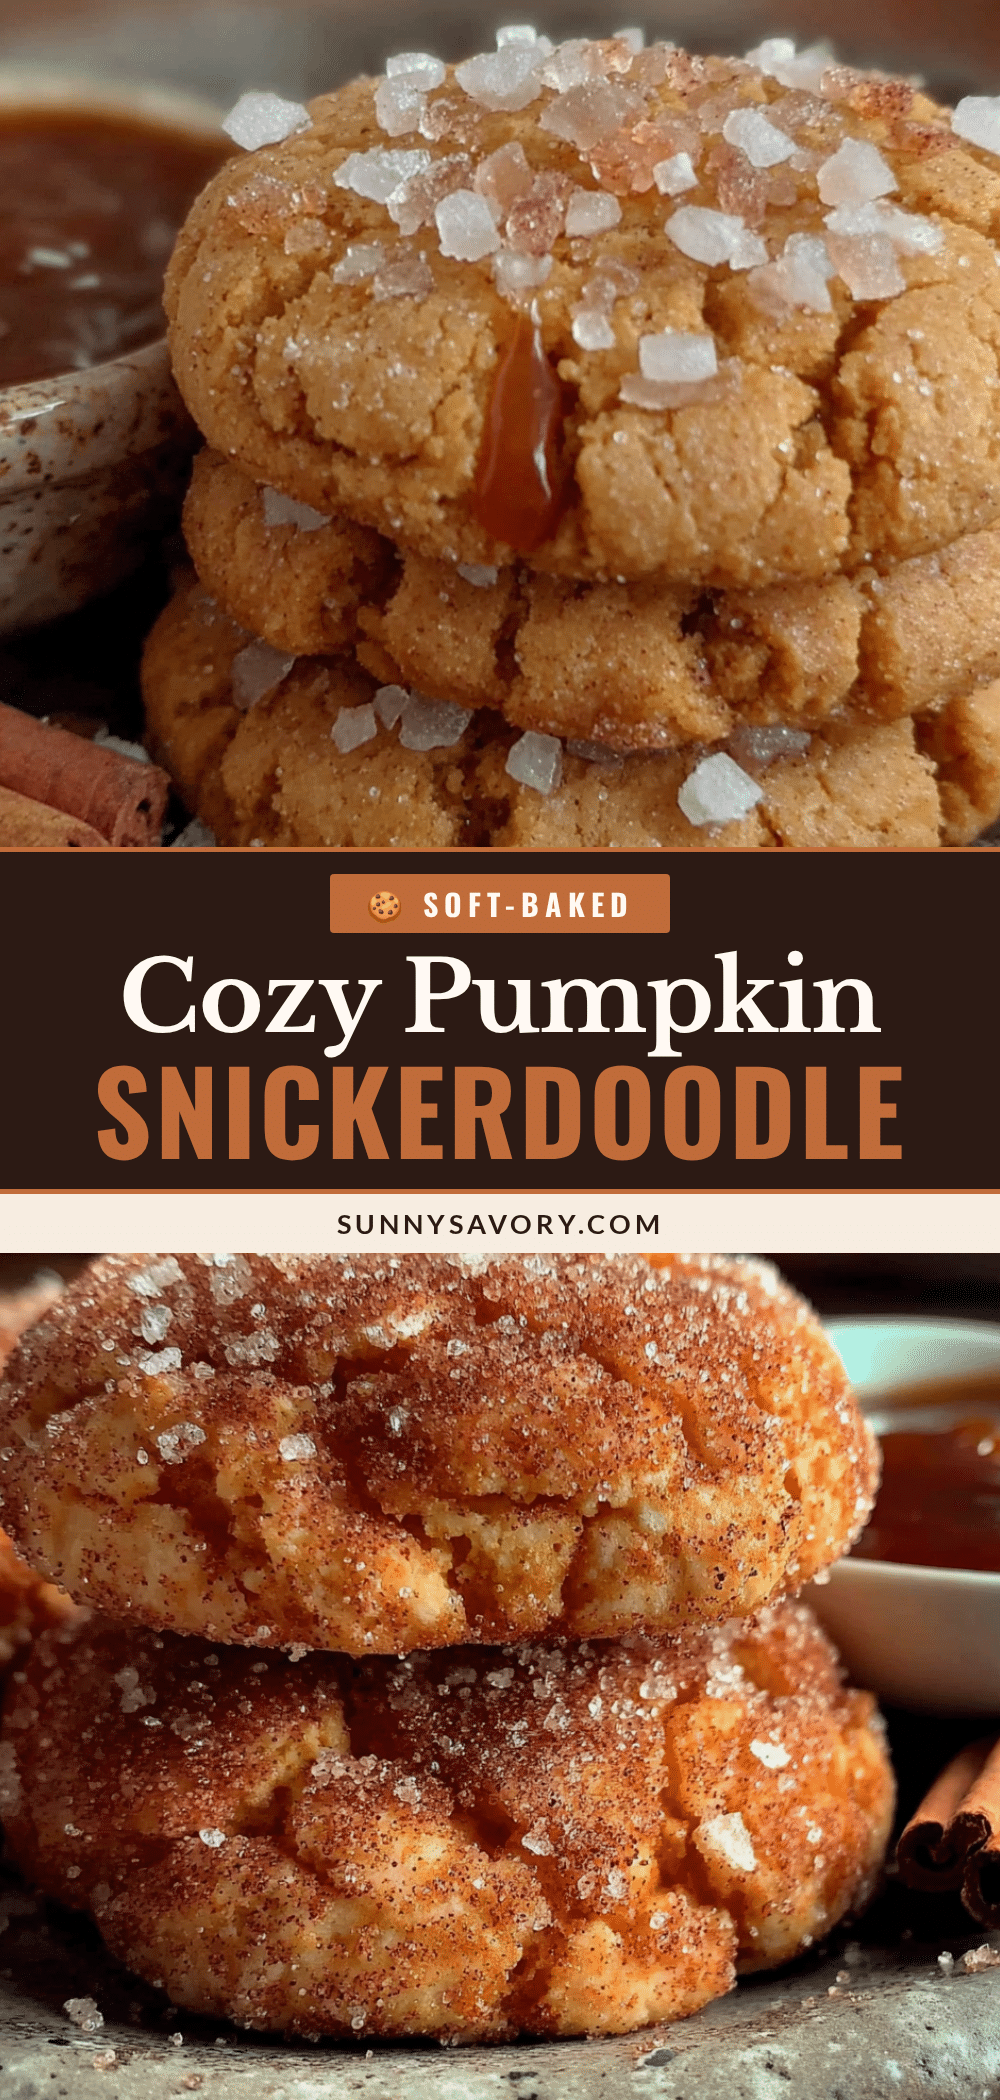
Cozy Soft-Baked Pumpkin Snickerdoodle Cookies
These soft-baked pumpkin snickerdoodle cookies are a cozy, forgiving treat that came from a happy accident. They are quick to make, use simple ingredients, and have a perfect pumpkin cloud texture with a sparkly cinnamon sugar coating.
- Prep Time: 15 minutes
- Cook Time: 12 minutes
- Total Time: 27 minutes
- Yield: 22 cookies 1x
- Category: Dessert
- Cuisine: American
Ingredients
- 1/2 cup (1 stick) unsalted butter, softened to room temperature
- 1 cup granulated sugar
- 1/2 cup 100% pure pumpkin purée (not pumpkin pie filling)
- 1 large egg, at room temperature
- 1 teaspoon vanilla extract
- 1 and 3/4 cups all-purpose flour
- 1 tablespoon cornstarch
- 1 teaspoon cream of tartar
- 1/2 teaspoon baking soda
- 1/4 teaspoon salt
- 1 teaspoon pumpkin pie spice
- 1/2 teaspoon cinnamon
- For the Cinnamon Sugar Coating:
- 1/4 cup granulated sugar
- 1 tablespoon cinnamon
Instructions
- Preheat your oven to 350°F (175°C). Line two baking sheets with parchment paper or silicone mats.
- In a small bowl, whisk together the 1/4 cup of granulated sugar and 1 tablespoon of cinnamon for the coating. Set aside.
- In a large mixing bowl, beat the softened butter and 1 cup of granulated sugar together until light and fluffy, about 2-3 minutes with a hand mixer on medium speed. Scrape down the sides halfway through.
- Beat in the pumpkin purée, room-temperature egg, and vanilla extract on low speed until just combined. The mixture may look slightly curdled; that’s normal.
- In a separate medium bowl, whisk together the all-purpose flour, cornstarch, cream of tartar, baking soda, salt, pumpkin pie spice, and cinnamon.
- Gradually add the dry ingredients to the wet ingredients, mixing on low speed until just combined. Do not over-mix. Fold in any remaining streaks of flour gently with a spatula.
- Using a cookie scoop (about 1.5 tablespoons), portion out the dough. Roll each portion into a ball between your palms, then roll in the cinnamon sugar mixture until completely coated. Place on the prepared baking sheets, leaving about 2 inches of space between each.
- Bake for 10-12 minutes. The cookies will look puffy with set edges and slightly crackly, underdone centers. Do not overbake.
- Let the cookies cool on the baking sheet for 5 minutes, then transfer to a wire cooling rack to cool completely.
Notes
For best results, ensure butter and egg are at room temperature. Do not over-mix the dough. The cookies will continue to bake on the hot sheet after removal. For a gluten-free version, use a 1:1 gluten-free baking blend. For a dairy-free version, use vegan butter sticks. Store in an airtight container at room temperature for up to 4 days or freeze for up to 3 months.
Nutrition
- Serving Size: 1 cookie
- Calories: 145
- Sugar: 14
- Sodium: 95
- Fat: 5
- Saturated Fat: 3
- Carbohydrates: 23
- Fiber: 1
- Protein: 2
Keywords: pumpkin snickerdoodle, soft baked cookies, pumpkin cookies, fall cookies, easy pumpkin recipe



