Love this? Save it for later!
Share the inspiration with your friends
I wasn’t expecting baking advice from my accountant, but there I was, sitting in his cluttered office on a grey November afternoon, watching him scribble something on a sticky note while I waited for my tax documents. He slid it across the desk—a recipe for peanut butter blossom cookies, written in shaky blue ink. “My wife makes these every Christmas,” he said, shrugging like it was no big deal. “They’re the only reason I look forward to December.” Honestly, I almost laughed. This was the same man who spent twenty minutes explaining depreciation schedules to me, and now he was handing me cookie wisdom like it was the most natural thing in the world.
That sticky note sat in my purse for three weeks before I finally tried the recipe. And let me tell you—I should have made them sooner. These cozy soft peanut butter blossom cookies with chocolate kisses are everything a comfort cookie should be. They’re tender, almost melt-in-your-mouth soft, with that perfect salty-sweet thing happening between the peanut butter dough and the rich chocolate kiss on top. The first batch I made disappeared before they even cooled completely. My husband walked through the kitchen, grabbed one, and just stood there chewing with this look on his face like he’d forgotten what good cookies tasted like.
I’ve tweaked the original recipe a bit—added a little more butter for softness, adjusted the sugar ratio so they stay tender for days—and now this is the version I come back to every time the weather turns cold or I need something that feels like a hug. Maybe you’ve had a recipe like that, the one that finds you when you least expect it and becomes part of your rotation forever. These cookies are that for me now. And honestly? I think my accountant would approve.
Why You’ll Love This Recipe
Look, I’ve made a lot of cookies in my time. Some turned out great, some turned out flat and sad, and some got eaten before I could even photograph them for the blog. This recipe falls firmly in the “great” category, and here’s why you’re going to want it in your back pocket.
- Quick & Easy: From start to finish, you’re looking at about 30 minutes. No chilling the dough, no complicated steps—just mix, roll, bake, and press those chocolate kisses in. Perfect for when you need cookies now.
- Simple Ingredients: You probably have everything in your pantry already. Peanut butter, sugar, butter, flour, eggs—the usual suspects. No weird specialty items that force a trip to three different grocery stores.
- Perfect for Cozy Evenings: These are cold-weather cookies, through and through. They’re the kind you make when there’s snow in the forecast or you’ve had a rough Tuesday and need something sweet to reset the day.
- Crowd-Pleaser: I’ve brought these to holiday parties, potlucks, and casual get-togethers, and they always get that “wait, who made these?” reaction. Kids love them, adults love them—they’re basically universal.
- Unbelievably Soft: The texture is the real star here. These aren’t crunchy peanut butter cookies. They’re soft, tender, almost pillowy—the kind that bend slightly before they break, with that chocolate kiss adding just the right amount of contrast.
What makes this version different from the classic recipe you might already know? Two things. First, I use a blend of brown and granulated sugar instead of all white sugar. The brown sugar adds moisture and that subtle molasses note that makes the peanut butter flavor sing. Second, I roll the dough balls in extra sugar before baking—not just a dusting, but a good coating—which gives them a slightly crisp exterior that gives way to that soft center. It’s a small thing, but it makes a big difference.
This recipe isn’t just good—it’s the kind that makes you close your eyes after the first bite. It’s comfort food reimagined, with the same soul-soothing satisfaction you remember from childhood but dialed up just a notch. And you can make it without breaking a sweat.
What Ingredients You Will Need
This recipe uses simple, wholesome ingredients to deliver bold flavor and satisfying texture without the fuss. Most of these are pantry staples, which means you can probably whip up a batch without a special shopping trip. Here’s what you’ll need:
For the Cookie Dough
- 1/2 cup (113g) unsalted butter, softened — I use Land O’Lakes for consistent results. Make sure it’s truly softened, not melted. You want it to be at room temperature, so it creams properly with the sugars.
- 1/2 cup (100g) granulated sugar — This adds sweetness and helps with spread. You’ll also need extra for rolling the dough balls later.
- 1/2 cup (100g) packed light brown sugar — The brown sugar adds moisture and a deeper flavor. Don’t skip it—it’s what keeps these cookies soft for days.
- 1/2 cup (130g) creamy peanut butter — I recommend Skippy or Jif for the best texture. Natural peanut butter that separates can make the cookies greasy and cause them to spread too much. Stick with the processed stuff here—it works better.
- 1 large egg, room temperature — Room temperature eggs incorporate more evenly into the batter. If you forgot to take one out of the fridge, place it in a bowl of warm water for 5 minutes.
- 1 teaspoon vanilla extract — Pure vanilla extract adds warmth. Imitation works in a pinch, but the real thing makes a difference.
- 1 1/2 cups (190g) all-purpose flour — Spoon and level your flour for accuracy. Scooping directly from the bag can pack in too much flour and make dry cookies.
- 1 teaspoon baking soda — This helps the cookies rise and stay tender. Make sure it’s fresh—old baking soda won’t give you the same lift.
- 1/2 teaspoon salt — Salt balances the sweetness and enhances the peanut butter flavor. If you’re using salted butter, you can reduce this to 1/4 teaspoon.
For the Topping
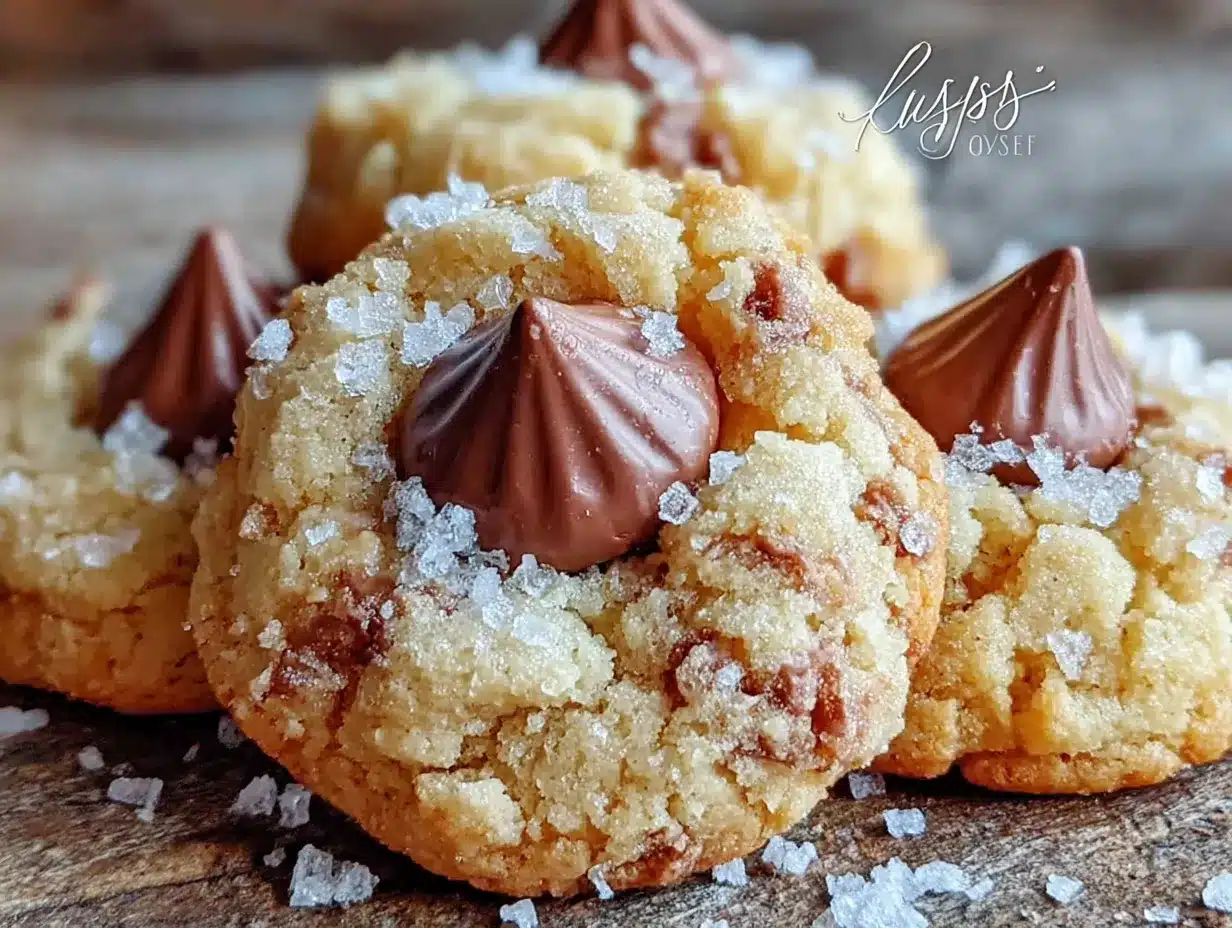
- About 36 chocolate kiss candies, unwrapped — Hershey’s Kisses are the classic choice. Milk chocolate is traditional, but dark chocolate or white chocolate kisses work beautifully too. You’ll need to unwrap them while the cookies bake, so have them ready to go.
- Additional granulated sugar for rolling — About 1/4 cup, placed in a small bowl. This gives the cookies that sparkly, slightly crunchy exterior.
Ingredient Tips: For the softest cookies, make sure your butter is truly softened but not melted. If you’re in a hurry, cut the butter into small cubes and let it sit for 15 minutes. Also, don’t be tempted to use crunchy peanut butter—the chunks can interfere with the cookie’s texture and make it harder to press the chocolate kiss in without the cookie cracking. Stick with creamy.
Substitution Guidance: Need a dairy-free option? Use plant-based butter sticks (I like Country Crock Plant Butter) and make sure your chocolate kisses are dairy-free—Enjoy Life makes good ones. For a gluten-free version, swap the all-purpose flour with a 1:1 gluten-free baking flour blend. I’ve had good results with Bob’s Red Mill. The texture will be slightly different, but still delicious.
Equipment Needed
Nothing fancy here—these cookies don’t require any special equipment. Here’s what you’ll need:
- Electric mixer (hand or stand) — A hand mixer works perfectly. If you’re using a stand mixer, use the paddle attachment. You can mix by hand with a wooden spoon, but it takes a bit more elbow grease to get the butter and sugars properly creamed.
- Large mixing bowl — For the dough. Glass or metal both work fine.
- Medium mixing bowl — For whisking together the dry ingredients.
- Baking sheets — I use two rimmed baking sheets so I can bake two batches at once. If you only have one, let it cool completely between batches—putting dough on a hot sheet causes spreading.
- Parchment paper or silicone baking mat — Parchment paper makes cleanup easy and prevents sticking. Silicone mats work great too, but they can sometimes cause cookies to spread slightly more.
- Cookie scoop (about 1.5 tablespoons) or measuring spoon — For uniform dough balls. A #40 cookie scoop is perfect. Uniform size means even baking.
- Small bowl — For the extra sugar you’ll roll the dough balls in.
- Cooling rack — Wire racks let air circulate so the cookies cool evenly. If you don’t have one, you can let them cool on the baking sheet, but they’ll take longer.
I’ve made these cookies with everything from a fancy KitchenAid stand mixer to a $15 hand mixer from the drugstore, and honestly? They turn out great either way. Don’t overthink the equipment. The most important tool here is your patience when it comes to not overbaking them—but we’ll get to that.
Preparation Method
Alright, let’s make some cookies. Preheat your oven to 375°F (190°C) and line your baking sheets with parchment paper. Now, let’s get to work.
- Cream the butter and sugars. In your large mixing bowl, beat the softened butter, granulated sugar, and brown sugar together until light and fluffy—about 2 to 3 minutes with an electric mixer on medium speed. You’re looking for a pale, creamy mixture that looks almost like frosting. Scrape down the sides of the bowl halfway through. This step is crucial because it incorporates air into the dough, which helps the cookies rise and stay tender.
- Add the peanut butter, egg, and vanilla. Beat in the creamy peanut butter until fully combined, then add the egg and vanilla extract. Mix on low speed until just incorporated. Don’t overmix here—you just want everything to come together. The mixture might look a little separated or grainy at this point, and that’s totally normal. Keep going.
- Whisk the dry ingredients together. In your medium bowl, whisk together the all-purpose flour, baking soda, and salt. This ensures the baking soda is evenly distributed so you don’t end up with one cookie that’s super puffy and another that’s flat.
- Combine wet and dry ingredients. Gradually add the flour mixture to the wet ingredients, mixing on low speed. I usually add it in three additions, mixing just until the flour disappears each time. The dough will be thick and slightly sticky—that’s what you want. If it feels too sticky to handle, you can refrigerate it for 15 minutes, but I usually don’t need to.
- Shape the dough balls. Scoop about 1.5 tablespoons of dough (a #40 scoop is perfect) and roll it between your palms into a smooth ball. The dough should be easy to roll—if it’s sticking to your hands too much, lightly dampen your hands with water. Roll each ball in the bowl of extra granulated sugar until it’s completely coated, then place it on the prepared baking sheet. Space them about 2 inches apart—they’ll spread a bit, but not excessively.
- Bake. Bake for 10 to 12 minutes, or until the cookies are puffed and lightly golden around the edges. The centers will still look slightly soft and underdone—that’s exactly what you want. Overbaked peanut butter cookies turn dry and crumbly. Pull them out when the edges are set but the centers still look a little puffy and soft. Trust me on this.
- Add the chocolate kisses immediately. This part requires speed. As soon as the cookies come out of the oven, gently press a chocolate kiss into the center of each cookie. Press just until the cookie cracks slightly around the edges—don’t push all the way through. The heat from the cookie will soften the chocolate just enough. If you wait too long, the cookies will start to cool and the chocolate won’t adhere properly, so have your kisses unwrapped and ready to go before the oven timer goes off.
- Cool on the baking sheet. Let the cookies cool on the baking sheet for about 5 minutes. This allows them to set up enough that they won’t fall apart when you move them. Then transfer them to a wire cooling rack to cool completely. The chocolate kisses will firm up as they cool.
Pro tip: If the chocolate kisses start to slide off or tilt while the cookies are cooling, don’t panic. Just gently nudge them back into place with your finger. The warm chocolate will reseal itself. I’ve done this more times than I care to admit.
Cooking Tips & Techniques
I’ve made these cookies probably fifty times by now, and I’ve learned a few things the hard way. Here’s what I wish someone had told me the first time:
Don’t overbake. I cannot stress this enough. Peanut butter cookies are notorious for going from perfectly soft to dry and crumbly in about 90 seconds. The cookies will continue to bake on the hot baking sheet even after you take them out of the oven, so pull them when the edges are just barely golden and the centers still look soft. They’ll set up perfectly as they cool.
Use room temperature ingredients. Cold butter doesn’t cream properly, and cold egg can cause the dough to seize up. Take your butter and egg out of the fridge about 30 minutes before you start baking. If you forgot, cut the butter into small cubes and let it sit for 15 minutes, and place the egg in a bowl of warm water for 5 minutes. It makes a real difference in the texture.
Space your cookies properly. I know it’s tempting to cram as many cookies as possible onto one sheet, but they need room to spread. Two inches apart is the minimum. You’ll get about 12 cookies per standard baking sheet, which means you’ll probably need to bake in batches. Let the baking sheet cool completely between batches—putting dough on a hot sheet causes immediate spread, and you’ll end up with flat, thin cookies.
Have your kisses ready before the oven beeps. This is the biggest rookie mistake I see. The cookies need that chocolate kiss pressed in while they’re still piping hot, and you don’t want to be frantically unwrapping foil while the cookies cool and harden. Unwrap all your kisses before you even start mixing the dough. Trust me on this one—I learned the hard way.
Press gently but firmly. When you add the chocolate kiss, press it in until the cookie cracks slightly around the edges. If you don’t press hard enough, the kiss will just sit on top and fall off when you move the cookie. Press too hard, and you’ll push it right through the bottom. You’re looking for that sweet spot where the chocolate is nestled in but still visible.
Variations & Adaptations
One of the best things about this recipe is how easily it adapts to different tastes and dietary needs. Here are some variations I’ve tried and loved:
Dark Chocolate Lovers: Swap the milk chocolate kisses for dark chocolate ones. The bitterness of the dark chocolate plays beautifully against the sweet, salty peanut butter dough. I’ve also used Ghirardelli dark chocolate melting wafers in a pinch—they’re a little larger than kisses, so you might need to adjust the baking time slightly.
White Chocolate Peanut Butter Blossoms: This sounds weird, but trust me—white chocolate kisses (or white chocolate chips pressed in) create a completely different cookie. The sweetness is more pronounced, and the visual contrast is gorgeous. These are great for holiday cookie platters because they look so different from the classic version.
Gluten-Free Version: I’ve tested this with Bob’s Red Mill 1:1 Gluten-Free Baking Flour, and it works surprisingly well. The cookies are slightly more delicate, so be gentle when pressing in the chocolate kisses. You might need to add a tablespoon of milk to the dough if it seems too dry—gluten-free flours can be thirsty.
Vegan Adaptation: Use plant-based butter (I like Miyoko’s), a flax egg (1 tablespoon ground flaxseed mixed with 3 tablespoons water, let sit for 5 minutes), and dairy-free chocolate kisses. The texture will be a little less tender, but the flavor is still spot-on. Make sure your sugar is vegan-friendly too—some brands use bone char in processing.
Spiced Peanut Butter Blossoms: Add 1/2 teaspoon of cinnamon and a pinch of nutmeg to the dry ingredients. The warmth of the spices makes these taste even more like the holidays. I made a batch of these for a cookie swap last December, and they were the first ones to disappear from the table.
Mini Version: Use a teaspoon-sized scoop and bake for 7 to 9 minutes. Press in mini chocolate kisses or chocolate chips. These are perfect for snacking without the commitment of a full-sized cookie, and they’re adorable on a dessert board.
Serving & Storage Suggestions
These cookies are best enjoyed slightly warm, when the chocolate kiss is still a little soft and the cookie is tender. That first bite—where the chocolate gives way and the peanut butter flavor hits—is pure magic. But they’re also fantastic at room temperature, especially with a glass of cold milk or a hot cup of coffee.
Serving Ideas: Arrange them on a platter with other holiday cookies for a cookie exchange. Pair them with a scoop of vanilla ice cream for an indulgent dessert. Or just grab one (or three) whenever you need a little pick-me-up. They’re also great for lunchboxes—the chocolate stays intact once fully cooled, so they don’t make a mess.
Storage: Store the cookies in an airtight container at room temperature for up to 5 days. I like to layer them between sheets of parchment paper to keep the chocolate kisses from sticking to each other. They stay soft and tender for days—if they last that long in your house.
Freezer Instructions: These cookies freeze beautifully. Place the fully cooled cookies in a single layer on a baking sheet and freeze until solid (about 2 hours), then transfer them to a freezer-safe bag or container. They’ll keep for up to 3 months. To thaw, just let them sit at room temperature for about 30 minutes. You can also freeze the unbaked dough balls—just roll them in sugar, place them on a baking sheet, freeze until solid, then transfer to a bag. Bake from frozen, adding 2 to 3 minutes to the baking time.
Reheating: If you want that just-baked warmth back, pop a cookie in the microwave for about 10 seconds. The chocolate will soften slightly, and the cookie will taste fresh from the oven. Just don’t overdo it—15 seconds can turn the chocolate into a puddle.
Flavor Development: Honestly, these cookies taste even better on day two. The flavors meld together, and the texture becomes even more tender. If you can resist eating them all on day one, you’re in for a treat.
Nutritional Information & Benefits
Let’s be real—these are cookies, not health food. But they do have a few redeeming qualities. Here’s a rough estimate per cookie (based on 36 cookies):
| Nutrient | Amount per Cookie |
|---|---|
| Calories | 145 |
| Total Fat | 8g |
| Saturated Fat | 3.5g |
| Cholesterol | 15mg |
| Sodium | 95mg |
| Total Carbohydrates | 17g |
| Sugar | 11g |
| Protein | 3g |
Health Benefits: Peanut butter provides a small amount of protein and healthy fats, which can help keep you feeling satisfied. The butter adds some vitamin A, and the egg provides a bit of protein and B vitamins. But let’s be honest—these are comfort cookies. They’re meant to be enjoyed in moderation as a treat, not as a meal replacement.
Dietary Considerations: This recipe contains peanuts, dairy (butter), eggs, and gluten (flour). For allergen-friendly versions, see the Variations section above. This recipe is not suitable for a low-carb or keto diet due to the sugar content.
My Perspective: I believe in balance. I eat these cookies when I want them, and I don’t feel guilty about it. Food is about joy, connection, and comfort—and these cookies deliver all three. Life’s too short for bad cookies, but it’s also too short to stress about the occasional indulgence.
Conclusion
These cozy soft peanut butter blossom cookies with chocolate kisses are exactly what a comfort cookie should be—tender, sweet, salty, and utterly satisfying. They come together quickly with simple ingredients, they fill your kitchen with that unmistakable peanut butter-chocolate aroma, and they make everyone who tries them smile. Honestly, what more could you ask for from a cookie?
I love that this recipe found me in such an unexpected way—from my accountant, of all people—and that it’s become such a staple in my kitchen. It’s a reminder that good recipes can come from anywhere, and that sometimes the most unlikely sources hold the best secrets. These cookies have gotten me through cold winter nights, stressful work weeks, and countless holiday gatherings. They’re reliable, forgiving, and always delicious.
Now it’s your turn. Make a batch, share them with someone you love, and let me know how they turn out. Did you try a variation? Did your family fight over the last one? I’d love to hear about it in the comments below. And if you’re looking for more cozy cookie recipes, don’t miss my soft and chewy chocolate chip cookies for another classic that never disappoints.
Happy baking, friend. Your kitchen is about to smell amazing.
Frequently Asked Questions
Why did my cookies turn out flat?
Flat cookies usually happen for one of three reasons: the butter was too soft or melted, you used natural peanut butter that’s too oily, or you overmixed the dough. Make sure your butter is softened but not melted, stick with processed peanut butter like Jif or Skippy, and mix just until the flour disappears. If your dough seems greasy, try refrigerating it for 20 minutes before baking.
Can I use crunchy peanut butter instead of creamy?
You can, but I don’t recommend it. The peanut chunks make it harder to press the chocolate kiss into the cookie without the cookie cracking or breaking. The texture also won’t be as smooth and tender. If crunchy is all you have, pulse it in a food processor a few times to break down the chunks, or just accept that your cookies will be a little more rustic.
How do I keep the chocolate kisses from falling off?
Press the kiss into the cookie while it’s still hot from the oven—within 30 seconds of pulling the baking sheet out. Press firmly enough that the cookie cracks slightly around the edges. The heat will soften the chocolate and help it adhere. If a kiss does fall off after cooling, you can use a tiny dab of melted chocolate as “glue” to stick it back on.
Can I make the dough ahead of time?
Absolutely. You can refrigerate the dough for up to 3 days—just wrap it tightly in plastic wrap. Let it sit at room temperature for about 10 minutes before scooping and rolling, as cold dough is harder to work with. You can also freeze the shaped dough balls (rolled in sugar) for up to 3 months and bake them straight from frozen, adding 2 to 3 minutes to the bake time.
Why are my cookies dry and crumbly?
Overbaking is the most common culprit. Pull the cookies out when the edges are just set and the centers still look soft and slightly underdone. They’ll continue to bake on the hot sheet as they cool. Also, make sure you’re measuring your flour correctly—scooping directly from the bag can pack in too much flour, which leads to dry cookies. Spoon the flour into your measuring cup and level it off with a knife.
Pin This Recipe!
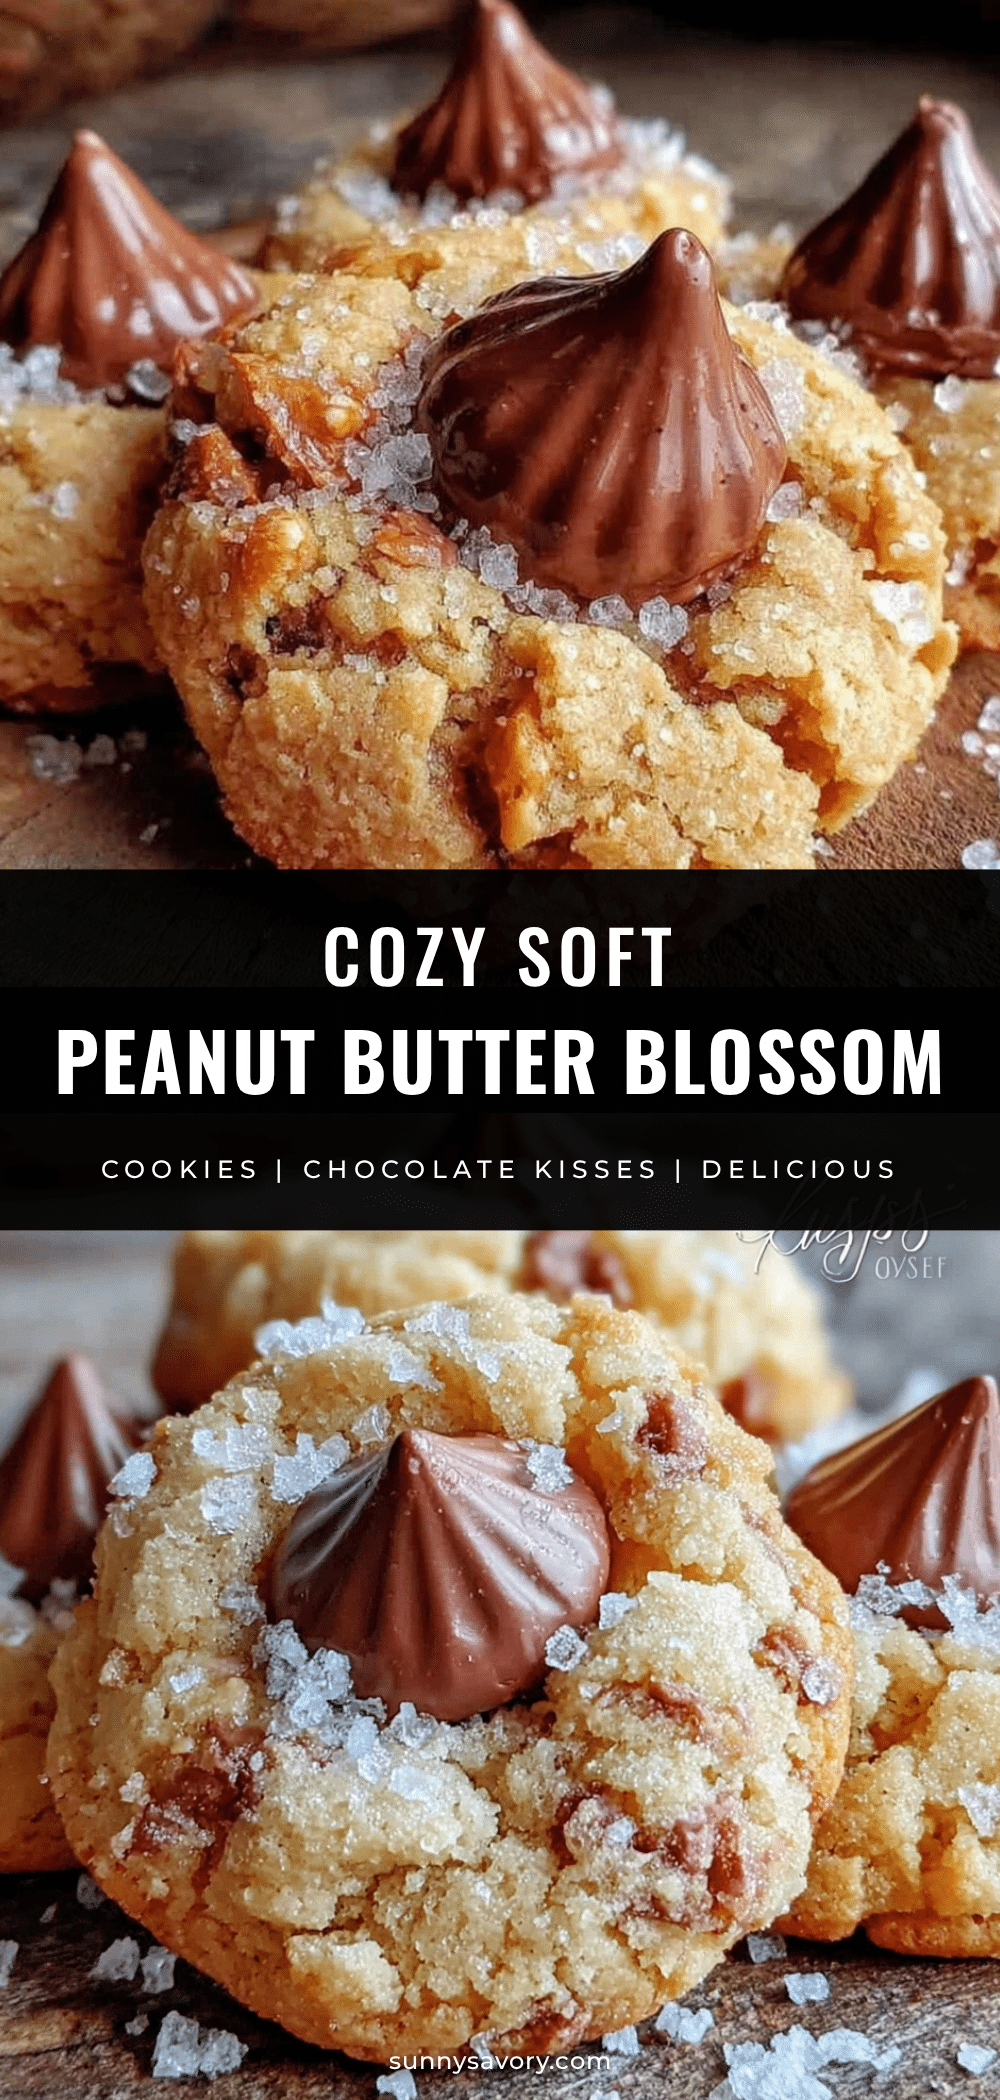
Cozy Soft Peanut Butter Blossom Cookies with Chocolate Kisses

These tender, melt-in-your-mouth soft peanut butter blossom cookies with a rich chocolate kiss on top are the ultimate comfort cookie. Quick and easy to make with simple ingredients, they’re perfect for cozy evenings and holiday gatherings.
- Prep Time: 15 minutes
- Cook Time: 12 minutes
- Total Time: 27 minutes
- Yield: 36 cookies 1x
- Category: Dessert
- Cuisine: American
Ingredients
- 1/2 cup (113g) unsalted butter, softened
- 1/2 cup (100g) granulated sugar
- 1/2 cup (100g) packed light brown sugar
- 1/2 cup (130g) creamy peanut butter (e.g., Skippy or Jif)
- 1 large egg, room temperature
- 1 teaspoon vanilla extract
- 1 1/2 cups (190g) all-purpose flour
- 1 teaspoon baking soda
- 1/2 teaspoon salt
- About 36 chocolate kiss candies, unwrapped
- Additional granulated sugar for rolling (about 1/4 cup)
Instructions
- Preheat oven to 375°F (190°C). Line baking sheets with parchment paper.
- In a large mixing bowl, beat softened butter, granulated sugar, and brown sugar together until light and fluffy, about 2-3 minutes.
- Beat in creamy peanut butter until fully combined, then add egg and vanilla extract. Mix on low speed until just incorporated.
- In a medium bowl, whisk together all-purpose flour, baking soda, and salt.
- Gradually add the flour mixture to the wet ingredients, mixing on low speed until just combined. Dough will be thick and slightly sticky.
- Scoop about 1.5 tablespoons of dough and roll into smooth balls. Roll each ball in additional granulated sugar until completely coated.
- Place dough balls on prepared baking sheets, spacing them about 2 inches apart.
- Bake for 10-12 minutes, until cookies are puffed and lightly golden around the edges. Centers should still look soft.
- Immediately after removing from oven, gently press a chocolate kiss into the center of each cookie until the cookie cracks slightly around the edges.
- Let cookies cool on the baking sheet for 5 minutes, then transfer to a wire rack to cool completely.
Notes
Don’t overbake; pull cookies when edges are set but centers still look soft. Use room temperature ingredients for best texture. Have chocolate kisses unwrapped before baking so you can press them in immediately. For best results, use processed creamy peanut butter (not natural).
Nutrition
- Serving Size: 1 cookie
- Calories: 145
- Sugar: 11
- Sodium: 95
- Fat: 8
- Saturated Fat: 3.5
- Carbohydrates: 17
- Protein: 3
Keywords: peanut butter blossom cookies, chocolate kiss cookies, soft peanut butter cookies, Christmas cookies, easy cookie recipe



