Love this? Save it for later!
Share the inspiration with your friends
I was standing in the middle of a grocery store parking lot last October when the air shifted—that specific smell of cold pavement, dried leaves, and someone’s car trunk full of pumpkins—and suddenly I was eight years old, sitting cross-legged on my aunt Carol’s linoleum kitchen floor. She was pulling a baking sheet out of the oven, and the whole apartment smelled like a warm hug. I can still see the way she’d shake the pan back and forth, those little seeds jumping and glistening with butter and sugar. She passed away a few years ago, and I’ve been chasing that exact smell ever since. Honestly, I’ve burned more batches of pumpkin seeds than I care to admit trying to get it right. But this version—these Easy Baked Cinnamon Sugar Pumpkin Seeds—they’re the closest I’ve come. They’re not complicated, and they don’t require any fancy techniques. You just need a pumpkin, some basic pantry staples, and about twenty minutes. Maybe you’ve been there too, trying to recreate a taste from your past and coming up short. Let me tell you, this recipe finally cracked the code for me.
Why You’ll Love This Recipe
This isn’t just another snack recipe. After testing this method about seven times (and ruining a few pans in the process), I can confidently say this is the one. Here’s why these cinnamon sugar pumpkin seeds are going to be your new fall obsession:
- Quick & Easy : From start to finish, you’re looking at about 20 minutes of active time. No overnight soaking, no complicated steps. Perfect for when the kids are hungry and you need something fast.
- Simple Ingredients : You probably have cinnamon, sugar, and butter in your kitchen right now. The only “special” ingredient is the pumpkin seeds themselves, and those come free with your jack-o’-lantern.
- Perfect for Family Snacking : These are a huge hit with both kids and adults. They’re sweet, crunchy, and just a little bit addictive. Great for after-school snacks, movie nights, or packing in lunchboxes.
- Budget-Friendly : Let’s face it, feeding a family on a sensible budget means making the most of everything you buy. Turning pumpkin carving waste into a delicious snack is practically a superpower.
- Unbelievably Delicious : The combination of warm cinnamon, sweet brown sugar, and nutty toasted seeds is pure comfort. It’s the kind of snack that makes you close your eyes after the first bite.
What makes this recipe different from all the others I tried? It’s the double-baking method. Most recipes either boil the seeds first (which makes them soggy) or roast them at too high a heat (which burns the sugar). My approach gives you a perfectly crunchy seed with a caramelized coating that stays put. It’s comfort food reimagined—healthier, faster, but with the same soul-soothing satisfaction.
What Ingredients You Will Need
This recipe uses simple, wholesome ingredients that you likely already have on hand. The beauty of it is that it transforms something you might throw away into a crave-worthy snack. Here’s what you’ll need:
- Fresh pumpkin seeds (1 cup, cleaned and patted dry) — These come straight from your carving pumpkin. I recommend using seeds from a standard carving pumpkin, as sugar pumpkins have smaller, less meaty seeds. Make sure you get all the stringy pulp off or they’ll be chewy.
- Unsalted butter (2 tablespoons, melted) — I use unsalted so I can control the salt level. If you only have salted butter, just skip the extra salt in the recipe. I personally love using Kerrygold for its rich flavor.
- Light brown sugar (2 tablespoons, packed) — This gives a deeper, almost molasses-like sweetness compared to white sugar. It also helps create that slightly sticky, caramelized coating.
- Granulated sugar (1 tablespoon) — Adds a bit of extra sweetness and helps with the crunchy texture.
- Ground cinnamon (1 teaspoon) — The star of the show! Make sure your cinnamon is fresh. If it’s been sitting in your cabinet for two years, it won’t have much flavor. I prefer Saigon cinnamon for its warm, bold taste.
- Salt (¼ teaspoon) — Just a pinch to balance the sweetness. This is crucial—don’t skip it, or the seeds will taste flat.
- Vanilla extract (½ teaspoon, optional but recommended) — Adds a lovely warmth that complements the cinnamon. Pure vanilla is best, but imitation works fine too.
Substitution Guidance: If you need a dairy-free option, swap the butter for coconut oil or a vegan butter stick. For a lower-sugar version, you can use a monk fruit sweetener blend in place of the brown sugar, though the texture will be slightly less crunchy. And if you’re out of brown sugar, you can make your own by mixing 2 tablespoons of white sugar with 1 teaspoon of molasses.
Equipment Needed
You don’t need much for this recipe, which is part of why I love it. Here’s what you’ll want to have on hand:
- Baking sheet (a rimmed half-sheet pan works best) — I’ve used everything from cheap nonstick pans to heavy-duty aluminum ones. The key is to line it with parchment paper for easy cleanup. Trust me, you don’t want to be scrubbing caramelized sugar off a pan.
- Mixing bowl (medium-sized) — For tossing the seeds with the butter and sugar mixture.
- Spatula or wooden spoon — For stirring and spreading the seeds on the pan.
- Colander — For rinsing the seeds after you pull them out of the pumpkin.
- Paper towels or clean kitchen towel — For drying the seeds thoroughly. This step is more important than you think.
- Parchment paper — A roll of this is your best friend. It prevents sticking and makes cleanup a breeze. If you don’t have it, you can use a silicone baking mat, but don’t use foil—the sugar will stick like crazy.
That’s it! No special gadgets or expensive equipment. I’ve made these in a tiny apartment oven and a fancy convection oven, and they turn out great either way.
Preparation Method
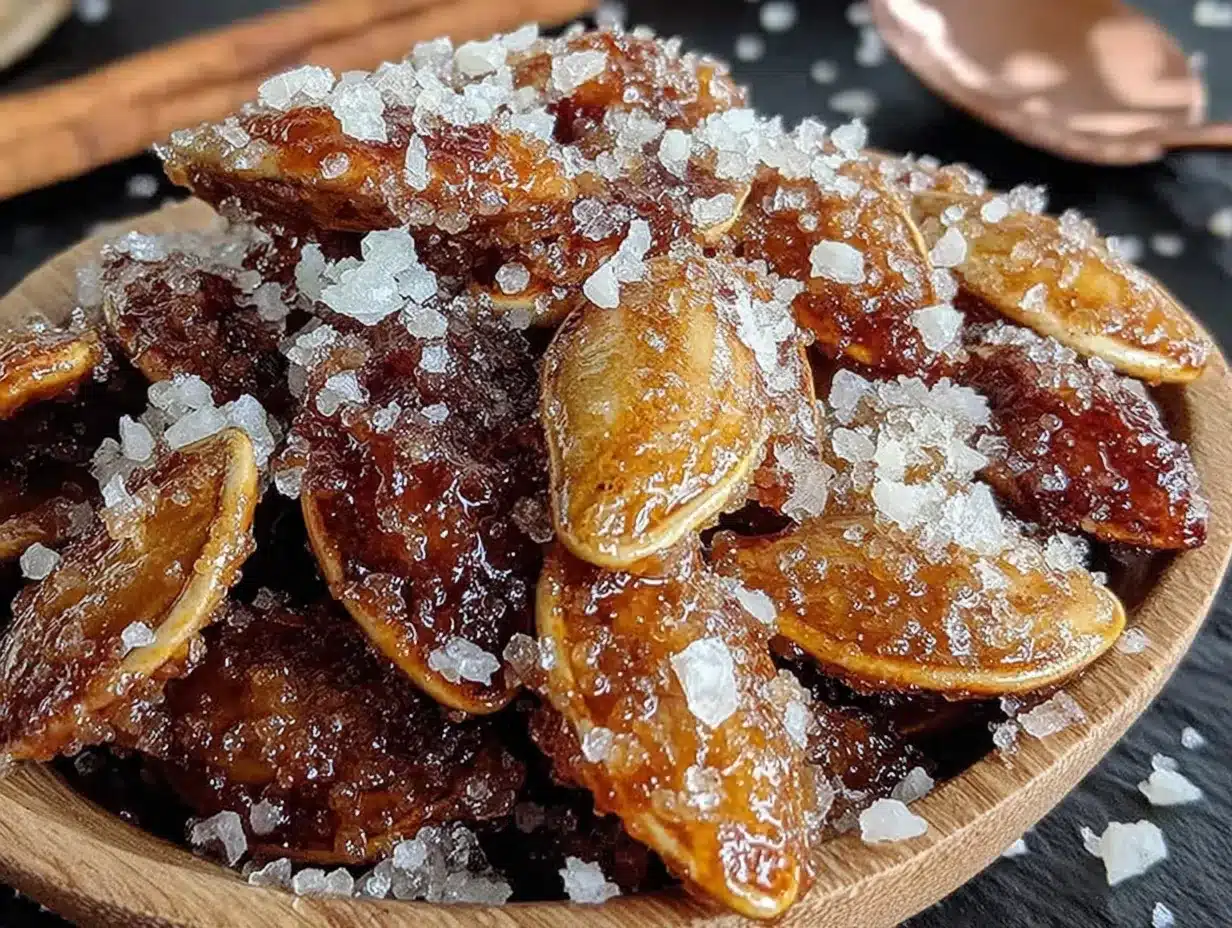
Alright, let’s get to the good part. Follow these steps carefully, and you’ll have the best batch of cinnamon sugar pumpkin seeds you’ve ever tasted.
- Preheat your oven to 300°F (150°C). Yes, 300°F, not 350°F. I learned this the hard way after burning my first three batches. The lower temperature allows the seeds to dry out and crisp up without burning the sugar coating.
- Clean the pumpkin seeds. Separate the seeds from the pumpkin guts. Place them in a colander and rinse under cold water, using your fingers to rub off any stringy pulp. This takes a few minutes, but it’s worth doing thoroughly. Any leftover pumpkin flesh will make the seeds chewy instead of crunchy.
- Dry the seeds completely. Spread the rinsed seeds on a clean kitchen towel or paper towels and pat them dry. Let them sit for about 5 minutes to air-dry a bit more. This is a crucial step—if the seeds are wet, the coating won’t stick properly, and they’ll steam instead of roast. I once skipped this step in a hurry, and the seeds turned out soft and sad.
- Mix the coating. In a medium bowl, whisk together the melted butter, brown sugar, granulated sugar, cinnamon, salt, and vanilla extract (if using). Stir until the sugars are mostly dissolved and you have a smooth, grainy paste.
- Toss the seeds. Add the dried pumpkin seeds to the bowl and stir with a spatula until every seed is coated in the buttery cinnamon sugar mixture. Don’t be shy—really work it in there. You want each seed to have a nice, even coating.
- Spread on the baking sheet. Line your baking sheet with parchment paper. Spread the coated seeds in a single, even layer. Try not to overlap them too much, or they’ll stick together in clumps. A little overlap is okay, but do your best to spread them out.
- Bake for 10 minutes. Place the baking sheet on the middle rack of your preheated oven. Set a timer for 10 minutes. At this point, the seeds will start to look dry and the sugar will be bubbling slightly.
- Stir and rotate. Remove the pan from the oven and use a spatula to stir the seeds, flipping them over. This ensures even toasting. Rotate the pan front to back as well, since most ovens have hot spots. I forgot to do this once, and half the batch was burnt while the other half was still pale.
- Bake for another 5-8 minutes. Return the pan to the oven and bake until the seeds are golden brown and fragrant. Watch them carefully during the last few minutes—sugar can go from perfect to burnt very quickly. The seeds should look dry and sound slightly hollow when you shake the pan.
- Cool completely. Remove the pan from the oven and let the seeds cool on the baking sheet for at least 15 minutes. They will continue to crisp up as they cool. Don’t be tempted to eat them right away—they’ll be soft and the sugar will be molten hot. I speak from painful experience.
- Break apart any clumps. Once cooled, use your hands to gently break apart any seeds that have stuck together. They should separate easily if you spread them well.
Sensory Cue: When the seeds are done, your kitchen will smell like a cinnamon roll bakery. The seeds should be a deep golden brown, and when you bite into one, it should snap cleanly with a satisfying crunch. If it bends, it needs more time.
Cooking Tips & Techniques
After making these cinnamon sugar pumpkin seeds more times than I can count, I’ve picked up a few tricks that make a real difference. Here are the things I wish someone had told me from the start:
Don’t skip the drying step. I know I said this already, but it’s the number one mistake people make. Wet seeds steam instead of roast, and you’ll end up with chewy, sad seeds. Pat them dry, let them sit for a few minutes, and pat them again if needed.
Watch the oven like a hawk. Every oven runs differently. My old oven would burn these at the 15-minute mark, while my current one takes a full 18 minutes. Start checking at 12 minutes and keep a close eye on them. The smell is your best indicator—when you start to smell toasted cinnamon and sugar, they’re almost done.
Use room temperature butter. If you melt the butter straight from the fridge, it can seize up when you add the sugar. Let it sit out for 10 minutes first, or microwave it in short bursts. You want it liquid but not hot.
Double the batch. These disappear fast. If you’re feeding a family, I recommend making at least two cups of seeds at once. They store well, and you’ll thank yourself later. Just make sure to use two baking sheets or work in batches—overcrowding leads to uneven cooking.
My biggest failure: The first time I made these, I used way too much sugar thinking more would be better. The seeds turned into a sticky, burnt mess that actually pulled a filling out of my tooth. Stick to the measurements—the ratio is perfect as written.
Variations & Adaptations
Once you’ve mastered the basic recipe, feel free to play around. Here are some variations I’ve tried and loved:
- Spicy-Sweet Version: Add ¼ teaspoon of cayenne pepper and a pinch of smoked paprika to the sugar mixture. The heat sneaks up on you and pairs beautifully with the cinnamon. My husband, who’s a picky eater, actually loves these.
- Pumpkin Pie Spice Version: Replace the cinnamon with 1½ teaspoons of pumpkin pie spice. It adds notes of ginger, nutmeg, and allspice that make these taste like fall in a bowl. Perfect for Thanksgiving snacking.
- Maple Brown Sugar Version: Replace the granulated sugar with an extra tablespoon of brown sugar and add 1 tablespoon of pure maple syrup. Reduce the butter to 1½ tablespoons to account for the extra liquid. These have a deeper, more complex sweetness.
- Vegan Version: Use melted coconut oil or vegan butter in place of the dairy butter. The flavor is slightly different but still delicious. I’ve made these for a vegan friend’s party and they disappeared in minutes.
- Savory-Sweet Hybrid: Add ¼ teaspoon of flaky sea salt on top right after they come out of the oven. The salt crystals provide little bursts of saltiness that make the sweetness pop even more.
I personally love the pumpkin pie spice variation for holiday gatherings. It feels a little more special, and everyone always asks for the recipe.
Serving & Storage Suggestions
These cinnamon sugar pumpkin seeds are incredibly versatile. Here’s how I like to serve and store them:
Serving: I serve them at room temperature in a big bowl for snacking. They’re perfect on their own, but they also make a fantastic topping for yogurt parfaits, oatmeal, or even a simple green salad with apples and goat cheese. For a fun presentation, I sometimes put them in small paper cones for parties—it feels festive and keeps portion sizes reasonable.
Storage: Once completely cool, transfer the seeds to an airtight container. They’ll stay fresh at room temperature for up to 2 weeks. I like to keep them in a glass jar on the counter, but any container with a tight seal works. If you live in a humid climate (I feel your pain), you might want to add a silica gel packet to the container to keep them crunchy.
Reheating: If they lose their crunch after a few days, spread them on a baking sheet and pop them in a 300°F (150°C) oven for 3-4 minutes. Let them cool completely before storing again. This revives them perfectly.
Freezer: These freeze surprisingly well! Place them in a freezer-safe bag or container and freeze for up to 3 months. Thaw at room temperature for about 15 minutes before serving. The texture holds up beautifully.
Flavor Development: Honestly, I think these taste even better the next day. The cinnamon and sugar have time to meld together, and the seeds get even crunchier. So don’t worry if you can’t finish them all in one sitting—they’ll only get better.
Nutritional Information & Benefits
While these are definitely a treat, pumpkin seeds have some surprising health benefits that make this snack a little less guilty. Here’s a rough estimate per ¼ cup serving:
Approximate Nutritional Values (per serving): Calories: 165 | Fat: 12g | Carbohydrates: 12g | Fiber: 2g | Protein: 5g | Sugar: 8g
Health Benefits: Pumpkin seeds are a great source of magnesium, zinc, and healthy fats. Magnesium is important for muscle function and sleep quality, while zinc supports your immune system—perfect for cold and flu season. The fiber and protein also help keep you full, so you’re less likely to overeat.
Dietary Considerations: This recipe is naturally gluten-free and can easily be made dairy-free or vegan. It’s also nut-free, making it a safe snack for school lunchboxes. The main allergen to watch for is dairy from the butter, but that’s easy to swap out.
My Perspective: I don’t believe in demonizing sugar or treats. These seeds are a far healthier alternative to processed snacks, and they’re made with real ingredients you can recognize. Plus, the act of making them with your kids or after a pumpkin carving session adds a little joy to the process. That counts for something, right?
Conclusion
These Easy Baked Cinnamon Sugar Pumpkin Seeds are more than just a snack to me. They’re a little piece of my childhood, recreated in my own kitchen. They’re the smell of my aunt Carol’s apartment and the sound of her shaking that baking sheet. And now, they’re a tradition I get to share with my own family.
I really hope you give these a try. They’re simple enough for a weeknight, special enough for a holiday, and budget-friendly enough to make any time you carve a pumpkin. Feel free to customize them with your favorite spices or add-ins—that’s the beauty of a simple recipe like this.
If you make these, I’d love to hear about it! Drop a comment below and let me know how they turned out, or share your own twist on the recipe. Don’t forget to pin this for later and share it with a friend who loves pumpkin season as much as you do. Happy snacking!
Frequently Asked Questions
Do I have to use fresh pumpkin seeds, or can I use store-bought raw seeds?
You can absolutely use store-bought raw pumpkin seeds (pepitas). Just skip the cleaning and drying steps, and toss them directly with the coating. The baking time might be slightly shorter since they’re already dry, so start checking at 12 minutes total.
Why did my seeds turn out chewy instead of crunchy?
Chewy seeds are usually the result of not drying them thoroughly before baking, or not baking them long enough. Make sure you pat them completely dry, and don’t be afraid to let them bake until they’re deep golden brown. Also, make sure they cool completely on the baking sheet—they continue to crisp up as they cool.
Can I use white sugar instead of brown sugar?
Yes, you can substitute an equal amount of granulated white sugar for the brown sugar. However, the flavor will be less rich and complex. Brown sugar adds a subtle molasses note that pairs beautifully with cinnamon. If you only have white sugar, consider adding a teaspoon of maple syrup or honey to mimic that depth.
How do I prevent the seeds from sticking to the pan?
Parchment paper is your best friend here. It creates a non-stick surface that makes cleanup a breeze. If you don’t have parchment paper, a silicone baking mat works well too. Avoid using aluminum foil—the sugar will stick to it and you’ll lose half your batch scraping it off.
Can I make these in an air fryer?
Absolutely! Preheat your air fryer to 300°F (150°C). Toss the seeds with the coating as directed, then spread them in the air fryer basket in a single layer. Cook for 8-10 minutes, shaking the basket halfway through. Keep a close eye on them since air fryers cook faster than ovens. Let them cool completely before serving.
Pin This Recipe!
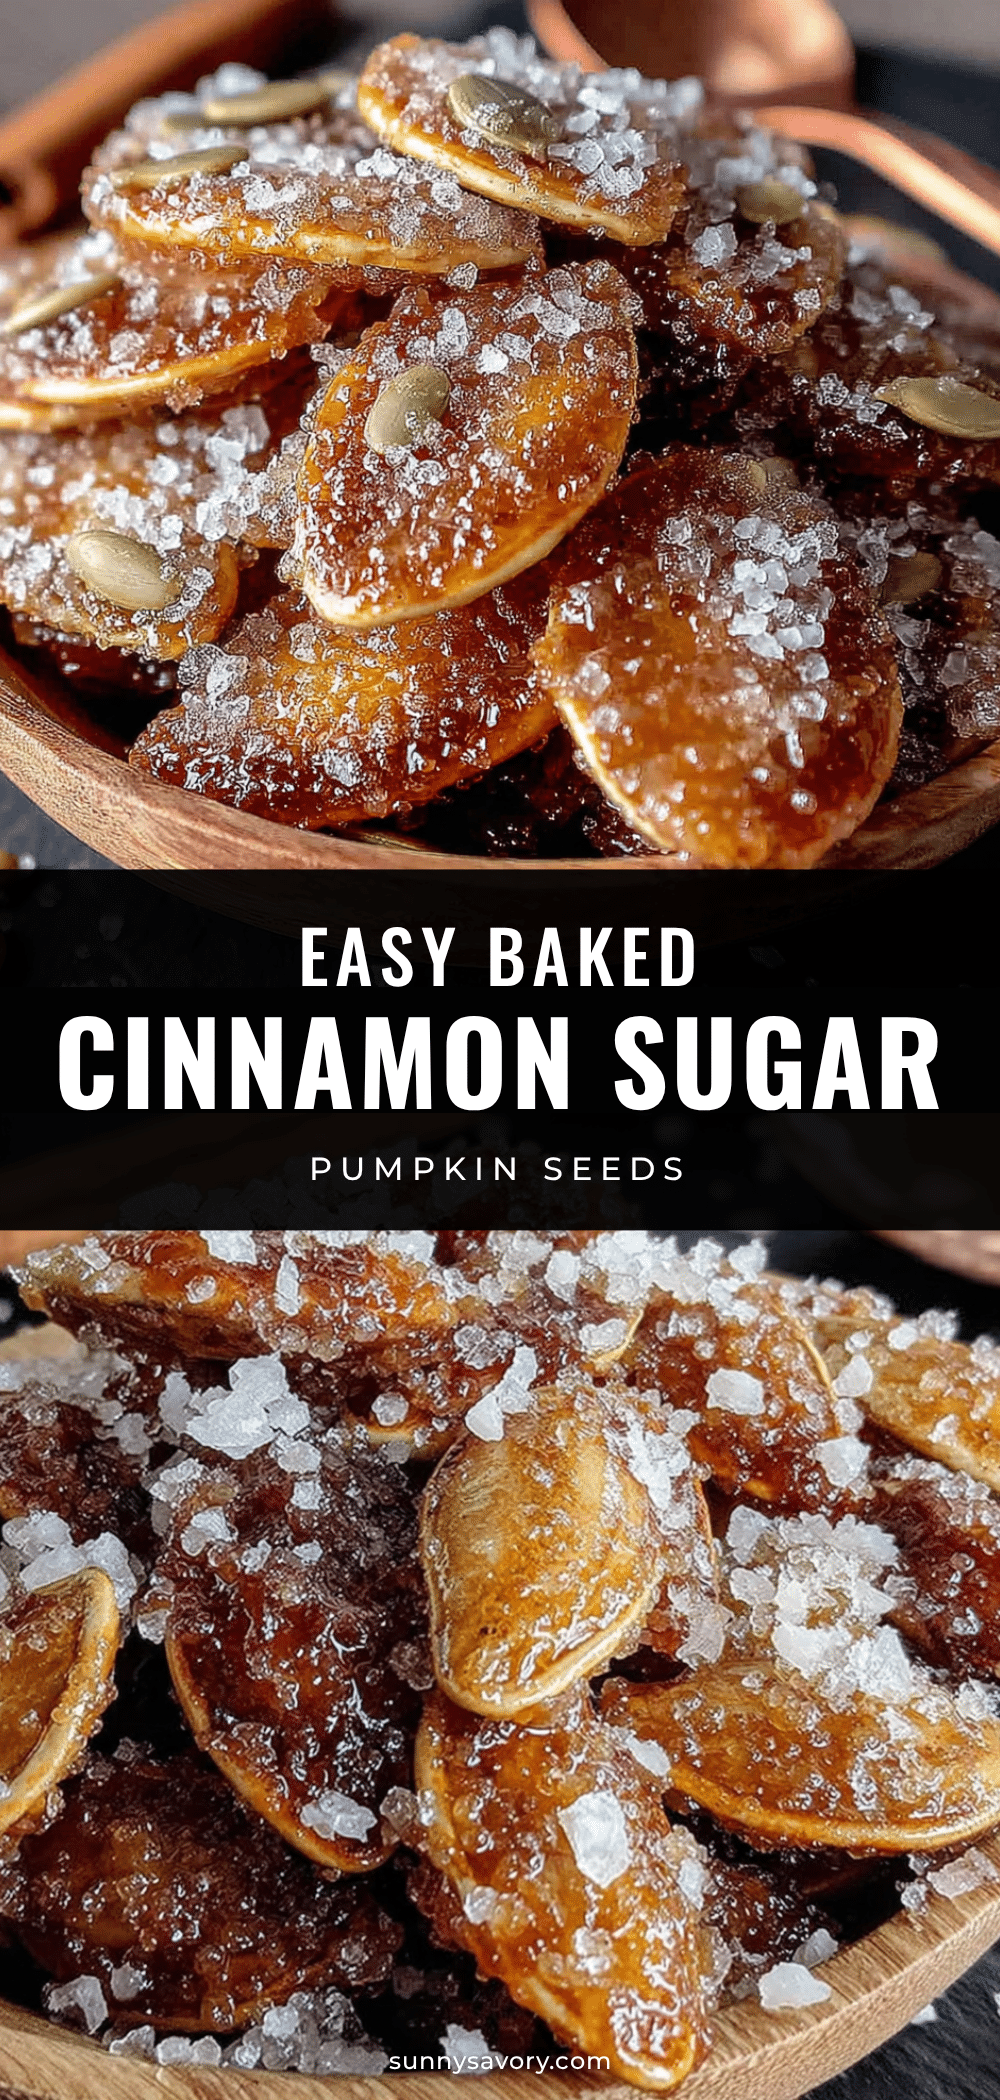
Easy Baked Cinnamon Sugar Pumpkin Seeds: Best 20-Minute Snack

These Easy Baked Cinnamon Sugar Pumpkin Seeds are a quick, budget-friendly snack that captures the warm, nostalgic flavor of fall. With a double-baking method for perfect crunch, they’re made with simple pantry staples and ready in about 20 minutes.
- Prep Time: 10 minutes
- Cook Time: 15-18 minutes
- Total Time: 25-28 minutes
- Yield: 4 servings 1x
- Category: Snack
- Cuisine: American
Ingredients
- 1 cup fresh pumpkin seeds, cleaned and patted dry
- 2 tablespoons unsalted butter, melted
- 2 tablespoons light brown sugar, packed
- 1 tablespoon granulated sugar
- 1 teaspoon ground cinnamon
- ¼ teaspoon salt
- ½ teaspoon vanilla extract (optional but recommended)
Instructions
- Preheat your oven to 300°F (150°C).
- Clean the pumpkin seeds: Separate seeds from pumpkin guts, rinse in a colander under cold water, and rub off any stringy pulp.
- Dry the seeds completely: Spread on a clean kitchen towel or paper towels, pat dry, and let air-dry for about 5 minutes.
- Mix the coating: In a medium bowl, whisk together melted butter, brown sugar, granulated sugar, cinnamon, salt, and vanilla extract (if using) until smooth and grainy.
- Toss the seeds: Add dried pumpkin seeds to the bowl and stir with a spatula until every seed is evenly coated.
- Spread on baking sheet: Line a rimmed half-sheet pan with parchment paper. Spread coated seeds in a single, even layer, avoiding overlap.
- Bake for 10 minutes: Place pan on middle rack and bake for 10 minutes until seeds look dry and sugar is bubbling.
- Stir and rotate: Remove pan, stir seeds with a spatula to flip them, and rotate the pan front to back.
- Bake for another 5-8 minutes: Return to oven and bake until seeds are golden brown and fragrant. Watch carefully to prevent burning.
- Cool completely: Remove pan from oven and let seeds cool on the baking sheet for at least 15 minutes. They will crisp up as they cool.
- Break apart any clumps: Once cooled, gently break apart any seeds that have stuck together.
Notes
Don’t skip drying the seeds thoroughly—wet seeds steam instead of roasting. Watch the oven closely during the last few minutes to prevent burning. For best results, use fresh cinnamon and unsalted butter. Seeds can be stored in an airtight container at room temperature for up to 2 weeks. To revive crunch, reheat at 300°F for 3-4 minutes.
Nutrition
- Serving Size: ¼ cup
- Calories: 165
- Sugar: 8
- Sodium: 150
- Fat: 12
- Saturated Fat: 4
- Carbohydrates: 12
- Fiber: 2
- Protein: 5
Keywords: pumpkin seeds, cinnamon sugar, baked snack, fall recipe, easy snack, pumpkin seeds recipe, cinnamon sugar pumpkin seeds



