Love this? Save it for later!
Share the inspiration with your friends
There used to be a tiny bakery tucked between a laundromat and a hardware store on the corner of Maple and 3rd that made the most incredible pumpkin donuts. When they closed their doors three years ago, I literally stood outside staring at the “For Lease” sign with a box of their last donuts in my hands. After twelve tries—some ending in hockey pucks, others in greasy disasters—I finally got it.
I mean, let me tell you, those early attempts were rough. The first batch came out so dense I could have used them as doorstops. The second batch? They tasted more like pumpkin spice candle than actual donut. But I was determined. I kept coming back to that memory of biting into one of their donuts on a crisp October morning, the cinnamon sugar coating dusting my sweater, the inside impossibly light and tender.
What I figured out along the way is that the secret isn’t complicated at all—it’s about treating the ingredients right. Too much moisture and you’ve got a soggy mess. Not enough structure and they fall apart. But get that balance dialed in? You’ve got yourself a baked pumpkin donut that rivals anything from a fryer. Maybe you’ve been there too, chasing a flavor from a place that no longer exists. Honestly, I think that’s half the fun of cooking anyway.
These easy baked pumpkin donuts with cinnamon sugar are my victory lap. They’re the recipe I wish I’d had back when I was staring at that empty storefront, wondering if I’d ever taste that perfect donut again.
Why You’ll Love This Recipe
Let me be real with you—I’ve tested this recipe more times than I care to count, and each time I learned something new. My kitchen counter has seen more pumpkin puree than a Thanksgiving pie factory. But that’s exactly why I can tell you with confidence: this version works.
- Quick & Easy : From mixing bowl to plate in under 30 minutes. No yeast, no rising time, no fuss.
- Simple Ingredients : You probably have most of these in your pantry right now. The only special item is a donut pan, and I’ll tell you where to find a cheap one.
- Perfect for Fall Mornings : There’s something about a warm donut and a hot cup of coffee on a chilly autumn day that just hits different.
- Crowd-Pleaser : I brought these to a neighborhood brunch and three people asked for the recipe before I’d even finished my coffee.
- Unbelievably Delicious : The outside gets this delicate crunch from the cinnamon sugar coating, while the inside stays soft and almost cake-like. It’s comfort food at its finest.
What makes these different from every other pumpkin donut recipe out there? It’s the texture. I spent a long time figuring out how to get that bakery-style lightness without deep frying. The trick is in how you combine the wet and dry ingredients, and the exact amount of pumpkin puree you use. Too many recipes turn out dense or rubbery. Not this one.
This isn’t just another pumpkin recipe to add to your collection. It’s the one that’ll make you close your eyes after the first bite. It’s the one you’ll make every single fall until your family starts asking for it in July.
What Ingredients You Will Need
This recipe uses simple, wholesome ingredients that work together to create that perfect donut texture. Most of these are pantry staples, which means you can whip up a batch whenever the pumpkin craving hits.
For the Donuts
- All-purpose flour, 1 ¾ cups (210g) — spoon and level it, don’t scoop directly from the bag or you’ll end up with too much
- Granulated sugar, ¾ cup (150g) — adds sweetness and helps with browning
- Baking powder, 1 ½ teaspoons — make sure it’s fresh, I recommend Rumford for consistent results
- Pumpkin pie spice, 2 teaspoons — or make your own with cinnamon, nutmeg, ginger, and cloves
- Ground cinnamon, 1 teaspoon — I prefer Saigon cinnamon for its warmth and intensity
- Salt, ½ teaspoon — brings out all the other flavors
- Egg, 1 large, room temperature — helps bind everything together
- Pumpkin puree, ¾ cup (170g) — not pumpkin pie filling, make sure it’s 100% pure pumpkin. Libby’s is my go-to
- Milk, ¼ cup (60ml) — whole milk gives the best texture, but 2% works fine too
- Melted butter, ¼ cup (60g) — unsalted, cooled slightly so it doesn’t cook the egg
- Vanilla extract, 1 teaspoon — pure, not imitation, it makes a difference
For the Cinnamon Sugar Coating
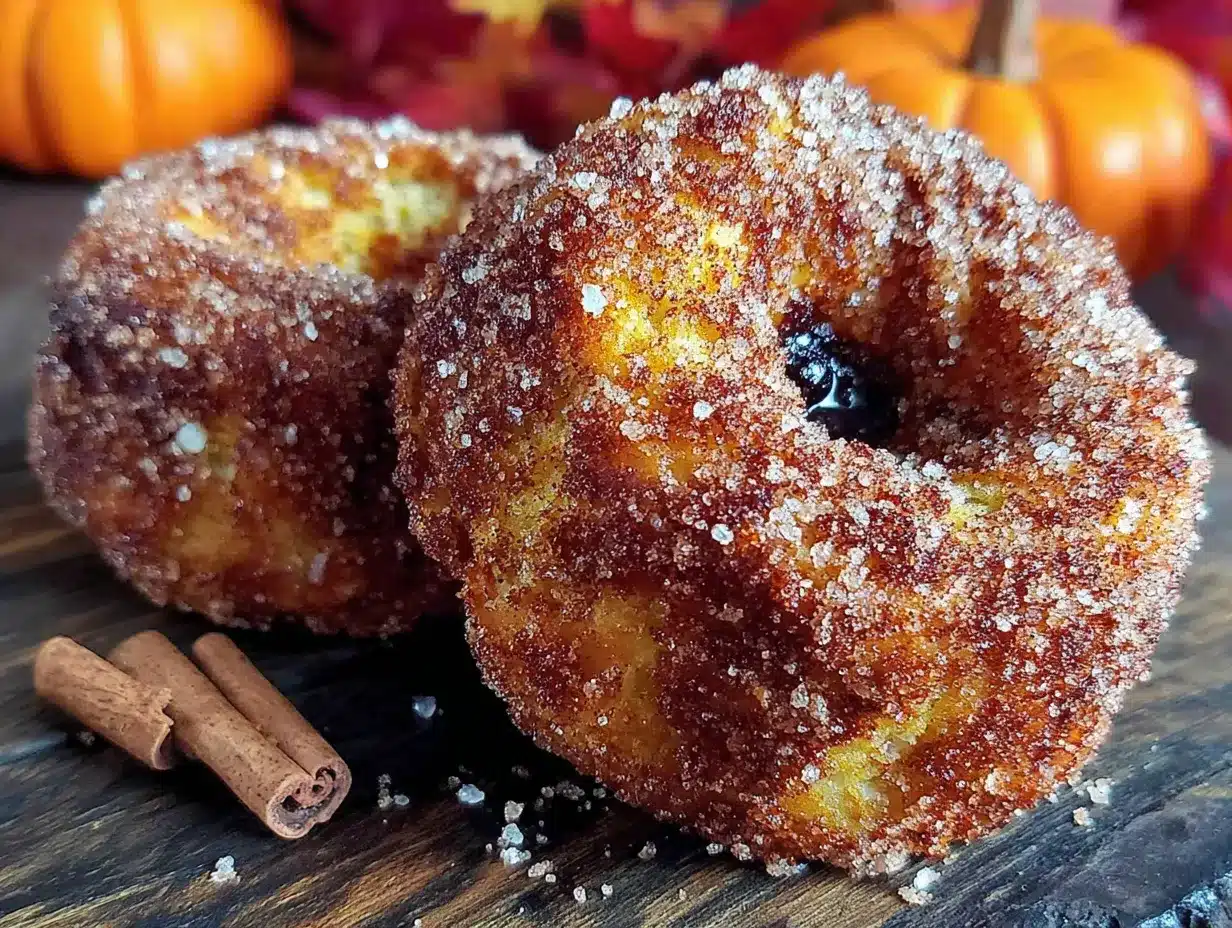
- Granulated sugar, ½ cup (100g)
- Ground cinnamon, 2 tablespoons — yes, this seems like a lot, and yes, that’s intentional
- Melted butter, 3 tablespoons (45g) — for brushing the donuts so the coating sticks
A quick note on substitutions: If you’re dairy-free, you can use oat milk and vegan butter. I’ve tested it and the texture is slightly less tender but still delicious. For a gluten-free version, swap the all-purpose flour with a good 1:1 gluten-free baking blend. King Arthur’s works beautifully here. And if you’re out of pumpkin pie spice, just use 1 teaspoon cinnamon, ½ teaspoon nutmeg, ¼ teaspoon ginger, and ¼ teaspoon cloves.
Equipment Needed
You don’t need much for this recipe, which is honestly one of the reasons I love it so much.
- Donut pan — This is non-negotiable. You can find them for under $10 at most kitchen stores or online. I’ve had my Wilton pan for years and it still works perfectly. If you don’t have one, you could technically use a muffin tin, but they won’t have that classic donut shape.
- Two mixing bowls — One medium, one large. Nothing fancy needed.
- Whisk — For combining dry ingredients and mixing the batter
- Rubber spatula — For folding everything together without overmixing
- Piping bag or zip-top bag — For filling the donut cavities cleanly. A zip-top bag with the corner snipped off works like a charm.
- Cooling rack — Essential for letting the donuts cool properly so the coating sticks
- Pastry brush — For brushing melted butter onto the donuts. A silicone one is easiest to clean.
- Shallow bowl — For the cinnamon sugar mixture
Pro tip: If you’re using a metal donut pan, make sure to grease it well. Nonstick spray works, but I prefer brushing it with melted butter for extra flavor and better release.
Preparation Method
Alright, let’s make some donuts! I’ve broken this down step by step so you can follow along without any surprises.
- Preheat your oven to 350°F (175°C). Grease your donut pan thoroughly with butter or nonstick spray. Set it aside while you prepare the batter.
- In a large bowl, whisk together the dry ingredients: flour, sugar, baking powder, pumpkin pie spice, cinnamon, and salt. Make sure everything is evenly distributed. I like to give it a good 15-20 seconds of whisking to aerate the flour a bit.
- In a separate medium bowl, combine the wet ingredients: egg, pumpkin puree, milk, melted butter, and vanilla extract. Whisk until smooth. Don’t worry if it looks a little separated at first—just keep whisking until it comes together. The mixture should be a beautiful deep orange color.
- Pour the wet ingredients into the dry ingredients. Here’s the important part: use a rubber spatula and fold gently. Mix just until you don’t see any more streaks of flour. A few small lumps are totally fine. Overmixing will make your donuts tough, and nobody wants that.
- Transfer the batter to your piping bag or zip-top bag. If using a zip-top bag, snip about ½ inch off one corner. Pipe the batter into the donut cavities, filling each one about ¾ full. Don’t overfill or they’ll lose their hole in the middle. I learned this the hard way on attempt number four.
- Bake for 10-12 minutes. The donuts are done when they spring back lightly when touched and a toothpick inserted comes out clean. Mine are usually perfect at 11 minutes. Let them cool in the pan for 5 minutes—this is crucial for them to set properly.
- While the donuts cool, prepare the cinnamon sugar coating. Mix the sugar and cinnamon together in a shallow bowl. Melt the 3 tablespoons of butter in a separate small bowl.
- After 5 minutes, transfer the donuts to a cooling rack. Let them cool for another 2-3 minutes. You want them warm but not hot—if they’re too hot, the butter will just slide right off.
- Brush each donut with melted butter. Make sure you get the sides too. Then immediately dip it into the cinnamon sugar mixture, pressing gently to coat all sides. Shake off any excess.
- Place the coated donuts back on the cooling rack. Let them sit for a few minutes so the coating sets. Then dig in while they’re still warm!
A note on timing: The entire process from start to finish takes about 25-30 minutes. The actual hands-on time is maybe 15 minutes. These are perfect for a lazy weekend morning when you want something special without spending hours in the kitchen.
Cooking Tips & Techniques
After twelve batches of these donuts, I’ve picked up a few tricks that make a real difference. Let me share what I wish I’d known from the start.
Don’t overmix the batter. I cannot stress this enough. The first few times I made these, I kept mixing until the batter was completely smooth. Big mistake. The gluten develops and you end up with dense, rubbery donuts. Mix until just combined, even if there are a few small lumps. Trust me on this one.
Use room temperature ingredients. Cold eggs and cold milk can cause the melted butter to seize up, creating an uneven batter. Take them out of the fridge about 20 minutes before you start. If you forget, place the egg in a bowl of warm water for 5 minutes and microwave the milk for 15 seconds.
Don’t skip the cooling step. I know it’s tempting to coat the donuts immediately, but if they’re too hot, the butter won’t stick properly and the sugar will just melt into a sticky mess. Let them cool for those 7-8 minutes total. It’s worth the wait.
Double coat for extra crunch. If you want that thick, crunchy cinnamon sugar crust, brush the donuts with butter, dip them, then brush again and dip again. It’s decadent, but sometimes you just need that extra layer.
Bake one test donut first. If you’re unsure about your pan or your oven, bake just one donut to check the timing and texture. Better to waste one than a whole batch.
Keep an eye on your oven. Every oven runs differently. My old oven would burn these at 10 minutes. My current one needs the full 12. Get to know your oven’s personality.
One more thing—if your donuts stick to the pan, it’s usually because you didn’t grease it well enough. Next time, use a pastry brush to get butter into all the nooks and crannies of the pan. Nonstick spray works, but butter gives better flavor and more reliable release.
Variations & Adaptations
One of the best things about this recipe is how flexible it is. Here are some variations I’ve tried and loved.
Chocolate Pumpkin Donuts — Replace ¼ cup of the flour with unsweetened cocoa powder. The chocolate and pumpkin combination is surprisingly good. I made these for a Halloween party and they disappeared faster than the candy.
Maple Glazed Donuts — Skip the cinnamon sugar coating and make a simple glaze instead. Whisk together 1 cup powdered sugar, 2 tablespoons maple syrup, and 1 tablespoon milk. Dip the cooled donuts and let the glaze set for about 10 minutes. The maple flavor pairs beautifully with the pumpkin.
Vegan Version — Replace the egg with a flax egg (1 tablespoon ground flaxseed mixed with 3 tablespoons water, let sit for 5 minutes). Use plant-based milk and melted coconut oil instead of butter. The texture is slightly different—a bit denser—but still delicious. My vegan friend said these were the best donuts she’d had in years.
Gluten-Free Option — Use a 1:1 gluten-free baking flour blend. I’ve tested this with King Arthur’s Measure for Measure and it works great. Add an extra tablespoon of milk since gluten-free flours tend to absorb more liquid.
Pumpkin Spice Latte Donuts — Add 1 tablespoon of instant espresso powder to the dry ingredients. The coffee flavor enhances the pumpkin spice without overpowering it. Perfect for when you want that PSL vibe in donut form.
Mini Donuts — If you have a mini donut pan, bake for 6-8 minutes instead of 10-12. The coating ratio is even better on mini donuts—more crunch per bite!
Serving & Storage Suggestions
These donuts are best served warm, ideally within an hour of baking. The cinnamon sugar coating stays perfectly crunchy, and the inside is still soft and tender. I like to serve them with a hot cup of coffee or a glass of cold milk.
If you’re serving them for a brunch or gathering, arrange them on a pretty plate or cake stand. They look beautiful dusted with a little extra cinnamon on top. For a fun presentation, stack them in a pyramid pattern—just make sure they’re completely cool so the coating doesn’t smudge.
For storage, place any leftover donuts in an airtight container at room temperature. They’ll stay good for 2-3 days, though the coating will soften over time. If you want to keep them crunchy, store them in a paper bag instead of plastic. The paper allows air to circulate and prevents the sugar from getting sticky.
You can also freeze these donuts. Place them in a single layer on a baking sheet and freeze for 1 hour, then transfer to a freezer-safe bag. They’ll keep for up to 2 months. To reheat, pop them in a 350°F oven for 5-7 minutes, or microwave for 15 seconds. I actually prefer the texture after freezing and reheating—the outside gets a little crispier.
One thing to note: the flavors actually deepen after a day. The pumpkin and spices meld together beautifully, so day-old donuts have a more complex flavor. Not that they usually last that long in my house.
Nutritional Information & Benefits
Here’s the nutritional breakdown for one donut (based on 12 donuts per batch):
| Nutrient | Amount |
|---|---|
| Calories | 195 |
| Total Fat | 8g |
| Saturated Fat | 5g |
| Cholesterol | 35mg |
| Sodium | 180mg |
| Total Carbohydrates | 29g |
| Dietary Fiber | 1g |
| Sugars | 18g |
| Protein | 3g |
These donuts are baked, not fried, which significantly reduces the fat content compared to traditional donuts. The pumpkin puree adds vitamin A and fiber, plus it helps keep the donuts moist without needing extra oil. Cinnamon has anti-inflammatory properties and may help regulate blood sugar. Not bad for a treat, right?
If you’re watching your sugar intake, you can reduce the sugar in the batter to ½ cup and use a sugar substitute like monk fruit for the coating. The texture will be slightly different, but they’ll still be delicious.
Conclusion
These easy baked pumpkin donuts with cinnamon sugar are everything I wanted them to be. They’re quick enough for a weekday breakfast, special enough for a holiday brunch, and simple enough that anyone can make them. After all those failed attempts in my kitchen, I can finally say with confidence: this is the one.
I love that this recipe doesn’t require any fancy equipment or hard-to-find ingredients. It’s just good, honest baking that delivers every single time. The smell alone is worth making them—your whole house will smell like autumn.
I’d love to hear how these turn out for you! Did you try any of the variations? Did you discover a new favorite way to enjoy them? Drop a comment below and let me know. And if you share a photo on social media, tag me so I can see your beautiful creations. Happy baking, friends!
Frequently Asked Questions
Can I make these donuts without a donut pan?
Technically yes, but they won’t have that classic donut shape. You can bake the batter in a greased muffin tin for about 15-18 minutes. They’ll be more like donut muffins, but they’ll still taste amazing.
Why did my donuts stick to the pan?
This usually happens when the pan isn’t greased well enough. Make sure to use a pastry brush to get melted butter into every crevice of the pan. Also, let the donuts cool in the pan for the full 5 minutes before trying to remove them.
Can I use fresh pumpkin instead of canned?
Absolutely! Just make sure to roast and puree your pumpkin first. Fresh pumpkin puree has more water content than canned, so you might need to drain it slightly by pressing it through a fine-mesh strainer or paper towel.
How do I get the cinnamon sugar to stick better?
The key is brushing the donuts with melted butter while they’re still warm but not hot. If they’re too cool, the butter won’t spread evenly. If they’re too hot, the butter will just slide off. That 7-8 minute cooling window is the sweet spot.
Can I make the batter ahead of time?
I don’t recommend it. The baking powder starts reacting as soon as it hits the wet ingredients, so the batter is best used immediately. You can, however, mix the dry ingredients and wet ingredients separately the night before and combine them in the morning.
Pin This Recipe!
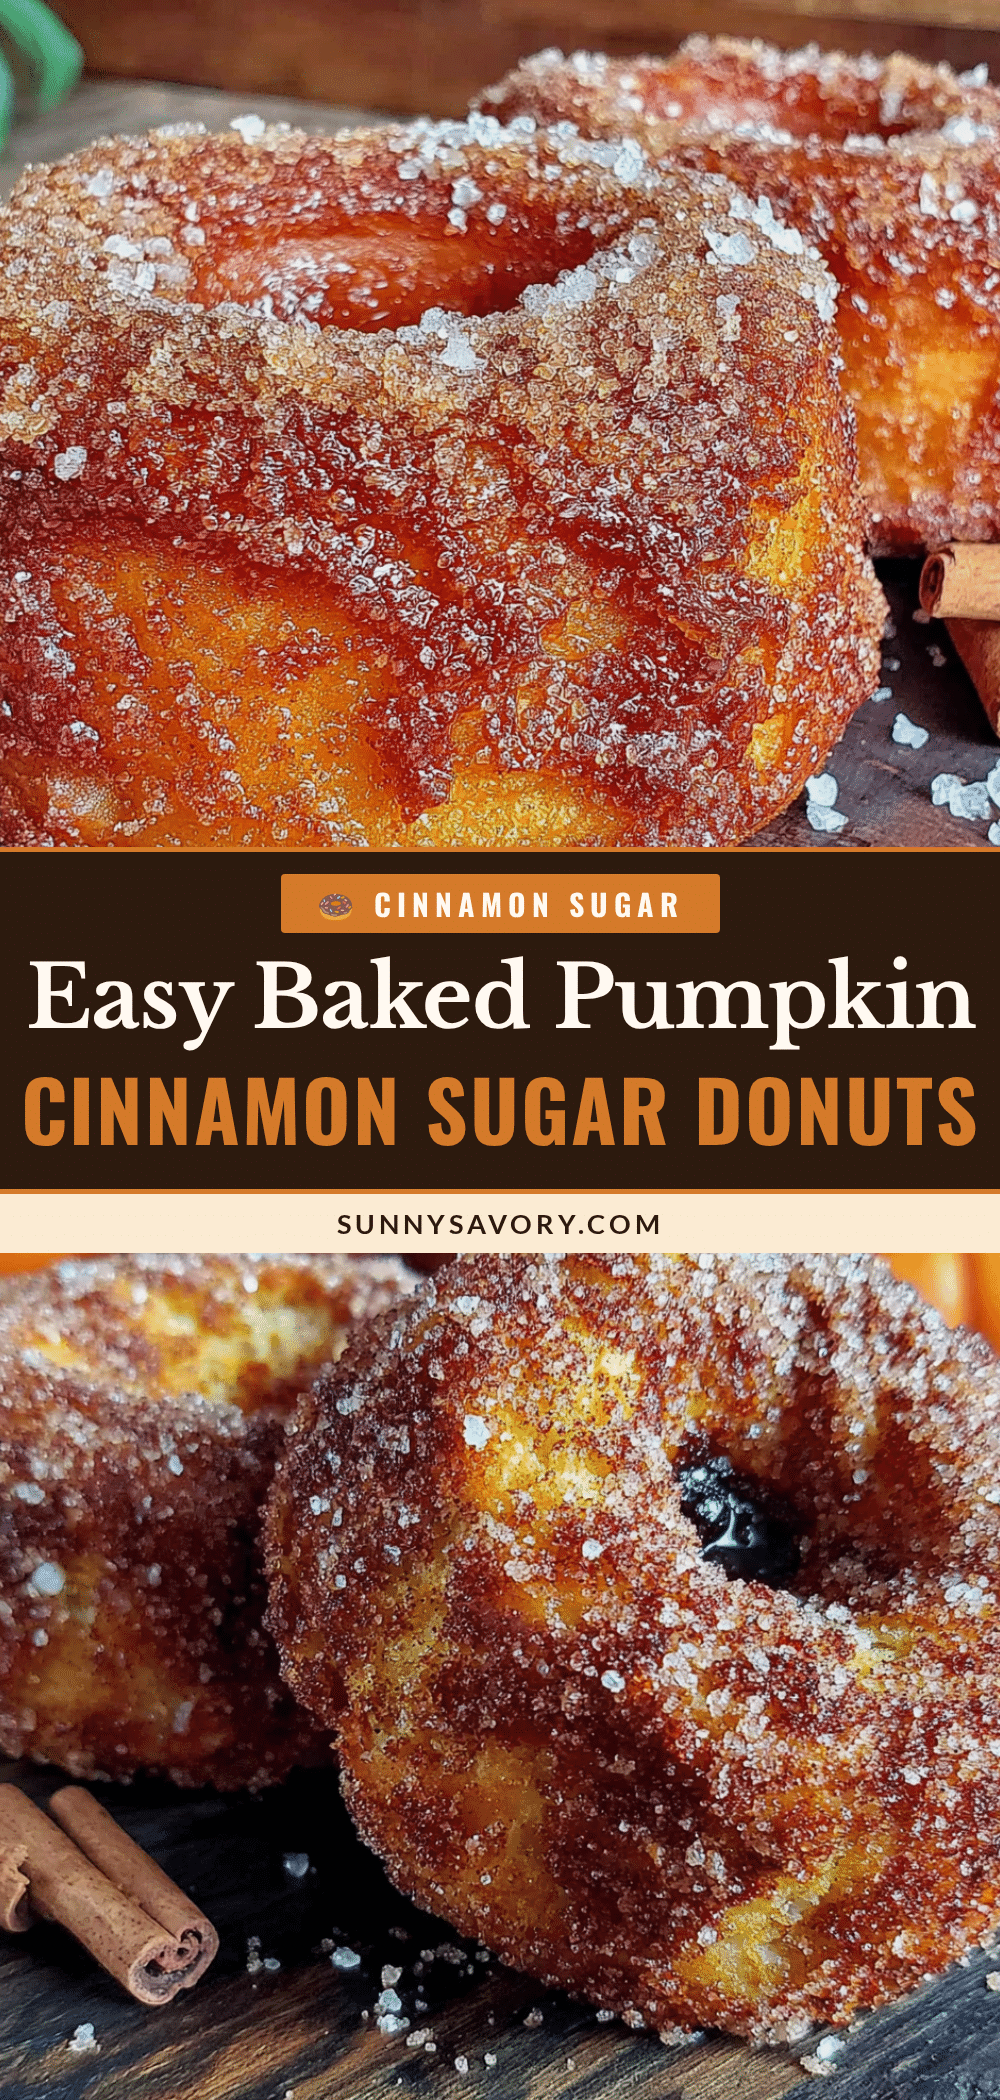
Easy Baked Pumpkin Donuts with Cinnamon Sugar
These easy baked pumpkin donuts with cinnamon sugar are quick, simple, and perfect for fall mornings. They have a delicate crunch from the cinnamon sugar coating and a soft, cake-like interior, rivaling any fried donut.
- Prep Time: 15 minutes
- Cook Time: 12 minutes
- Total Time: 27 minutes
- Yield: 12 servings 1x
- Category: Dessert
- Cuisine: American
Ingredients
- 1 ¾ cups (210g) all-purpose flour
- ¾ cup (150g) granulated sugar
- 1 ½ teaspoons baking powder
- 2 teaspoons pumpkin pie spice
- 1 teaspoon ground cinnamon
- ½ teaspoon salt
- 1 large egg, room temperature
- ¾ cup (170g) pumpkin puree (100% pure, not pie filling)
- ¼ cup (60ml) milk (whole milk preferred)
- ¼ cup (60g) unsalted butter, melted and cooled
- 1 teaspoon vanilla extract (pure)
- ½ cup (100g) granulated sugar (for coating)
- 2 tablespoons ground cinnamon (for coating)
- 3 tablespoons (45g) unsalted butter, melted (for coating)
Instructions
- Preheat your oven to 350°F (175°C). Grease your donut pan thoroughly with butter or nonstick spray.
- In a large bowl, whisk together the dry ingredients: flour, sugar, baking powder, pumpkin pie spice, cinnamon, and salt. Whisk for 15-20 seconds to aerate.
- In a separate medium bowl, combine the wet ingredients: egg, pumpkin puree, milk, melted butter, and vanilla extract. Whisk until smooth.
- Pour the wet ingredients into the dry ingredients. Use a rubber spatula to fold gently until just combined. A few small lumps are fine; do not overmix.
- Transfer the batter to a piping bag or zip-top bag. If using a zip-top bag, snip about ½ inch off one corner. Pipe the batter into the donut cavities, filling each about ¾ full.
- Bake for 10-12 minutes, until the donuts spring back when touched and a toothpick inserted comes out clean. Let them cool in the pan for 5 minutes.
- While the donuts cool, prepare the cinnamon sugar coating: mix the ½ cup sugar and 2 tablespoons cinnamon together in a shallow bowl. Melt the 3 tablespoons butter in a separate small bowl.
- After 5 minutes, transfer the donuts to a cooling rack. Let them cool for another 2-3 minutes (warm but not hot).
- Brush each donut with melted butter, including the sides. Immediately dip into the cinnamon sugar mixture, pressing gently to coat all sides. Shake off excess.
- Place the coated donuts back on the cooling rack. Let them sit for a few minutes so the coating sets. Serve warm.
Notes
Do not overmix the batter to avoid dense donuts. Use room temperature ingredients. Let donuts cool for 7-8 minutes total before coating for best results. For extra crunch, double coat with butter and cinnamon sugar. If donuts stick to the pan, grease more thoroughly next time. Store in an airtight container at room temperature for 2-3 days, or freeze for up to 2 months.
Nutrition
- Serving Size: 1 donut
- Calories: 195
- Sugar: 18
- Sodium: 180
- Fat: 8
- Saturated Fat: 5
- Carbohydrates: 29
- Fiber: 1
- Protein: 3
Keywords: baked pumpkin donuts, cinnamon sugar donuts, easy pumpkin donuts, fall donuts, baked donuts, pumpkin spice donuts



