Love this? Save it for later!
Share the inspiration with your friends
Monday morning, 7:15 AM, and I was staring into the abyss of a half-empty refrigerator while my kid was asking for the third time what was for lunch. You know that feeling when you realize you have absolutely nothing prepared, and the school bus is coming in twenty minutes? Yeah, that was me. I had bread that was slightly stale, the last spoonful of peanut butter, and a jar of jelly that was mostly just scrapings. Not exactly inspiring.
I grabbed the bread, slapped on the peanut butter, added what little jelly I could muster, and pressed the edges with a fork like my grandma used to do. I threw it in a bag, handed it over, and prayed it would hold together. That night, my kid told me it was the best lunch ever. I mean, honestly? It was a desperate move that somehow became a weekly tradition. That’s how these easy freezer-friendly peanut butter & jelly uncrustables were born in my kitchen—not from some fancy meal prep plan, but from pure, last-minute panic.
Now, I make them by the dozen. I’ve perfected the method so they don’t get soggy, the bread stays soft, and they taste just as good thawed as they do fresh. Let me tell you, once you start making your own homemade uncrustables, you’ll never go back to the store-bought ones. They’re cheaper, tastier, and you get to control exactly what goes in them. Plus, they freeze beautifully, which is a lifesaver on those chaotic mornings when you can barely find your keys, let alone make a sandwich.
Why You’ll Love This Recipe
I’ve tested this recipe more times than I care to admit. There were batches that turned into a mushy mess, sandwiches that leaked jelly everywhere, and a few that just didn’t freeze right. But after all that trial and error, I cracked the code. These easy freezer-friendly peanut butter & jelly uncrustables are the real deal, and here’s why you’re going to love them:
- Quick & Easy: You can whip up a batch of 12 sandwiches in under 15 minutes. That’s less time than it takes to watch one episode of your favorite show, and you’ll have lunches sorted for weeks.
- Simple Ingredients: No weird preservatives, no high-fructose corn syrup, no ingredients you can’t pronounce. Just bread, peanut butter, and jelly. You probably have everything in your pantry right now.
- Perfect for Busy Mornings: Grab one from the freezer, toss it in a lunchbox, and it’s thawed by lunchtime. No fuss, no mess, no stress.
- Crowd-Pleaser: Kids love them, adults secretly love them too, and they’re perfect for picnics, road trips, or just a quick snack at home.
- Budget-Friendly: Homemade uncrustables cost a fraction of the store-bought version. Plus, you can use whatever bread and fillings you have on hand.
What makes these different from every other recipe out there? It’s the technique. I discovered that toasting the bread just slightly before assembling keeps it from getting soggy when frozen. And using a fork to crimp the edges isn’t just for looks—it creates a tight seal that prevents the jelly from leaking out. This isn’t just another version of a peanut butter and jelly sandwich. It’s the best version, tried and tested in my own chaotic kitchen.
Honestly, this recipe is comfort food at its simplest. It’s the kind of thing that makes you feel like you’ve got your life together, even when you’re running on three hours of sleep and cold coffee. Every time I pull a batch out of the freezer, I feel a little wave of relief. And that’s worth more than any fancy meal prep plan.
What Ingredients You Will Need
This recipe uses simple, everyday ingredients that you likely already have in your kitchen. The beauty of these easy freezer-friendly peanut butter & jelly uncrustables is that they’re incredibly forgiving—you can use whatever you’ve got and they’ll still turn out great. Here’s what you’ll need:
- Bread: 12 slices of your favorite bread. I prefer classic white bread or whole wheat sandwich bread because they hold up well to freezing and thawing. Avoid artisan breads with large air pockets—they don’t seal as well. (Pro tip: Slightly stale bread actually works better because it’s less likely to get soggy.)
- Peanut Butter: 1 cup creamy or crunchy peanut butter. I recommend a natural peanut butter like Jif Natural or Justin’s for the best flavor and texture. Avoid the super oily natural kinds that separate a lot—they can make the bread soggy. If you’re using a brand that separates, stir it really well before spreading.
- Jelly or Jam: ¾ cup of your favorite jelly, jam, or preserves. Grape jelly is the classic choice, but strawberry jam, raspberry preserves, or even apple butter work wonderfully. I personally love using Bonne Maman raspberry preserves—they have real fruit chunks that taste amazing.
- Butter: 2 tablespoons unsalted butter, softened (optional). Brushing the outside of the bread with a thin layer of butter before freezing helps the bread stay soft and adds a subtle richness. You can skip this if you’re watching calories, but it really does make a difference.
Ingredient Selection Tips: For the best results, use bread that’s uniform in shape and thickness. Sandwich bread is ideal because it fits perfectly in the round cutter or glass you’ll use. If you’re using homemade bread, make sure the slices are evenly cut so they seal properly. For the peanut butter, look for one that’s thick and spreadable—not too runny. And for the jelly, avoid the super runny kinds; a thicker jam or preserves will stay put better inside the sandwich.
Substitution Guidance: Need a nut-free option? Use sunflower seed butter or soy nut butter—they freeze and thaw beautifully. Want a low-sugar version? Use sugar-free jelly and natural peanut butter with no added sugar. Gluten-free bread works too, but be gentle when crimping the edges because it tends to be more fragile. I’ve even used keto-friendly bread with great results—just make sure it’s not too crumbly.
Equipment Needed
You don’t need any fancy gadgets to make these easy freezer-friendly peanut butter & jelly uncrustables. Here’s what I use, along with some alternatives if you don’t have everything on hand:
- Round Cutter or Large Glass: A 3.5 to 4-inch round biscuit cutter is ideal, but a wide-mouth glass or mason jar works just as well. I’ve used a pint glass for years and it cuts perfectly clean edges. Just make sure the opening is wide enough to fit your bread slice.
- Rolling Pin: A regular rolling pin or even a wine bottle works to flatten the bread slightly. This helps the edges seal better and makes the sandwich more compact for freezing.
- Fork: A standard dinner fork is all you need to crimp the edges. I prefer using one with slightly sharp tines—it creates a better seal than a dull fork.
- Baking Sheet: A small baking sheet or tray to place the assembled uncrustables on before freezing. Line it with parchment paper so nothing sticks.
- Freezer Bags: Gallon-sized resealable freezer bags for storing the finished uncrustables. I like the Ziploc brand with the double seal—they keep out freezer burn really well.
- Parchment Paper: Small squares to separate the uncrustables in the freezer bag so they don’t stick together.
Budget-Friendly Options: If you don’t have a round cutter, honestly, a clean tuna can works perfectly. Just make sure the edges aren’t sharp. And if you don’t have a rolling pin, a clean wine bottle or even a can of beans does the job. I’ve used both in a pinch and they work great.
Preparation Method
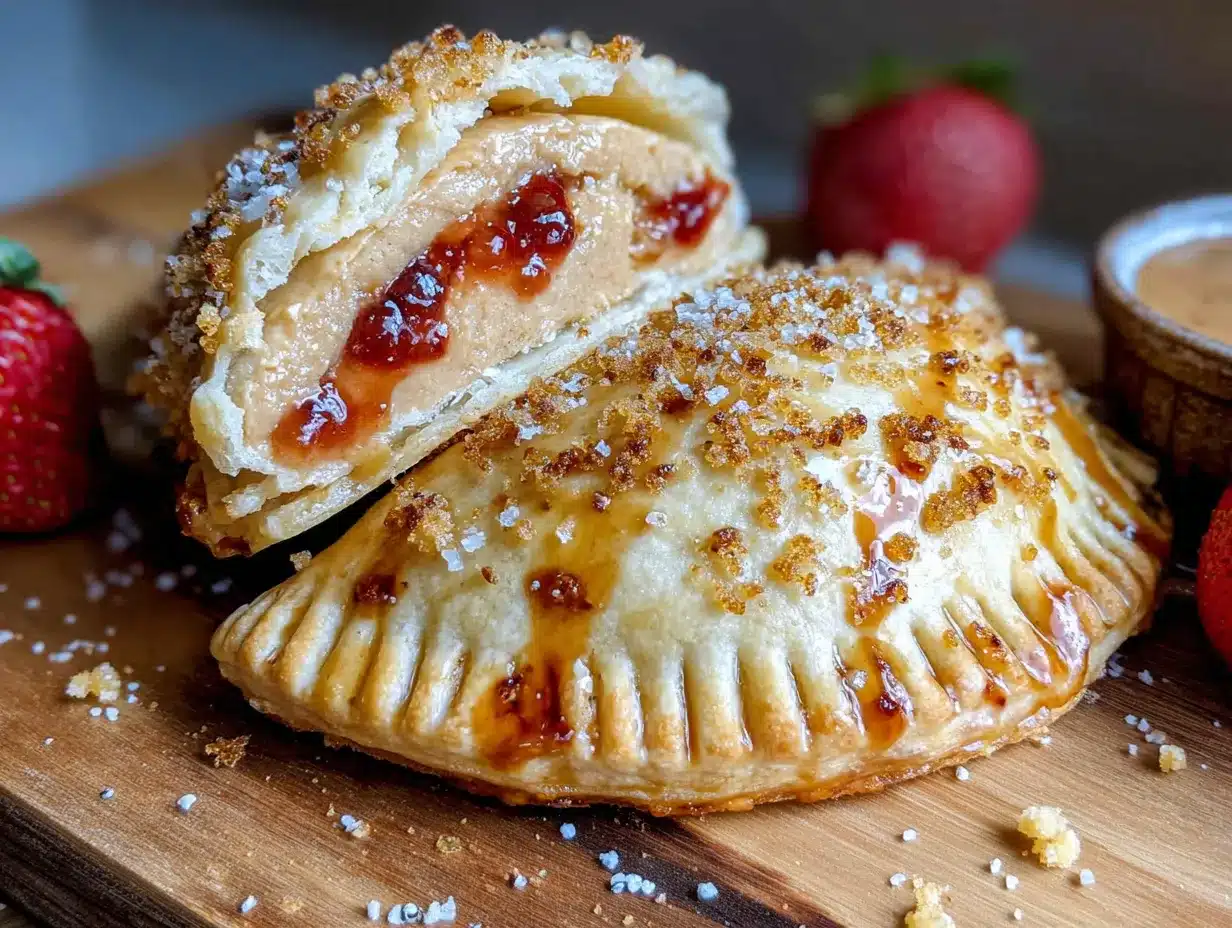
Making these easy freezer-friendly peanut butter & jelly uncrustables is simpler than you think. Follow these steps, and you’ll have a month’s worth of lunches ready in no time.
- Prepare Your Workstation: Lay out all your ingredients and equipment. You’ll want everything within reach because this goes fast once you get started. Clear a space on your counter and line a baking sheet with parchment paper.
- Flatten the Bread Slices: Take 12 slices of bread and gently roll over each one with a rolling pin until they’re about ¼ inch thick. Don’t press too hard—you just want to compress the bread slightly so it’s easier to seal. This step is crucial because it prevents the bread from puffing up and creating air pockets that lead to sogginess. I learned this the hard way after a batch of uncrustables that looked like little pillows.
- Spread the Peanut Butter: Using a butter knife or offset spatula, spread about 1½ tablespoons of peanut butter on 6 of the flattened bread slices. Spread it all the way to the edges—this creates a barrier that keeps the jelly from soaking into the bread. (Trust me on this one. The first time I made these, I left a border and ended up with jelly leaking everywhere.)
- Add the Jelly: Spoon about 1 tablespoon of jelly onto the center of the peanut butter-covered bread slices. Don’t spread it—just plop it in the middle. This might sound weird, but when you press the sandwich together, the jelly spreads naturally. If you spread it beforehand, it’s more likely to ooze out the sides.
- Top with Remaining Bread: Place the remaining 6 flattened bread slices on top of the jelly. Press down gently around the edges to start sealing the sandwich. You should see the peanut butter and jelly starting to spread toward the edges.
- Cut and Crimp: Use your round cutter or glass to cut out the sandwich, centering it over the filling. Press down firmly to cut through all layers. Then, take a fork and press the tines around the entire edge of the sandwich to create a tight seal. Go around twice if you need to—the seal is what keeps everything inside during freezing and thawing. I usually count to 10 while pressing to make sure it’s fully sealed.
- Optional Butter Brushing: If you’re using butter, brush a very thin layer on the outside of each uncrustable. This helps the bread stay soft after freezing and adds a subtle richness. It’s not necessary, but it does make them taste even better.
- Flash Freeze: Place the sealed uncrustables on the parchment-lined baking sheet in a single layer. Make sure they’re not touching each other. Pop the sheet in the freezer for 1-2 hours, or until the sandwiches are completely frozen solid. This step prevents them from sticking together when you pack them in bags.
- Package for Storage: Once frozen, transfer the uncrustables to a gallon-sized freezer bag. Place small squares of parchment paper between each sandwich to prevent them from sticking. Squeeze out as much air as possible before sealing the bag. Label the bag with the date and contents—trust me, you’ll forget what’s in there after a week.
- Freeze and Enjoy: Store the bag in the freezer for up to 3 months. When you’re ready to eat, simply grab one and toss it in a lunchbox in the morning. It’ll be perfectly thawed by lunchtime. For a quicker thaw, let it sit at room temperature for about 30 minutes, or microwave for 15 seconds if you can’t wait.
Cooking Tips & Techniques
After making dozens of batches of these easy freezer-friendly peanut butter & jelly uncrustables, I’ve picked up a few tricks that make all the difference. Here are my best tips:
The Bread Matters More Than You Think: I learned this after a disastrous batch with super fresh, fluffy bread. It turned into a gummy mess. Slightly stale bread or bread that’s been sitting out for a day works much better because it’s drier and less likely to absorb moisture from the fillings. If your bread is super fresh, toast it lightly first—just until it’s barely warm—then let it cool completely before assembling.
Don’t Skimp on the Peanut Butter Barrier: The peanut butter acts as a waterproof layer that keeps the jelly from soaking into the bread. Make sure you spread it all the way to the edges, leaving no gaps. I once got distracted and left a small bare spot, and that’s exactly where the jelly leaked through. Every single time.
Freeze Them Flat: When you’re flash-freezing the uncrustables, make sure they’re lying perfectly flat on the baking sheet. If they’re even slightly tilted, the filling can shift to one side, and you’ll end up with a lopsided sandwich. I stack a few heavy books on a cutting board and place it on top of the sandwiches for the first 30 minutes of freezing—this keeps them perfectly flat.
Double Seal for Safety: Go around the edges with your fork twice. The first pass creates the initial seal, and the second pass reinforces it. Press firmly but not so hard that you tear the bread. You’ll get a feel for it after a few sandwiches.
Timing and Multitasking: I like to make these while I’m doing something else—like listening to a podcast or catching up on a show. The process is repetitive but meditative once you get into a rhythm. I can usually finish a batch of 12 in about 15 minutes while half-watching a 20-minute episode.
Variations & Adaptations
One of the best things about these easy freezer-friendly peanut butter & jelly uncrustables is how customizable they are. Here are some variations I’ve tried and loved:
- Flavor Twists: Swap the grape jelly for strawberry jam, raspberry preserves, or even Nutella for a chocolate-hazelnut version. I made a batch with apricot preserves and almond butter once, and it was absolutely divine. You can also use honey instead of jelly for a simpler, less sweet option.
- Dietary Adaptations: For a nut-free version, use sunflower seed butter or WowButter. For a low-sugar version, use sugar-free jelly and natural peanut butter. Gluten-free bread works, but I recommend toasting it lightly first to prevent it from crumbling when you crimp the edges. I’ve even made these with keto-friendly bread and sugar-free jam—they turned out surprisingly good.
- Seasonal Variations: In the fall, try using pumpkin butter instead of jelly. In the summer, use fresh strawberry jam made from farmers’ market berries. Around the holidays, a thin layer of cream cheese along with the jelly makes for a festive treat that tastes like a danish.
- Savory Option: Believe it or not, you can make savory versions too. Use cream cheese and everything bagel seasoning, or cheddar cheese and chutney. They freeze just as well and make for a great snack or light lunch.
My personal favorite variation? I made a batch with crunchy peanut butter and blackberry jam, then brushed the outside with melted butter and sprinkled a little cinnamon sugar on top before freezing. They tasted like little pie pockets. Honestly, I ate three of them before they even made it into the freezer bag.
Serving & Storage Suggestions
These easy freezer-friendly peanut butter & jelly uncrustables are designed to be eaten straight from the freezer, but here’s how to serve and store them for the best experience:
Serving Temperature: For best results, let the uncrustable thaw at room temperature for about 30 minutes before eating. If you’re packing it in a lunchbox, it’ll be perfectly thawed by lunchtime. For a warm treat, microwave for 15-20 seconds—the peanut butter gets slightly melty and it’s absolutely delicious. My kids actually prefer them slightly warm, so I’ll zap one for 10 seconds before handing it over.
Presentation Ideas: Cut the uncrustables in half for smaller hands, or serve them whole for a more satisfying lunch. Pair them with apple slices, carrot sticks, or a handful of grapes for a balanced meal. For a fun snack plate, serve them alongside cheese cubes and crackers.
Complementary Dishes: These uncrustables pair beautifully with a thermos of tomato soup, a side of yogurt, or a simple fruit salad. For breakfast on the go, they’re great with a banana and a glass of milk. Honestly, they go with just about anything.
Storage Instructions: Store the uncrustables in a sealed freezer bag in the freezer for up to 3 months. Make sure to squeeze out as much air as possible before sealing to prevent freezer burn. If you’re stacking them, place a piece of parchment paper between each sandwich so they don’t stick together. I’ve kept them for up to 4 months with no noticeable loss in quality, but they’re usually gone long before that.
Reheating Tips: To reheat, microwave on high for 15-20 seconds for a warm, soft sandwich. For a crispier exterior, toast them in a panini press or skillet for 2-3 minutes per side. The peanut butter gets all gooey and the bread gets slightly crispy—it’s a whole different experience.
Flavor Development: Interestingly, these uncrustables actually taste better after they’ve been frozen for a few days. The flavors meld together, and the peanut butter and jelly sort of marry into this perfect, harmonious filling. It’s like they need a little time to get to know each other.
Nutritional Information & Benefits
Here’s the estimated nutritional breakdown for one easy freezer-friendly peanut butter & jelly uncrustable (using white bread, creamy peanut butter, and grape jelly):
| Nutrient | Amount per Serving |
|---|---|
| Calories | 280 |
| Total Fat | 12g |
| Saturated Fat | 2.5g |
| Carbohydrates | 36g |
| Fiber | 3g |
| Sugar | 14g |
| Protein | 9g |
| Sodium | 280mg |
Health Benefits: Peanut butter is packed with healthy fats, protein, and fiber that keep you full and satisfied. It’s also a good source of vitamin E, magnesium, and potassium. The whole wheat bread option adds extra fiber and B vitamins. And while jelly does contain sugar, using a fruit-sweetened jam or reducing the amount can make these even healthier.
Dietary Considerations: This recipe can easily be made gluten-free, nut-free, low-sugar, or vegan (use plant-based bread and nut-free butter). For a lower-carb option, use keto-friendly bread and sugar-free jelly. The beauty of this recipe is its flexibility—you can adapt it to fit almost any dietary need.
Potential Allergens: This recipe contains peanuts, gluten, and dairy (if using butter). Be sure to check your specific ingredients for allergens. For school-safe lunches, use sunflower seed butter instead of peanut butter.
From a wellness perspective, I love that these uncrustables give me control over what my family is eating. No weird preservatives, no hydrogenated oils, no high-fructose corn syrup. Just real, simple food that happens to be incredibly convenient. That’s a win in my book.
Conclusion
These easy freezer-friendly peanut butter & jelly uncrustables have honestly changed my mornings. What started as a desperate, last-minute solution has become a staple in my kitchen, and I’m willing to bet they’ll become one in yours too. They’re quick to make, incredibly convenient, and taste so much better than anything you can buy at the store.
I encourage you to make these your own. Experiment with different breads, try new flavor combinations, and don’t be afraid to get creative. Maybe you’ll discover a variation that becomes your family’s new favorite. That’s the beauty of cooking—it’s always evolving based on what you have, what you love, and what works for your life.
Honestly, every time I pull a batch of these out of the freezer, I feel a little proud. It’s such a small thing, but knowing that I’ve got lunches sorted for weeks makes me feel like I’ve got my act together. And on those chaotic mornings when everything is going wrong, having one less thing to worry about is priceless.
I’d love to hear how yours turn out! Drop a comment below and let me know what variations you tried, or tag me in your photos on social media. Your feedback and ideas help this community grow, and I genuinely love seeing what you create. Happy cooking, friends!
Frequently Asked Questions
Can I use any type of bread for these uncrustables?
Absolutely, but sandwich bread works best because it’s uniform in shape and thickness. Avoid bread with large air pockets or a very open crumb structure, as it won’t seal as well. Whole wheat, white, gluten-free, and even keto bread all work—just adjust your technique slightly if the bread is more fragile.
How long do these uncrustables last in the freezer?
These easy freezer-friendly peanut butter & jelly uncrustables will stay fresh for up to 3 months when stored properly in a sealed freezer bag. I’ve kept them for up to 4 months with no issues, but they’re usually gone long before that in my house. Just make sure to squeeze out as much air as possible from the bag to prevent freezer burn.
Can I make these without a round cutter?
Yes! A wide-mouth glass, a clean tuna can, or even a large cookie cutter works perfectly. Just make sure whatever you use has a diameter of at least 3.5 inches so you get a good-sized sandwich. I’ve used a pint glass for years and it works like a charm.
Do I need to thaw these before eating?
Not necessarily. They thaw naturally in a lunchbox by lunchtime if you pack them in the morning. For a quicker option, let them sit at room temperature for 30 minutes or microwave for 15 seconds. My kids actually prefer them slightly warm, so I usually zap one for 10 seconds before handing it over.
Can I use natural peanut butter that separates?
You can, but you’ll need to stir it really well first. The oil in separated natural peanut butter can make the bread soggy. I recommend using a thicker, no-stir natural peanut butter for the best results. If you’re using a brand that separates, mix it thoroughly until it’s completely smooth before spreading.
Pin This Recipe!
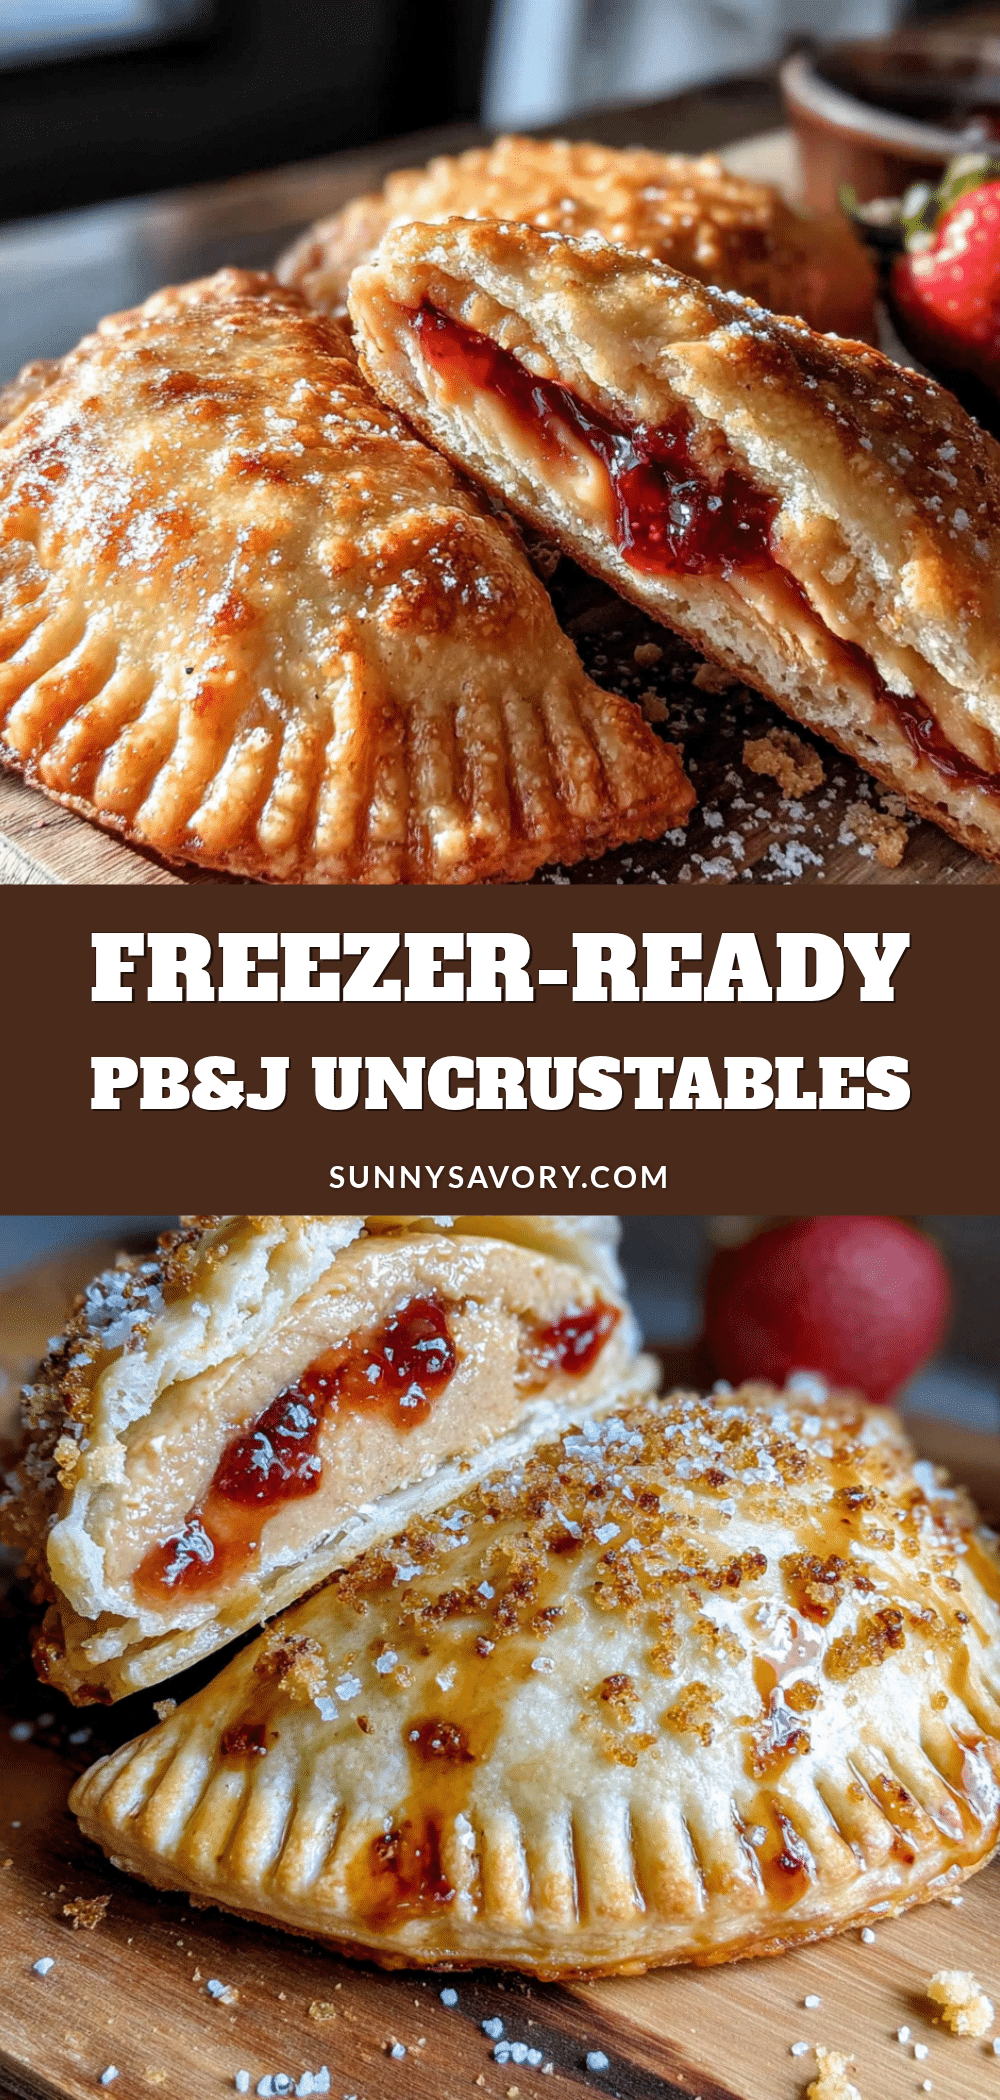
Easy Freezer-Friendly Peanut Butter & Jelly Uncrustables: Best Homemade
These homemade freezer-friendly peanut butter and jelly uncrustables are quick to make, budget-friendly, and taste better than store-bought. Perfect for busy mornings, they thaw by lunchtime and stay soft and delicious.
- Prep Time: 15 minutes
- Cook Time: 0 minutes
- Total Time: 15 minutes (plus 1-2 hours freezing)
- Yield: 12 servings 1x
- Category: Snack
- Cuisine: American
Ingredients
- 12 slices bread (white or whole wheat sandwich bread)
- 1 cup creamy or crunchy peanut butter
- 3/4 cup jelly or jam (grape, strawberry, raspberry, etc.)
- 2 tablespoons unsalted butter, softened (optional)
Instructions
- Prepare your workstation: Lay out all ingredients and equipment. Line a baking sheet with parchment paper.
- Flatten the bread slices: Gently roll each slice with a rolling pin until about 1/4 inch thick.
- Spread the peanut butter: Spread about 1 1/2 tablespoons of peanut butter on 6 of the flattened bread slices, all the way to the edges.
- Add the jelly: Spoon about 1 tablespoon of jelly onto the center of the peanut butter-covered slices. Do not spread.
- Top with remaining bread: Place the remaining 6 flattened bread slices on top. Press down gently around the edges.
- Cut and crimp: Use a round cutter or glass to cut out the sandwich, centering over the filling. Press firmly. Then use a fork to press the tines around the entire edge to create a tight seal.
- Optional butter brushing: Brush a thin layer of softened butter on the outside of each uncrustable.
- Flash freeze: Place the sealed uncrustables on the parchment-lined baking sheet in a single layer. Freeze for 1-2 hours until solid.
- Package for storage: Transfer frozen uncrustables to a gallon-sized freezer bag, placing small squares of parchment paper between each. Squeeze out air and seal. Label with date.
- Freeze and enjoy: Store in freezer for up to 3 months. To serve, thaw at room temperature for 30 minutes or microwave for 15-20 seconds.
Notes
Slightly stale bread works better than fresh. Spread peanut butter all the way to the edges to prevent jelly from soaking in. Double crimp the edges with a fork for a tight seal. Flash freezing prevents sticking. For best texture, thaw at room temperature or microwave briefly.
Nutrition
- Serving Size: 1 uncrustable
- Calories: 280
- Sugar: 14
- Sodium: 280
- Fat: 12
- Saturated Fat: 2.5
- Carbohydrates: 36
- Fiber: 3
- Protein: 9
Keywords: peanut butter and jelly, uncrustables, freezer-friendly, homemade, lunchbox, easy, kid-friendly



