Love this? Save it for later!
Share the inspiration with your friends
My sister-in-law, Jen, wasn’t trying to impress anyone. I’d stopped by her place on a random Tuesday afternoon to drop off a book I borrowed, and the smell of toasted sugar hit me before I even got past the front door. It wasn’t a holiday, not even close to Halloween. She just had a leftover egg white from making carbonara the night before and didn’t want to toss it. “Oh, those,” she said when I asked about the tray of perfect little white ghosts cooling on her counter. “Just a quick thing to use up the egg.” She was so nonchalant about it, like she hadn’t just created the most adorable things I’d ever seen. Honestly, I stood there for a solid minute, just staring. They were tiny, crooked, and absolutely perfect. She piped them onto parchment paper while talking about her work day, not even looking at what she was doing. That’s when I knew this recipe was special. It wasn’t about being fancy or perfect. It was about making something fun from practically nothing. I grabbed my phone and made her walk me through it right there, and I’ve been making them ever since. Maybe you’ve been there—staring at a single egg white, wondering what to do with it. Well, let me tell you, this is the answer.
Why You’ll Love This Recipe
These ghost meringue cookies are the definition of a low-effort, high-reward treat. They come together in just 15 minutes of active prep time, which is a lifesaver when you’re short on time but still want to make something special for Halloween or a spooky-themed party. I’ve tested this method dozens of times, tweaking the sugar-to-egg-white ratio until I got the perfect crisp exterior with a soft, marshmallowy center. They are, without a doubt, the best ghost meringue cookies I’ve ever made.
- Quick & Easy: Ready in under 15 minutes of hands-on work. The oven does the rest.
- Simple Ingredients: You only need two main ingredients—egg whites and sugar. You probably have them right now.
- Perfect for Halloween: These are the ultimate last-minute spooky treat for parties, school events, or just for fun.
- Crowd-Pleaser: Kids love them because they look like ghosts, and adults love them because they’re light, not too sweet, and gluten-free.
- Unbelievably Delicious: That melt-in-your-mouth texture is pure magic. It’s like eating a sweet little cloud.
What makes these different from other meringue recipes is the technique. Instead of fussing with a candy thermometer or worrying about humidity, I use a simple stable meringue method that works every single time. No weeping, no cracking, just perfect little ghosts. It’s comfort food reimagined—faster, simpler, but with the same soul-soothing satisfaction of biting into something you made yourself.
What Ingredients You Will Need
This recipe uses just a handful of simple ingredients to create something truly magical. The beauty of these ghost meringue cookies is that they rely on technique more than fancy ingredients, so you don’t need a special trip to the store.
- 3 large egg whites, room temperature: Room temperature egg whites whip up to a greater volume than cold ones. I usually take my eggs out of the fridge about 30 minutes before I start. If you’re in a hurry, place the whole eggs in a bowl of warm water for 5 minutes.
- 3/4 cup (150g) granulated white sugar: Use fine, regular white sugar. Avoid superfine or powdered sugar here, as they can change the texture. I’ve used C&H brand for years and it works perfectly.
- 1/2 teaspoon cream of tartar: This is the secret to a stable meringue. It helps the egg whites hold their shape and prevents them from deflating. You can substitute with 1 teaspoon of lemon juice or white vinegar in a pinch.
- 1 teaspoon vanilla extract: Pure vanilla extract gives the best flavor, but imitation vanilla will work too. For a fun twist, try peppermint extract for a wintery ghost.
- Mini chocolate chips or black decorating gel: For the ghost eyes. I prefer mini chocolate chips because they stay put better than gel, which can sometimes bleed into the meringue.
Ingredient Selection Tips: For the best results, use fresh eggs. Older egg whites tend to be thinner and don’t whip up as well. If you’re unsure about your eggs, separate them one at a time into a small bowl first—this way, if a yolk breaks, you don’t ruin the whole batch. Also, make sure your mixing bowl is completely clean and free of any grease. Even a tiny bit of oil can prevent your egg whites from whipping up.
Substitution Guidance: Need a dairy-free option? These are already dairy-free! For a vegan version, you can try using aquafaba (the liquid from a can of chickpeas) in place of egg whites. Use 3 tablespoons of aquafaba for each egg white. The texture will be slightly different, but still delicious.
Equipment Needed
You don’t need a fancy kitchen to make these ghost meringue cookies. Here’s what you’ll need:
- Electric hand mixer or stand mixer: You can whip egg whites by hand with a whisk, but it will take a solid 10-15 minutes of vigorous work. A hand mixer does the job in about 5 minutes. I use a KitchenAid stand mixer for convenience, but a cheap hand mixer from the grocery store works just as well.
- Large mixing bowl: Glass, stainless steel, or ceramic—just make sure it’s completely clean and dry. Avoid plastic bowls as they can retain grease.
- Piping bag with a round tip: A large piping bag fitted with a 1/2-inch round tip is ideal for creating ghost shapes. No piping bag? No problem. A sturdy zip-top bag with the corner snipped off works perfectly. I’ve done it many times.
- Baking sheet lined with parchment paper: Parchment paper is non-negotiable here. Meringue cookies will stick to greased baking sheets, and wax paper can melt in the oven.
- Cooling rack: For letting the ghosts cool completely after baking.
Budget-Friendly Tip: If you don’t own a piping bag, you can use a small offset spatula to shape the ghosts by hand. They won’t be as uniform, but they’ll have a charming, homemade look.
Preparation Method
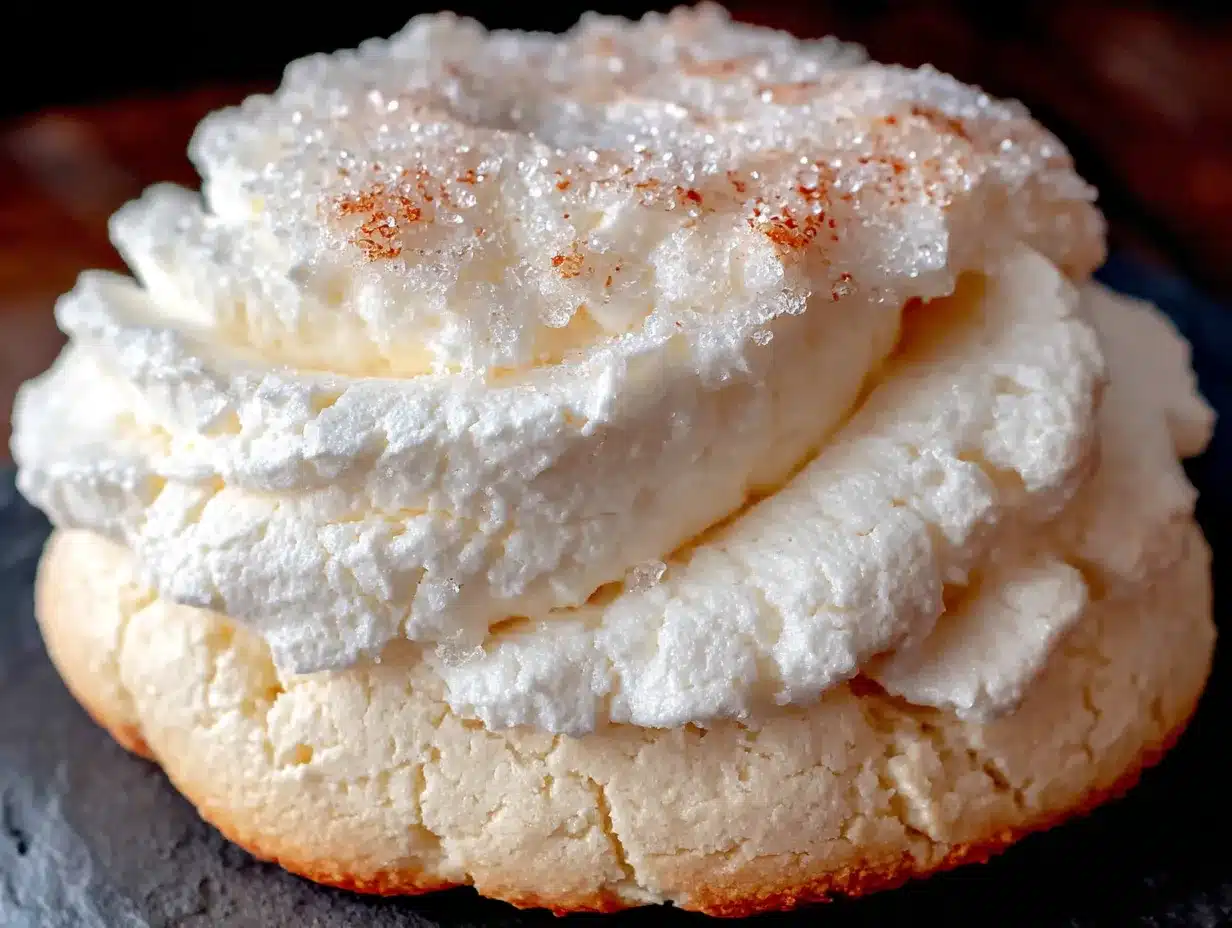
Follow these steps carefully, and you’ll have a tray of adorable ghost meringue cookies in no time.
- Preheat your oven to 200°F (93°C). This is a low and slow bake. Line a large baking sheet with parchment paper and set aside. The low temperature dries out the meringues without browning them.
- Prepare your egg whites. Separate the egg whites from the yolks while the eggs are still cold—it’s easier. Allow the whites to come to room temperature in your mixing bowl, about 30 minutes. Room temperature whites whip up to a much higher volume.
- Start whipping. Using your electric mixer on medium speed, beat the egg whites and cream of tartar together until they become frothy and start to foam. This takes about 1-2 minutes. The cream of tartar helps stabilize the eggs.
- Add the sugar gradually. With the mixer running on medium-high speed, add the granulated sugar one tablespoon at a time. This is crucial. Adding the sugar too quickly can deflate the egg whites. Wait about 15 seconds between each addition. The mixture will start to look thick and glossy.
- Whip to stiff peaks. Once all the sugar is added, increase the speed to high and beat for 3-5 minutes. You’re looking for stiff, glossy peaks that hold their shape when you lift the beater. The mixture should feel smooth between your fingers, not grainy. If it feels gritty, keep beating until the sugar dissolves completely. Sensory cue: The meringue should look like marshmallow fluff and feel silky smooth.
- Add the vanilla. Beat in the vanilla extract on low speed for just a few seconds until combined. Don’t overmix at this point.
- Prepare your piping bag. Fit your piping bag with a round tip. If using a zip-top bag, snip off about 1/2 inch from one corner. Spoon the meringue into the bag. You can also use a large spoon to dollop the meringue onto the baking sheet, but piping gives you better control over the ghost shape.
- Pipe the ghosts. Holding the bag vertically about 1/2 inch above the baking sheet, squeeze out a mound of meringue about 1.5 inches wide. As you reach the desired size, stop squeezing and pull the bag straight up quickly. This creates a little peak on top, which looks like a ghost’s head. Repeat, spacing the ghosts about 1 inch apart. Personal tip: If the peak flops over, don’t worry. It just looks like a ghost with a hat!
- Add the eyes. Gently press two mini chocolate chips into each ghost to form eyes. Place them close together for a cute look, or slightly apart for a surprised expression. Work quickly before the meringue starts to form a skin.
- Bake low and slow. Place the baking sheet in the preheated oven and bake for 60-75 minutes. The meringues are done when they are dry to the touch and easily peel off the parchment paper. They should not be browned at all. If they start to brown, your oven is too hot.
- Cool completely. Turn off the oven and leave the meringues inside with the door slightly ajar for about 30 minutes. This helps them dry out completely and prevents cracking. Then, transfer them to a wire rack to cool completely.
Troubleshooting: If your meringue weeps (forms little beads of liquid), it usually means the sugar wasn’t fully dissolved or the oven temperature was too low. Next time, make sure to beat the sugar in thoroughly and check your oven temperature with an oven thermometer.
Cooking Tips & Techniques
Making meringue can be a little finicky, but I’ve learned a few tricks over the years that make it foolproof. Here’s what I wish someone had told me when I first started.
The Clean Bowl Rule: This is the most important tip. Any trace of grease or yolk will ruin your meringue. Before you start, wipe your mixing bowl and beaters with a little lemon juice or white vinegar on a paper towel. It removes any lingering fat.
Don’t Overbake: I once left a batch in the oven while I ran to pick up my kids, and they came out hard as rocks. The key is to bake them until they are dry but not browned. They should lift off the parchment paper easily. If they stick, they need more time.
Humidity is the Enemy: Meringue is basically sugar, and sugar attracts moisture. Try to make these on a dry day. If it’s raining or very humid, your meringues might become sticky or chewy instead of crisp. You can still make them, just store them in an airtight container immediately after they cool.
Multitasking Strategy: While the meringues are baking, you can clean up your kitchen or prep other treats. The long bake time is mostly hands-off, so use it wisely. I often make a batch of quick Halloween bark while these are in the oven.
Consistency is Key: For perfectly shaped ghosts, make sure your meringue is beaten to stiff peaks. Under-beaten meringue will spread out into puddles instead of holding a shape. The mixture should be so thick that it doesn’t move when you stop the mixer.
Variations & Adaptations
One of the best things about this recipe is how easy it is to change up. Here are a few of my favorite variations.
- Chocolate Ghosts: Sift 2 tablespoons of unsweetened cocoa powder into the sugar before adding it to the egg whites. This gives you chocolate ghosts that look like they’ve been playing in the mud. My kids love these.
- Peppermint Spooks: Swap the vanilla extract for 1/2 teaspoon of peppermint extract. Crush a few candy canes and sprinkle them on top of the ghosts before baking. Perfect for a Christmas-themed spooky treat.
- Pumpkin Spice Ghosts: Add 1 teaspoon of pumpkin pie spice to the sugar. These are amazing for fall and smell incredible while baking.
- Vegan Ghosts: As mentioned, use aquafaba. Whip 9 tablespoons of aquafaba (from one can of chickpeas) with the cream of tartar until frothy, then add the sugar. The baking time may be slightly longer, about 75-90 minutes.
- Colorful Ghosts: Add a drop of gel food coloring to the meringue before piping. Purple, green, or orange ghosts are super fun for Halloween. Avoid liquid food coloring, as it can make the meringue too wet.
I once tried a batch with lavender extract and a drop of purple food coloring for a friend’s baby shower. They were a huge hit and looked so elegant. Don’t be afraid to experiment!
Serving & Storage Suggestions
These ghost meringue cookies are best served at room temperature. Their light, airy texture is perfect on their own, but they also make a great topping for ice cream or a cup of hot cocoa. Try floating a few in a bowl of warm milk for a spooky twist on cereal.
Presentation Idea: Arrange the ghosts on a platter with some dry ice (safely, of course) for a foggy, haunted effect. Alternatively, place them on a bed of crushed chocolate cookies to look like dirt. They also look adorable tucked into a mason jar tied with a ribbon for gifting.
Storage: Store the cooled meringues in an airtight container at room temperature. Do not refrigerate them, as the moisture in the fridge will make them sticky. They will keep for up to two weeks if stored properly. I’ve kept them for a full month before, and they were still perfectly crisp.
Freezing: Meringues freeze beautifully. Place them in a single layer in a freezer-safe container, separating layers with parchment paper. They will last for up to 3 months. Thaw at room temperature for about 15 minutes before serving. They don’t lose any of their texture.
Reheating: If your meringues have softened slightly due to humidity, you can crisp them up by placing them back in a 200°F (93°C) oven for 10-15 minutes. Let them cool completely before storing again.
Flavors actually improve over the first day or two as the vanilla mellows out. If you can resist eating them all immediately, they taste even better the next day.
Nutritional Information & Benefits
While these are still a treat, they are surprisingly light compared to other cookies. Each ghost meringue cookie contains approximately 25-30 calories, 0g fat, and 6g of sugar. They are naturally gluten-free, fat-free, and dairy-free.
Health Benefits: The main ingredient, egg whites, is a great source of high-quality protein. Each egg white contains about 3.6 grams of protein. They are also low in calories and contain no cholesterol. Cream of tartar adds a small amount of potassium. Of course, the sugar content means these should be enjoyed in moderation, but they are a far lighter option than a slice of cake or a chocolate bar.
Dietary Considerations: This recipe is naturally gluten-free, making it safe for those with celiac disease or gluten sensitivity. It is also dairy-free and nut-free. For a vegan option, use aquafaba as suggested in the variations section. The only potential allergen is eggs, so be mindful of that when serving.
I personally love that I can make a big batch of these for a party without feeling like I’m serving pure junk. They satisfy that sweet craving without the heavy feeling you get from butter-laden cookies. It’s a win-win in my book.
Conclusion
These ghost meringue cookies are more than just a Halloween treat. They are a reminder that the best things in life often come from simple beginnings. A leftover egg white, a bit of sugar, and a few minutes of your time—that’s all it takes to create something that brings a smile to people’s faces. They are quick, easy, and absolutely delicious.
I encourage you to make these your own. Change up the flavors, experiment with colors, and have fun with the shapes. Whether you make them for a spooky party or just because it’s Tuesday, I promise they will be a hit. I love making these because they remind me of that afternoon at Jen’s house—the casualness of it all, the surprise of finding something wonderful in the ordinary.
Have you made these? I’d love to hear how they turned out! Leave a comment below and let me know what variations you tried. Don’t forget to share your photos on Pinterest and tag me. Happy baking, and enjoy every sweet, spooky bite!
Frequently Asked Questions
Can I make these ghost meringue cookies without a mixer?
Yes, you can! Whisk the egg whites and cream of tartar by hand using a large balloon whisk. It will take about 10-15 minutes of vigorous, continuous whisking to reach stiff peaks. It’s a great arm workout, but a mixer is much easier.
Why did my meringue turn out sticky?
Sticky meringue is usually a sign of humidity or under-baking. Make sure you bake them until they are completely dry and lift easily off the parchment paper. Store them in an airtight container immediately after cooling to prevent moisture from the air from softening them.
Can I use liquid egg whites from a carton?
I don’t recommend it. Carton egg whites are pasteurized, which changes the protein structure and makes them much harder to whip into a stable meringue. Fresh egg whites from whole eggs give the best results every time.
How do I know when the meringue is beaten enough?
You’re looking for stiff, glossy peaks. When you lift the beater, the meringue should stand up straight without flopping over. You can also rub a little between your fingers—it should feel completely smooth, not grainy. If it’s grainy, keep beating until the sugar dissolves.
Can I double this recipe?
Absolutely! This recipe doubles and triples very easily. Just make sure your mixing bowl is large enough to accommodate the increased volume. You may need to bake the meringues in batches or on two oven racks, rotating the pans halfway through the baking time.
Pin This Recipe!
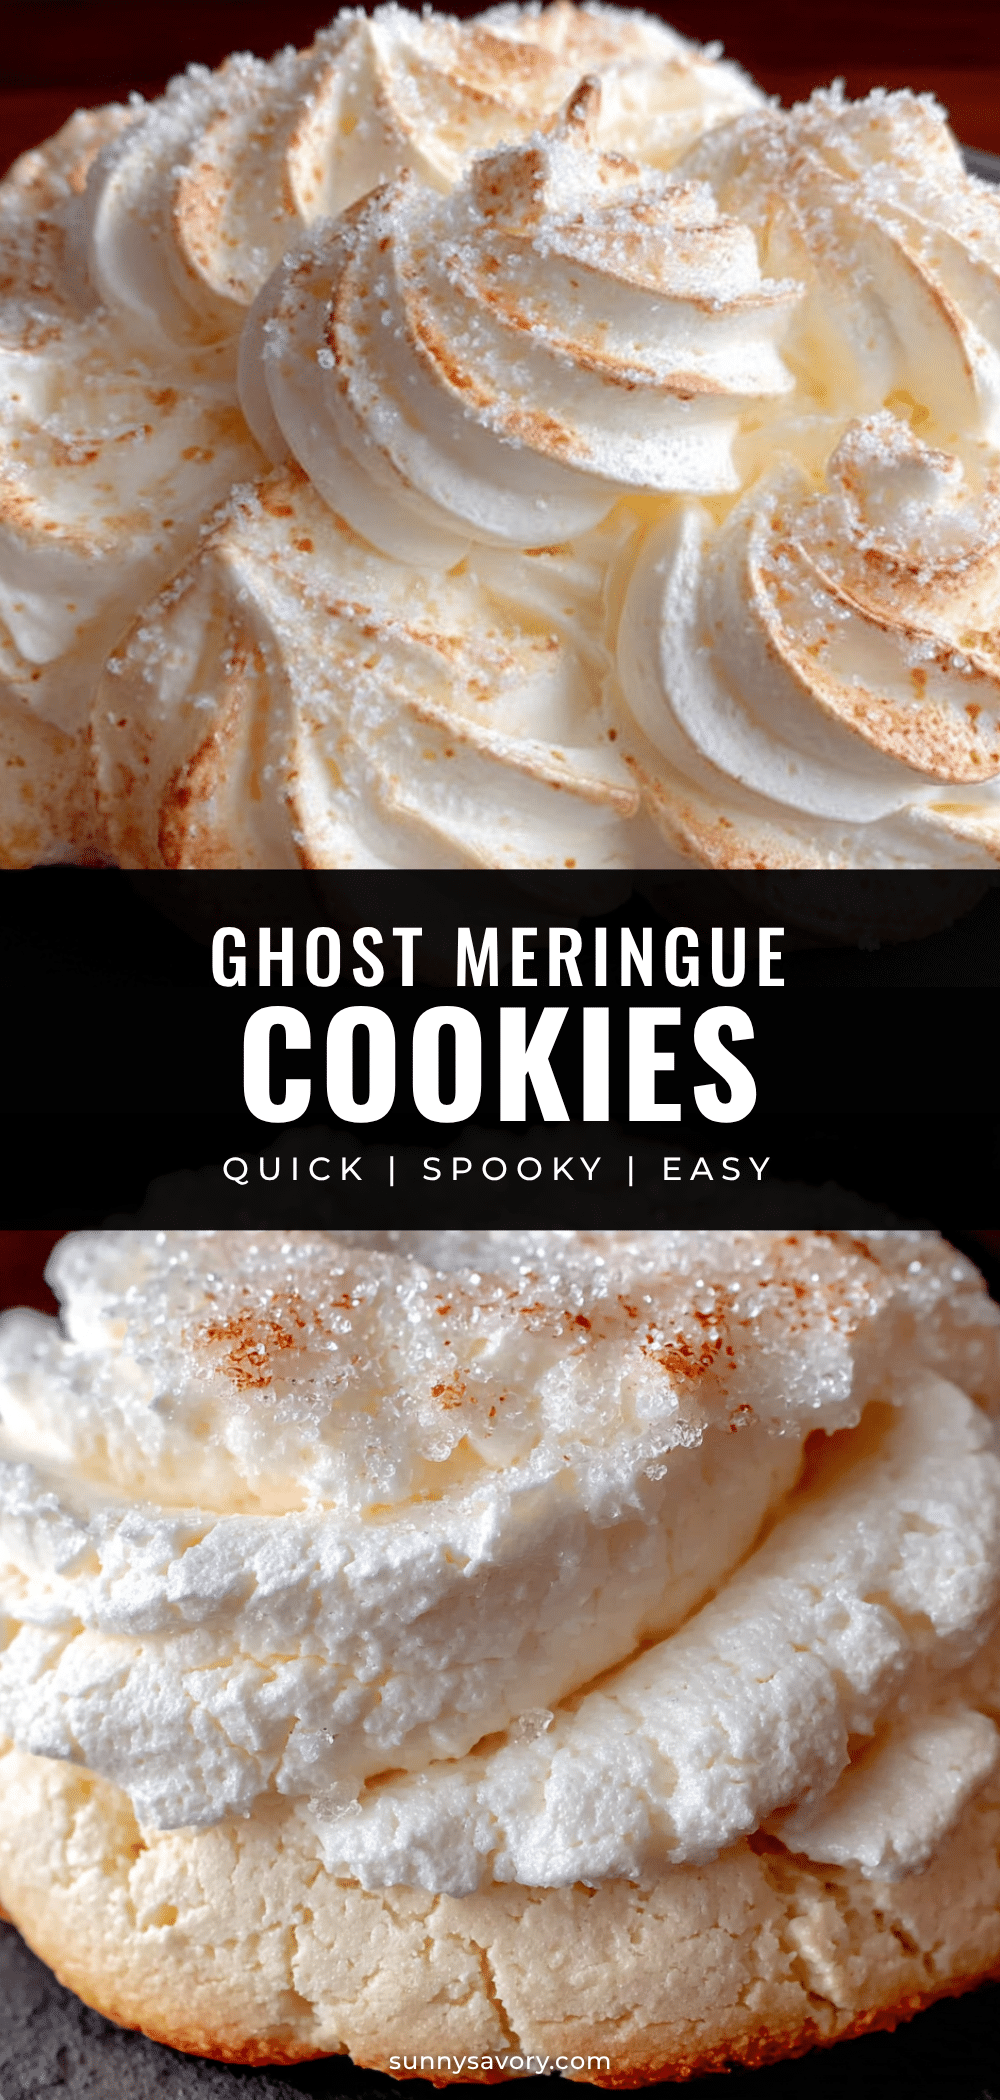
Easy Ghost Meringue Cookies: Best 15-Minute Spooky Treat
These ghost meringue cookies are the definition of a low-effort, high-reward treat. They come together in just 15 minutes of active prep time, perfect for Halloween or a spooky-themed party.
- Prep Time: 15 minutes
- Cook Time: 60-75 minutes
- Total Time: 1 hour 30 minutes to 1 hour 45 minutes
- Yield: 24 servings 1x
- Category: Dessert
- Cuisine: American
Ingredients
- 3 large egg whites, room temperature
- 3/4 cup (150g) granulated white sugar
- 1/2 teaspoon cream of tartar
- 1 teaspoon vanilla extract
- Mini chocolate chips or black decorating gel (for ghost eyes)
Instructions
- Preheat your oven to 200°F (93°C). Line a large baking sheet with parchment paper and set aside.
- Separate the egg whites from the yolks while the eggs are still cold. Allow the whites to come to room temperature in your mixing bowl, about 30 minutes.
- Using an electric mixer on medium speed, beat the egg whites and cream of tartar together until frothy and foamy, about 1-2 minutes.
- With the mixer running on medium-high speed, add the granulated sugar one tablespoon at a time, waiting about 15 seconds between each addition.
- Once all sugar is added, increase speed to high and beat for 3-5 minutes until stiff, glossy peaks form. The mixture should feel smooth between your fingers, not grainy.
- Beat in the vanilla extract on low speed for just a few seconds until combined.
- Fit a piping bag with a round tip (or use a zip-top bag with the corner snipped off). Spoon the meringue into the bag.
- Pipe ghosts onto the prepared baking sheet: hold the bag vertically about 1/2 inch above the sheet, squeeze out a mound about 1.5 inches wide, then stop squeezing and pull the bag straight up quickly to create a peak. Space ghosts about 1 inch apart.
- Gently press two mini chocolate chips into each ghost to form eyes.
- Bake for 60-75 minutes until meringues are dry to the touch and easily peel off the parchment paper. They should not be browned.
- Turn off the oven and leave meringues inside with the door slightly ajar for about 30 minutes. Then transfer to a wire rack to cool completely.
Notes
For best results, use room temperature egg whites and ensure your mixing bowl is completely clean and grease-free. Make meringues on a dry day as humidity can cause stickiness. Store in an airtight container at room temperature for up to 2 weeks. For vegan option, use aquafaba (3 tablespoons per egg white).
Nutrition
- Serving Size: 1 ghost cookie
- Calories: 2530
- Sugar: 6
- Sodium: 10
- Carbohydrates: 6
- Protein: 1
Keywords: ghost meringue cookies, Halloween cookies, easy meringue, spooky treats, gluten-free cookies, dairy-free cookies, quick dessert



