Love this? Save it for later!
Share the inspiration with your friends
My husband had refused to eat green bean casserole for the better part of a decade. Ten years. He claimed it was “soggy” and “weird” and “why would you ruin perfectly good beans with soup from a can?” I just shrugged and made it for holiday dinners anyway—for myself, mostly. Then last Thanksgiving, I decided to test a homemade version ‘just to see’ if it made any difference. I pulled it out of the oven, set it on the counter, and went to check on the turkey. When I came back five minutes later, there he was—standing over the dish, fork in hand, eating it straight from the pan. He didn’t even have a plate. He just stood there, chewing, with this look on his face like he’d been caught doing something wrong. “This is different,” he mumbled, mouth full. “This is actually good.”
And that, honestly, is the whole story of this recipe. I mean, I’d been making the classic version for years—you know the one, with the canned soup and the fried onions from a can—and it was fine. But it wasn’t great. It was the kind of dish you eat because it’s tradition, not because you actually crave it. But this homemade version? This one makes people stand in the kitchen and eat it with a fork before dinner is even ready. Maybe you’ve been there—a recipe that’s been around forever, but nobody really loves it. You just make it because that’s what you do.
So I set out to change that. I wanted a green bean casserole that was creamy without being gluey, crispy without being greasy, and flavorful without relying on processed ingredients. I wanted something that would make people actually ask for seconds. And after several batches—some too watery, some too thick, one that I accidentally burned the onions on—I landed on this version. It’s the one that converted my husband. It’s the one that now gets requested for every holiday. And it’s the one I’m sharing with you today. Because honestly, every family deserves a green bean casserole that people actually fight over.
Why You’ll Love This Recipe
This isn’t just another green bean casserole recipe. This is the one that changes minds and wins over skeptics. Here’s why it works so well for families:
- Made Completely from Scratch : No canned soups or pre-fried onions here. You control the ingredients, the salt, and the freshness. It tastes noticeably better without any extra effort.
- Kid-Approved and Picky-Eater Tested : The creamy sauce and crispy topping appeal to even the most stubborn eaters. My own kids ask for this on regular weeknights, not just holidays.
- Budget-Friendly Ingredients : Fresh green beans, mushrooms, onions, and pantry staples. Nothing fancy, nothing expensive. This casserole stretches a dollar beautifully.
- Make-Ahead Friendly : Assemble it the day before and bake when ready. Perfect for busy holiday mornings or hectic weeknights when you need dinner done fast.
- Leftovers Reheat Beautifully : Unlike the canned version that turns into mush, this casserole holds its texture and flavor for days. Honestly, the leftovers might be even better.
What makes this recipe different from the rest is the technique. Instead of a gluey sauce from canned soup, we build a silky mushroom cream sauce from scratch. Instead of store-bought fried onions that get soggy, we make our own crispy onion topping that stays crunchy even after baking. And instead of mushy canned beans, we use fresh or frozen green beans that keep their bite. It’s the same comforting casserole you remember—just better in every single way.
This is the kind of dish that makes you close your eyes after the first bite. It’s comfort food reimagined—richer, fresher, and more satisfying, but still easy enough for a Tuesday night. Perfect for impressing holiday guests without stress, or turning a simple family dinner into something memorable.
What Ingredients You Will Need
This recipe uses simple, wholesome ingredients to deliver bold flavor and satisfying texture without the fuss. Most of these are pantry staples you likely already have on hand.
For the Crispy Onion Topping
- 2 large yellow onions, thinly sliced into rings (about 3-4 cups) – Yellow onions get sweet and caramelized when fried, creating the best flavor. White onions work too, but they’re slightly sharper.
- 1 cup all-purpose flour – Creates the crispy coating. For a gluten-free option, use a 1:1 gluten-free flour blend.
- 1 teaspoon salt – Enhances the onion flavor.
- ½ teaspoon black pepper – Adds a subtle warmth.
- ½ teaspoon garlic powder – Optional, but I love the extra savory note.
- 1 cup buttermilk – Helps the flour stick and adds a tangy flavor. Regular milk mixed with 1 tablespoon lemon juice works as a substitute.
- Vegetable or canola oil, for frying – About 2-3 cups, enough for shallow frying.
For the Green Bean Casserole
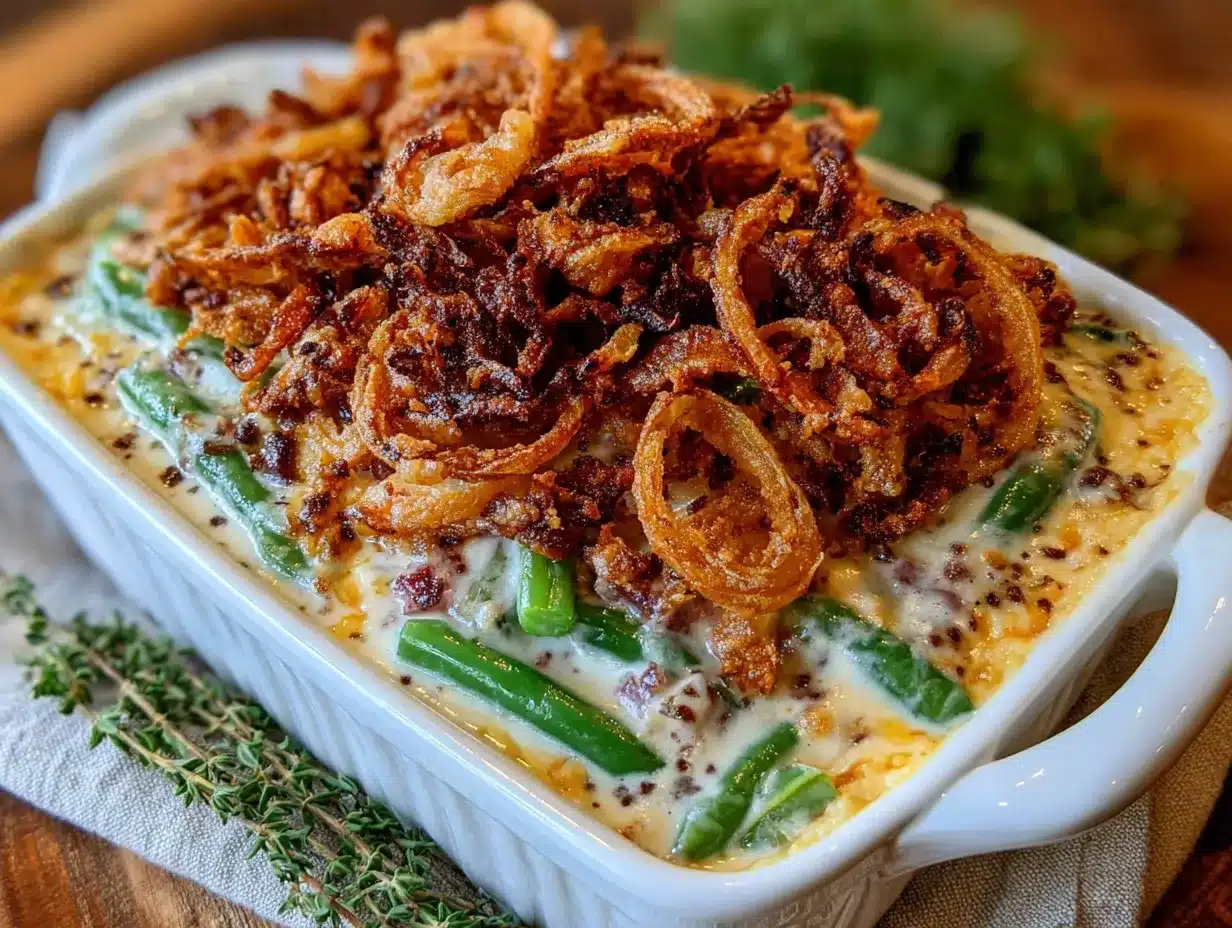
- 1½ pounds fresh green beans, trimmed and cut into 2-inch pieces – Fresh beans give the best texture. Frozen green beans (thawed and drained) work well in a pinch. Avoid canned beans—they’re too soft.
- 8 ounces cremini mushrooms, sliced – These add earthy, savory depth. White button mushrooms work fine too.
- 3 tablespoons unsalted butter – For sautéing the mushrooms and building the roux.
- 3 tablespoons all-purpose flour – Thickens the cream sauce.
- 1½ cups whole milk – Creates a rich, creamy base. 2% milk works, but whole milk is best for texture.
- 1 cup low-sodium chicken or vegetable broth – Adds savory flavor without making it too salty.
- ½ cup heavy cream – For extra richness. Half-and-half is a good lighter option.
- 1 teaspoon salt – Adjust to taste.
- ½ teaspoon black pepper
- ¼ teaspoon nutmeg – Trust me on this. A tiny pinch brightens the whole sauce.
- 1 tablespoon soy sauce or Worcestershire sauce – Adds umami depth. I prefer soy sauce for a cleaner flavor, but Worcestershire is classic.
I recommend using fresh green beans from the farmers’ market when they’re in season—they’re sweeter and snappier. For the mushrooms, creminis have more flavor than white buttons, but either works. And for the onions, take the time to slice them evenly so they cook at the same rate. Nobody wants a burnt onion in their topping.
Equipment Needed
- Large skillet or frying pan – For frying the onions. A deep, heavy-bottomed pan works best for even heat distribution.
- Large pot – For blanching the green beans.
- Medium saucepan – For making the cream sauce.
- 9×13-inch baking dish – Standard casserole size. An 8×8 dish works for a smaller batch, but adjust baking time.
- Slotted spoon or spider strainer – For removing fried onions from oil.
- Paper towels – For draining the fried onions.
- Whisk – For a smooth, lump-free sauce.
- Cutting board and sharp knife – For prepping vegetables.
- Measuring cups and spoons – Accuracy matters in the sauce.
If you don’t have a deep fryer, don’t worry. A regular skillet with about an inch of oil works perfectly. Just keep an eye on the temperature. I’ve used the same cast-iron skillet for years, and it gives the most consistent results. For a budget-friendly option, a basic non-stick pan works fine too. Just avoid overcrowding the pan when frying the onions.
Preparation Method
- Blanch the green beans. Bring a large pot of salted water to a boil. Add the trimmed green beans and cook for 3-4 minutes until bright green and slightly tender. Immediately transfer them to a bowl of ice water to stop the cooking. Drain well and set aside. This step keeps the beans crisp and vibrant instead of mushy.
- Make the crispy onion topping. Slice the onions into thin rings and separate them. In a shallow bowl, whisk together the flour, salt, pepper, and garlic powder. Pour the buttermilk into another bowl. Working in batches, dip the onion rings into the buttermilk, then dredge them in the seasoned flour. Shake off the excess. Heat about an inch of oil in a large skillet to 350°F (175°C). Fry the onions in batches for 2-3 minutes per side until golden brown and crispy. Don’t crowd the pan—the temperature will drop and the onions will get greasy. Transfer to a paper towel-lined plate and sprinkle with a pinch of salt while still hot.
- Sauté the mushrooms. In a large saucepan, melt the butter over medium heat. Add the sliced mushrooms and cook for 5-7 minutes until they release their liquid and start to brown. You want them golden, not steamed. This step builds the savory foundation of the sauce.
- Build the cream sauce. Sprinkle the flour over the cooked mushrooms and stir well. Cook for 1-2 minutes to get rid of the raw flour taste. Slowly pour in the milk and broth while whisking constantly to prevent lumps. Add the heavy cream, salt, pepper, nutmeg, and soy sauce. Continue whisking until the sauce thickens, about 3-4 minutes. It should coat the back of a spoon. Taste and adjust seasoning.
- Combine the casserole. Preheat your oven to 375°F (190°C). In a large bowl, combine the blanched green beans and the cream sauce. Stir gently until the beans are evenly coated. Transfer the mixture to a greased 9×13-inch baking dish and spread it into an even layer.
- Bake and add the topping. Bake the casserole for 20 minutes until bubbly and hot. Remove from the oven and sprinkle the crispy onions evenly over the top. Return to the oven and bake for another 10-12 minutes until the topping is golden and the sauce is bubbling around the edges. Let it rest for 5 minutes before serving—this helps the sauce set slightly.
A few notes from my kitchen: If the sauce seems too thick before baking, stir in a splash of milk. If it’s too thin, let it simmer an extra minute before combining. And don’t skip the nutmeg—it sounds strange, but it makes the whole dish taste more rounded and cozy.
Cooking Tips & Techniques
I’ve made this casserole more times than I can count, and I’ve learned a few things the hard way. Here’s what I wish someone had told me:
Don’t overcook the green beans. The blanching step is crucial—you want them bright green and still crisp. They’ll continue cooking in the oven, so undercook them slightly. I learned this after a batch of sad, limp beans that nobody wanted to eat.
Keep the oil temperature steady. When frying the onions, use a thermometer if you have one. If the oil is too cool, the onions absorb oil and get greasy. If it’s too hot, they burn before the inside cooks. Aim for 350°F and adjust the heat between batches. I ruined my first batch of onions by getting distracted—they went from golden to black in about 30 seconds.
Make the sauce ahead. You can prepare the cream sauce up to two days in advance and store it in the fridge. Reheat it gently on the stove, adding a splash of milk if it’s too thick. This saves time on busy days.
Toast the flour properly. When you add the flour to the mushrooms, let it cook for a full minute. It should smell nutty, not raw. This step prevents that pasty, raw flour taste in the final sauce.
Layer the onions at the end. If you add the crispy onions at the beginning of baking, they’ll absorb moisture and turn soft. Add them in the last 10-12 minutes for maximum crunch. If you’re reheating leftovers, store the onions separately and add fresh ones before serving.
Variations & Adaptations
This recipe is flexible, and I’ve tried several versions over the years. Here are some of my favorites:
Gluten-Free Version: Use a 1:1 gluten-free flour blend in both the onion coating and the sauce. The texture is slightly different, but still delicious. I’ve tested this with my gluten-sensitive sister-in-law, and she couldn’t tell the difference.
Dairy-Free Version: Substitute the butter with vegan butter or olive oil, use unsweetened almond or oat milk, and replace the heavy cream with full-fat coconut cream. The sauce will be slightly thinner but still creamy. I’ve made this for dairy-free friends, and it was a hit.
Protein-Packed Version: Add 1 cup of cooked, shredded chicken or crumbled bacon to the casserole before baking. This turns it into a complete meal. I’ve done this on busy weeknights when I needed dinner in one dish.
Air Fryer Onions: For a lighter option, make the crispy onions in an air fryer. Toss the coated onion rings with a tablespoon of oil and air fry at 375°F for 8-10 minutes, shaking halfway through. They’re not quite as crunchy as fried, but they’re still good.
Seasonal Twist: In summer, swap half the green beans for fresh asparagus or snap peas. In fall, add roasted butternut squash cubes. The creamy sauce works with almost any vegetable combination.
Serving & Storage Suggestions
This casserole is best served hot, straight from the oven, with the crispy onions still crunchy. Let it rest for 5 minutes after baking so the sauce sets slightly—this makes serving cleaner.
What to serve with it: This casserole pairs beautifully with roasted turkey or chicken, but it’s also hearty enough to stand alone as a vegetarian main dish. Serve it alongside mashed potatoes, roasted carrots, or a simple green salad. For holidays, it’s the perfect companion to ham or roast beef.
Storage: Store leftovers in an airtight container in the refrigerator for up to 4 days. The onions will soften over time, but the flavor gets even better. To reheat, place in a 350°F oven for 15-20 minutes until warmed through. The microwave works in a pinch, but the oven preserves the texture better.
Freezing: Assemble the casserole without the crispy onion topping, cover tightly, and freeze for up to 3 months. Thaw overnight in the refrigerator, then bake as directed, adding fresh onions in the last 10 minutes. I’ve done this for holiday prep, and it works like a charm.
Make-Ahead Tip: Prepare the entire casserole (without the topping) up to 24 hours in advance. Keep it covered in the fridge. When ready to bake, add 5-10 minutes to the baking time since you’re starting from cold.
Nutritional Information & Benefits
Per serving (about 1 cup), this casserole contains approximately:
- Calories: 280
- Protein: 7g
- Fat: 16g
- Carbohydrates: 28g
- Fiber: 4g
- Sugar: 8g
- Sodium: 580mg
This casserole offers several nutritional benefits. Green beans are packed with vitamins A, C, and K, plus fiber that supports digestion. Mushrooms provide B vitamins and selenium, which supports immune function. The homemade sauce has less sodium than canned versions, and you control the salt level.
Dietary Considerations: This recipe is vegetarian as written. For a vegan version, use the dairy-free substitutions mentioned above. It’s not gluten-free, but the gluten-free variation works well. The main allergens are dairy and wheat (gluten).
I personally love that this casserole feels indulgent but isn’t loaded with processed ingredients. It’s comfort food that I feel good about serving my family—and that makes a difference on a busy weeknight.
Conclusion
This crispy onion green bean casserole from scratch is proof that homemade always wins. It’s richer, fresher, and more satisfying than the canned version—but just as easy to put together. Whether you’re converting a skeptic, feeding picky eaters, or just want a vegetable dish that actually tastes good, this recipe delivers.
I love that this casserole has become a staple in our home, not just for holidays but for regular dinners too. It’s the kind of recipe that makes you feel like you’ve accomplished something good—feeding your family well without spending all day in the kitchen. And honestly, that’s the best feeling.
Try this recipe and let me know how it turns out! Comment below with your favorite variation, or tag me in your photos. I can’t wait to hear how this casserole becomes a tradition in your home too. Happy cooking!
Frequently Asked Questions
Can I use frozen green beans instead of fresh?
Yes, frozen green beans work well. Thaw them completely and pat them dry before using. Skip the blanching step since frozen beans are already partially cooked. Just add them directly to the sauce.
Why did my sauce turn out lumpy?
Lumpy sauce usually happens when you add the liquid too quickly or don’t whisk enough. Add the milk and broth slowly while whisking constantly. If lumps form, strain the sauce through a fine-mesh sieve or blend it with an immersion blender.
Can I make this casserole ahead of time?
Absolutely. Assemble the casserole without the crispy onion topping up to 24 hours in advance. Cover and refrigerate. Add 5-10 minutes to the baking time since you’re starting from cold. Add the onions in the last 10 minutes of baking.
How do I keep the crispy onions from getting soggy?
Add the onions only in the last 10-12 minutes of baking. If you’re making the casserole ahead, store the onions separately in an airtight container at room temperature and add them just before baking. For leftovers, store onions separately and add fresh ones when reheating.
Can I skip frying the onions and use store-bought ones?
You can, but the homemade ones are worth the extra effort. Store-bought fried onions work in a pinch—just add them in the last 10 minutes of baking. They won’t be as crispy or flavorful, but the casserole will still taste good.
Pin This Recipe!
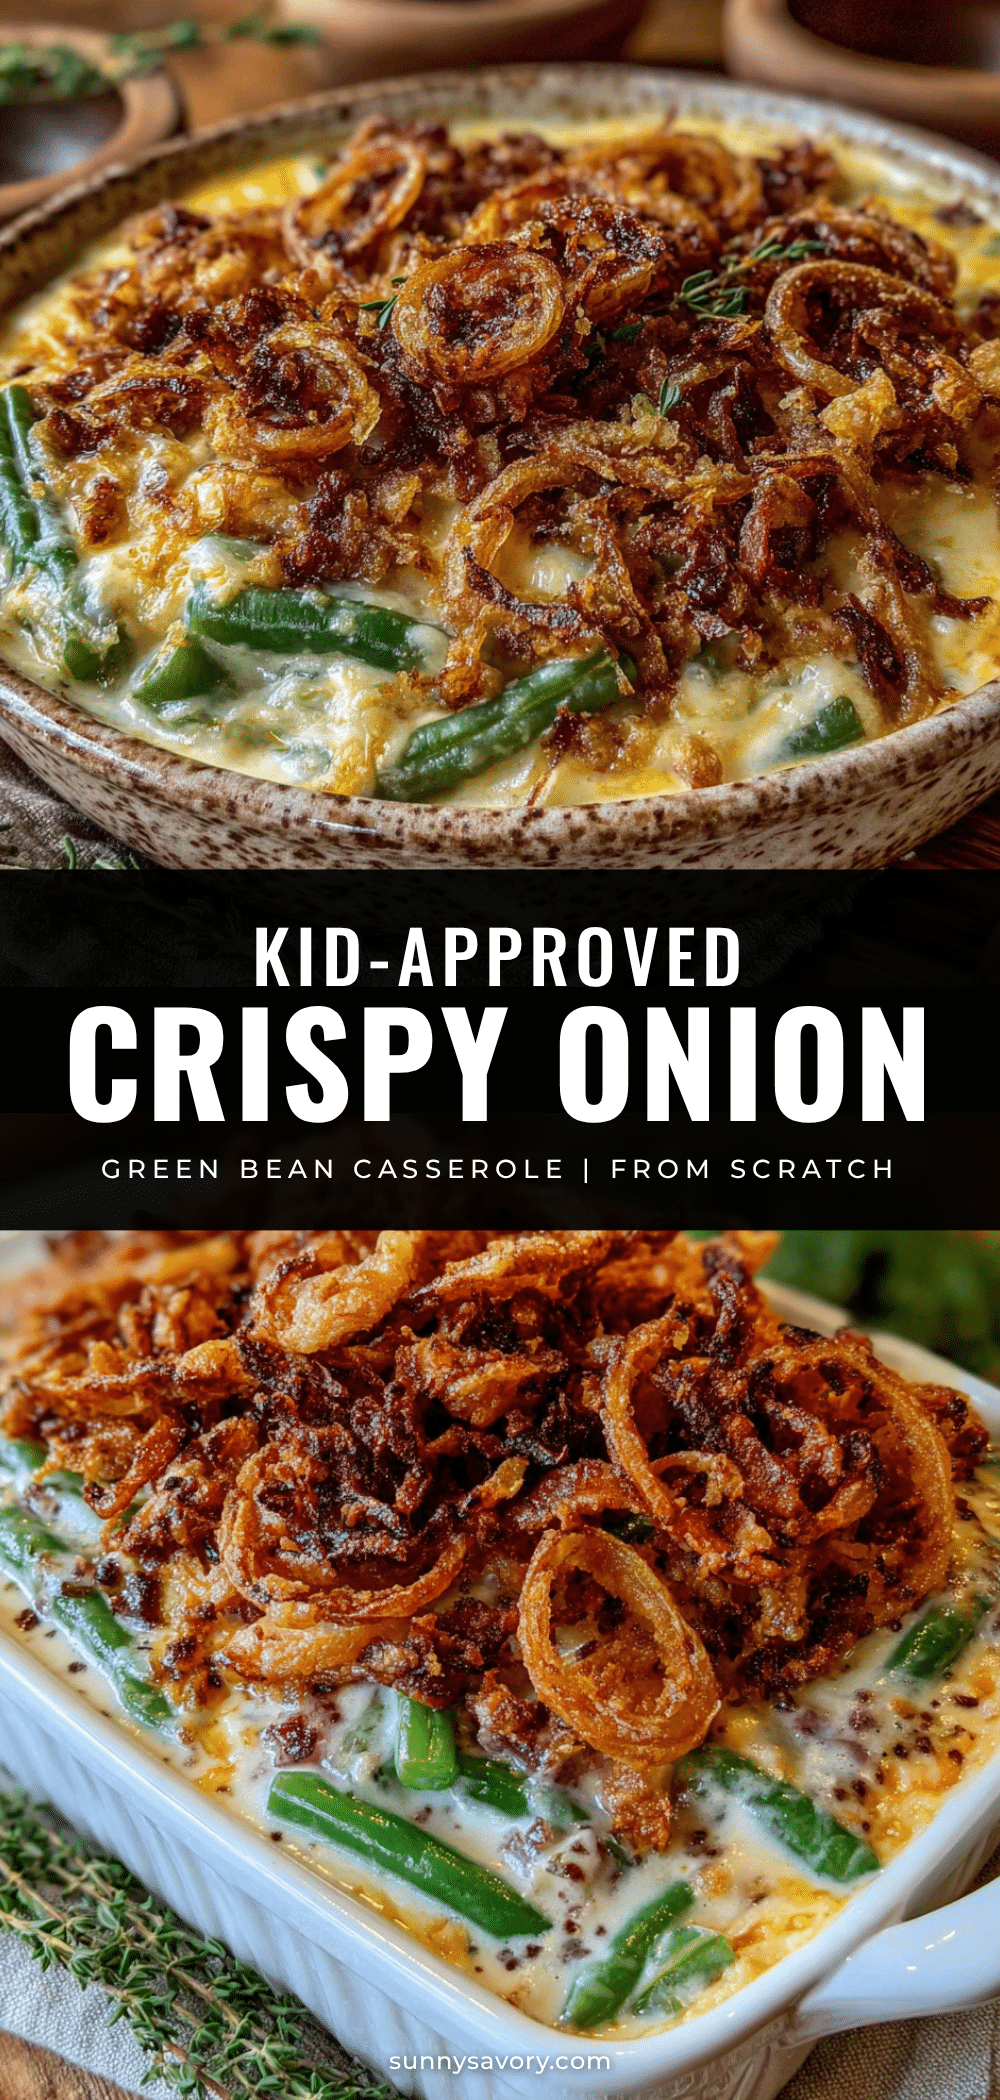
Easy Homemade Crispy Onion Green Bean Casserole

This homemade green bean casserole features a silky mushroom cream sauce and crispy fried onions, all made from scratch. It’s the dish that converts skeptics and wins over picky eaters, perfect for holidays or weeknight dinners.
- Prep Time: 30 minutes
- Cook Time: 35 minutes
- Total Time: 1 hour 5 minutes
- Yield: 8 servings 1x
- Category: Side Dish
- Cuisine: American
Ingredients
- 2 large yellow onions, thinly sliced into rings (about 3–4 cups)
- 1 cup all-purpose flour
- 1 teaspoon salt
- ½ teaspoon black pepper
- ½ teaspoon garlic powder
- 1 cup buttermilk
- Vegetable or canola oil, for frying (about 2-3 cups)
- 1½ pounds fresh green beans, trimmed and cut into 2-inch pieces
- 8 ounces cremini mushrooms, sliced
- 3 tablespoons unsalted butter
- 3 tablespoons all-purpose flour
- 1½ cups whole milk
- 1 cup low-sodium chicken or vegetable broth
- ½ cup heavy cream
- 1 teaspoon salt
- ½ teaspoon black pepper
- ¼ teaspoon nutmeg
- 1 tablespoon soy sauce or Worcestershire sauce
Instructions
- Blanch the green beans: Bring a large pot of salted water to a boil. Add the trimmed green beans and cook for 3-4 minutes until bright green and slightly tender. Immediately transfer them to a bowl of ice water to stop the cooking. Drain well and set aside.
- Make the crispy onion topping: Slice the onions into thin rings and separate them. In a shallow bowl, whisk together the flour, salt, pepper, and garlic powder. Pour the buttermilk into another bowl. Working in batches, dip the onion rings into the buttermilk, then dredge them in the seasoned flour. Shake off the excess. Heat about an inch of oil in a large skillet to 350°F (175°C). Fry the onions in batches for 2-3 minutes per side until golden brown and crispy. Transfer to a paper towel-lined …
- Sauté the mushrooms: In a large saucepan, melt the butter over medium heat. Add the sliced mushrooms and cook for 5-7 minutes until they release their liquid and start to brown.
- Build the cream sauce: Sprinkle the flour over the cooked mushrooms and stir well. Cook for 1-2 minutes. Slowly pour in the milk and broth while whisking constantly to prevent lumps. Add the heavy cream, salt, pepper, nutmeg, and soy sauce. Continue whisking until the sauce thickens, about 3-4 minutes. Taste and adjust seasoning.
- Combine the casserole: Preheat your oven to 375°F (190°C). In a large bowl, combine the blanched green beans and the cream sauce. Stir gently until the beans are evenly coated. Transfer the mixture to a greased 9×13-inch baking dish and spread it into an even layer.
- Bake and add the topping: Bake the casserole for 20 minutes until bubbly and hot. Remove from the oven and sprinkle the crispy onions evenly over the top. Return to the oven and bake for another 10-12 minutes until the topping is golden and the sauce is bubbling around the edges. Let it rest for 5 minutes before serving.
Notes
Don’t overcook the green beans during blanching; they will continue cooking in the oven. Keep the oil temperature steady at 350°F when frying onions to avoid greasiness. Add the crispy onions only in the last 10-12 minutes of baking to maintain crunch. The sauce can be made up to 2 days ahead and stored in the fridge. For gluten-free, use a 1:1 gluten-free flour blend. For dairy-free, use vegan butter, unsweetened almond or oat milk, and full-fat coconut cream.
Nutrition
- Serving Size: 1 cup
- Calories: 280
- Sugar: 8
- Sodium: 580
- Fat: 16
- Saturated Fat: 8
- Carbohydrates: 28
- Fiber: 4
- Protein: 7
Keywords: green bean casserole, homemade, crispy onion, from scratch, holiday side dish, vegetarian, comfort food



